
Click Here to read Part 1 _____________________________
It's that time again...

Only this time instead of preparing a meal for one baby, I've added a toddler into the mix...oye.
Before I had kids, I figured I would be that good little wife that made everything homemade and make everyone happy. After Boo was born I realized it was harder to home-make everything, and my goals before hand were definitely harder to reach. Then came Sweet Pea and if I've even been able sit down and eat that day I consider myself accomplished and amazing...

I'm going to throw this out there and say the thought of making homemade baby food sounds daunting, too much work, and even to some ridiculous. I agree that I've thought the same at one point, and if you told me in high school that in the future I would be writing a blog post all about homemade baby food I'd throw my half eaten chili dog at you and laugh in your face.
Today I'm going to share with you how I've made it work for me and my family, and the important and helpful things along with making your own baby food! I wrote a few posts about homemade Baby Food when Boo was a baby (sad...she's no longer one...), so if you want check it out you can HERE!


Decide what and how much baby food you want to make-
Do you want to do a bunch at once or a little at a time?

This was the method I chose because I'm a"let's get it over with so I don't have to think about this for a while" kind of person. :)
The idea here is to purchase a larger quantity of each food item that you want to puree, set aside a few hours at home, cook, puree, and have baby food ready for 1-2 months.

With this method, the idea is to take it slow so you don't overwhelm yourself. It also works great if you are a working mother, or don't have time to set aside 2 or so hours to puree a bunch of food.
Each week, along with your normal grocery lists, buy 2-3 items in a larger quantity (like 3-4 large sweet potatoes.) During dinner, nap, cleaning the house time, etc., cook that food item, puree it, and store it. You can do one every other day, or twice a week, etc. This will allow your baby food stock to fill up slowly and at your pace!


(Pic on Left: Boo @6 months, Pic of Right: Sweet Pea @ 6 months)
Before going crazy and buying out the produce section, make sure certain foods sit well with your little one. When you are first starting out feeding your baby, you have to introduce foods slowly to make sure there are no allergies, sensitivities, or reactions to certain food types. I would hate it if you pureed tons of sweet potatoes and your baby can't eat them!
With this, I always buy canned organic baby food! It's the most wholesome and pure, to me.

Make a list, check it twice, and set aside the time/s that you need to puree the food. I usually do my grocery shopping on Monday, and then that Tuesday I set aside time to puree the food. If I did it all at once on Monday, well..I would have gone cray cray. (crazy...)
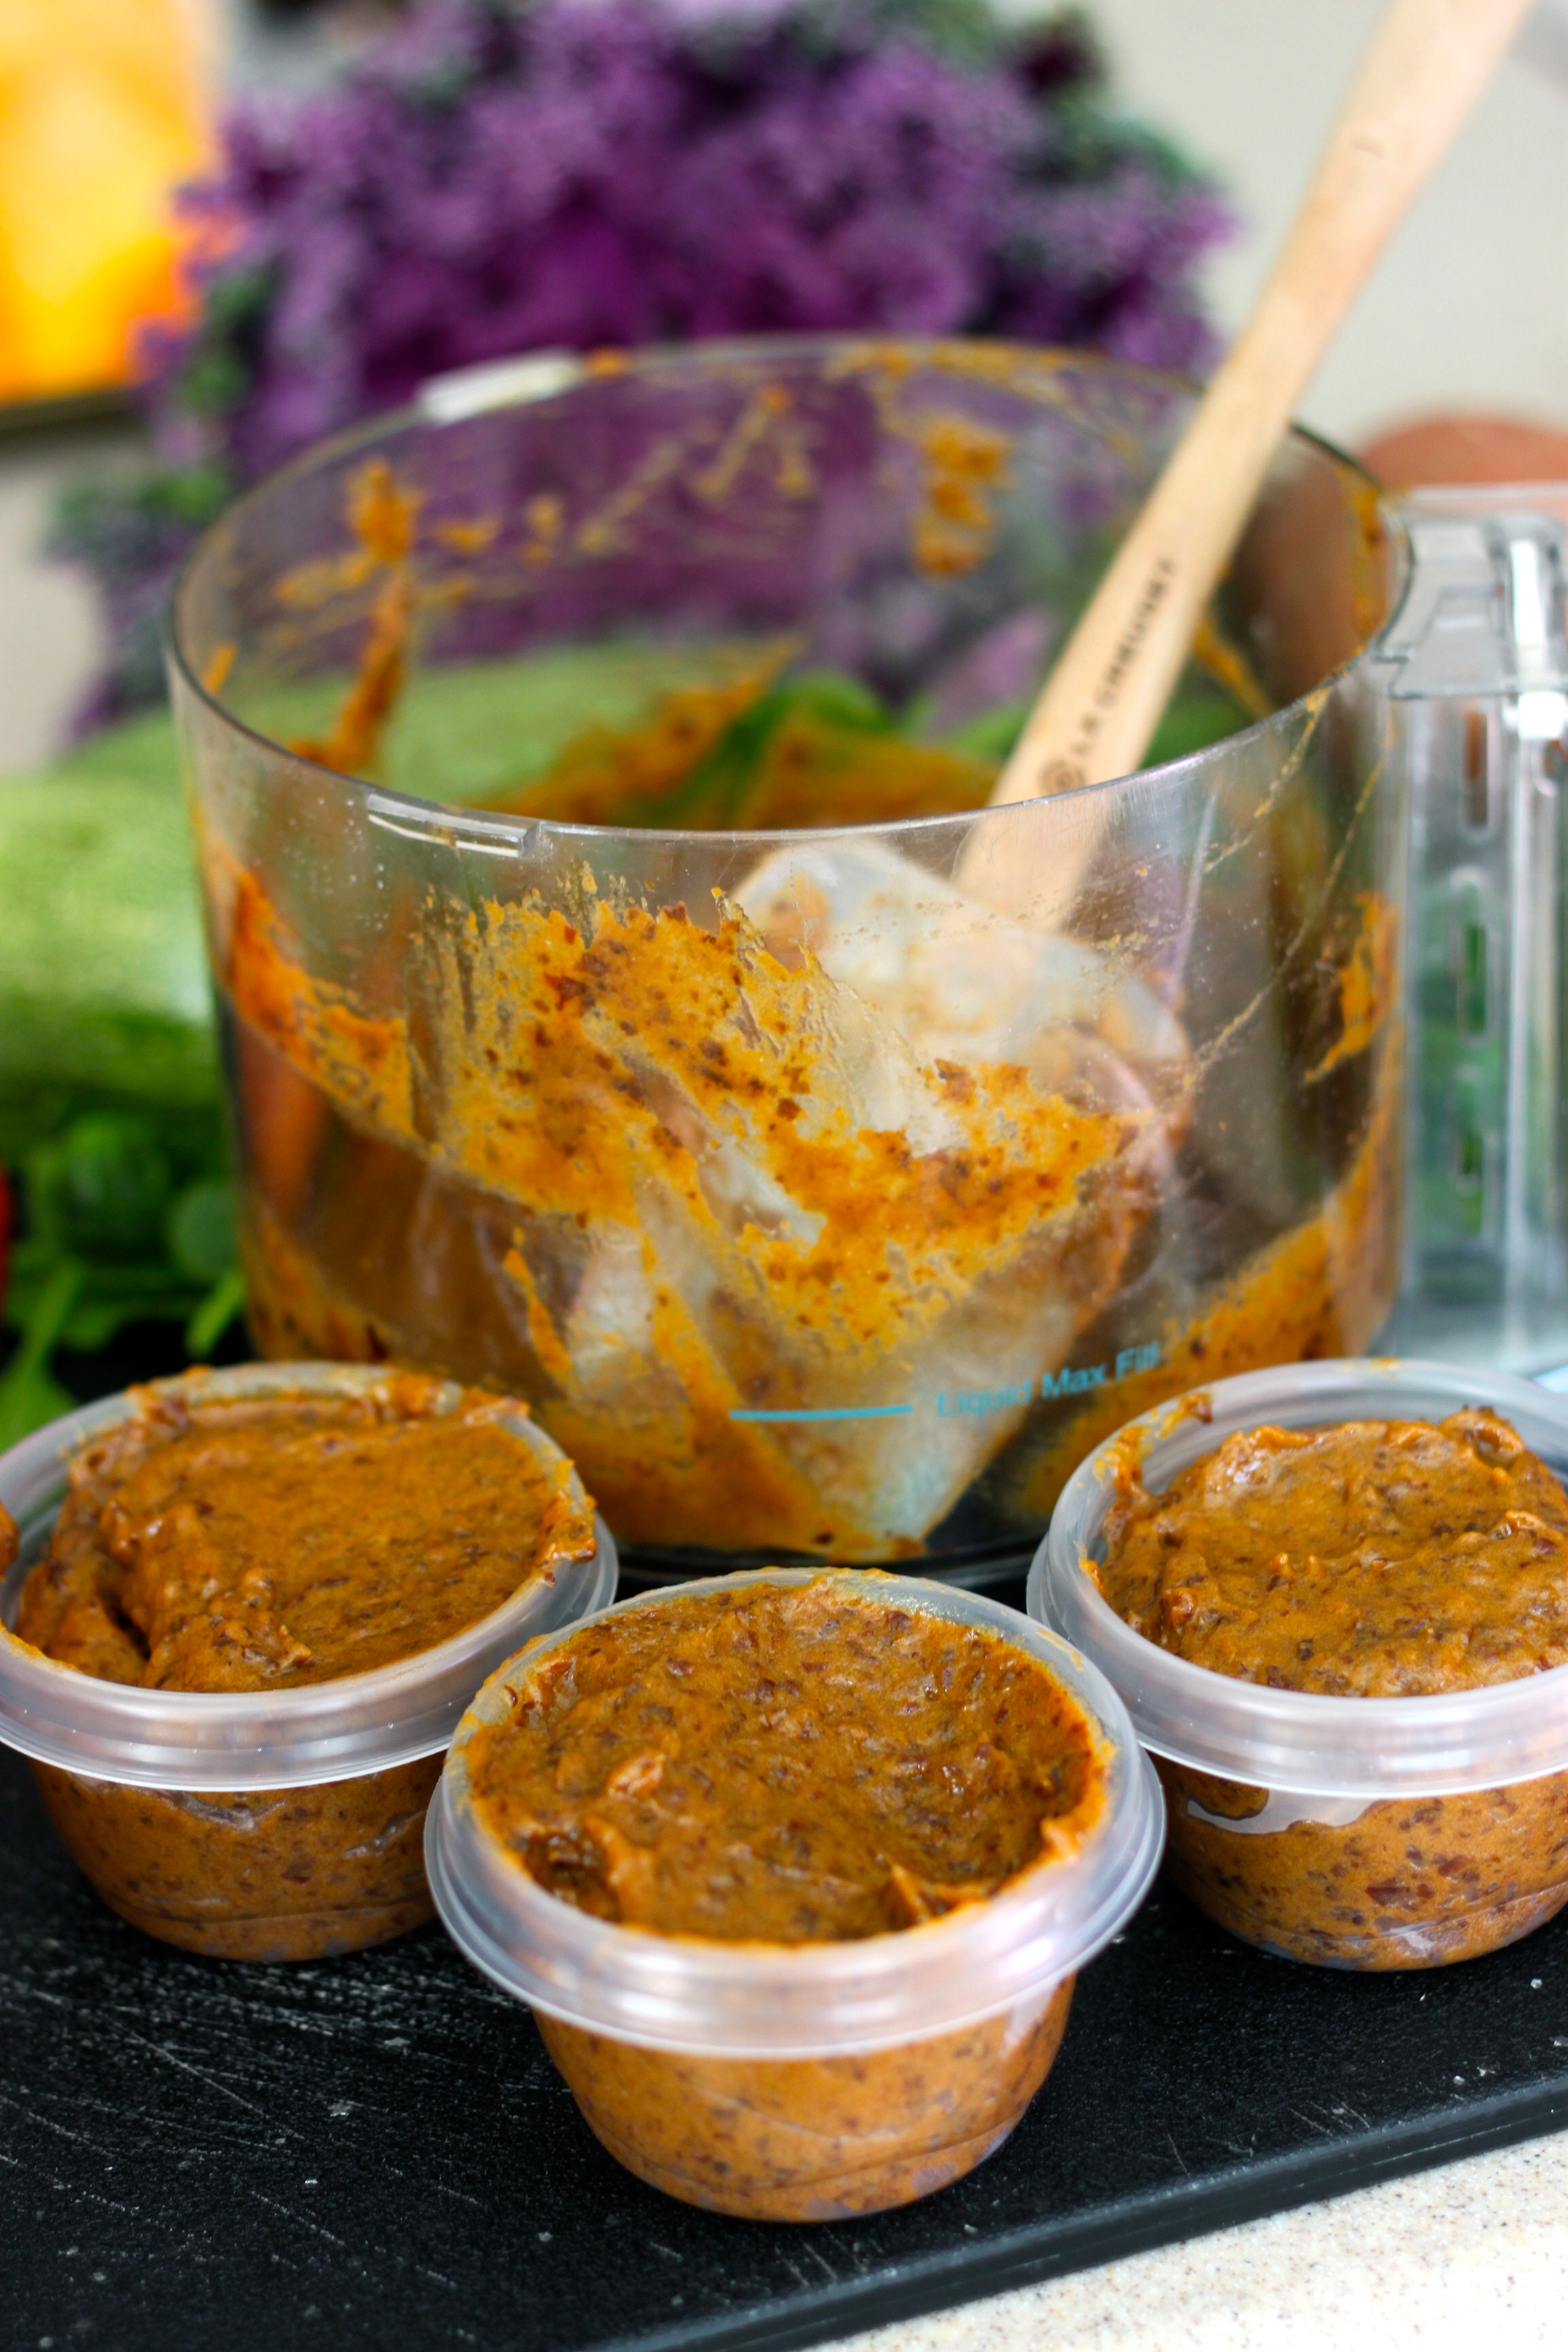
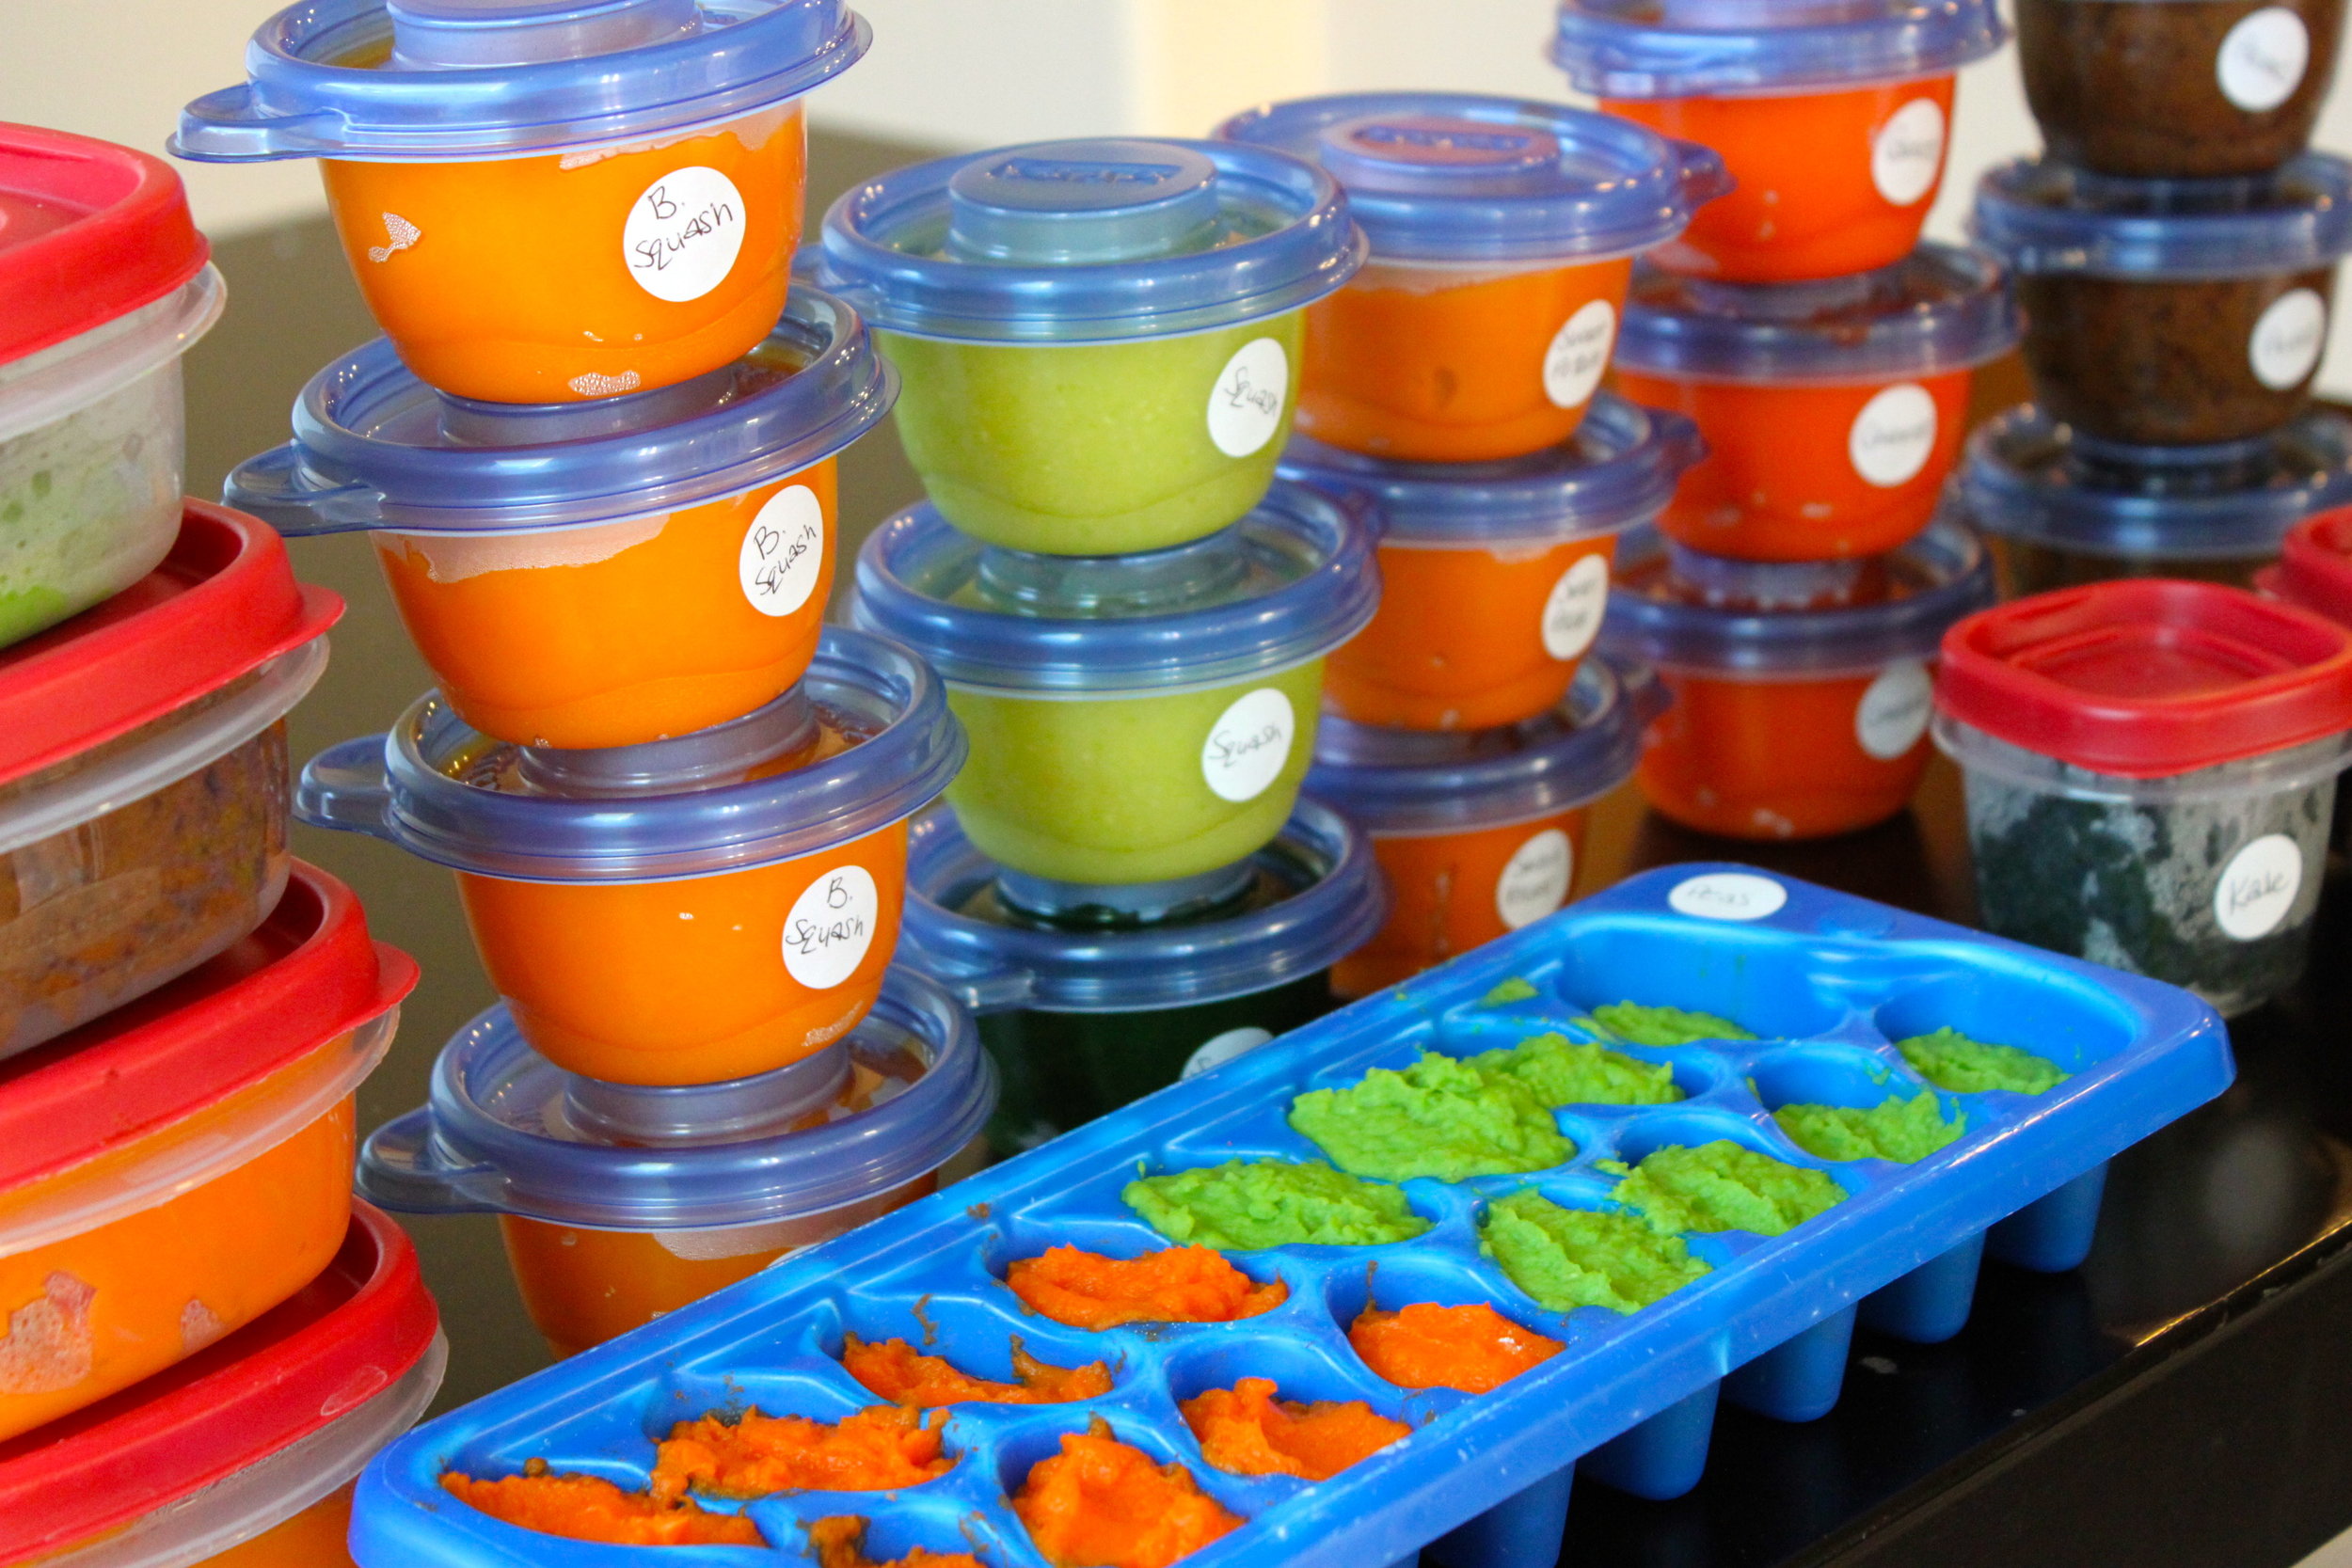
Make sure you have the appropriate cooking and storage items! For this you will need:

-Small storage containers with air tight lids (I used the ones above, they were the cheapest I could find @ 3 dollars for 8 containers!)
-a good blender, food processor, or a Magic/Baby Bullet
-Pot with a steamer on top
-labeling stickers


On the day of the food prep, wash and dry all your veggies/fruits. If you are doing it all at once, here is where the prep and planning will be important. If you are baking an item, put that in the oven first so it can cook while you are steaming and pureeing the other items.
Here is how it laid out for me:
As I steamed one item, I prepped the others (such as cutting, peeling, dicing, etc.) Then when one item was done steaming I would dump them in my food processor, turn it on and let it puree. While it was pureeing I would throw the next batch of veggies or whatever into the steamer to be steamed. While it was cooking I would finish pureeing, package it, and label it and set it aside and let it cool, with the lid off.
If you aren't doing items that involve cooking, like fruit purees, just do them one after another.
Some items may require soaking such as prunes, raisins, dates, or dried beans. Soak everything the night before, or maybe just need a few hours to soak. Remember that in your planning. If the beans need cooking, start their cooking process at the beginning of your plan.

Here are the items that I pureed for my little one. It's not everything that I would like to have on hand, andI know that one day I might try apple sauce and maybe next week I'll make some bean purees!


Ingredients:
Dried, pitted, prunes-Make sure there are no other ingredients or additives, and if it's in your budget go organic
water
Directions:
1. add prunes to a large bowl and fill with water until all the prunes are covered. Soak for at least a couple hours or if you want overnight. Once done, dump the water out and add prunes to processor and blend until creamy and no chunks appear.
2. Place in individual air tight containers and store in the freezer. When needed thaw in the fridge the night before.

I did a post already on how to puree butternut squash HERE! :)

Ingredients:
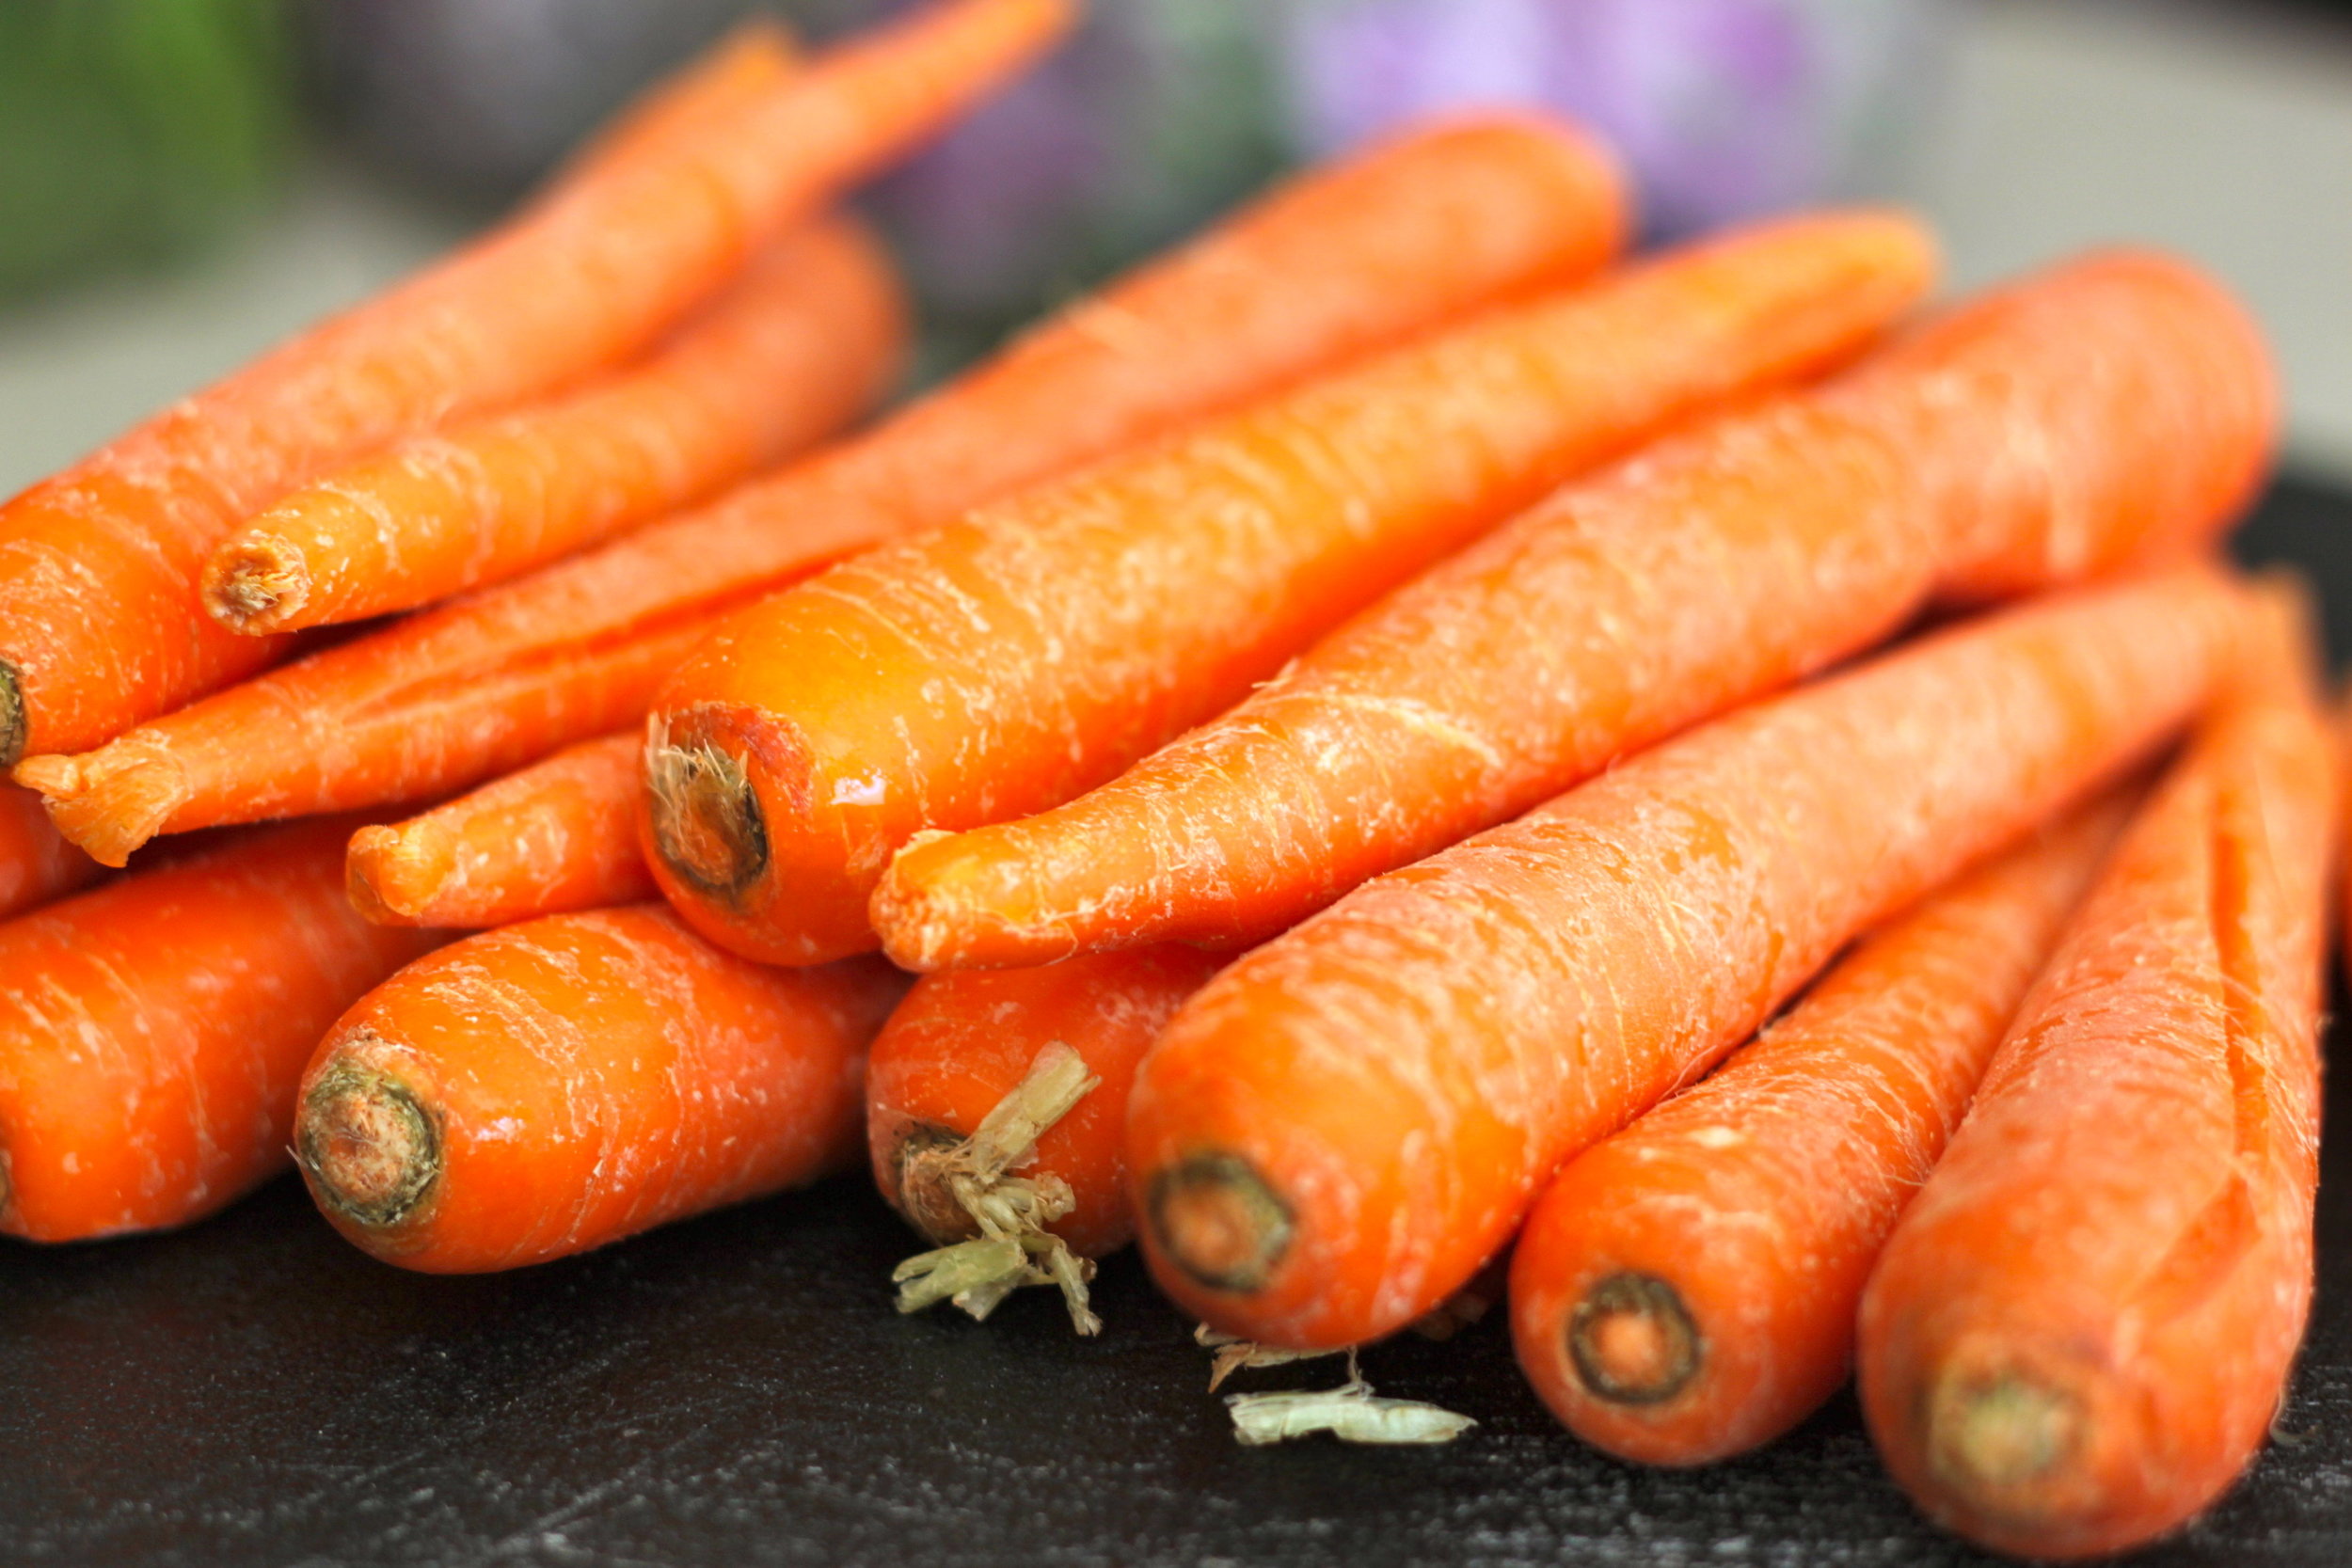
Carrots
Directions:
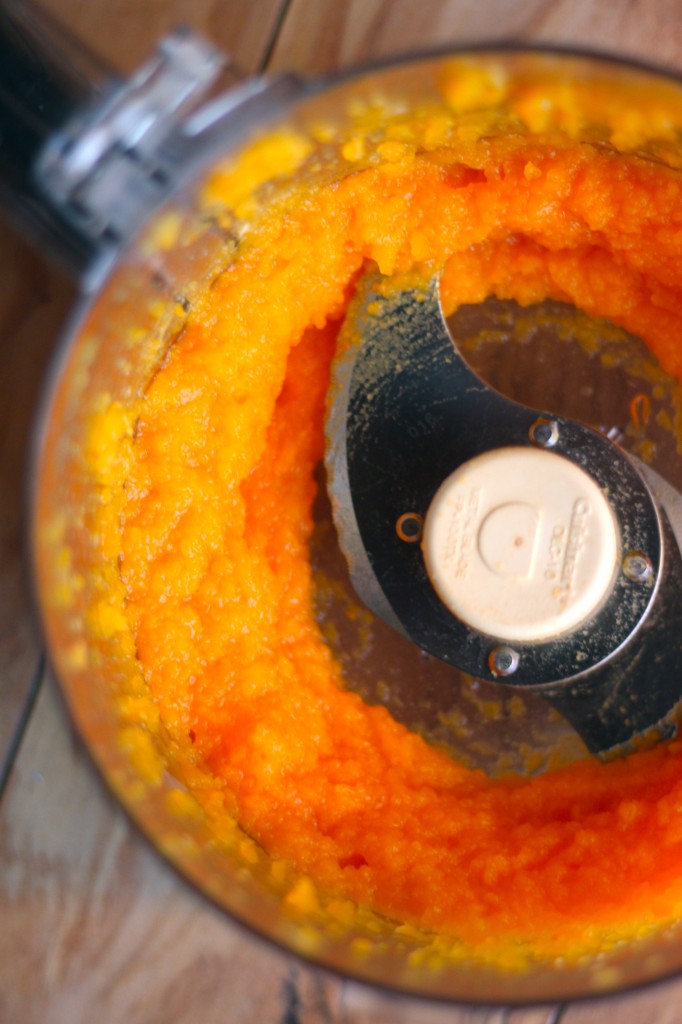
1. Wash, Peel, and cut carrots and add to a steam basket. Steam until tender.
2. Once done, blend until creamy, and if needed at a little water.


Ingredients:
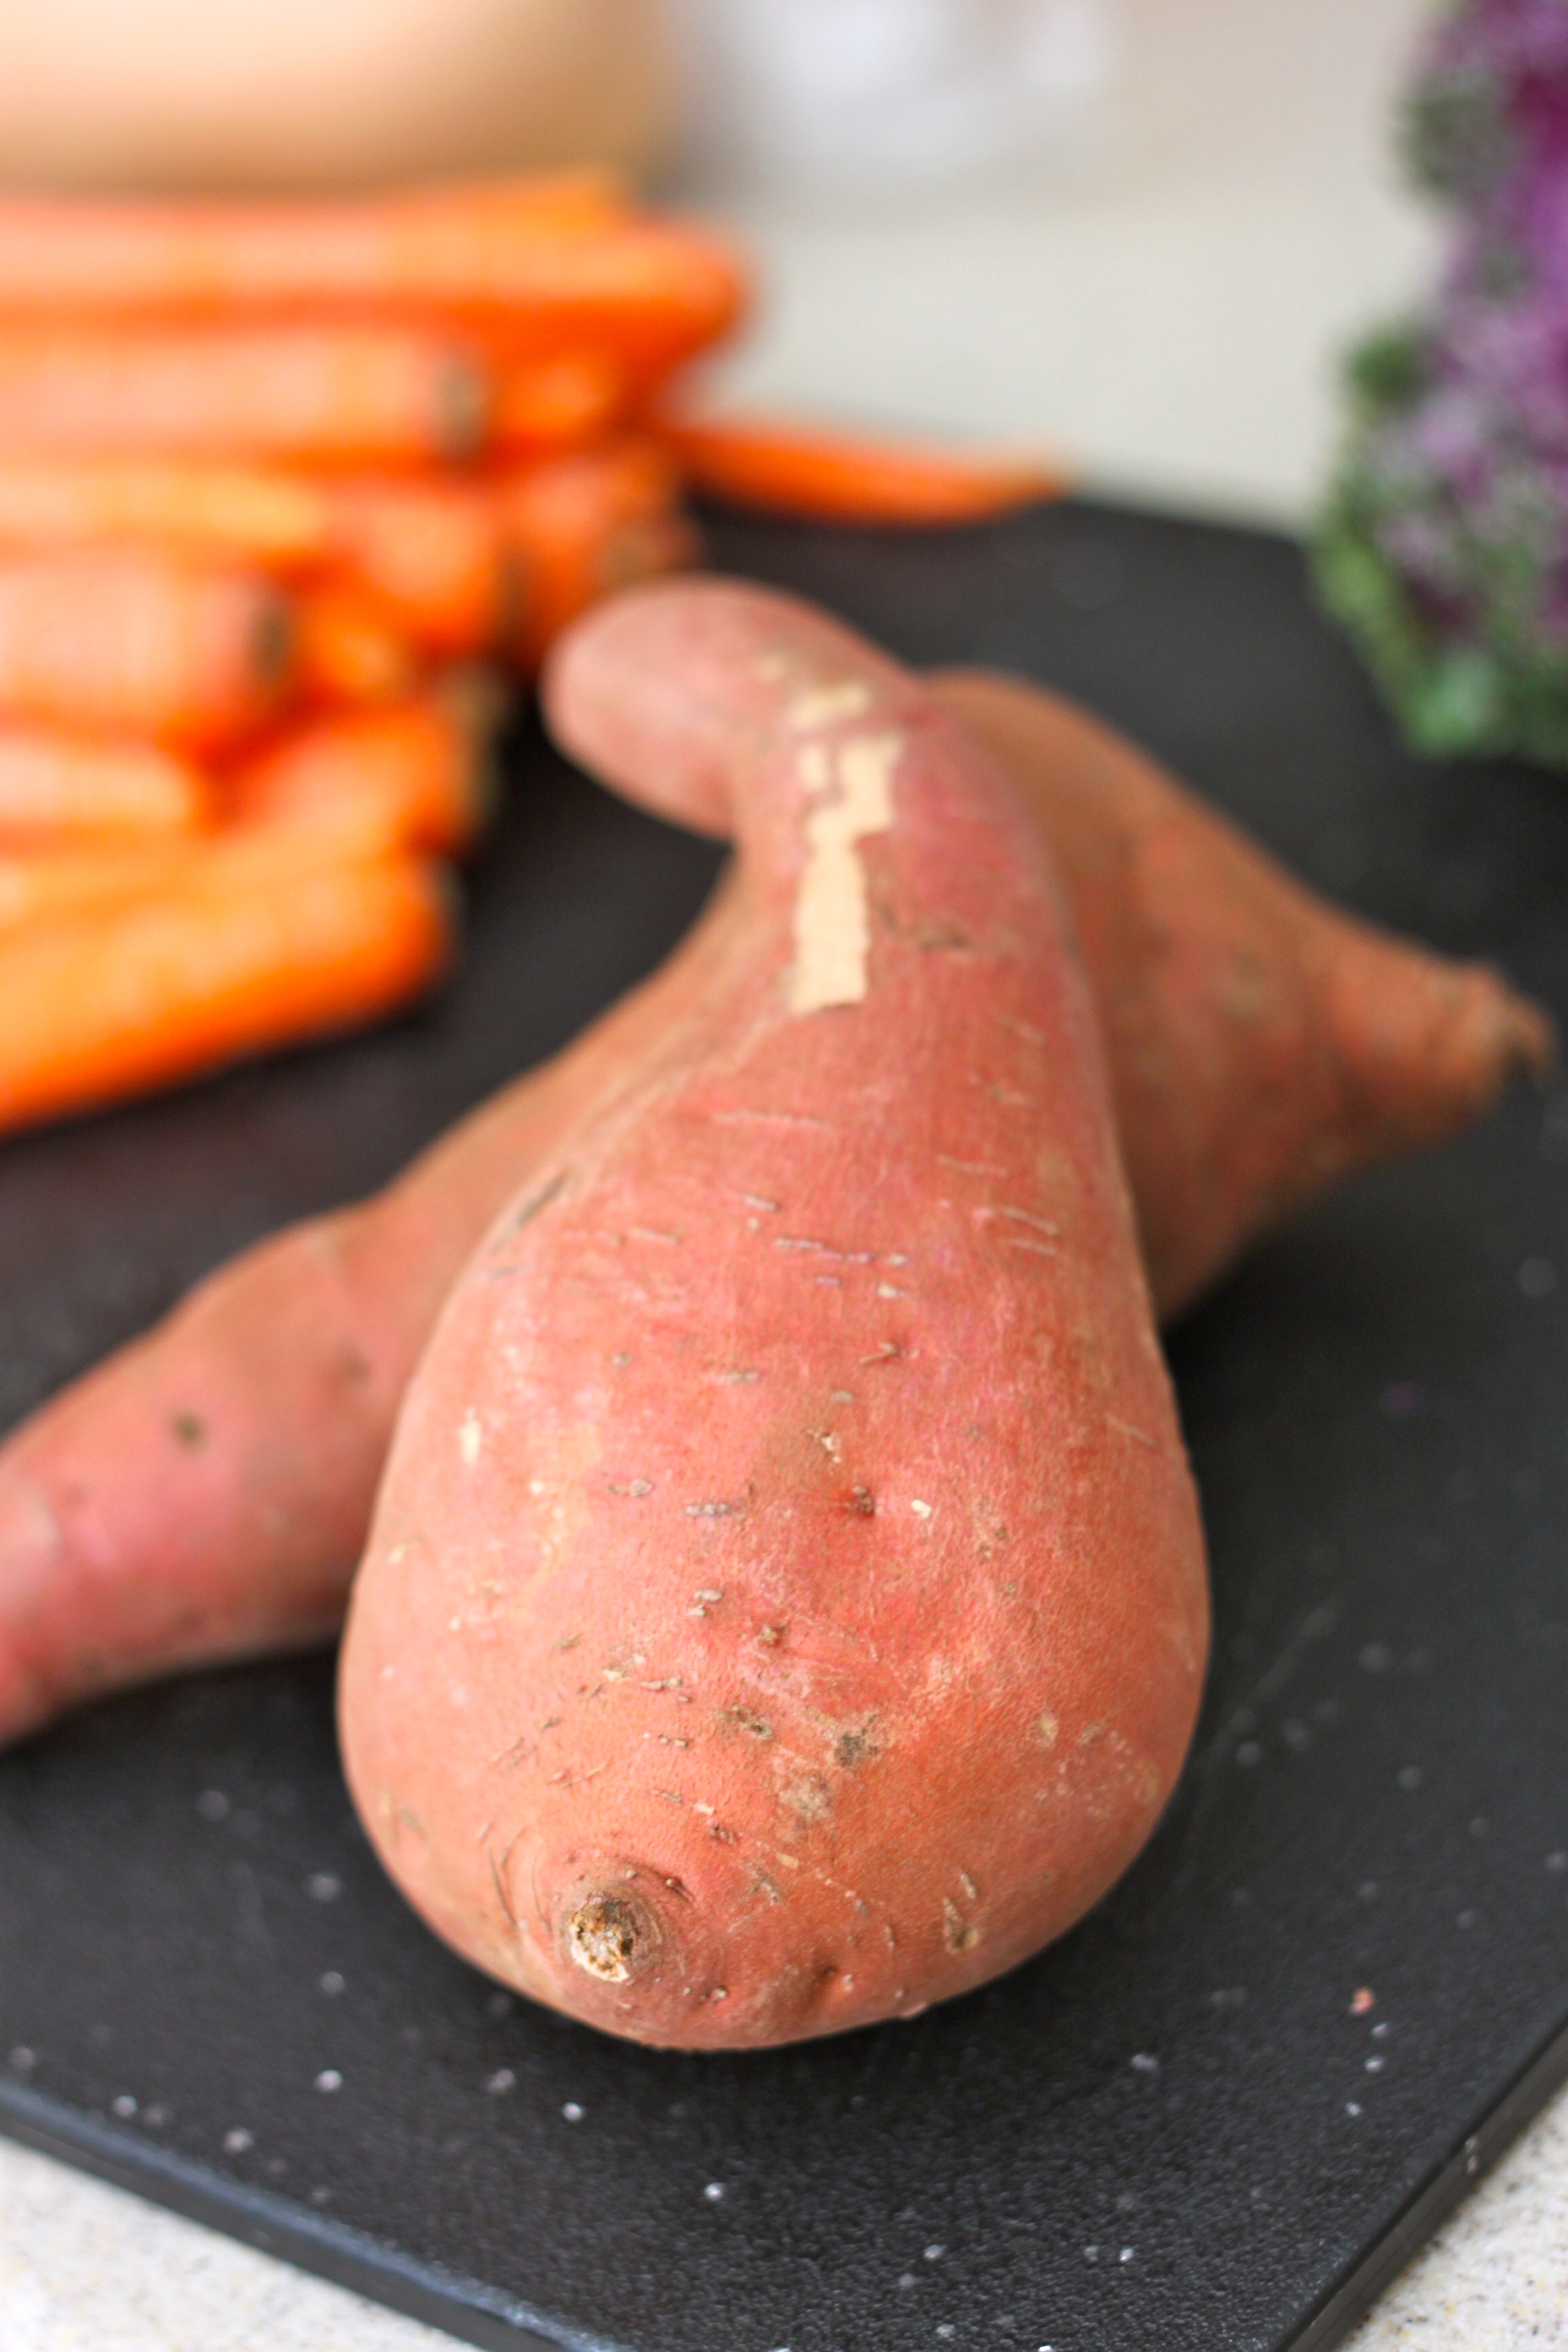
Sweet Potatoes
Directions:
1. Wash, peel, cut sweet potatoes. Place in steam basket and steam until tender.
2. Once done puree until creamy, add water if needed.


Ingredients:
Squash
Directions:
1. Wash, peel, cut squash and place in steam basket. Steam until tender, then puree until smooth. It will be a little watery.


Ingredients:
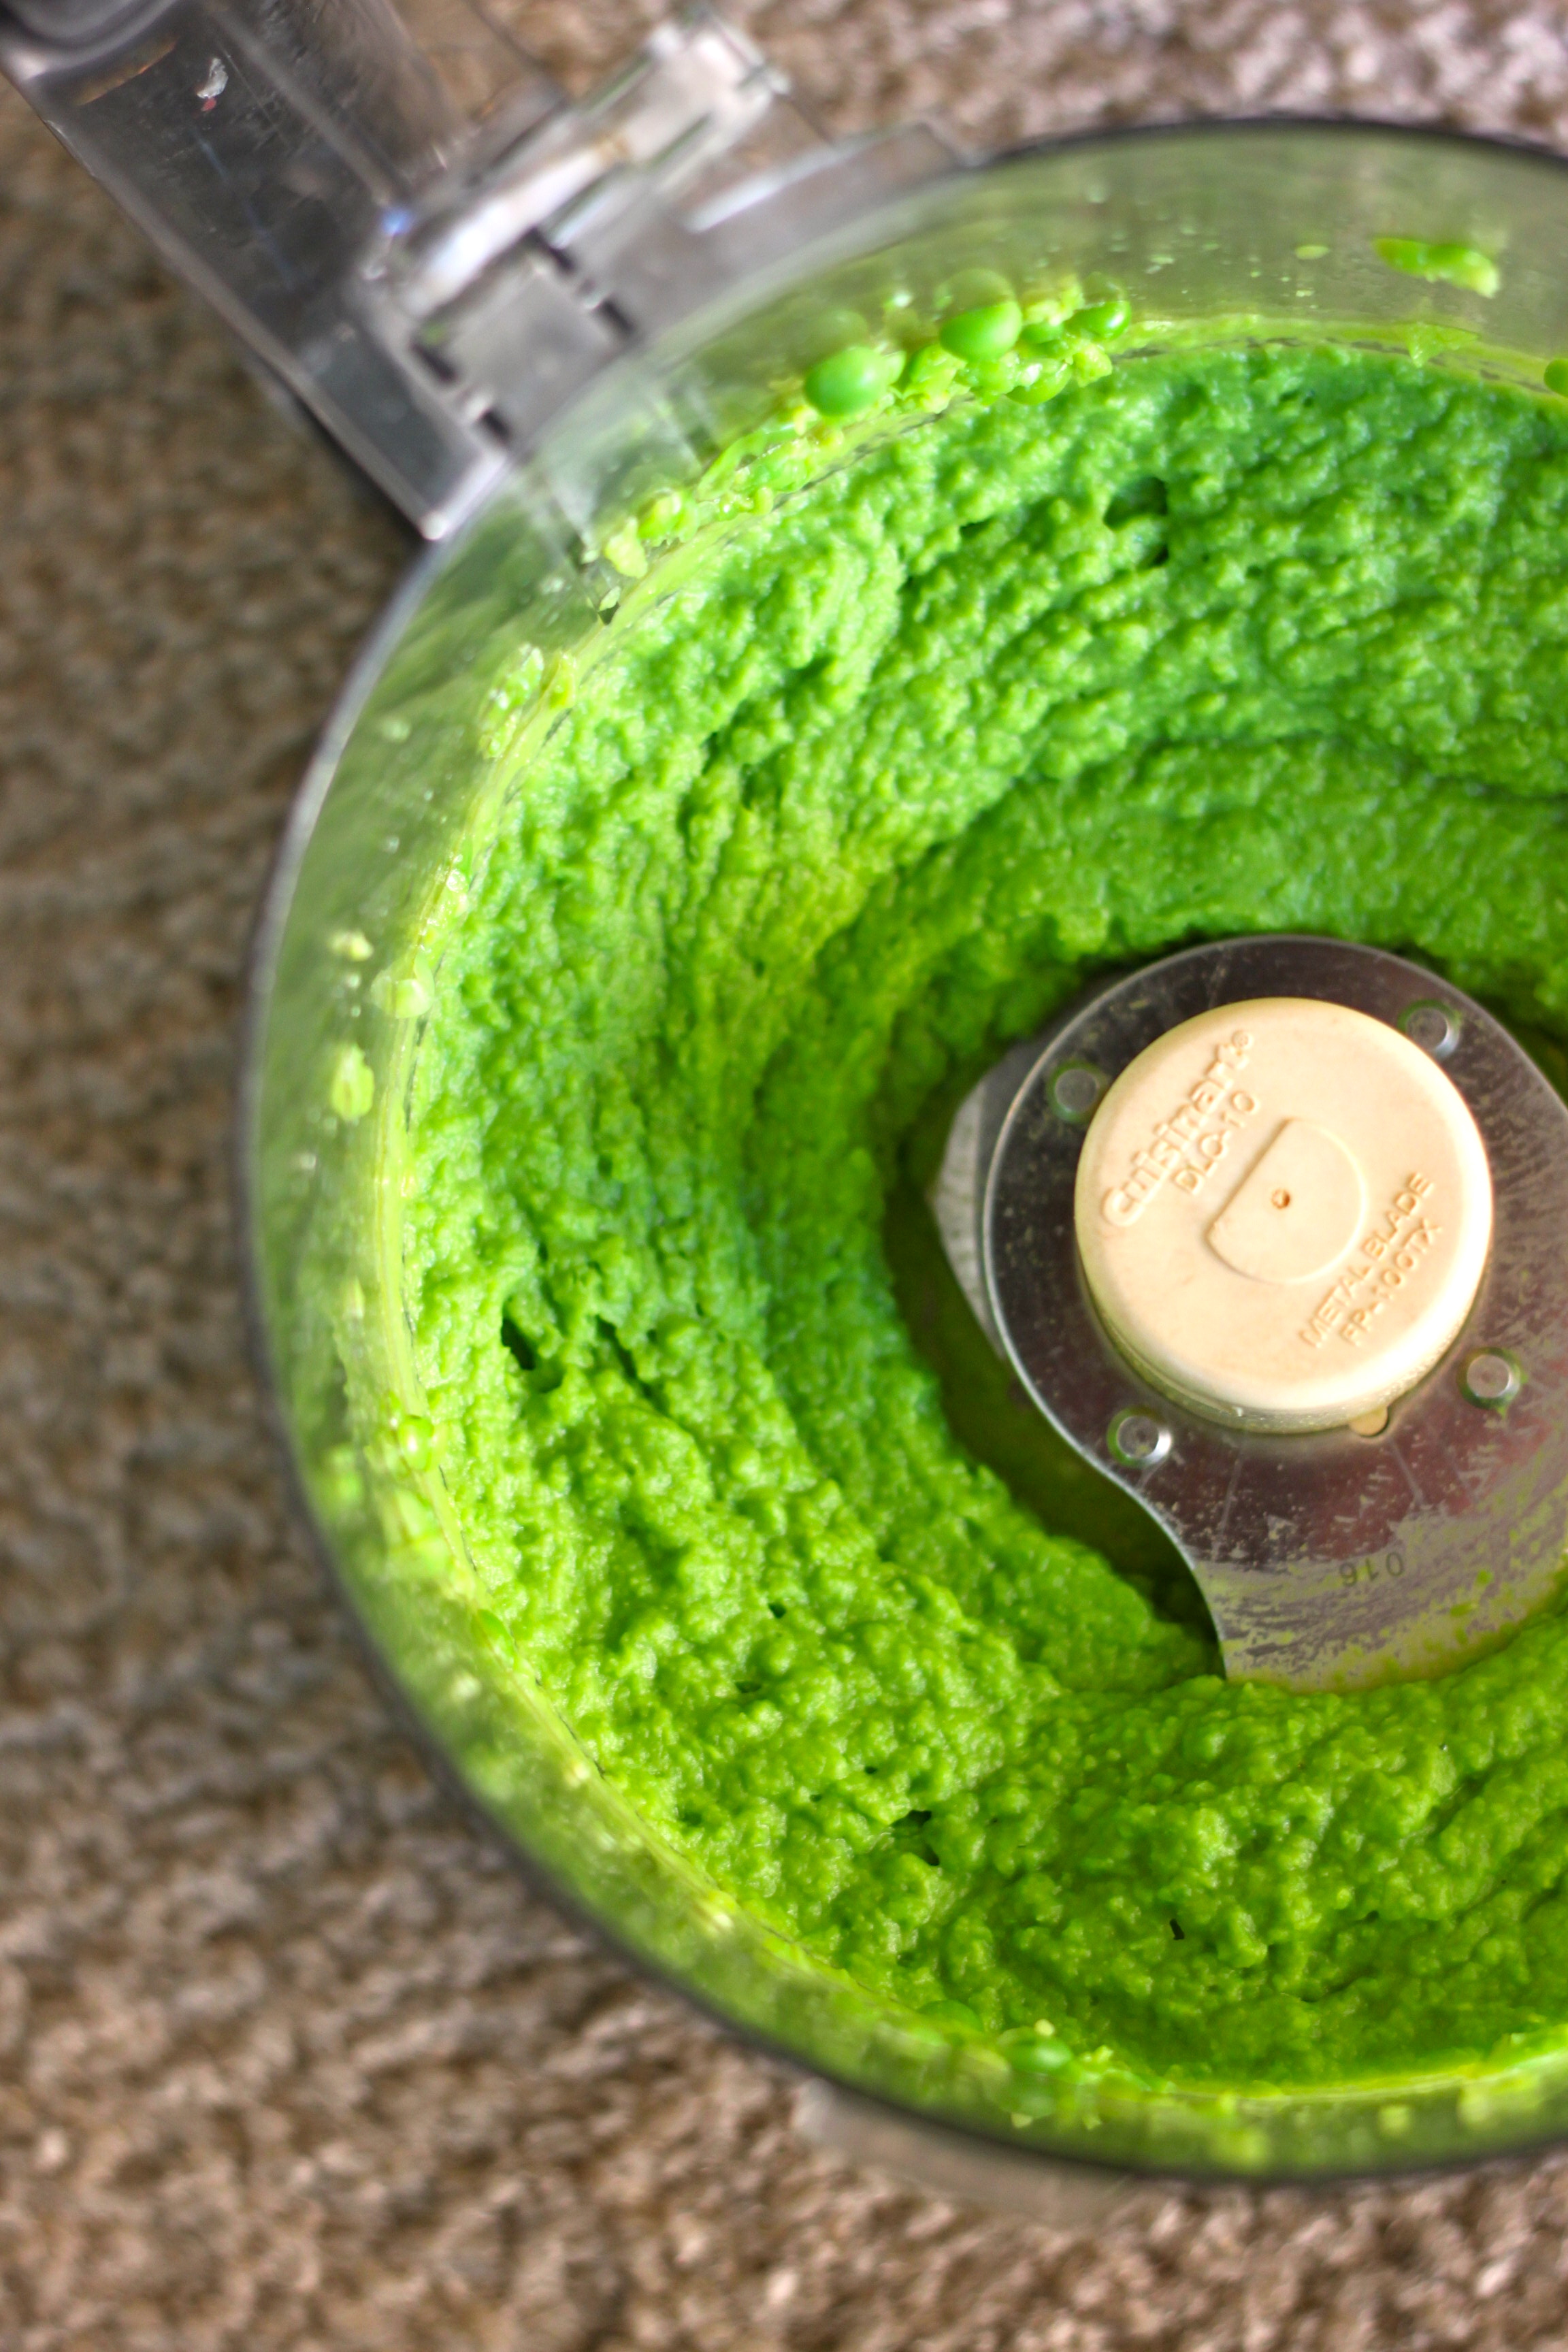
Fresh or frozen peas
Directions:
1. If using fresh peas, scrape out the peas from their pods and place in a steamer basket. Cook until tender.
2. If using frozen peas, boil until peas are tender. Then puree until creamy.


Ingredients:
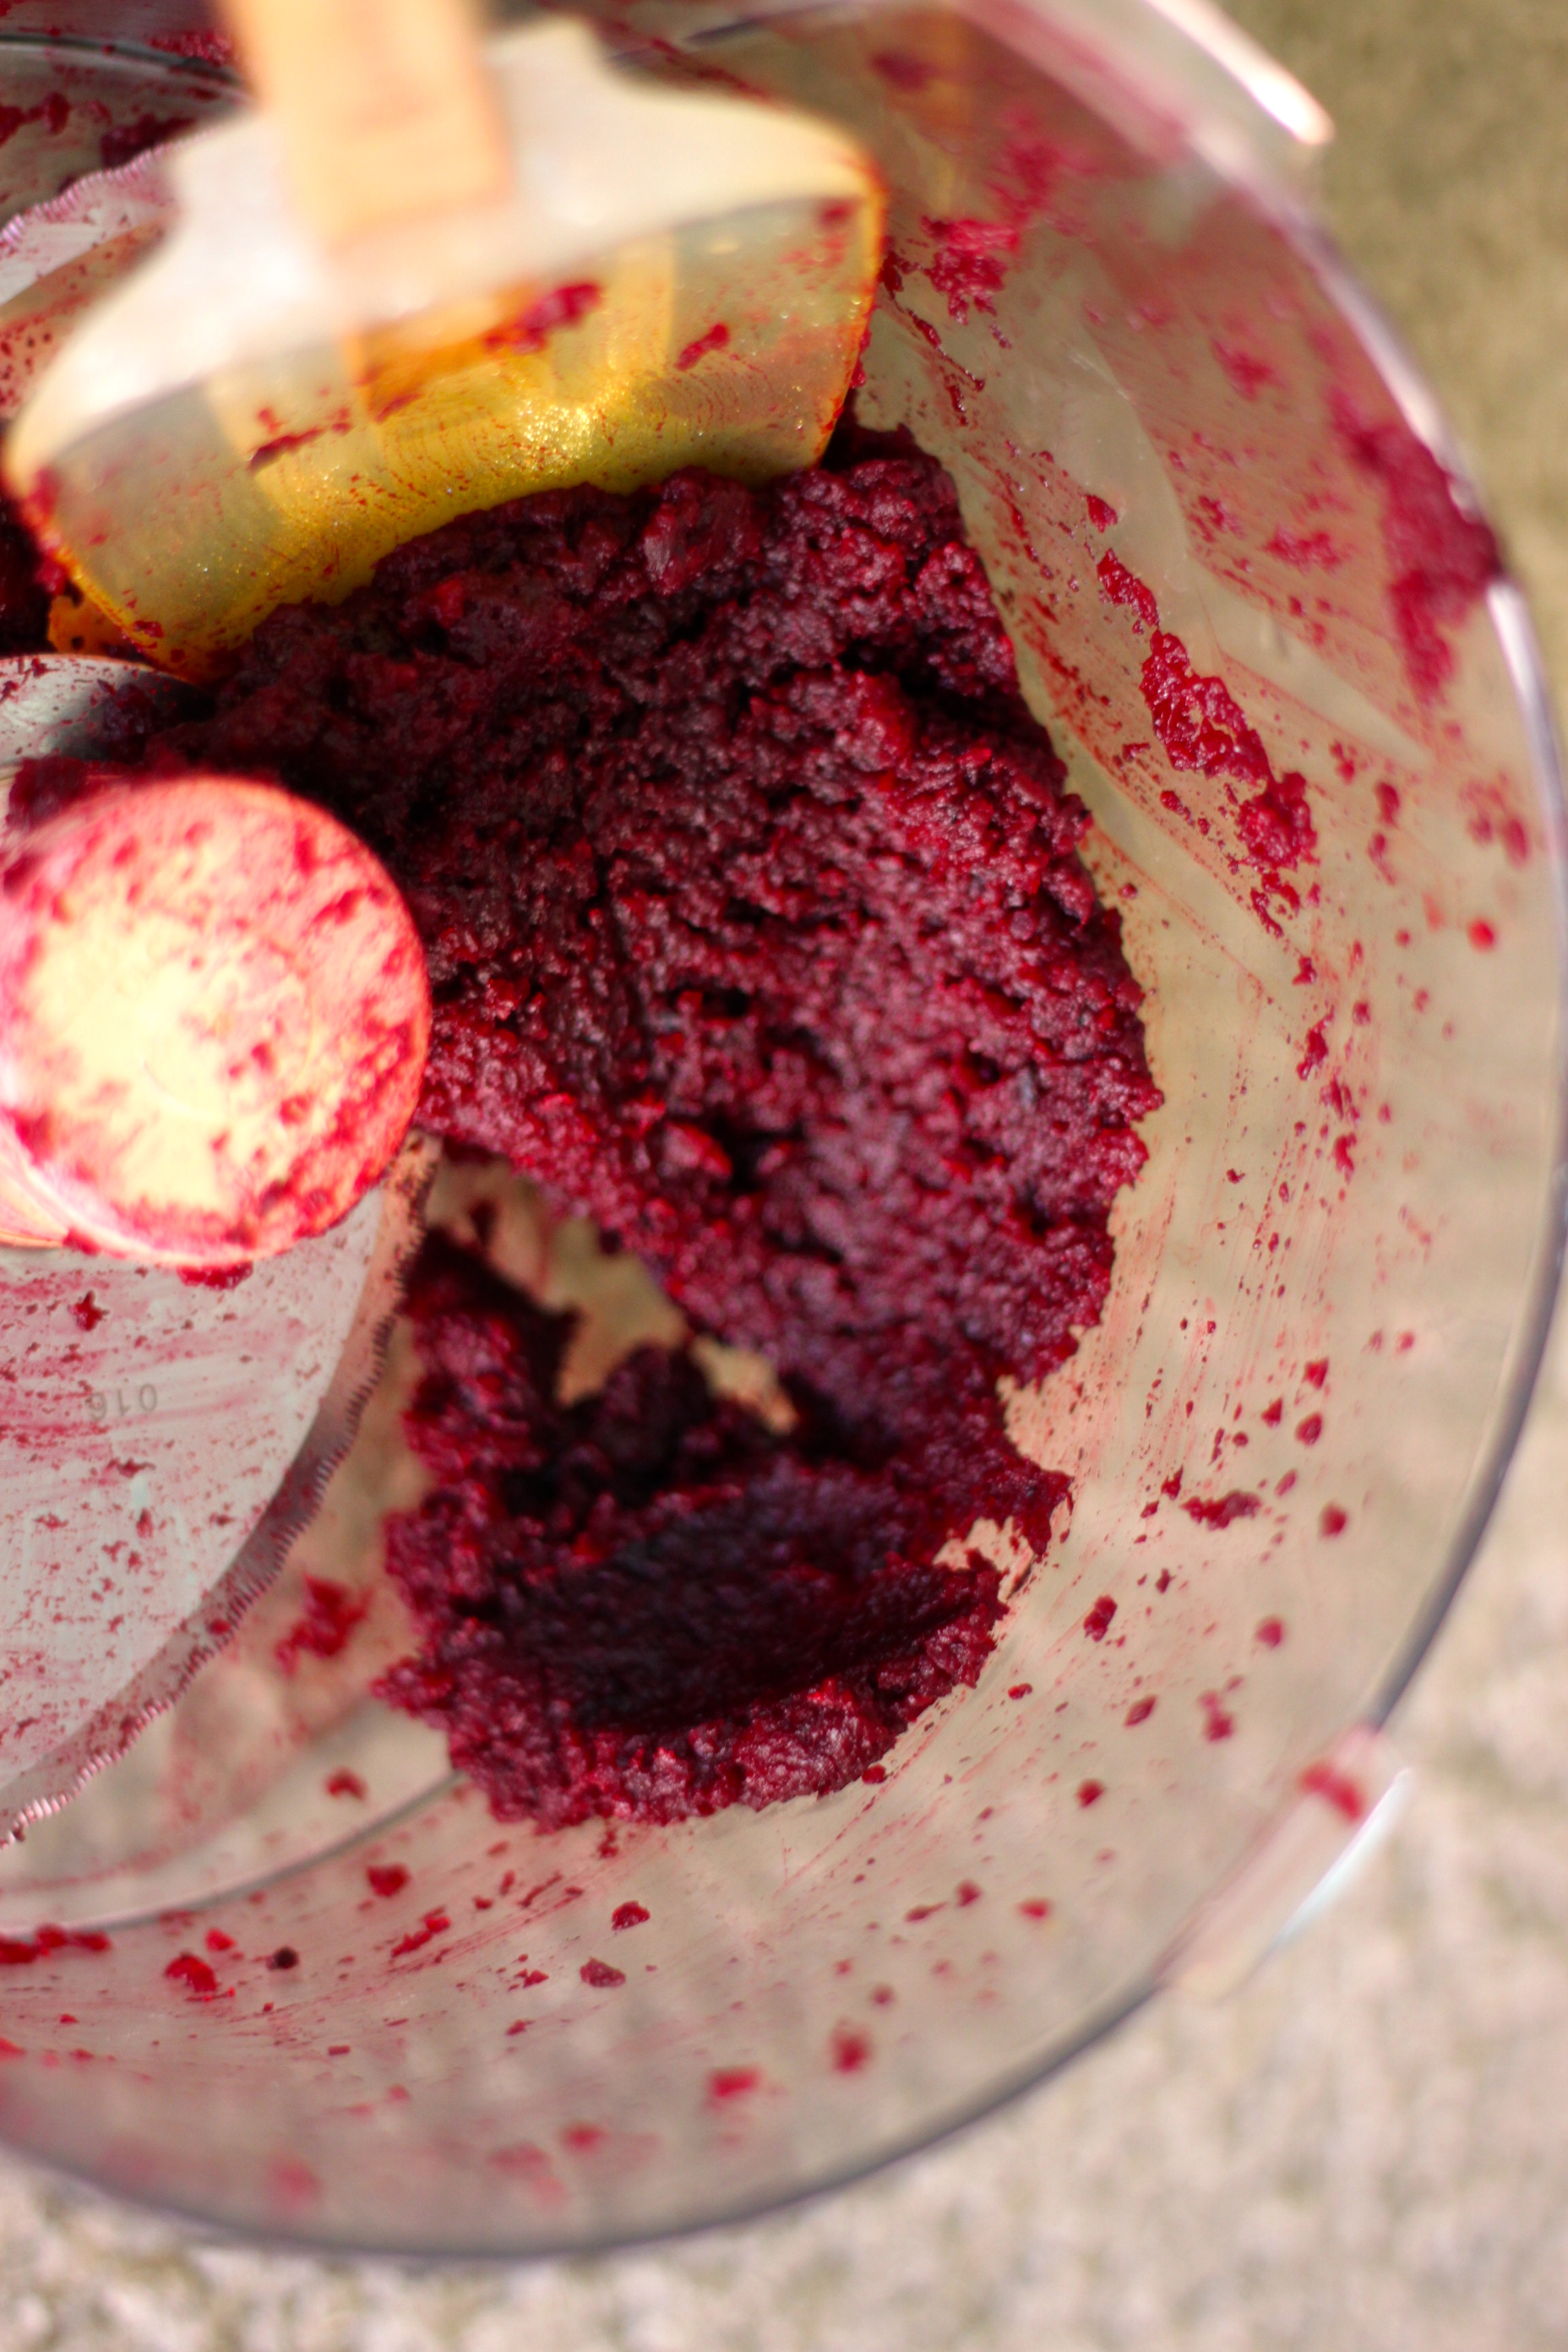
Beets
Directions:
1. Wash, peel, and cut beets. (Make sure to remove stems and leaves.) Place in steamer basket and steam until tender.
2. Puree until smooth, this may take a few times to get it the right consistency.


Ingredients:
Fresh spinach
Directions:
1. If spinach needs to be washed then do so. Place spinach in a pot or stovetop pan over medium heat with a tiny bit of water. Toss spinach until it becomes wilted, this will only take a few minutes.
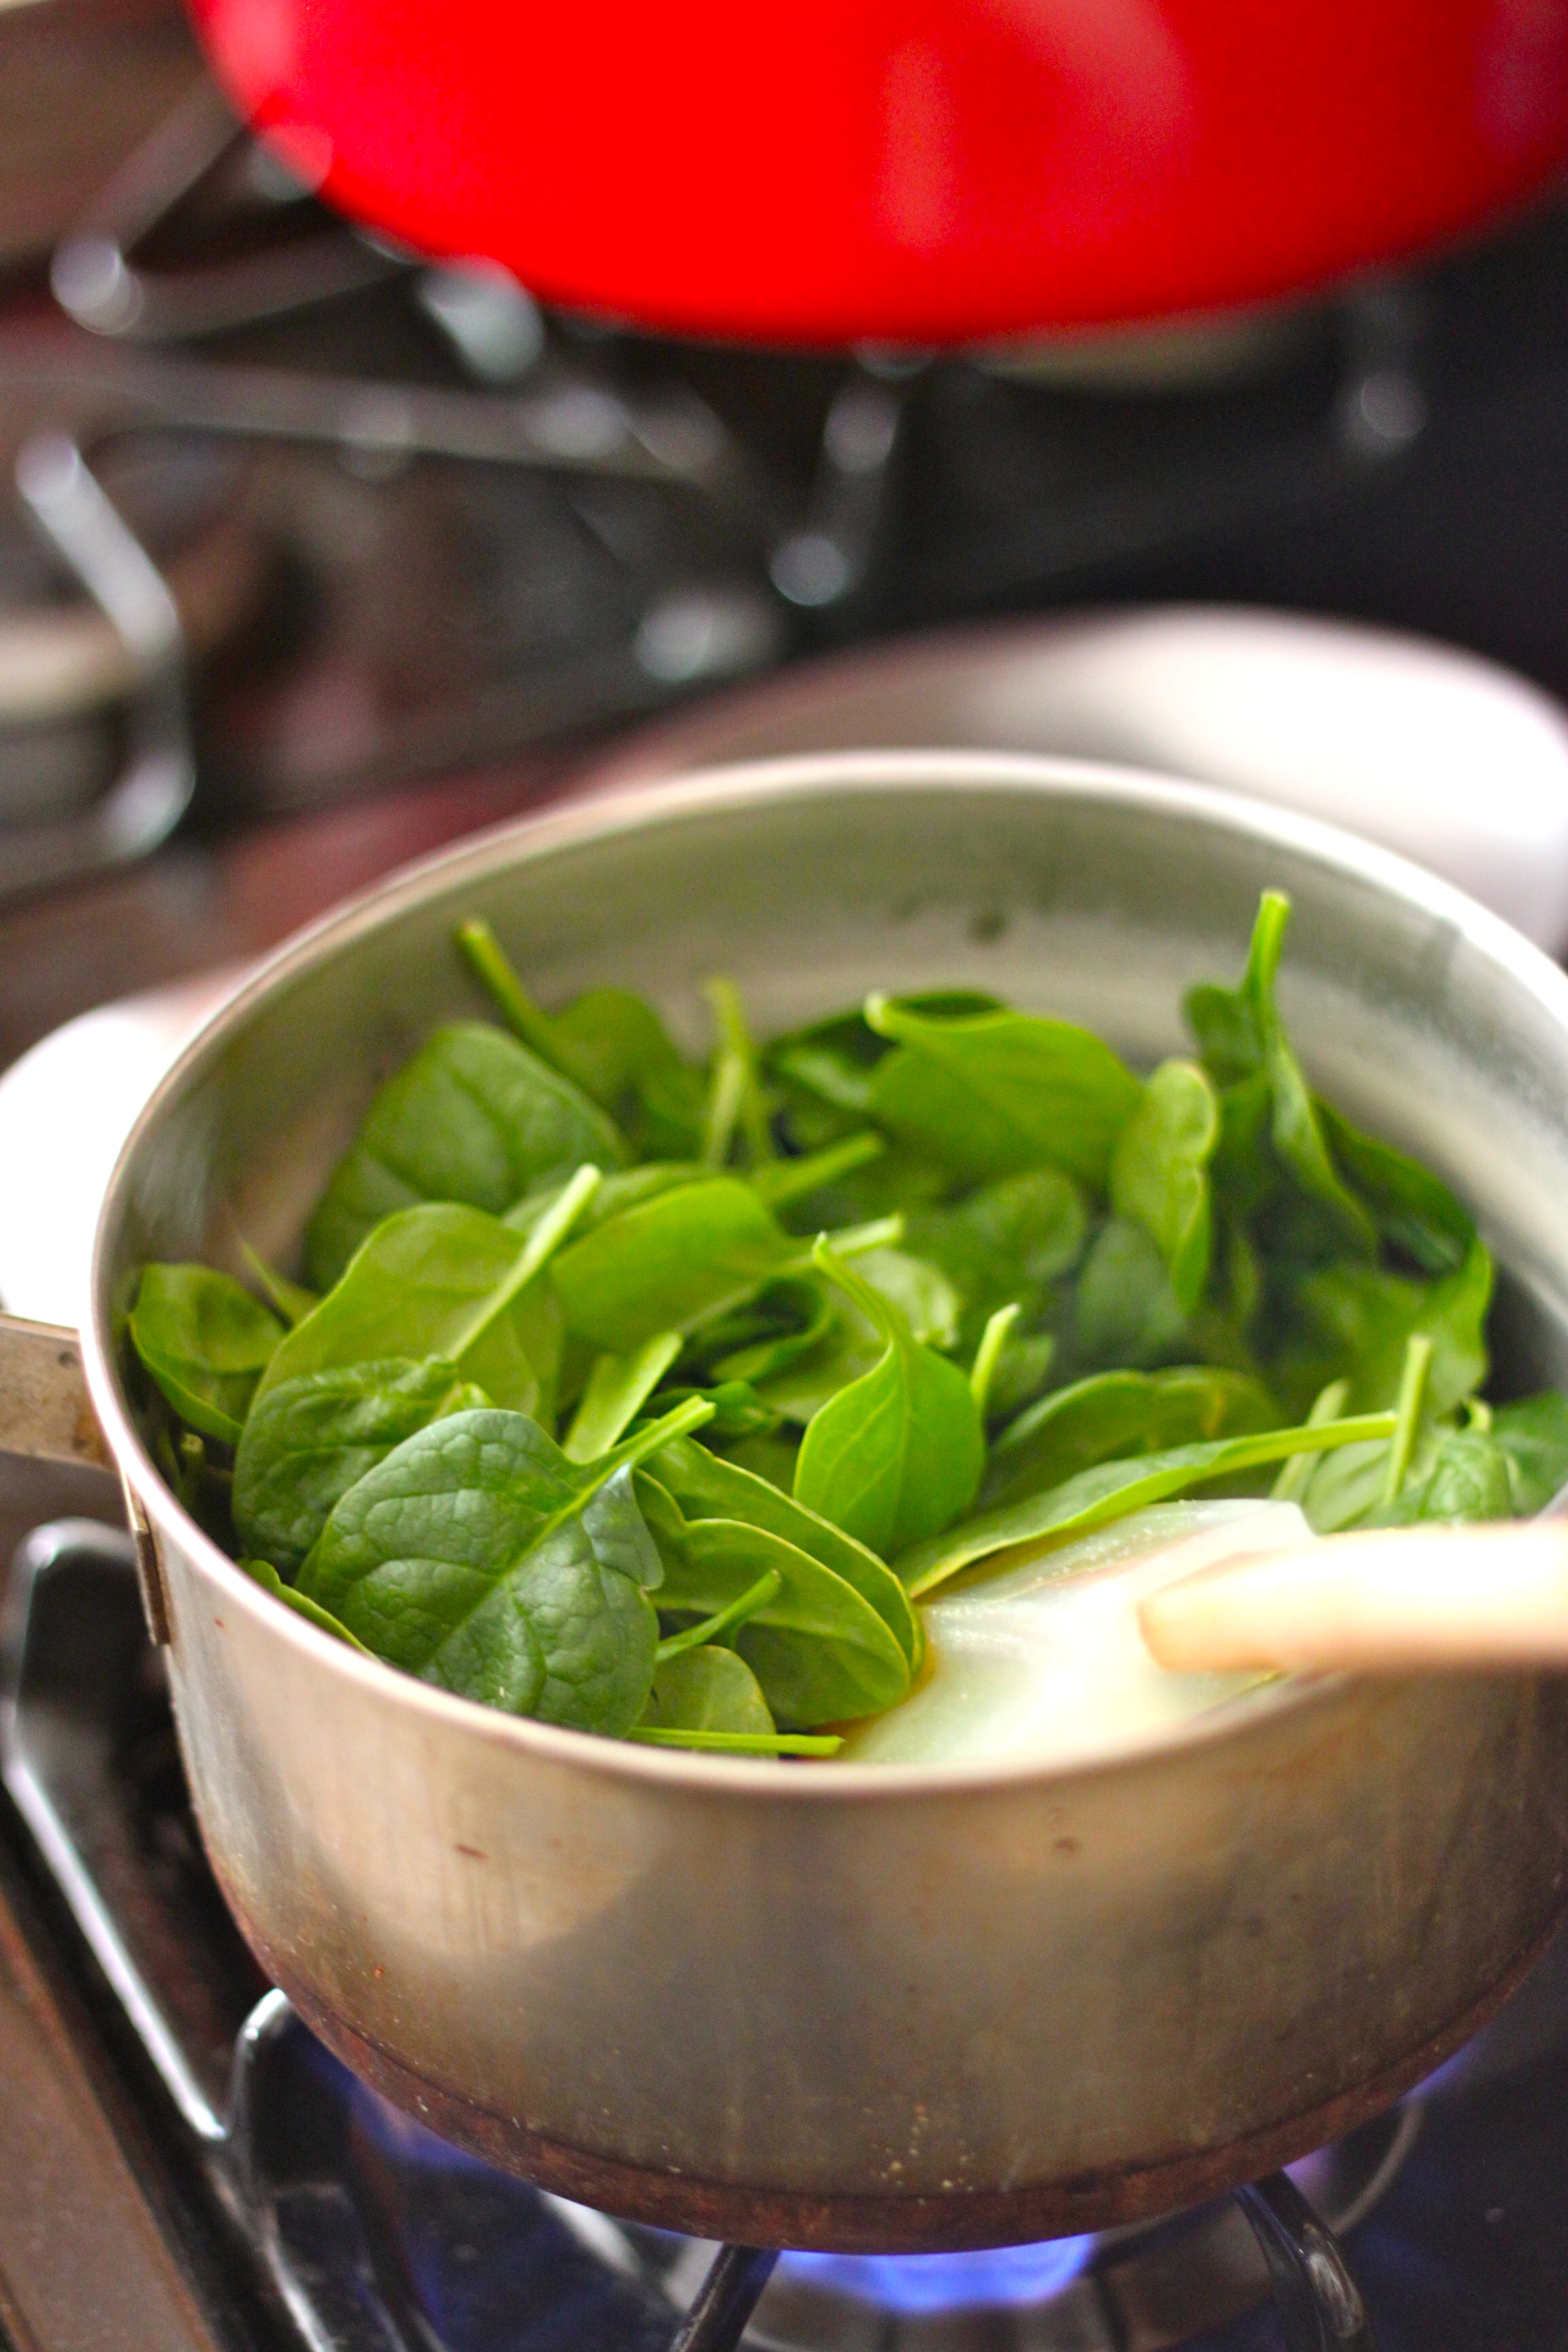

2. Place in blender and puree.
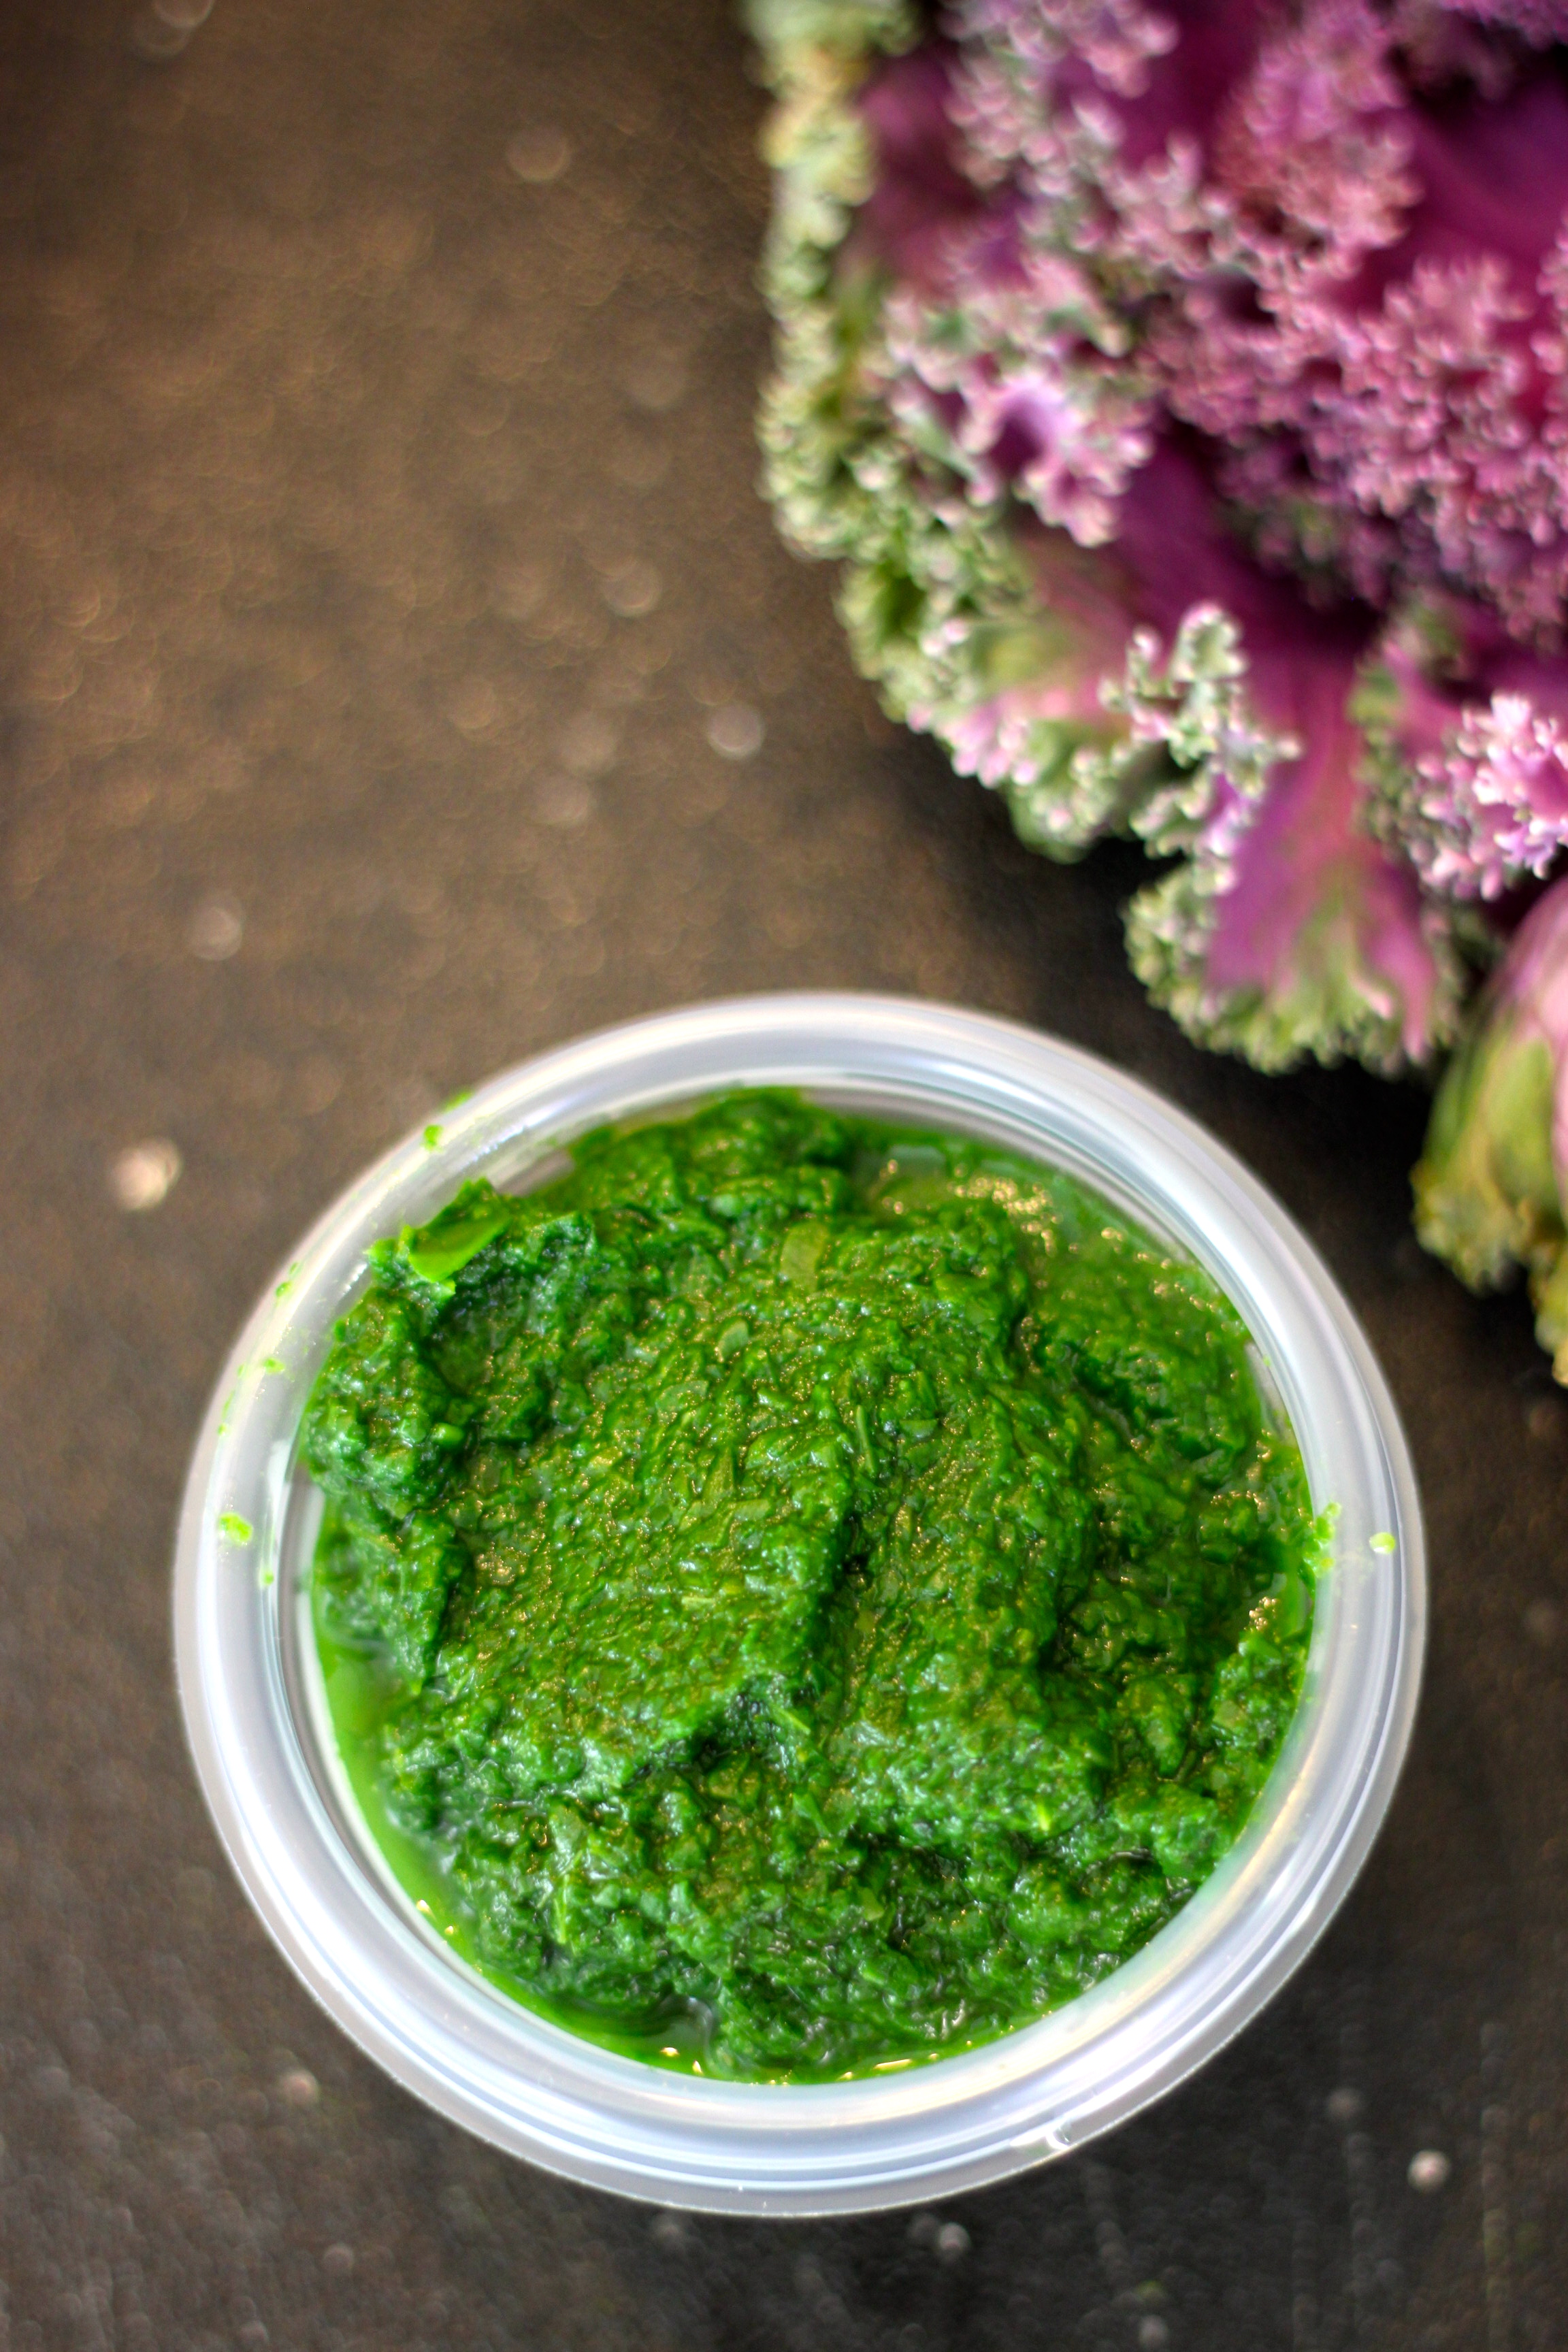

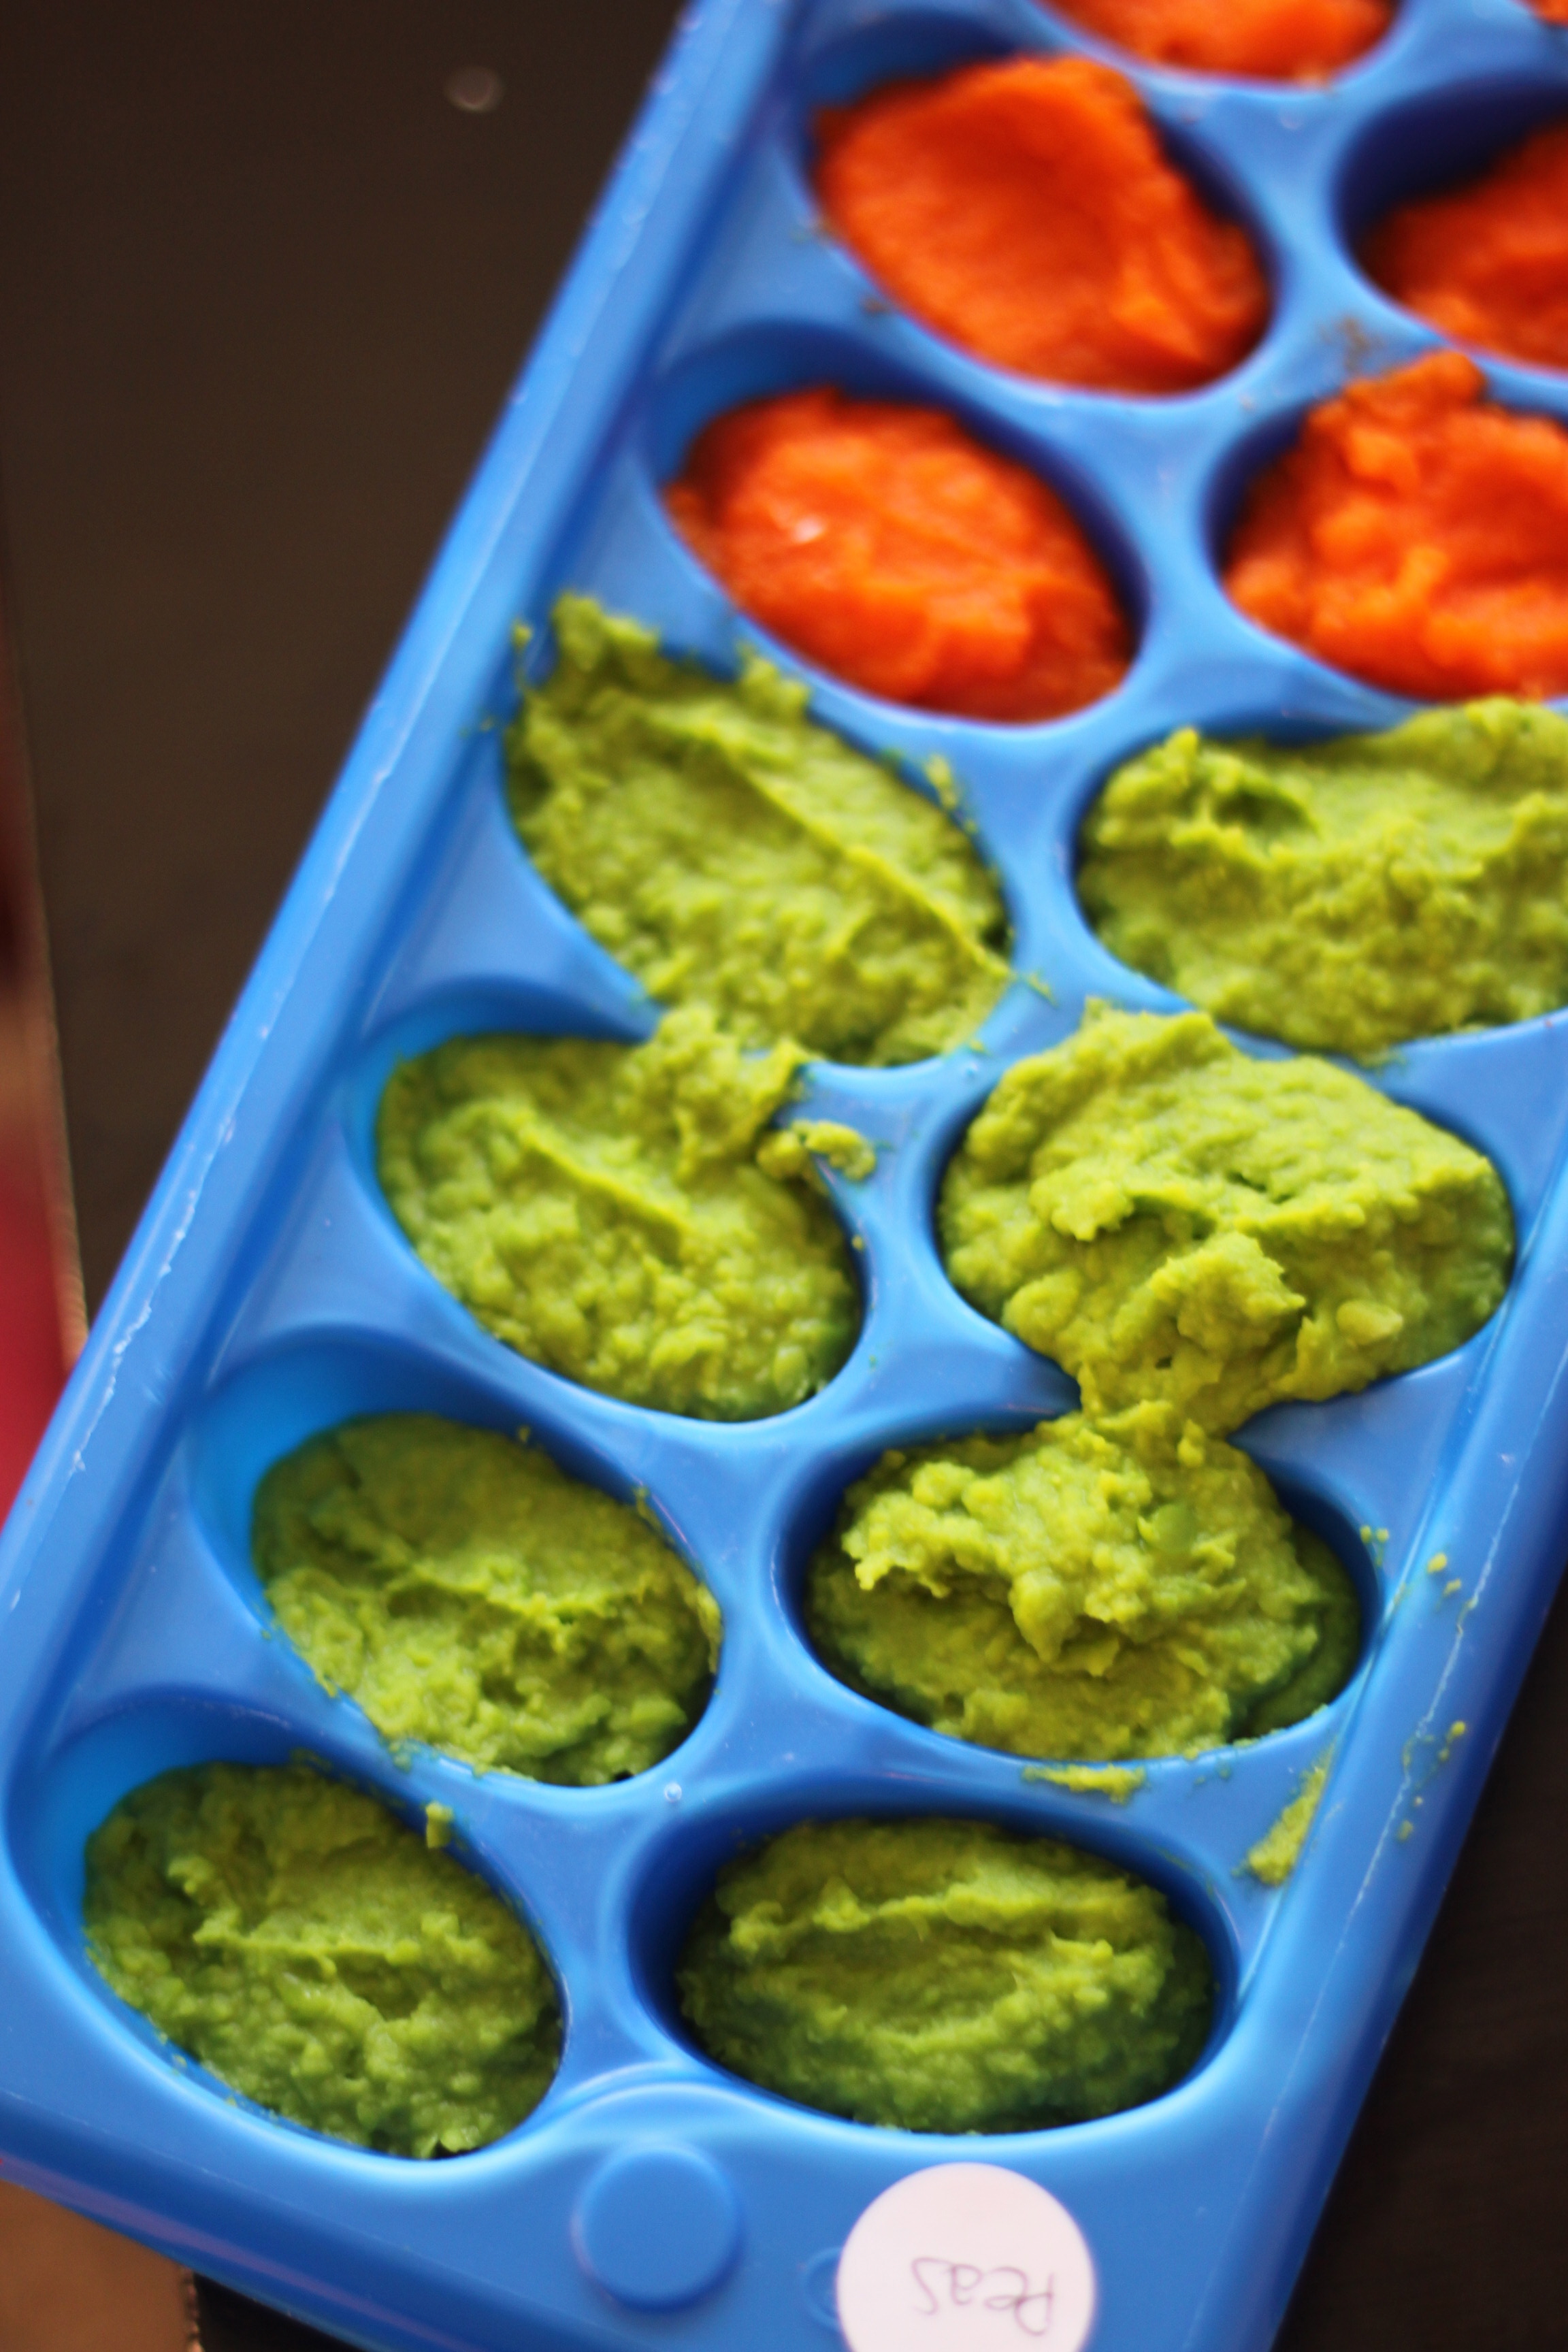
Whether you decide to use individual containers, I always set aside some of my purees in ice cube trays for a fast pop out and go option. With ice cube purees, you can throw them into warm soups, grains, smoothies, etc. Something fast and easy.
As for the individual containers, freeze what you aren't using and place the ones you are using in the fridge. When you are running low, take some containers from the freezer and plop them in the fridge and let them thaw.

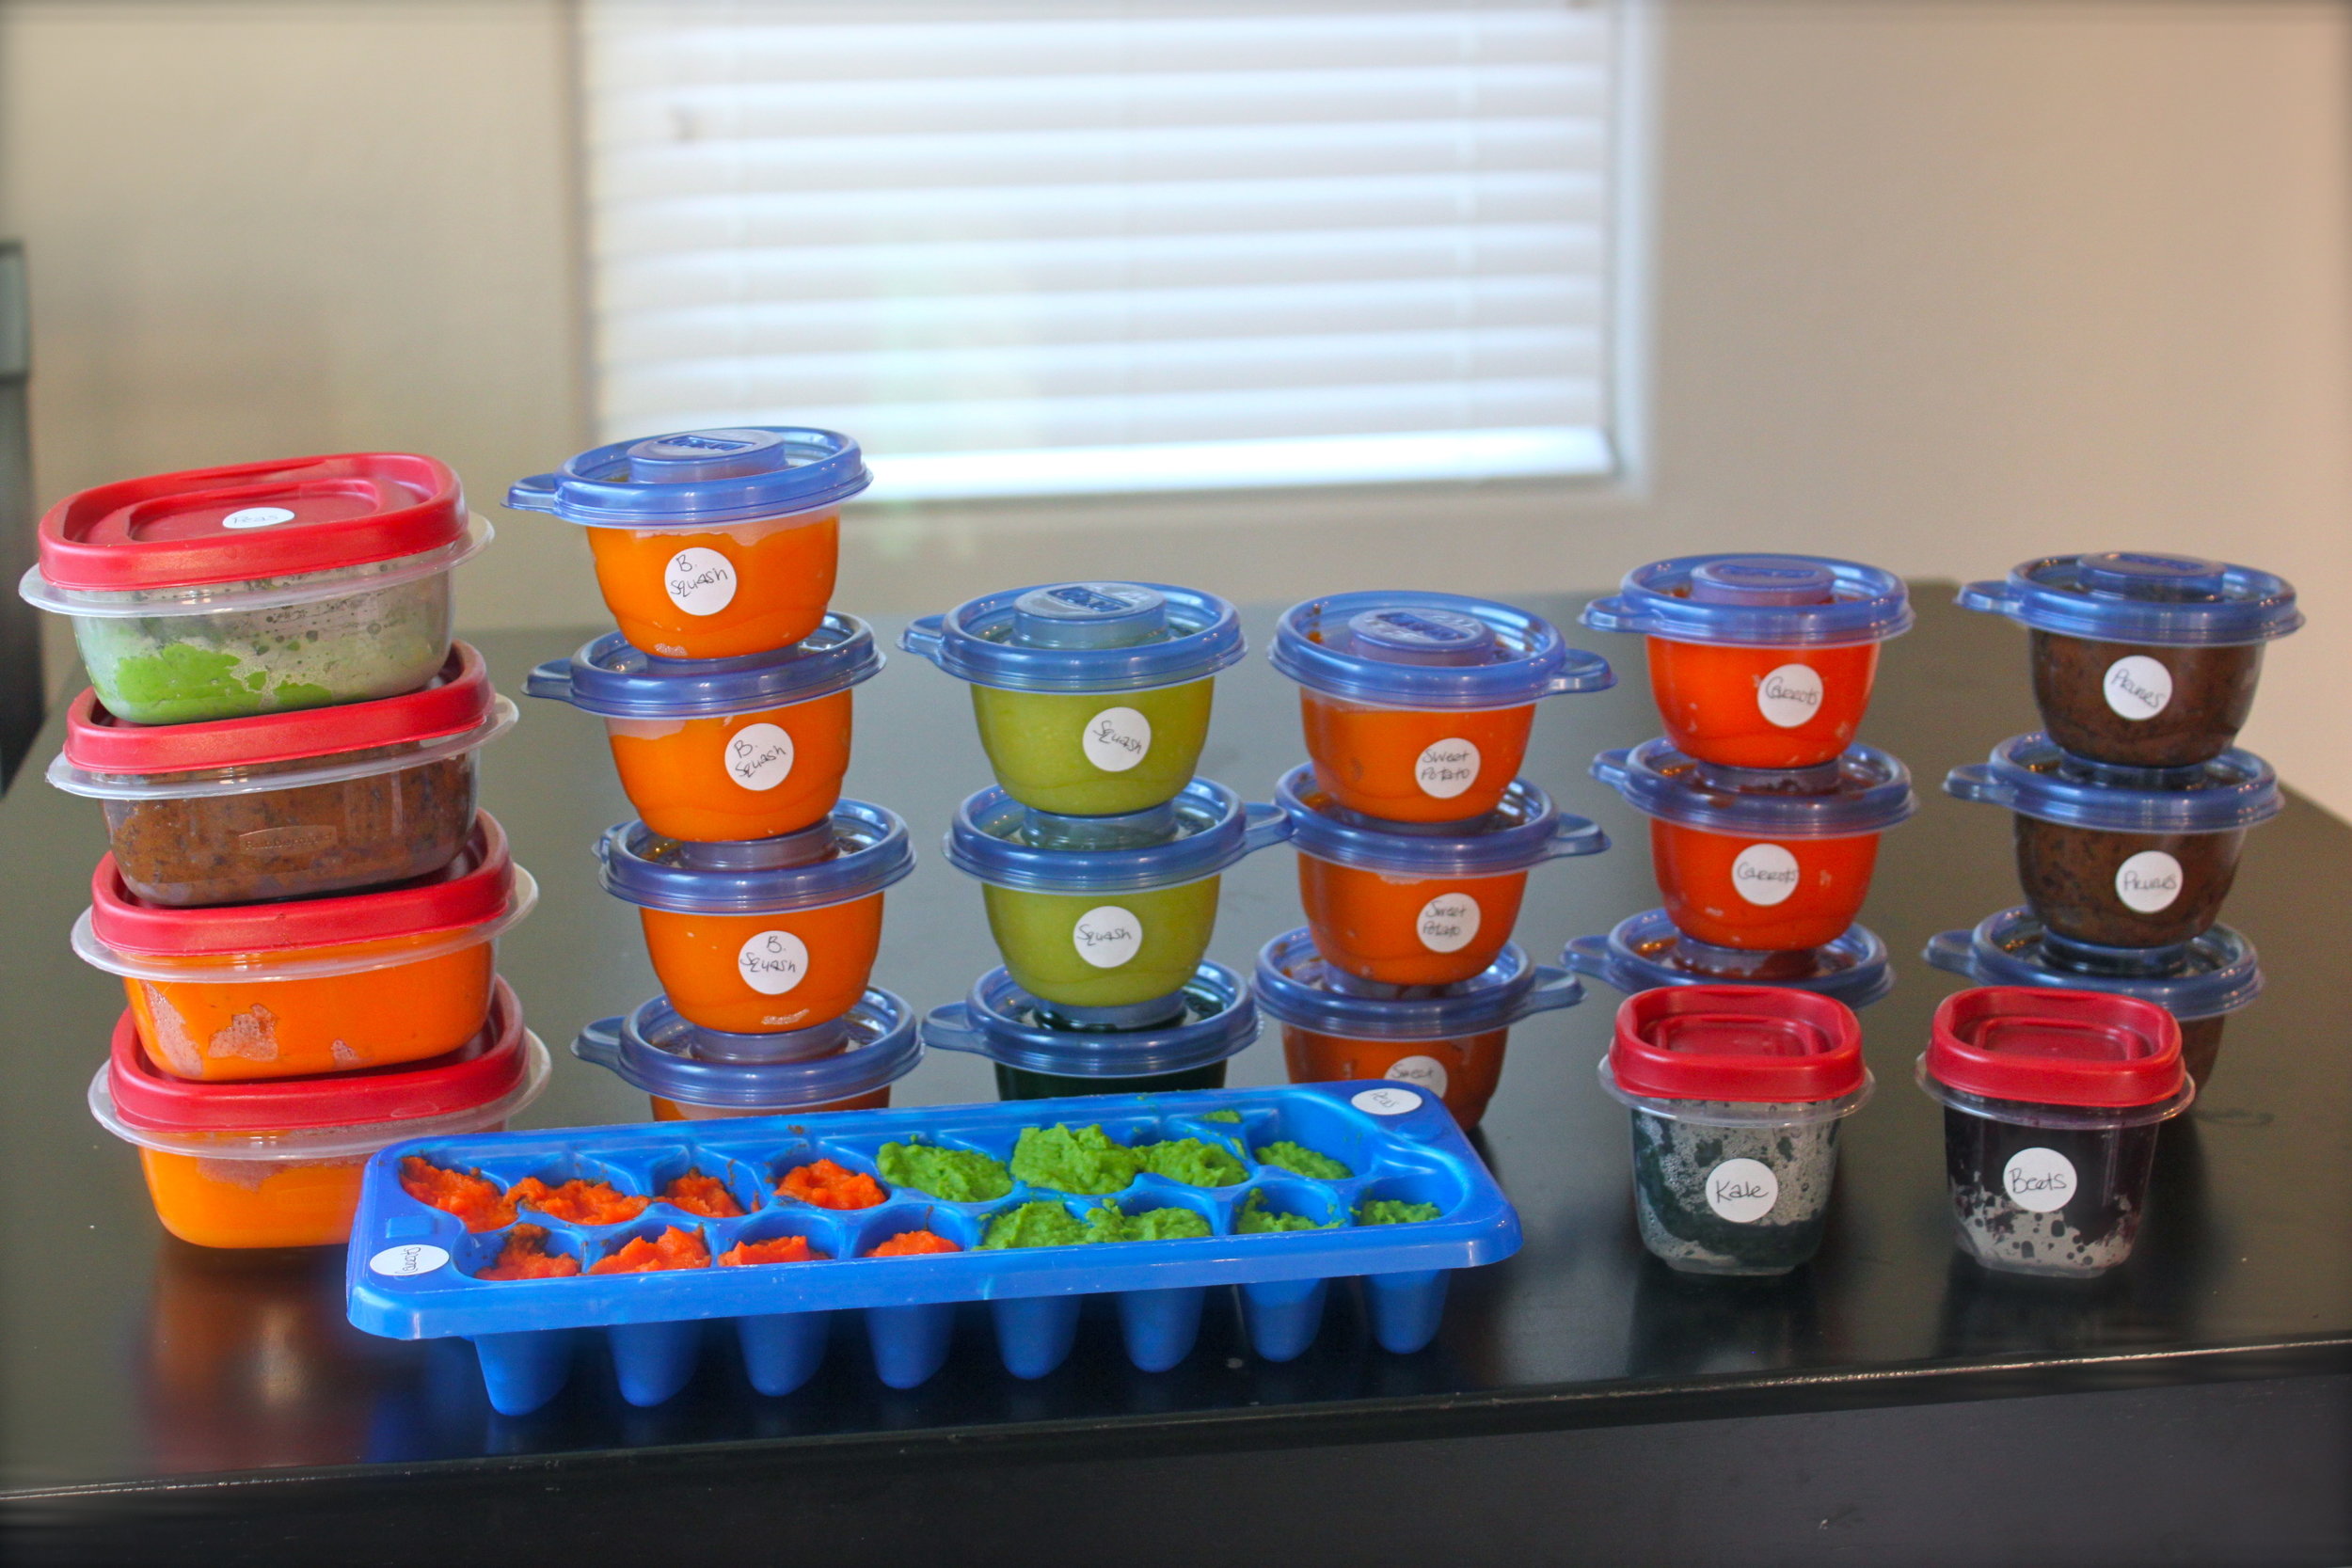
I brought home the following items:
2 large sweet potatoes
2 large packages prunes
1 large bag peas
1 large box spinach
1 large bag carrots
1 large butternut squash
2 large squash
3 large beets
TOTAL COST: under $20.00
20 dollars would buy about 20-25 cans worth of baby food.
If you child eats 1-2 cans a day then you could end up spending $20-$50 on canned baby food per month. (Sweet Pea tends to be a little piggy and has eaten 4 can's a day. So for us, it sometimes is more!)
I made about 2 months of baby food for $20.
SO..I saved money! (Trust me friends this doesn't happen often...)
I cut my cost in half...at least!
I'm telling you friends...Initially making the food is a lot of work and takes time. Oh...and your house will be a complete mess.
But after it's done, the worry is over and you saved some money! And when the food runs out, your baby won't be eating strictly pureed foods so you won't have to do it ALL over again. :)
Hope this was helpful, and if you have any questions, please let me know!! :)
Happy pureeing!