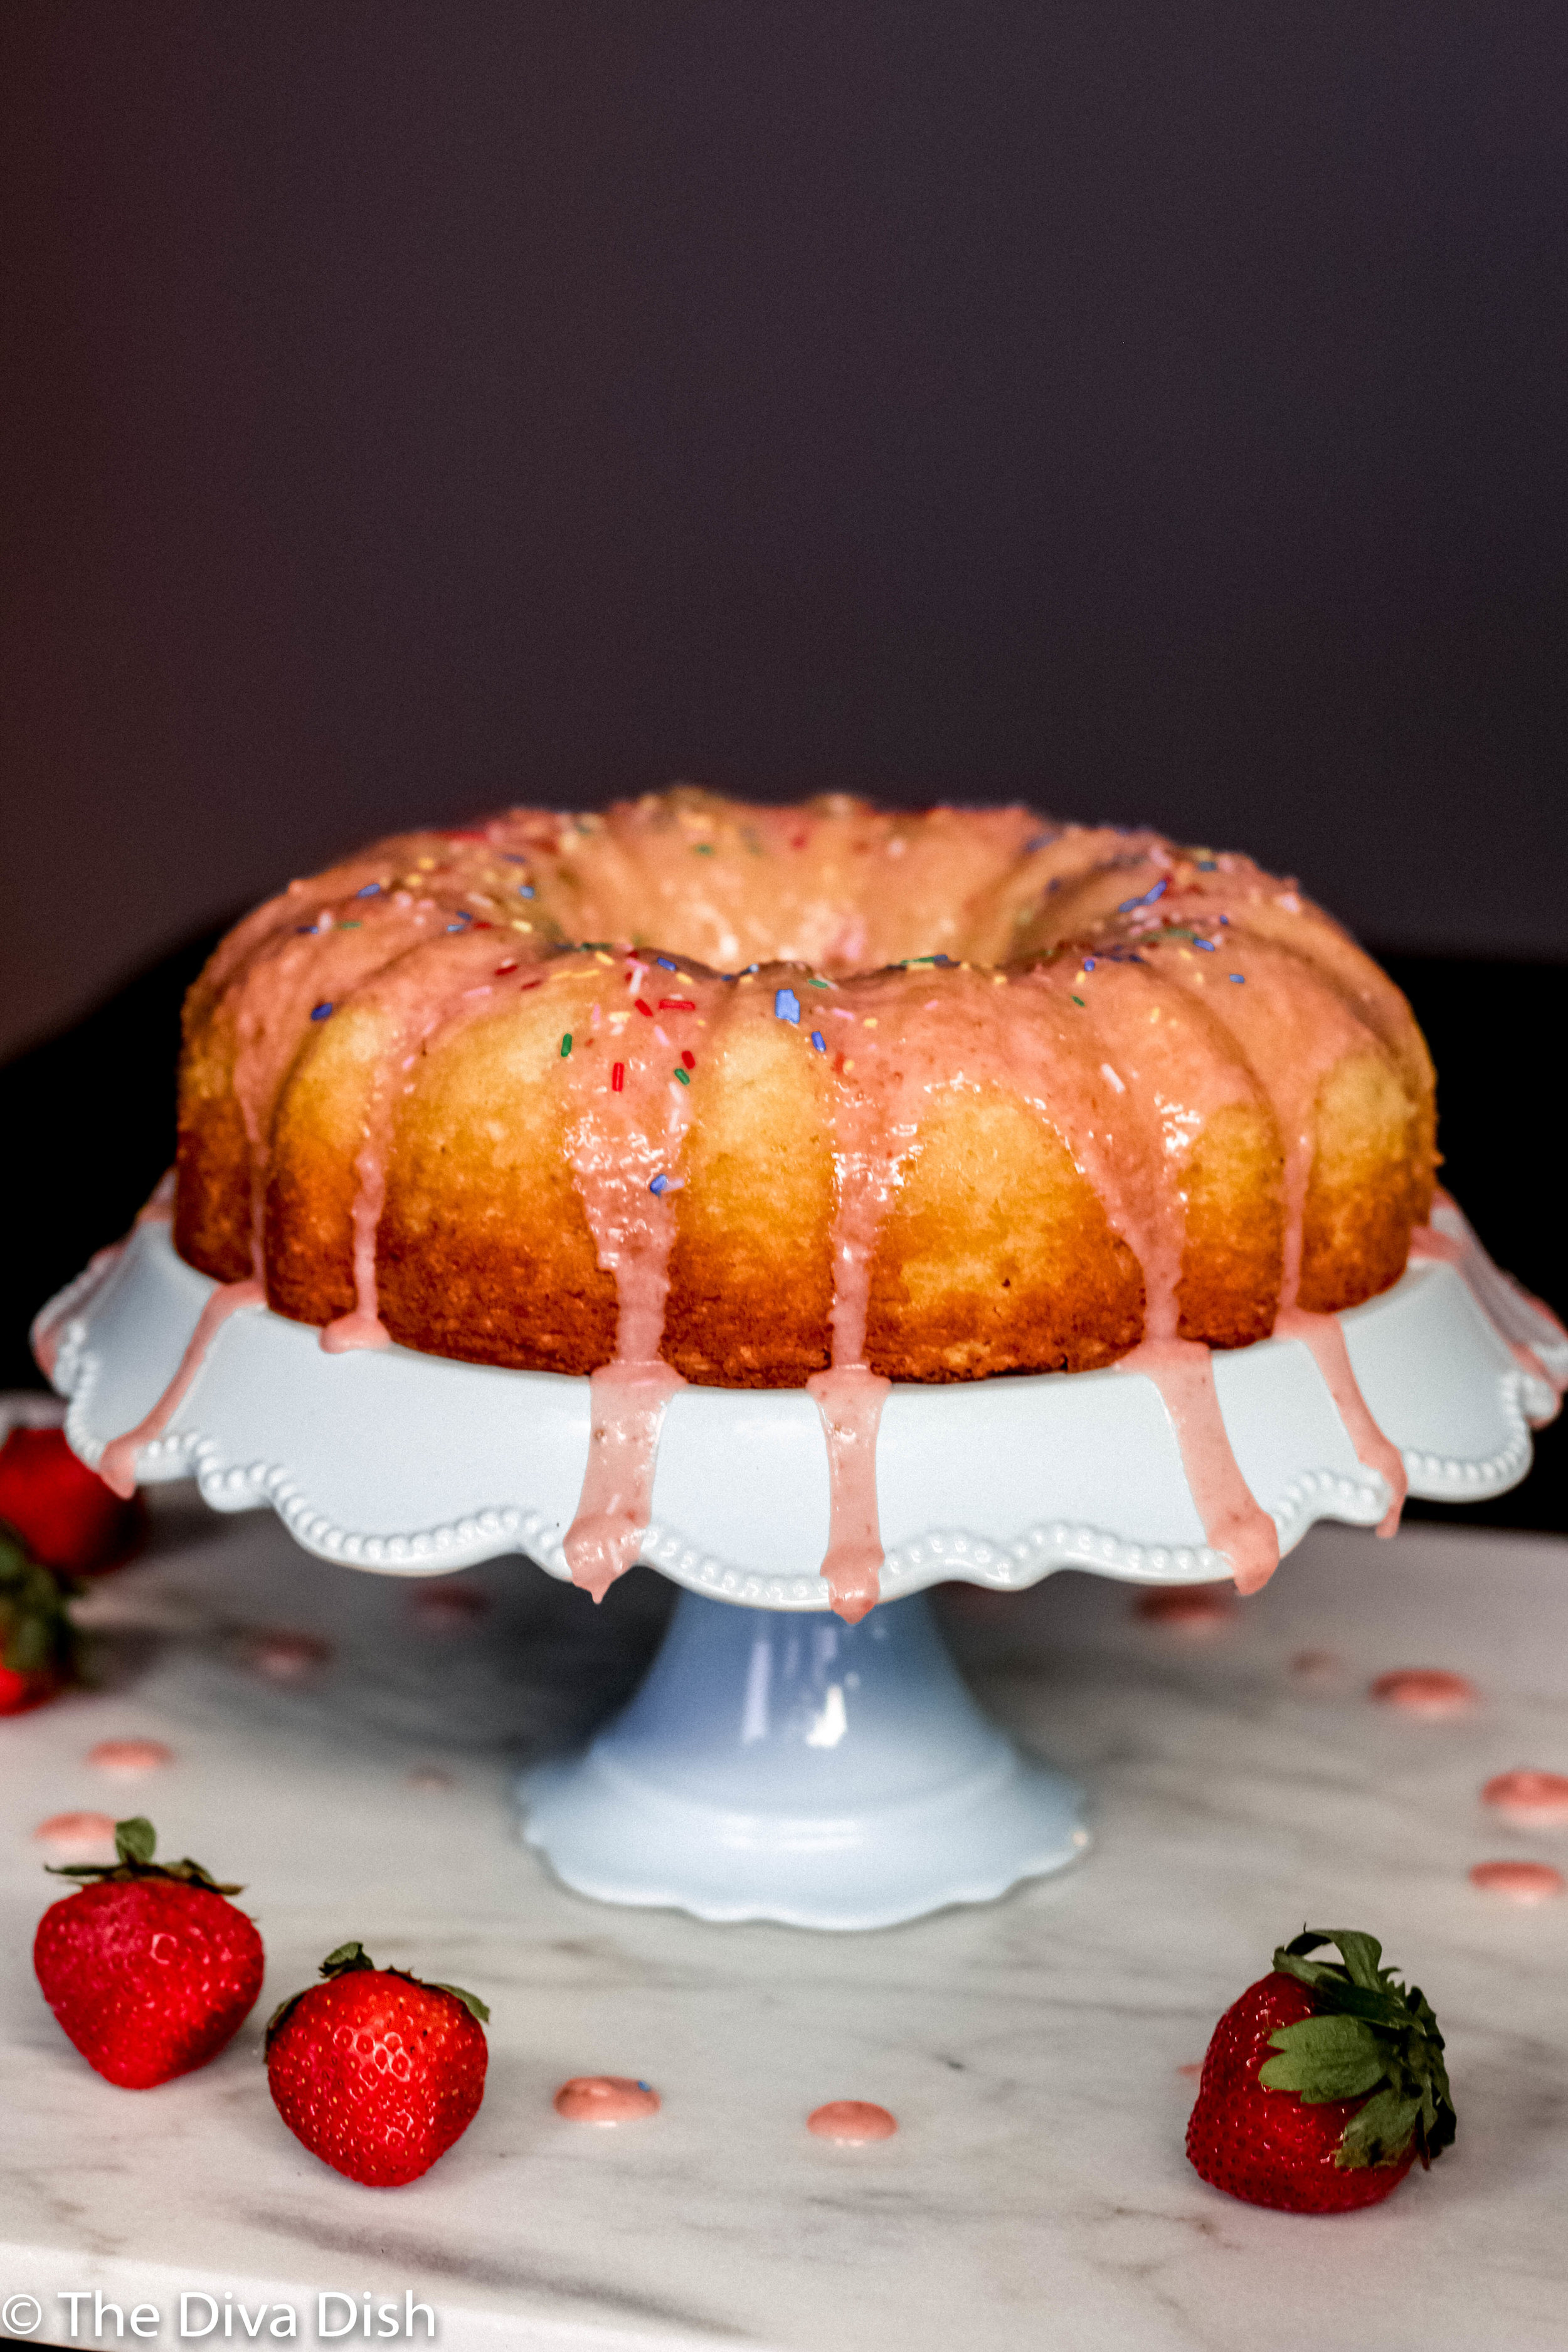
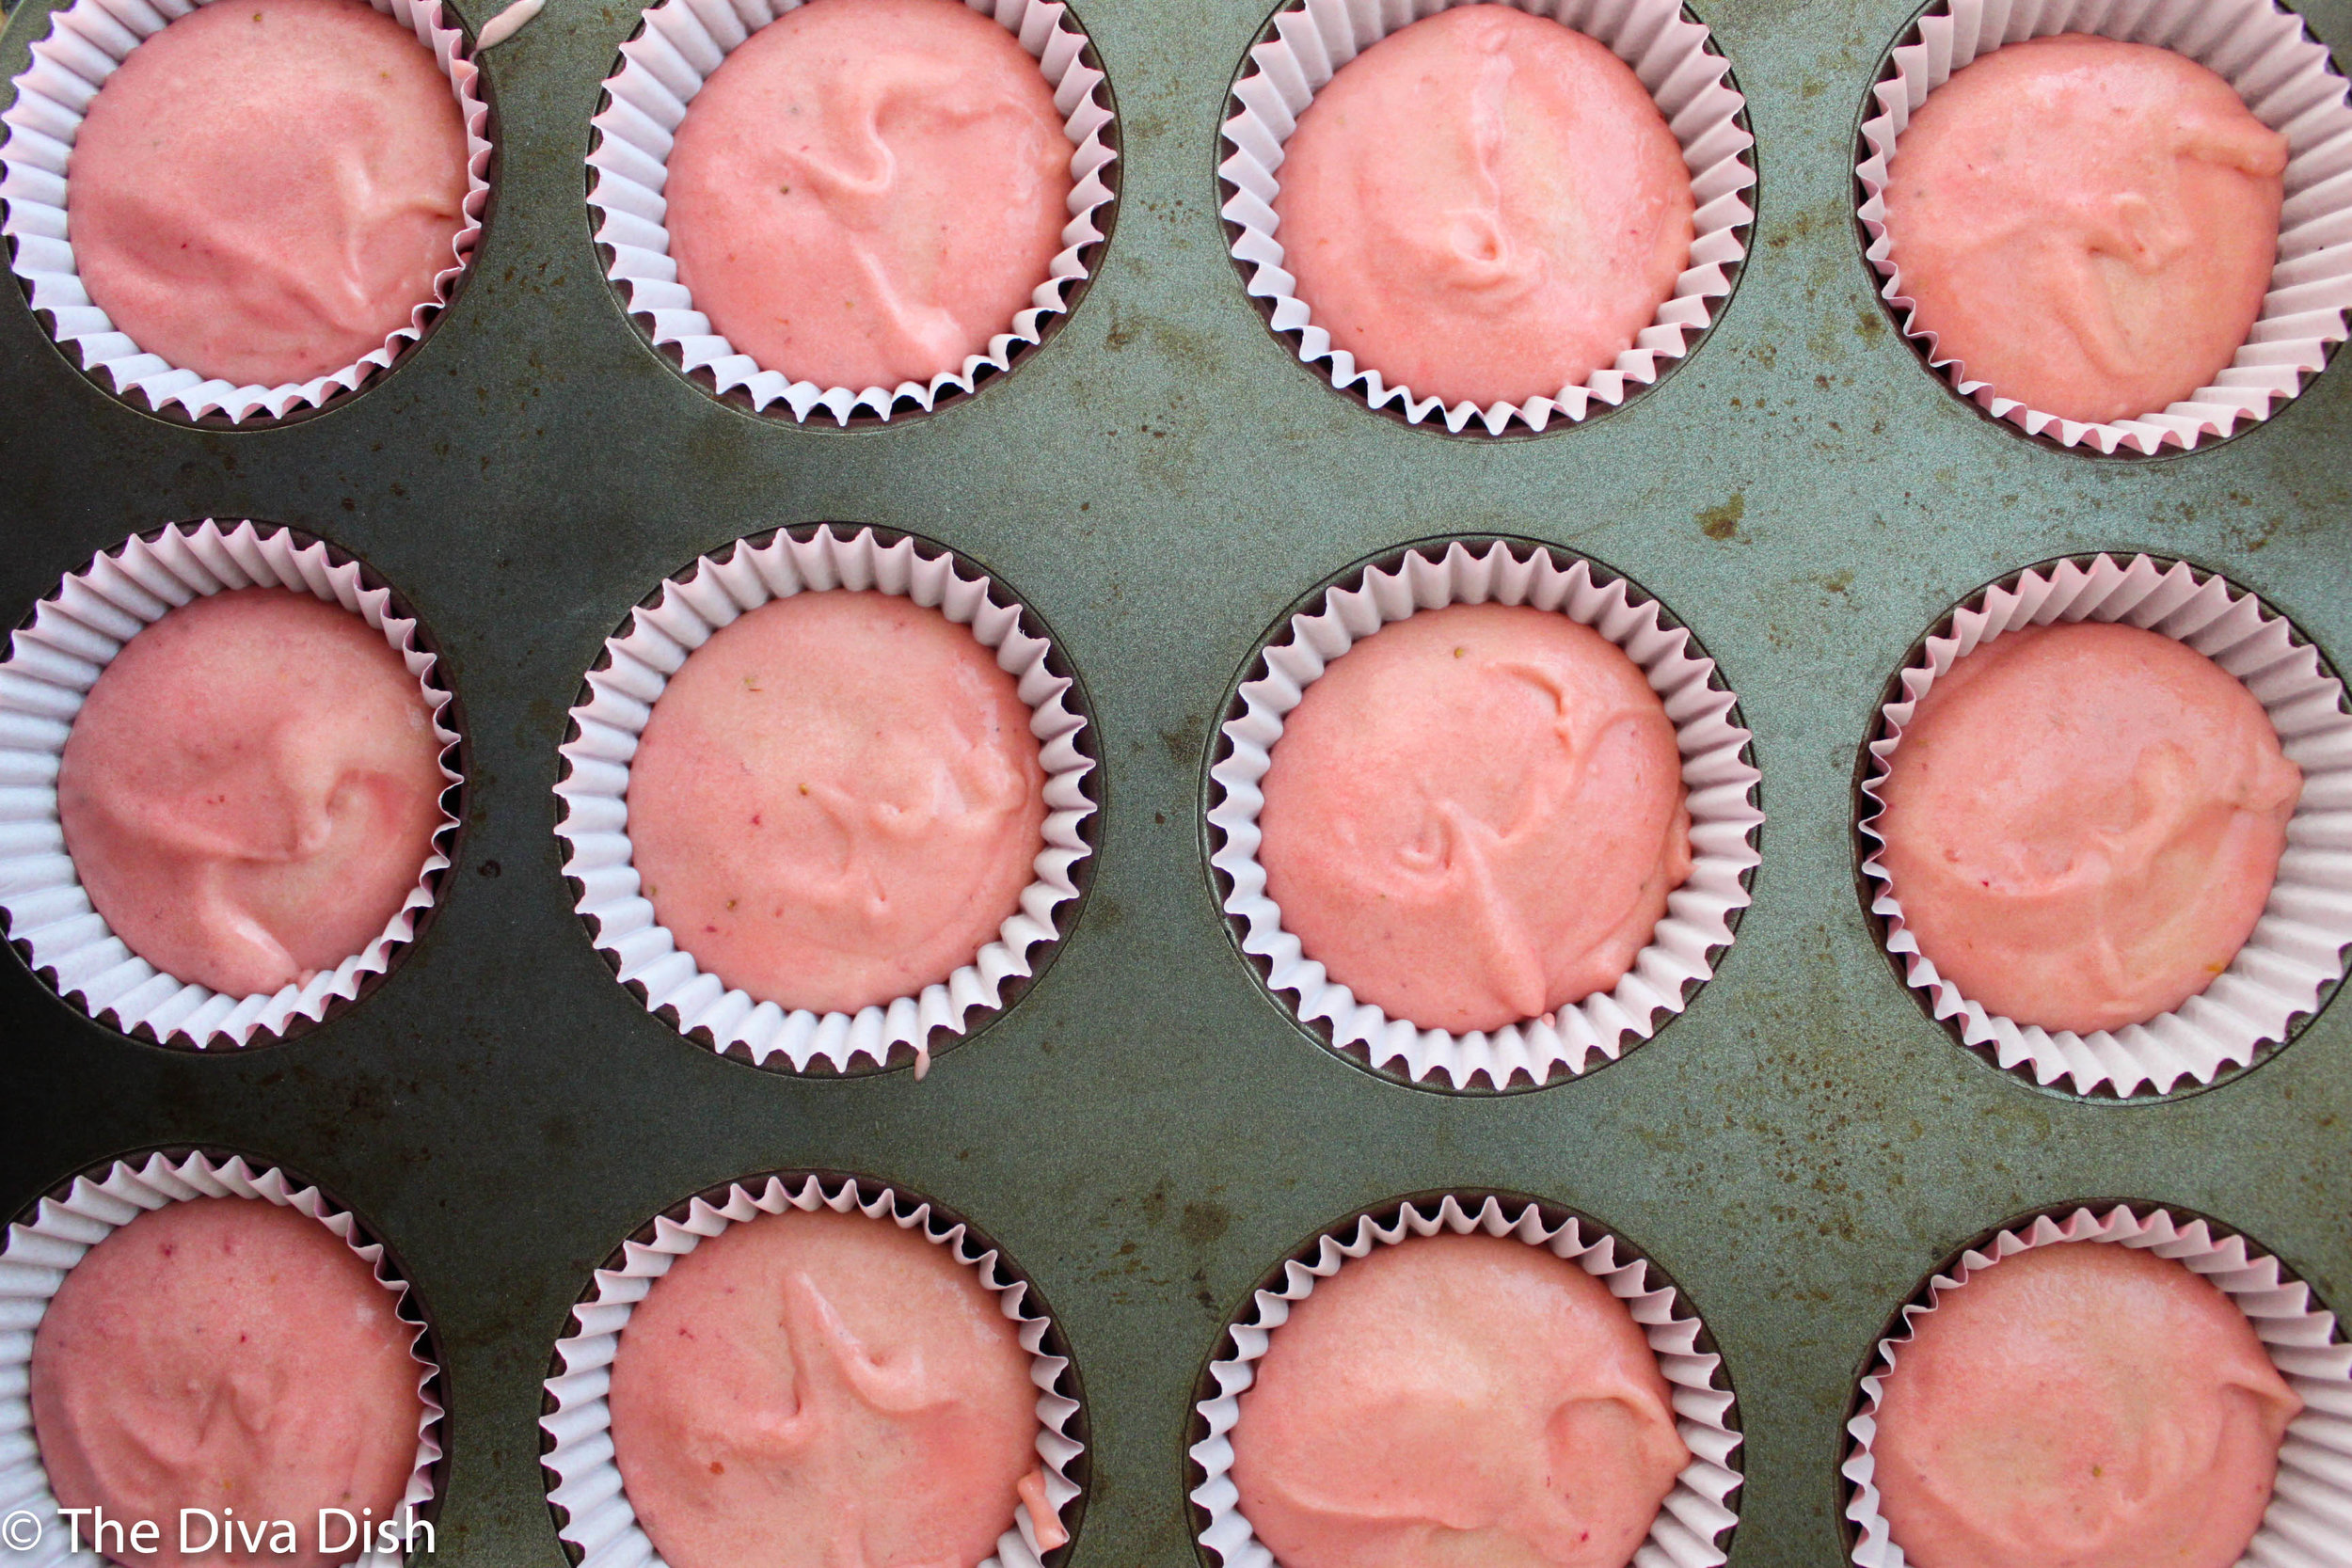
Fresh Strawberry Buttermilk Bundt Cake with Strawberry Glaze

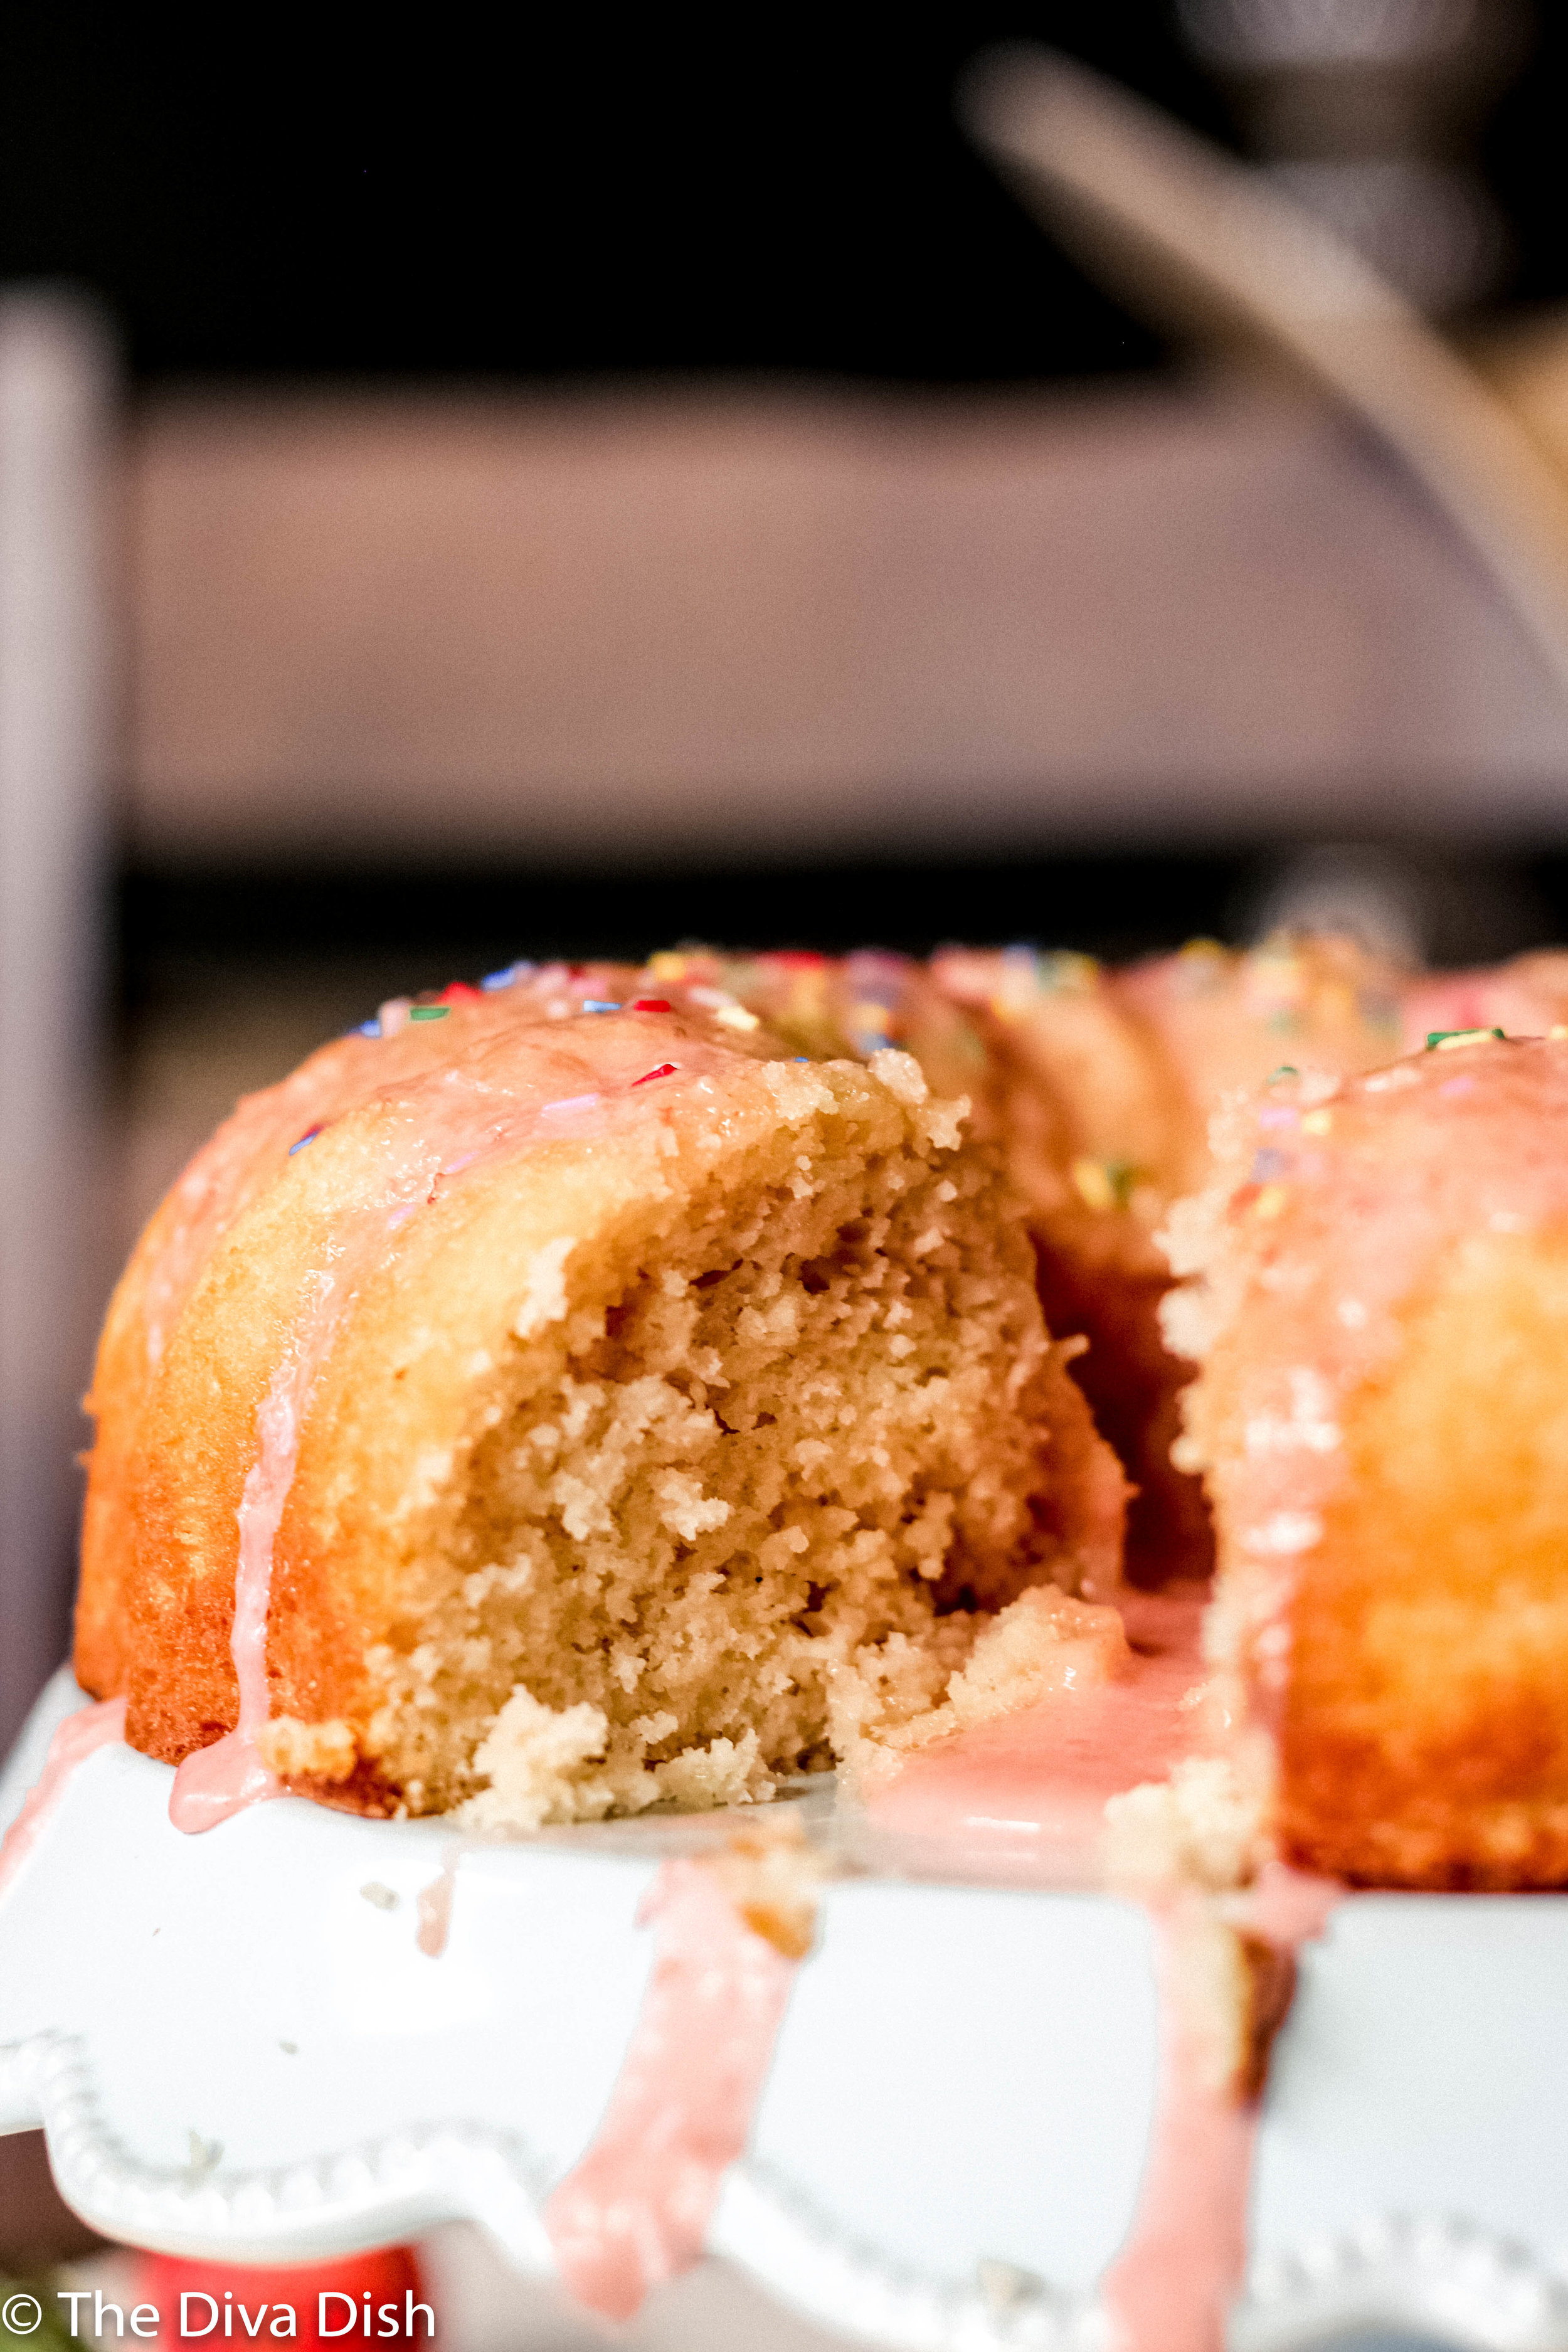
I’m going to say it, even though it’s the most hated word in the world…But this cake is the most MOIST cake I have ever made! I swear, it’s incredibly delectable! With the addition of fresh strawberry, it’s the perfect birthday cake/bring to girls night/take to a neighbor/take it to that school bake sale to prove to ‘Karen’ you are more than just a hot mess express.

IMG_9913.jpg

Ingredients: (For the Cake)

1 box Duncan Hines Yellow Cake Mix

2/3 cup sour cream

2/3 cup buttermilk

2 eggs

1 tablespoon vanilla

1 pint strawberries plus 2 TB. water, blended until pureed and smooth

1/3 cup melted butter or vegetable oil

Directions: (For the cake)

  1. In a large bowl, add the cake mix, sour cream, buttermilk, eggs, vanilla, 1/3 cup strawberry puree, and butter/oil.

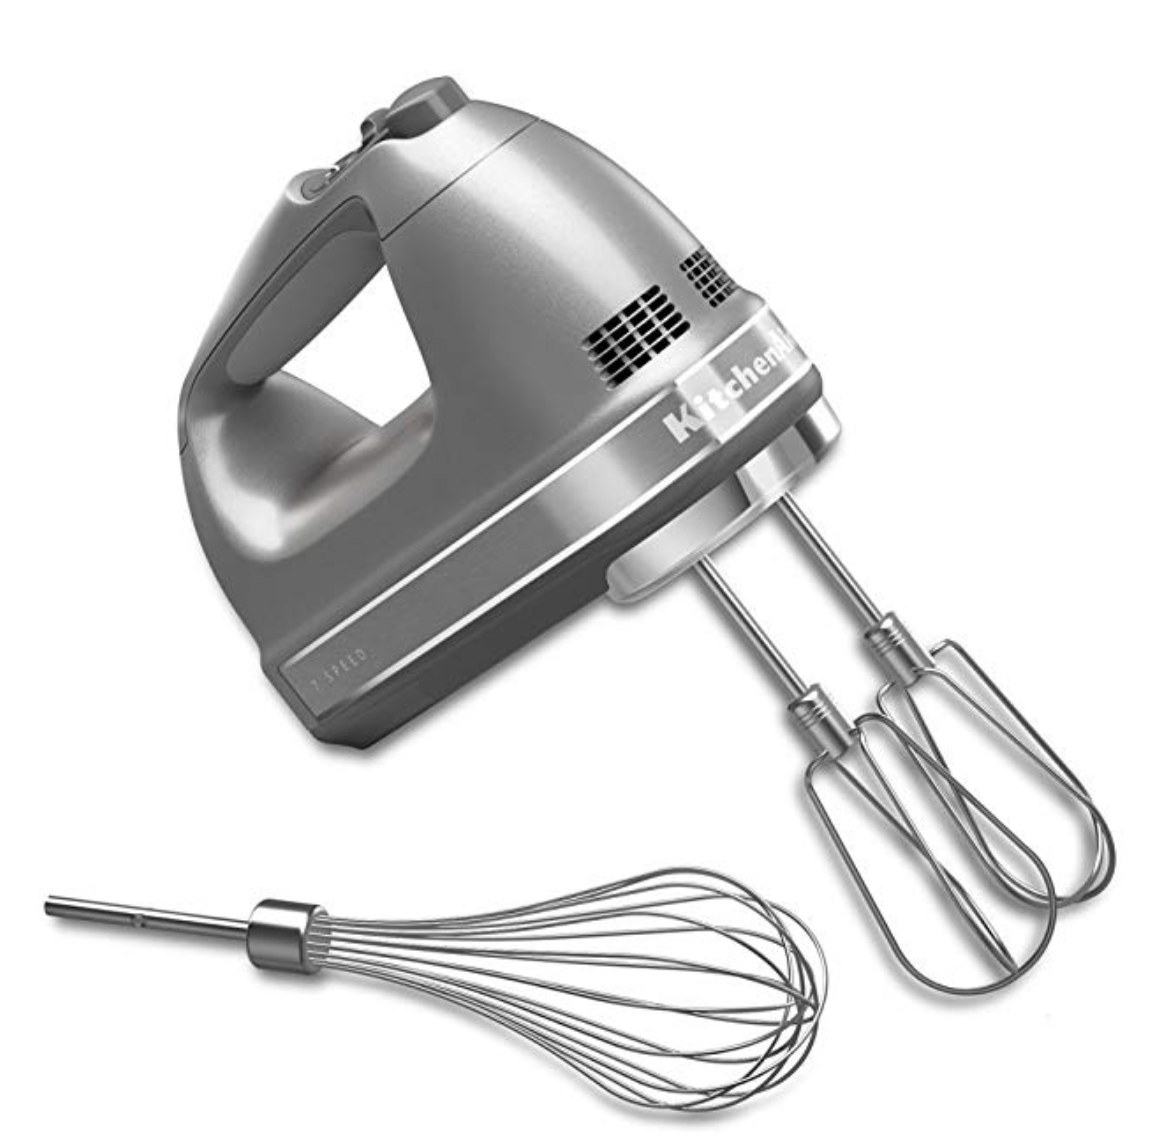
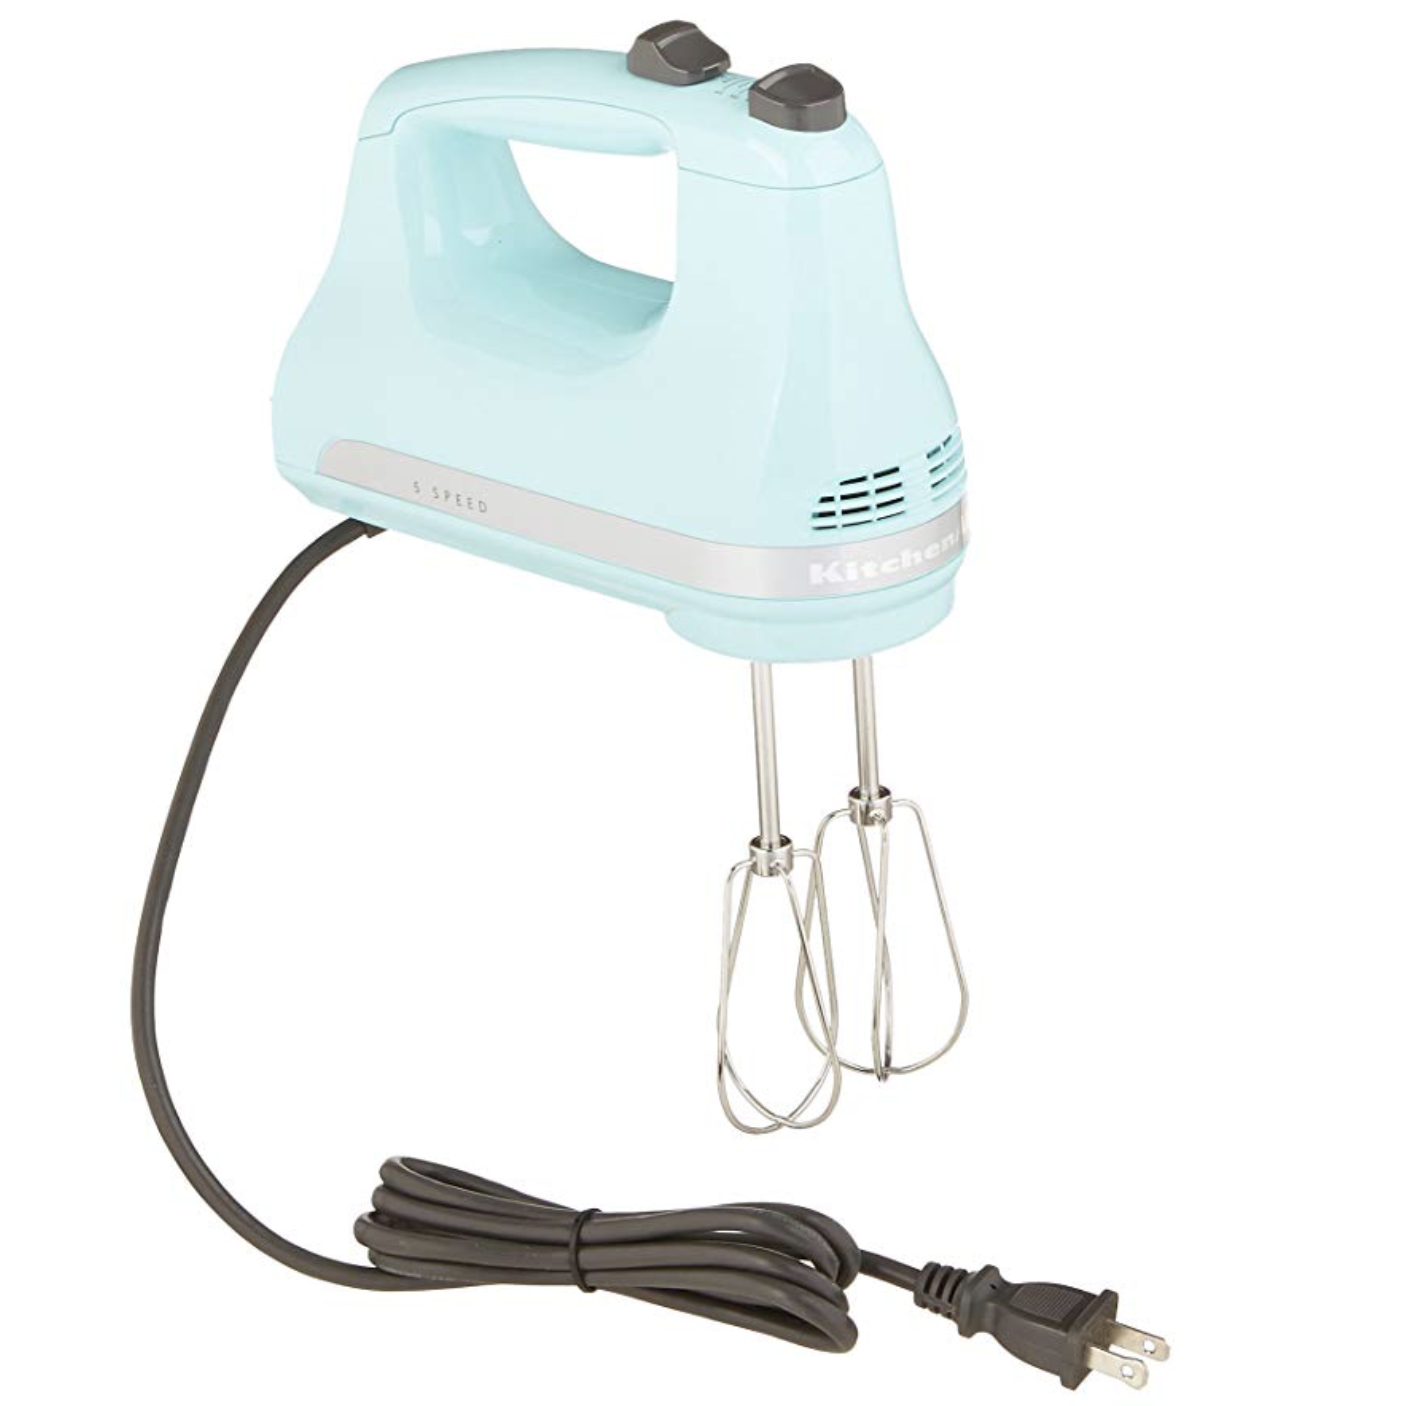
  2. Using hand mixers, mix together until combined. Don’t over mix by mixing for longer than 1 minute.

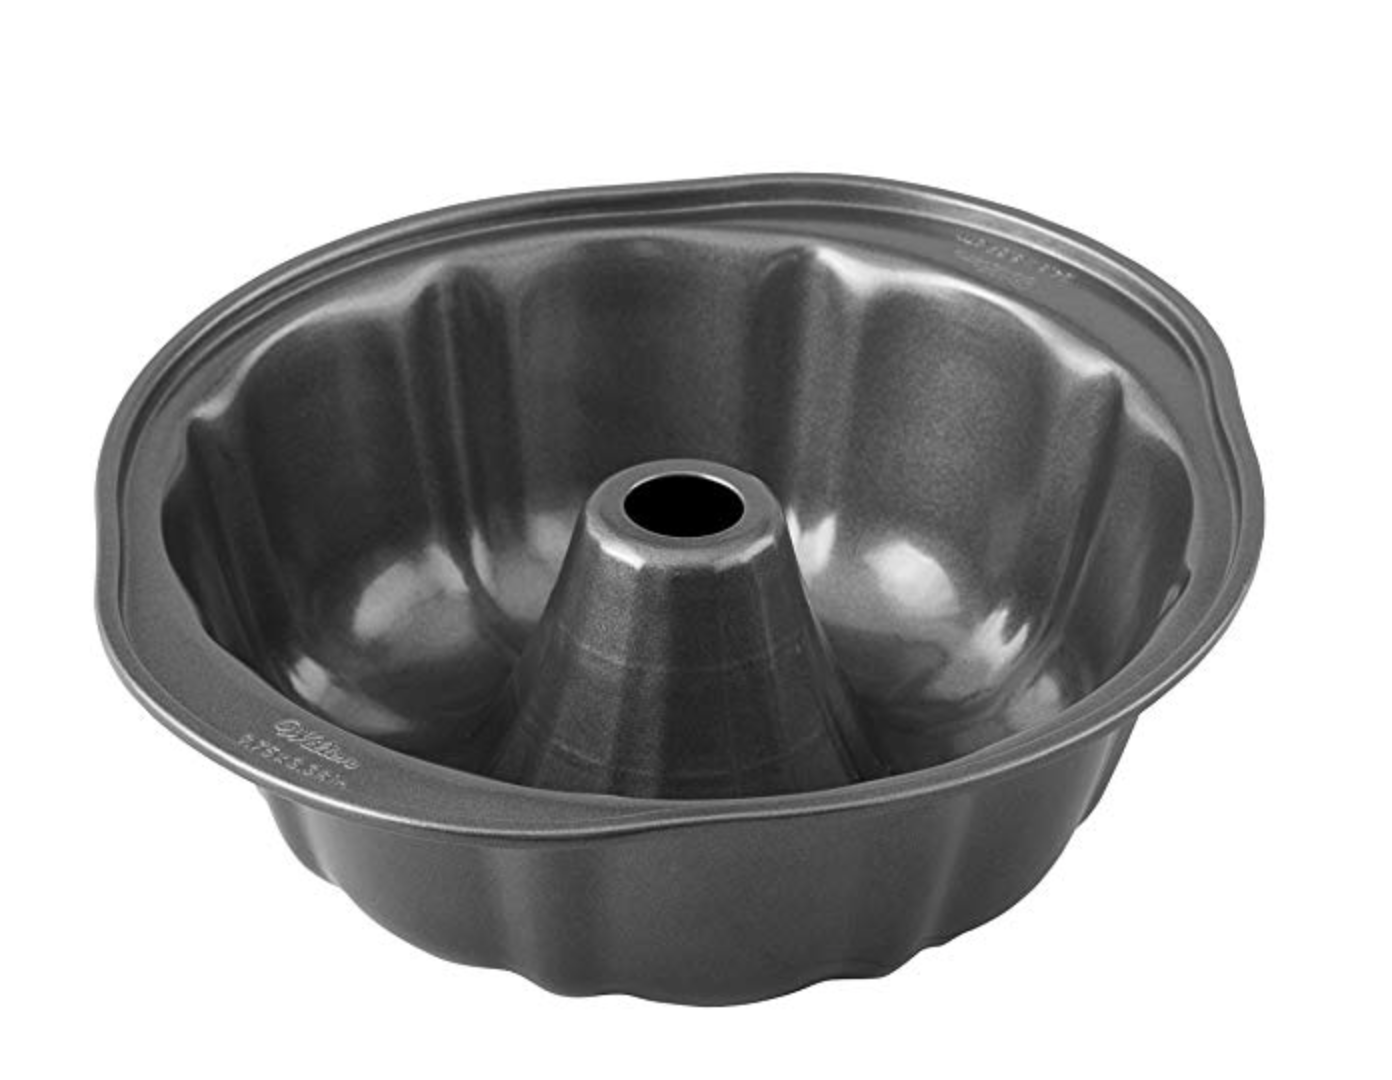
  3. Spray a bundt cake generously, pour the batter in. Take 2 TB. strawberry puree and pour around the top of the batter. Use a knife to swirl it into the cake batter.

  4. Bake at 350 for 30-35 minutes, or until cake bounces back when you lightly press the top. OR when a toothpick comes out clean when inserted. Once the cake has cooled, flip it on a cake stand. After frosted, cover tightly with plastic wrap to keep in moisture.

Ingredients: (For the Glaze)

2 TB. melted butter

1/4 cup strawberry puree

1 TB. vanilla

2 cups powdered sugar

Directions: (For the Glaze)

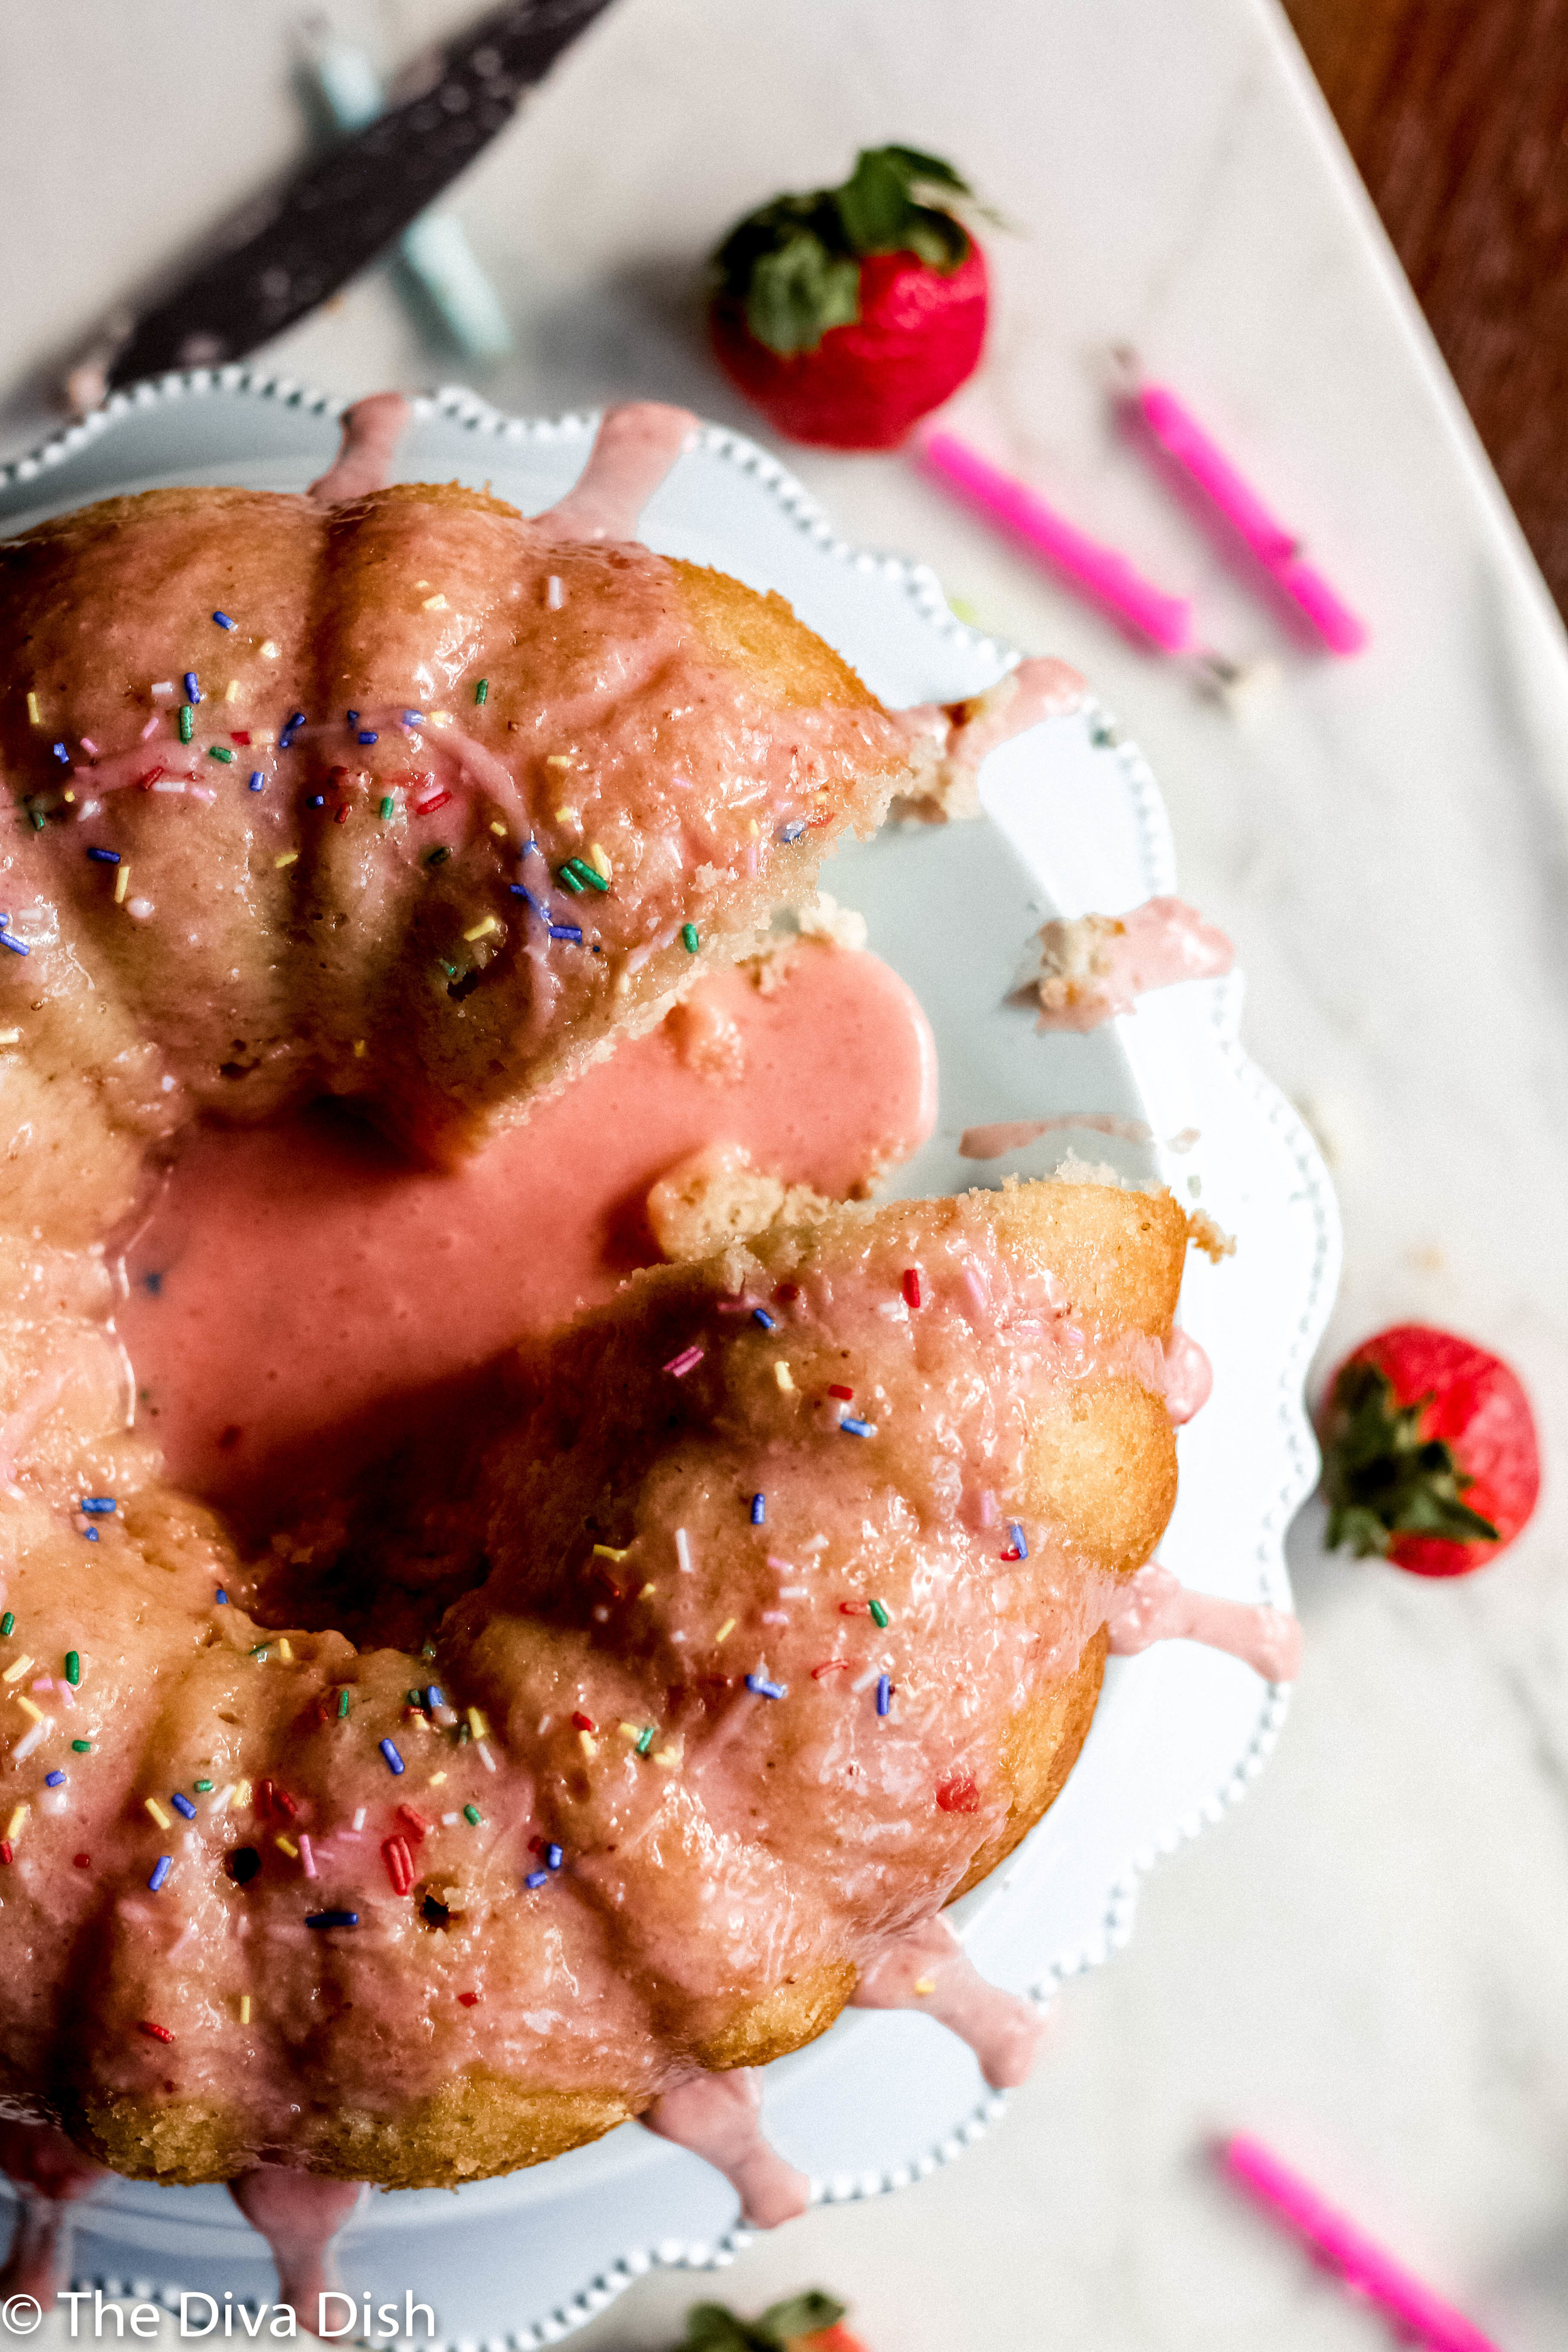
  1. Add all ingredients into a bowl. Whisk together until smooth. Pour over the cooled cake. I didn’t use all of the glaze, but use as much as desired. Sprinkle with a few sprinkles or fresh strawberries.

IMG_9945.jpg


Chocolate Peanut Butter Bundt Cake

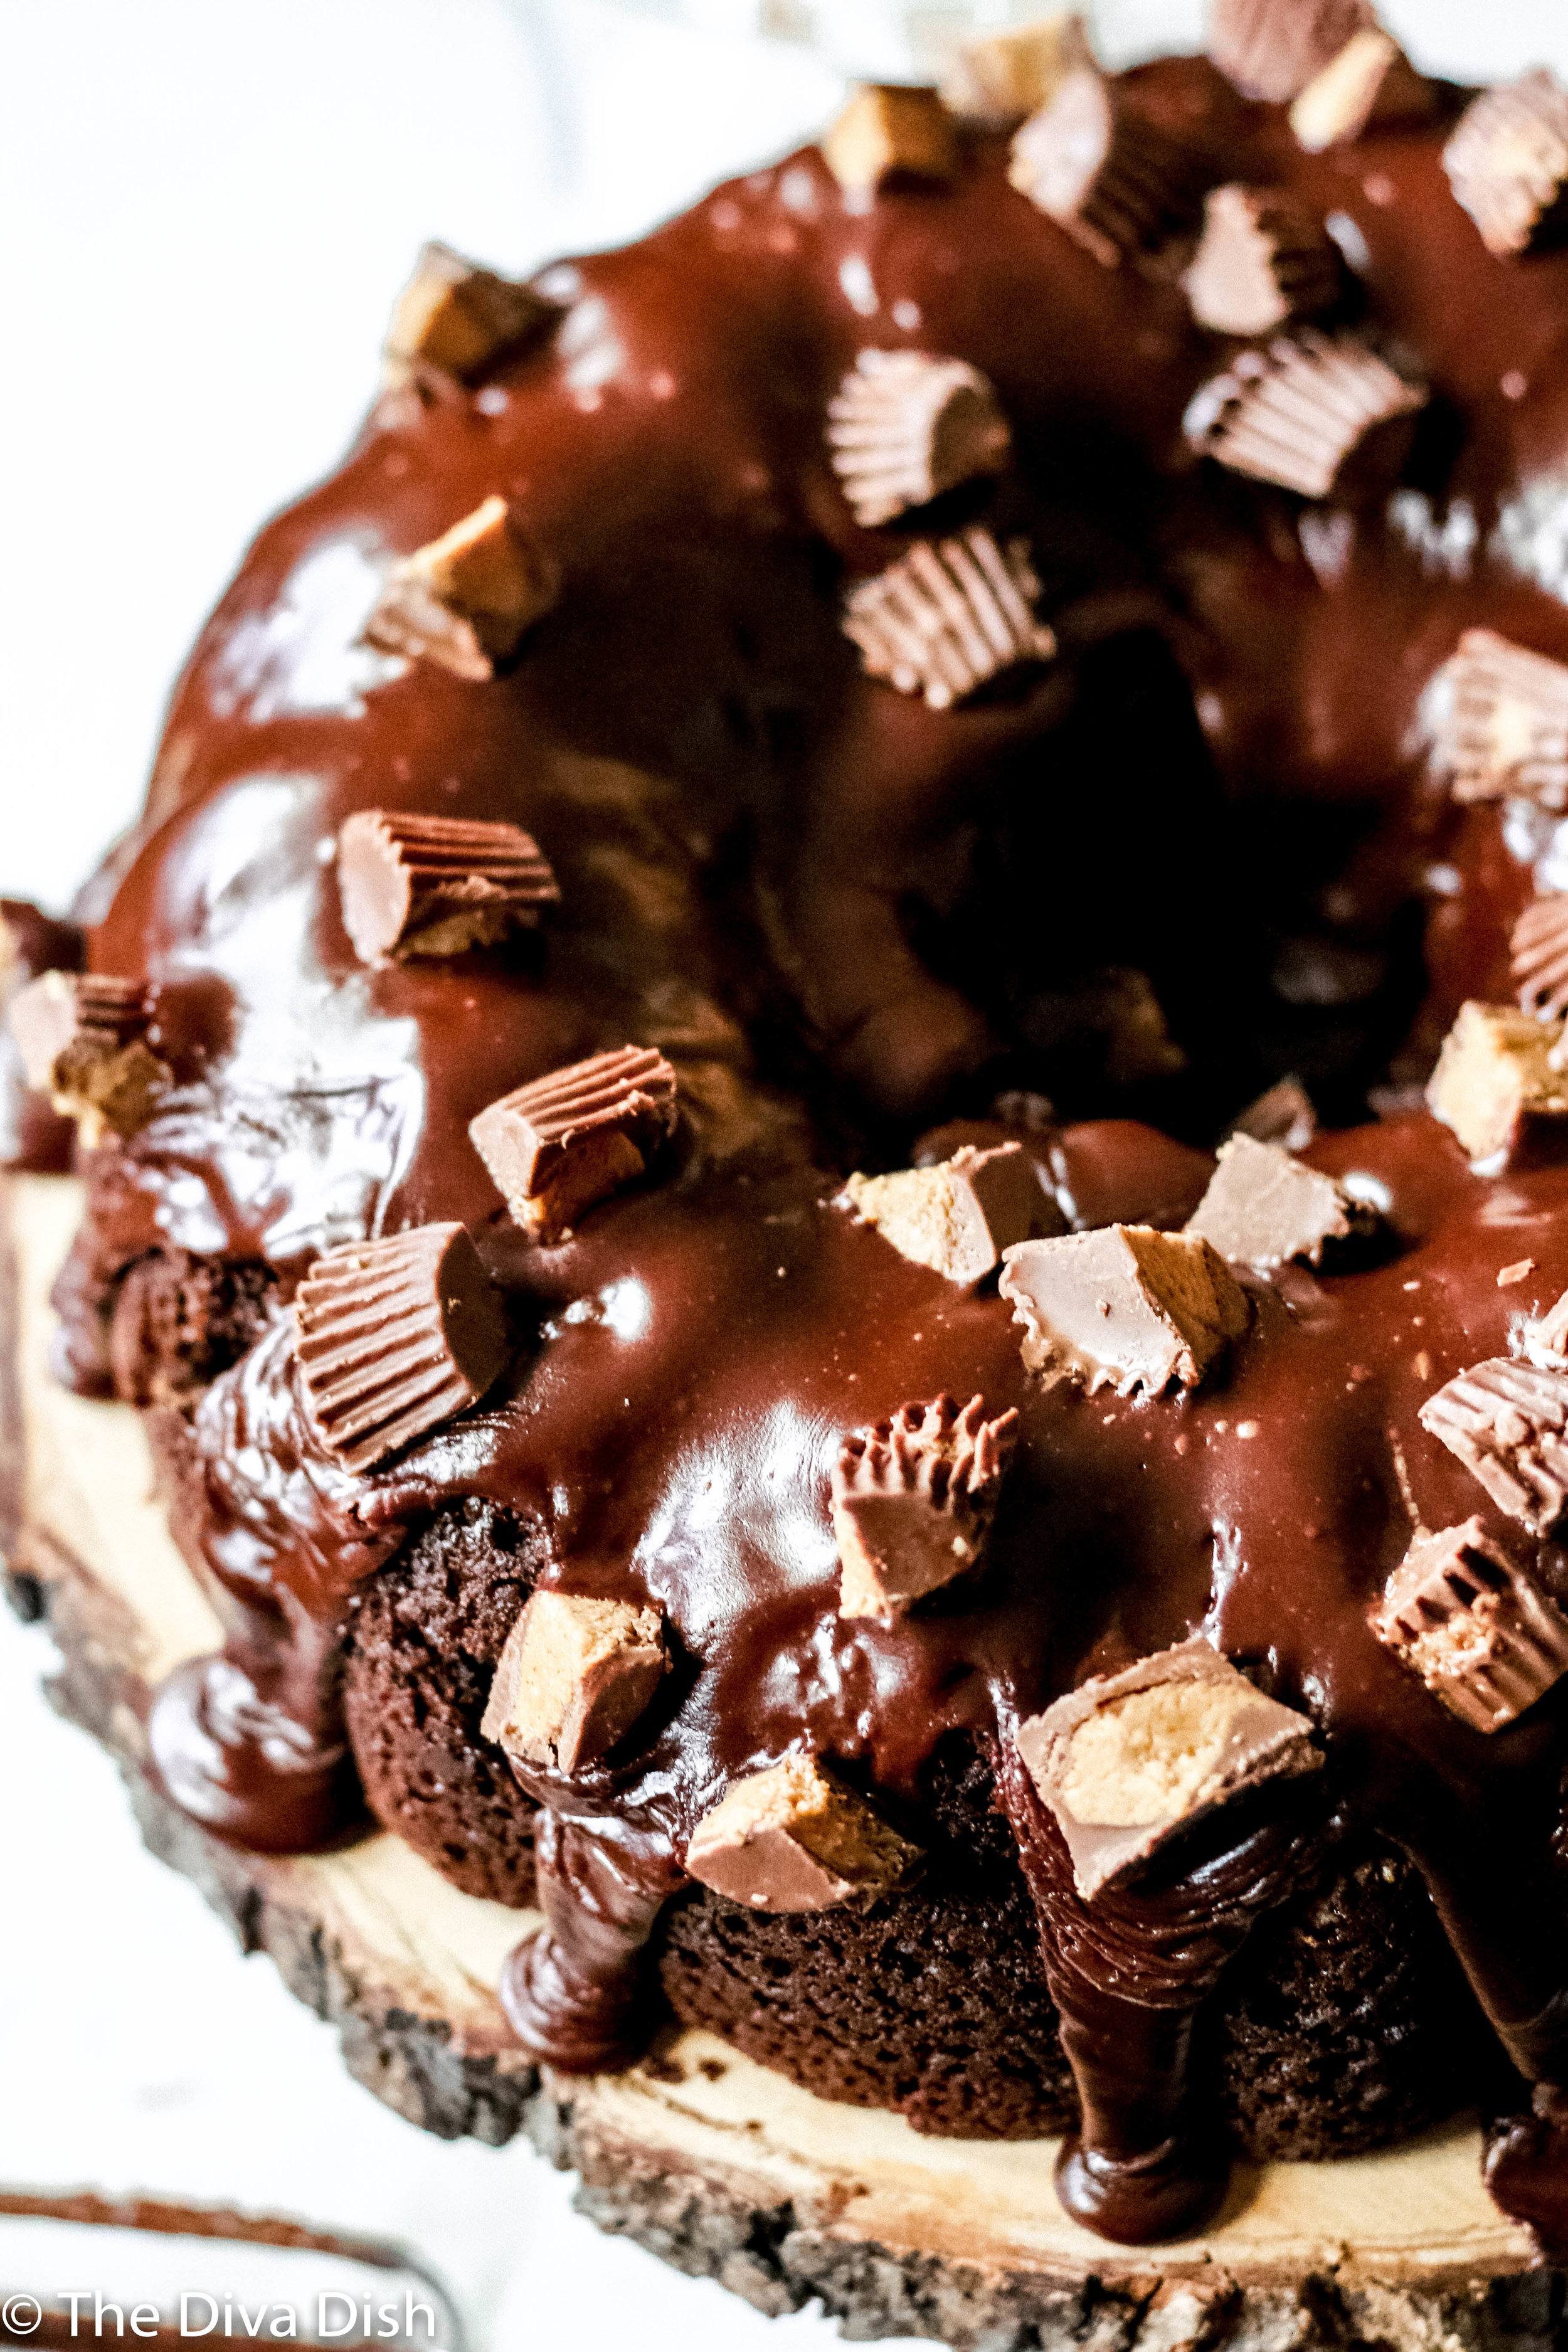
It’s no secret that a chocolate bundt cake is probably my favorite thing to make when I want to wow someone. It’s indulgent, rich, fancy, and delicious. This is a play off my husbands favorite flavor, peanut butter! It does not disappoint!
IMG_9240.jpg

A while back I posted my all time favorite Chocolate Cake (Doctored up cake mix version) and so many of you LOVED it! So when I shared a picture of this PB version on Instagram, so many of you asked for the recipe! It’s just as simple as my Chocolate Bundt Cake, but with a few extra peanut butter ingredients. I can’t wait for you to try it!

IMG_9229.jpg

Ingredients:

{For the cake}

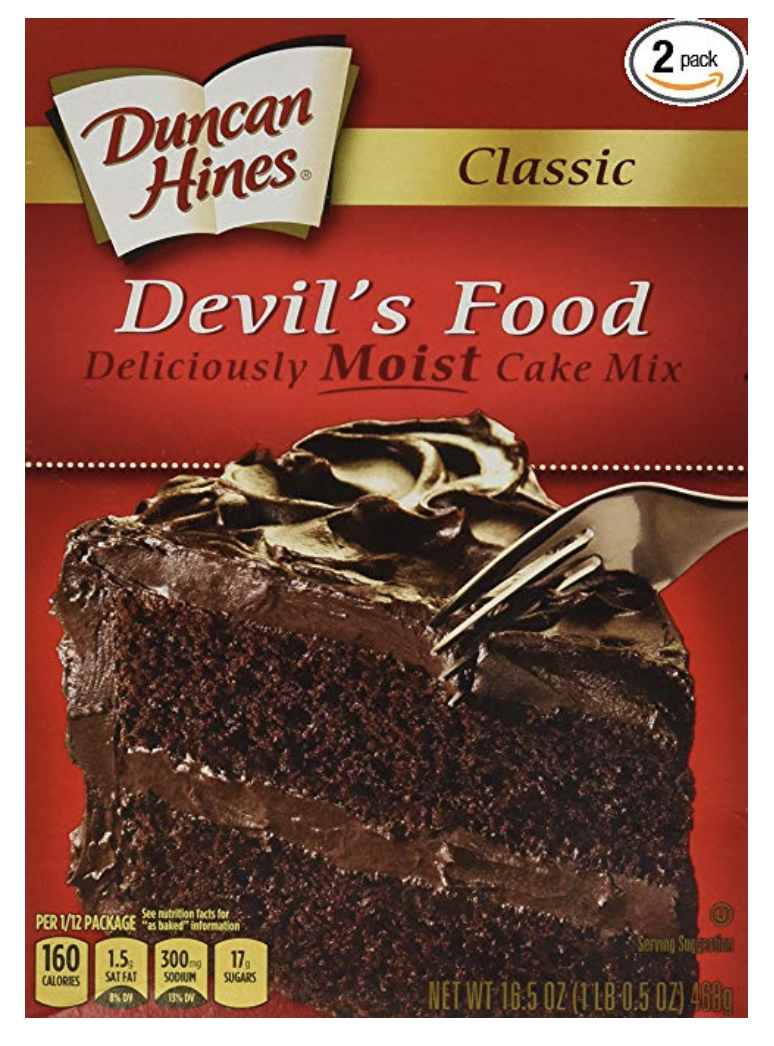
1 box Duncan Hines Devils Food cake mix

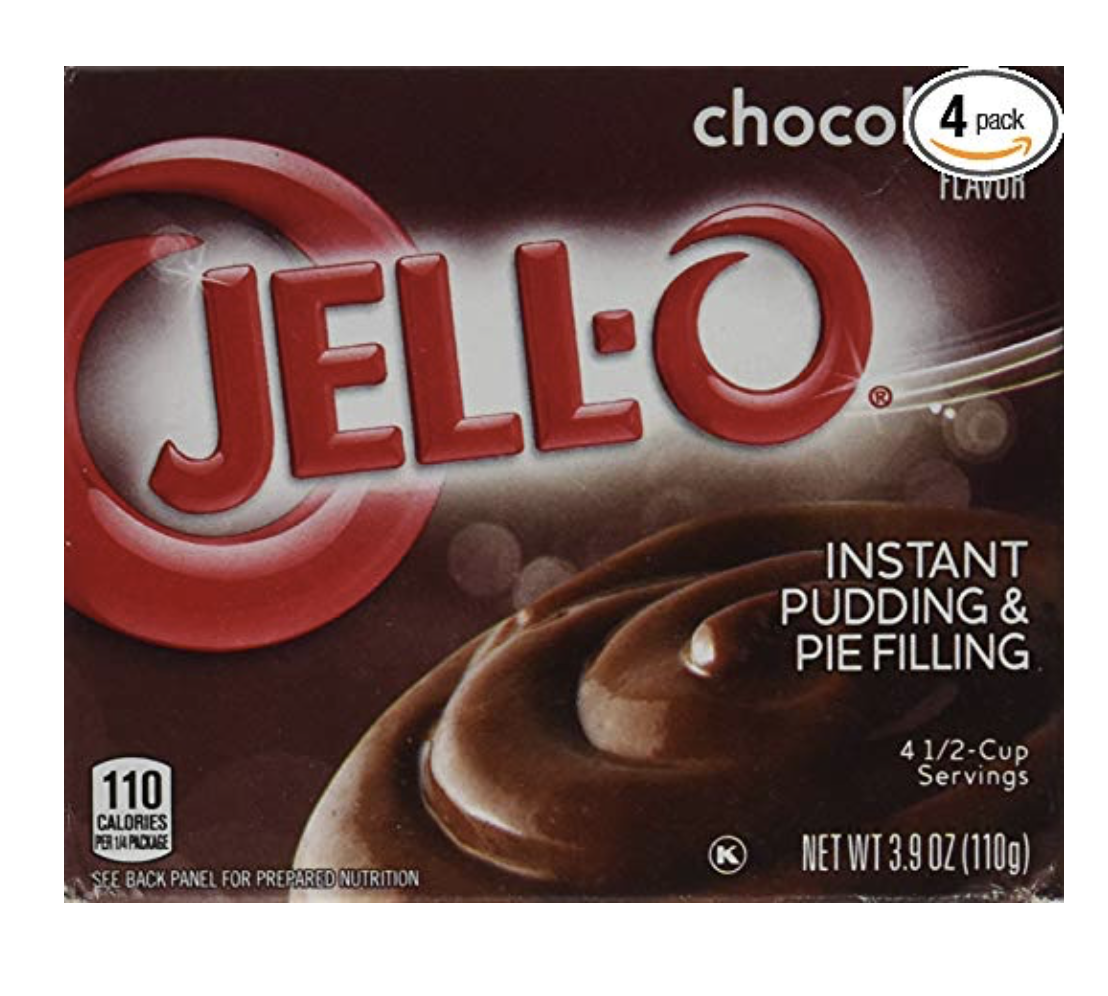
1 small Jello Instant box chocolate pudding. (If you can find chocolate PB or PB you could use that too!)

4 eggs

1/2 cup sour cream

1/2 cup creamy peanut butter

1 cup vegetable oil

1 TB. vanilla

1/2 cup chocolate chips

1/2 cup chopped peanut butter cup candy, tossed in 1 TB. flour to coat

{For the Glaze}

6 TB. cocoa powder

4 TB. salted butter, melted

2 cups powdered sugar

5 TB. hot water

3/4 cup chopped peanut butter cup candy

Directions: {For the Cake}

  1. Preheat the oven to 350 degrees.

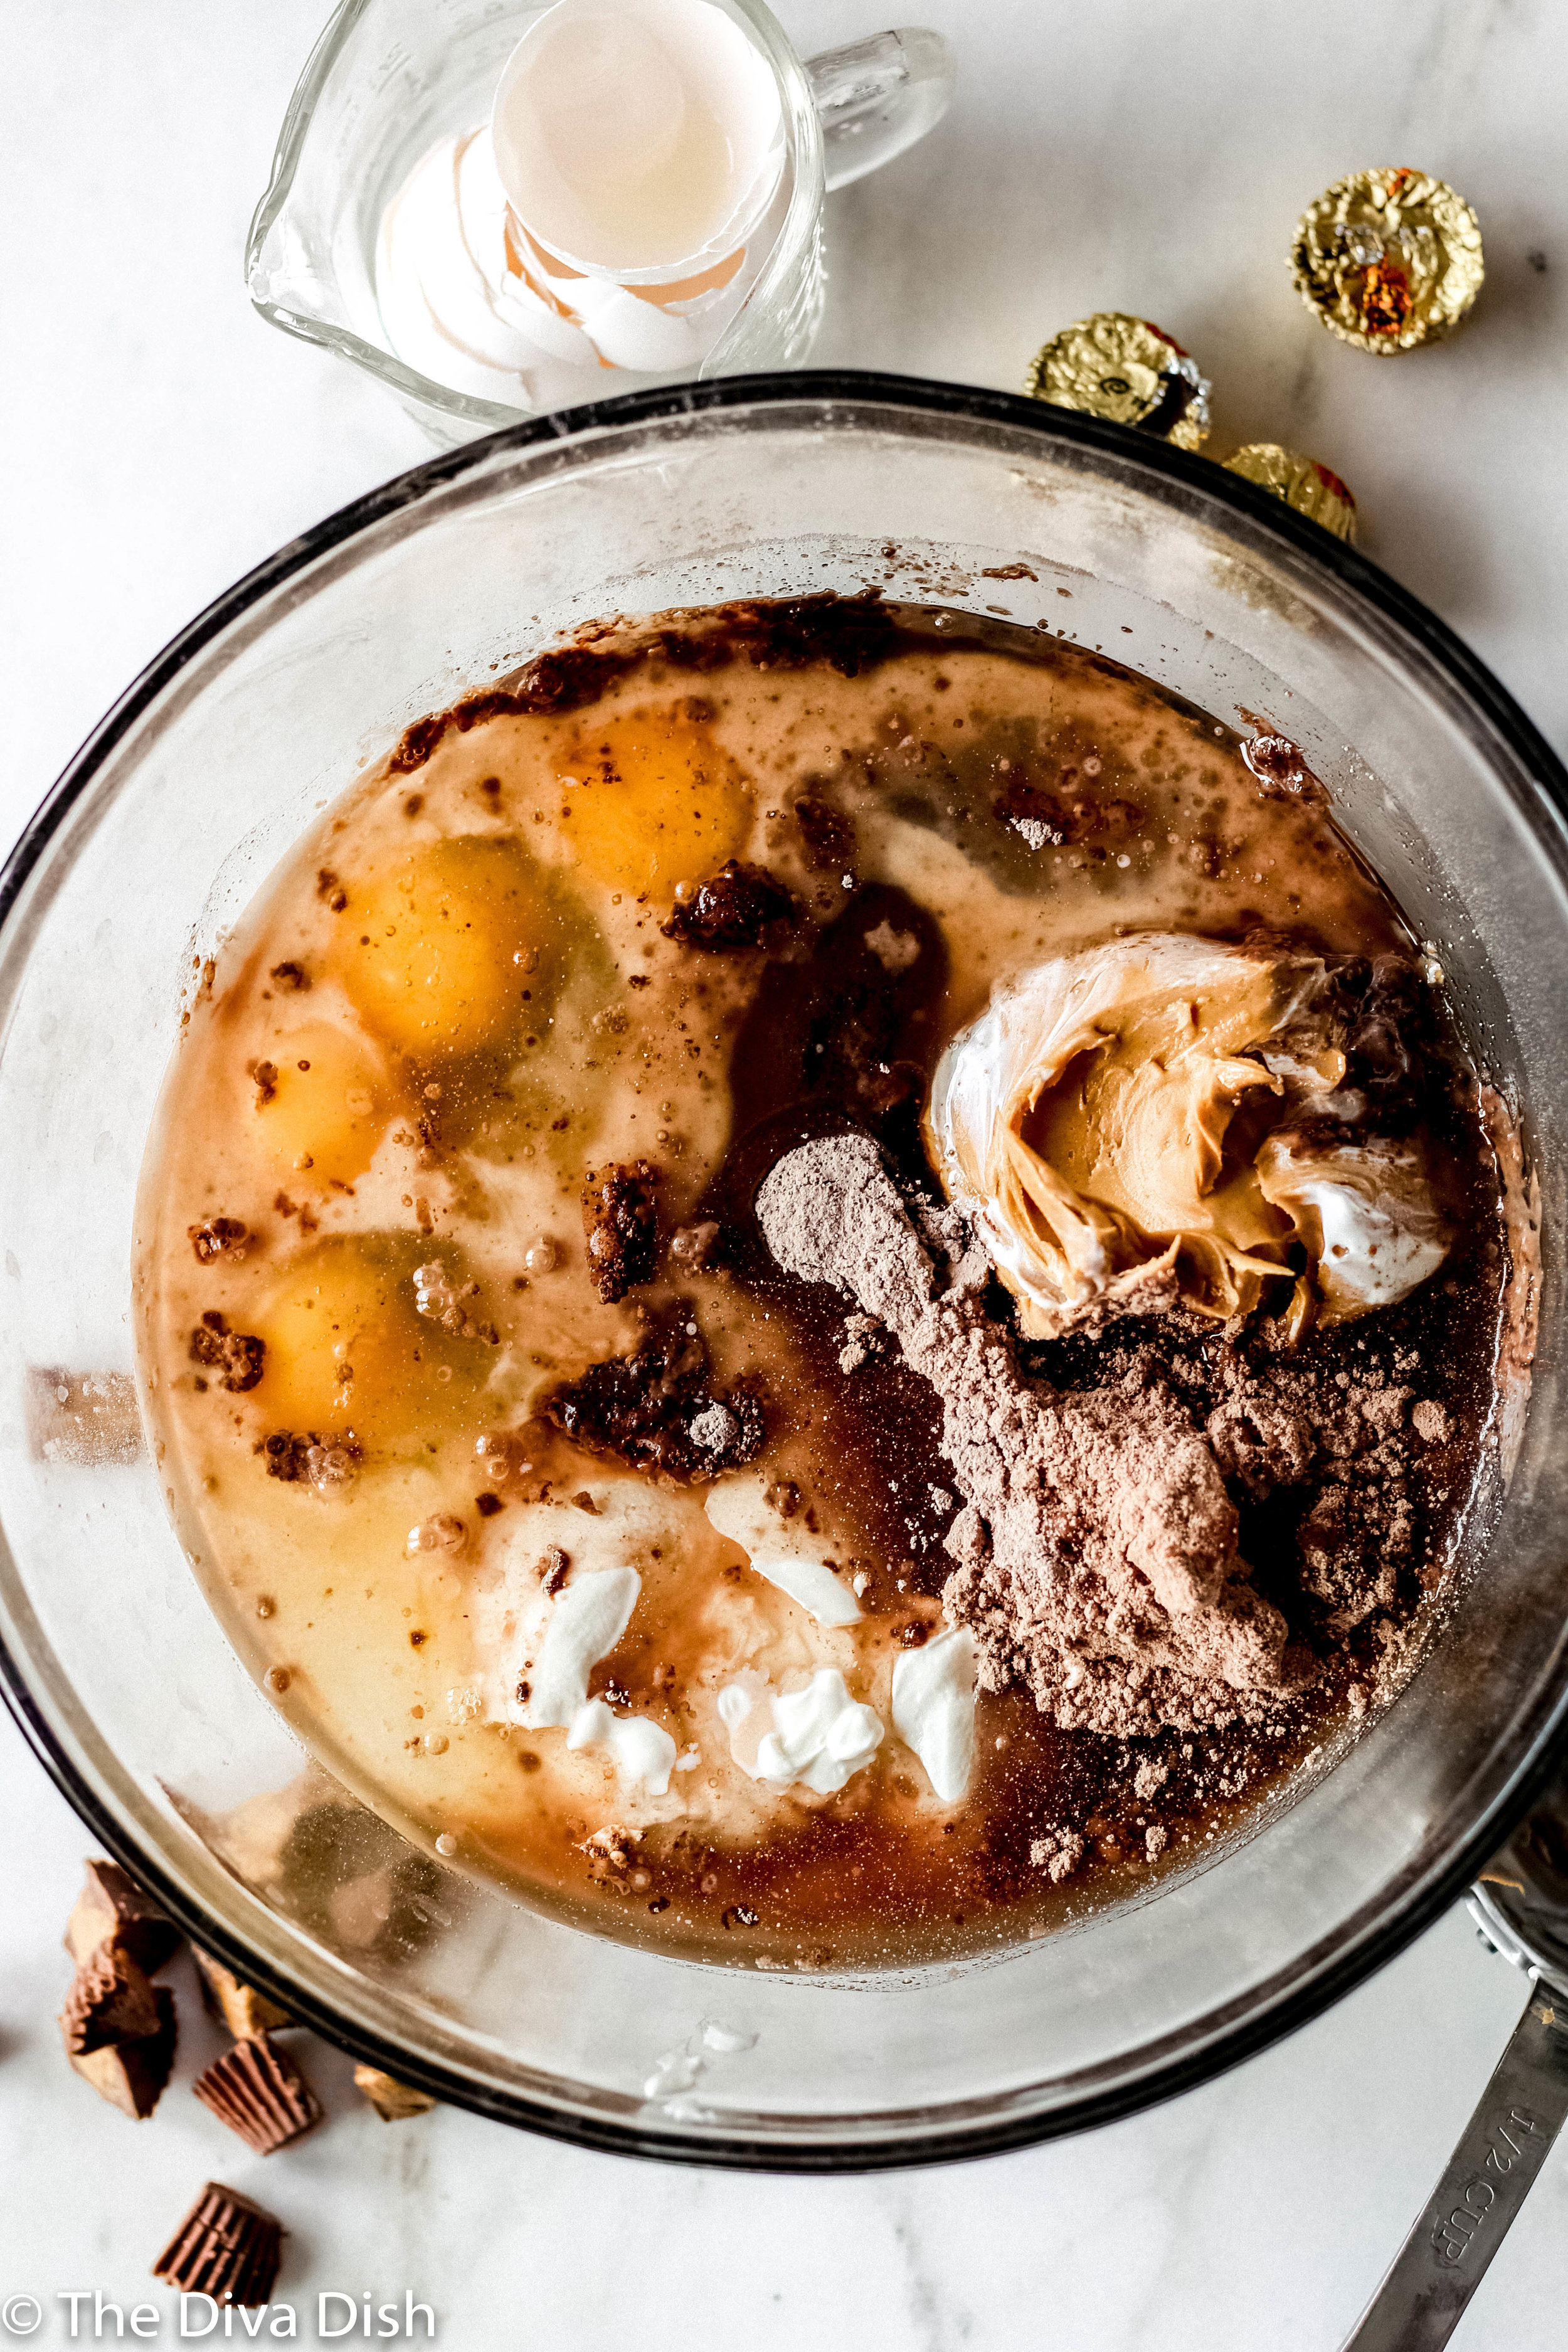
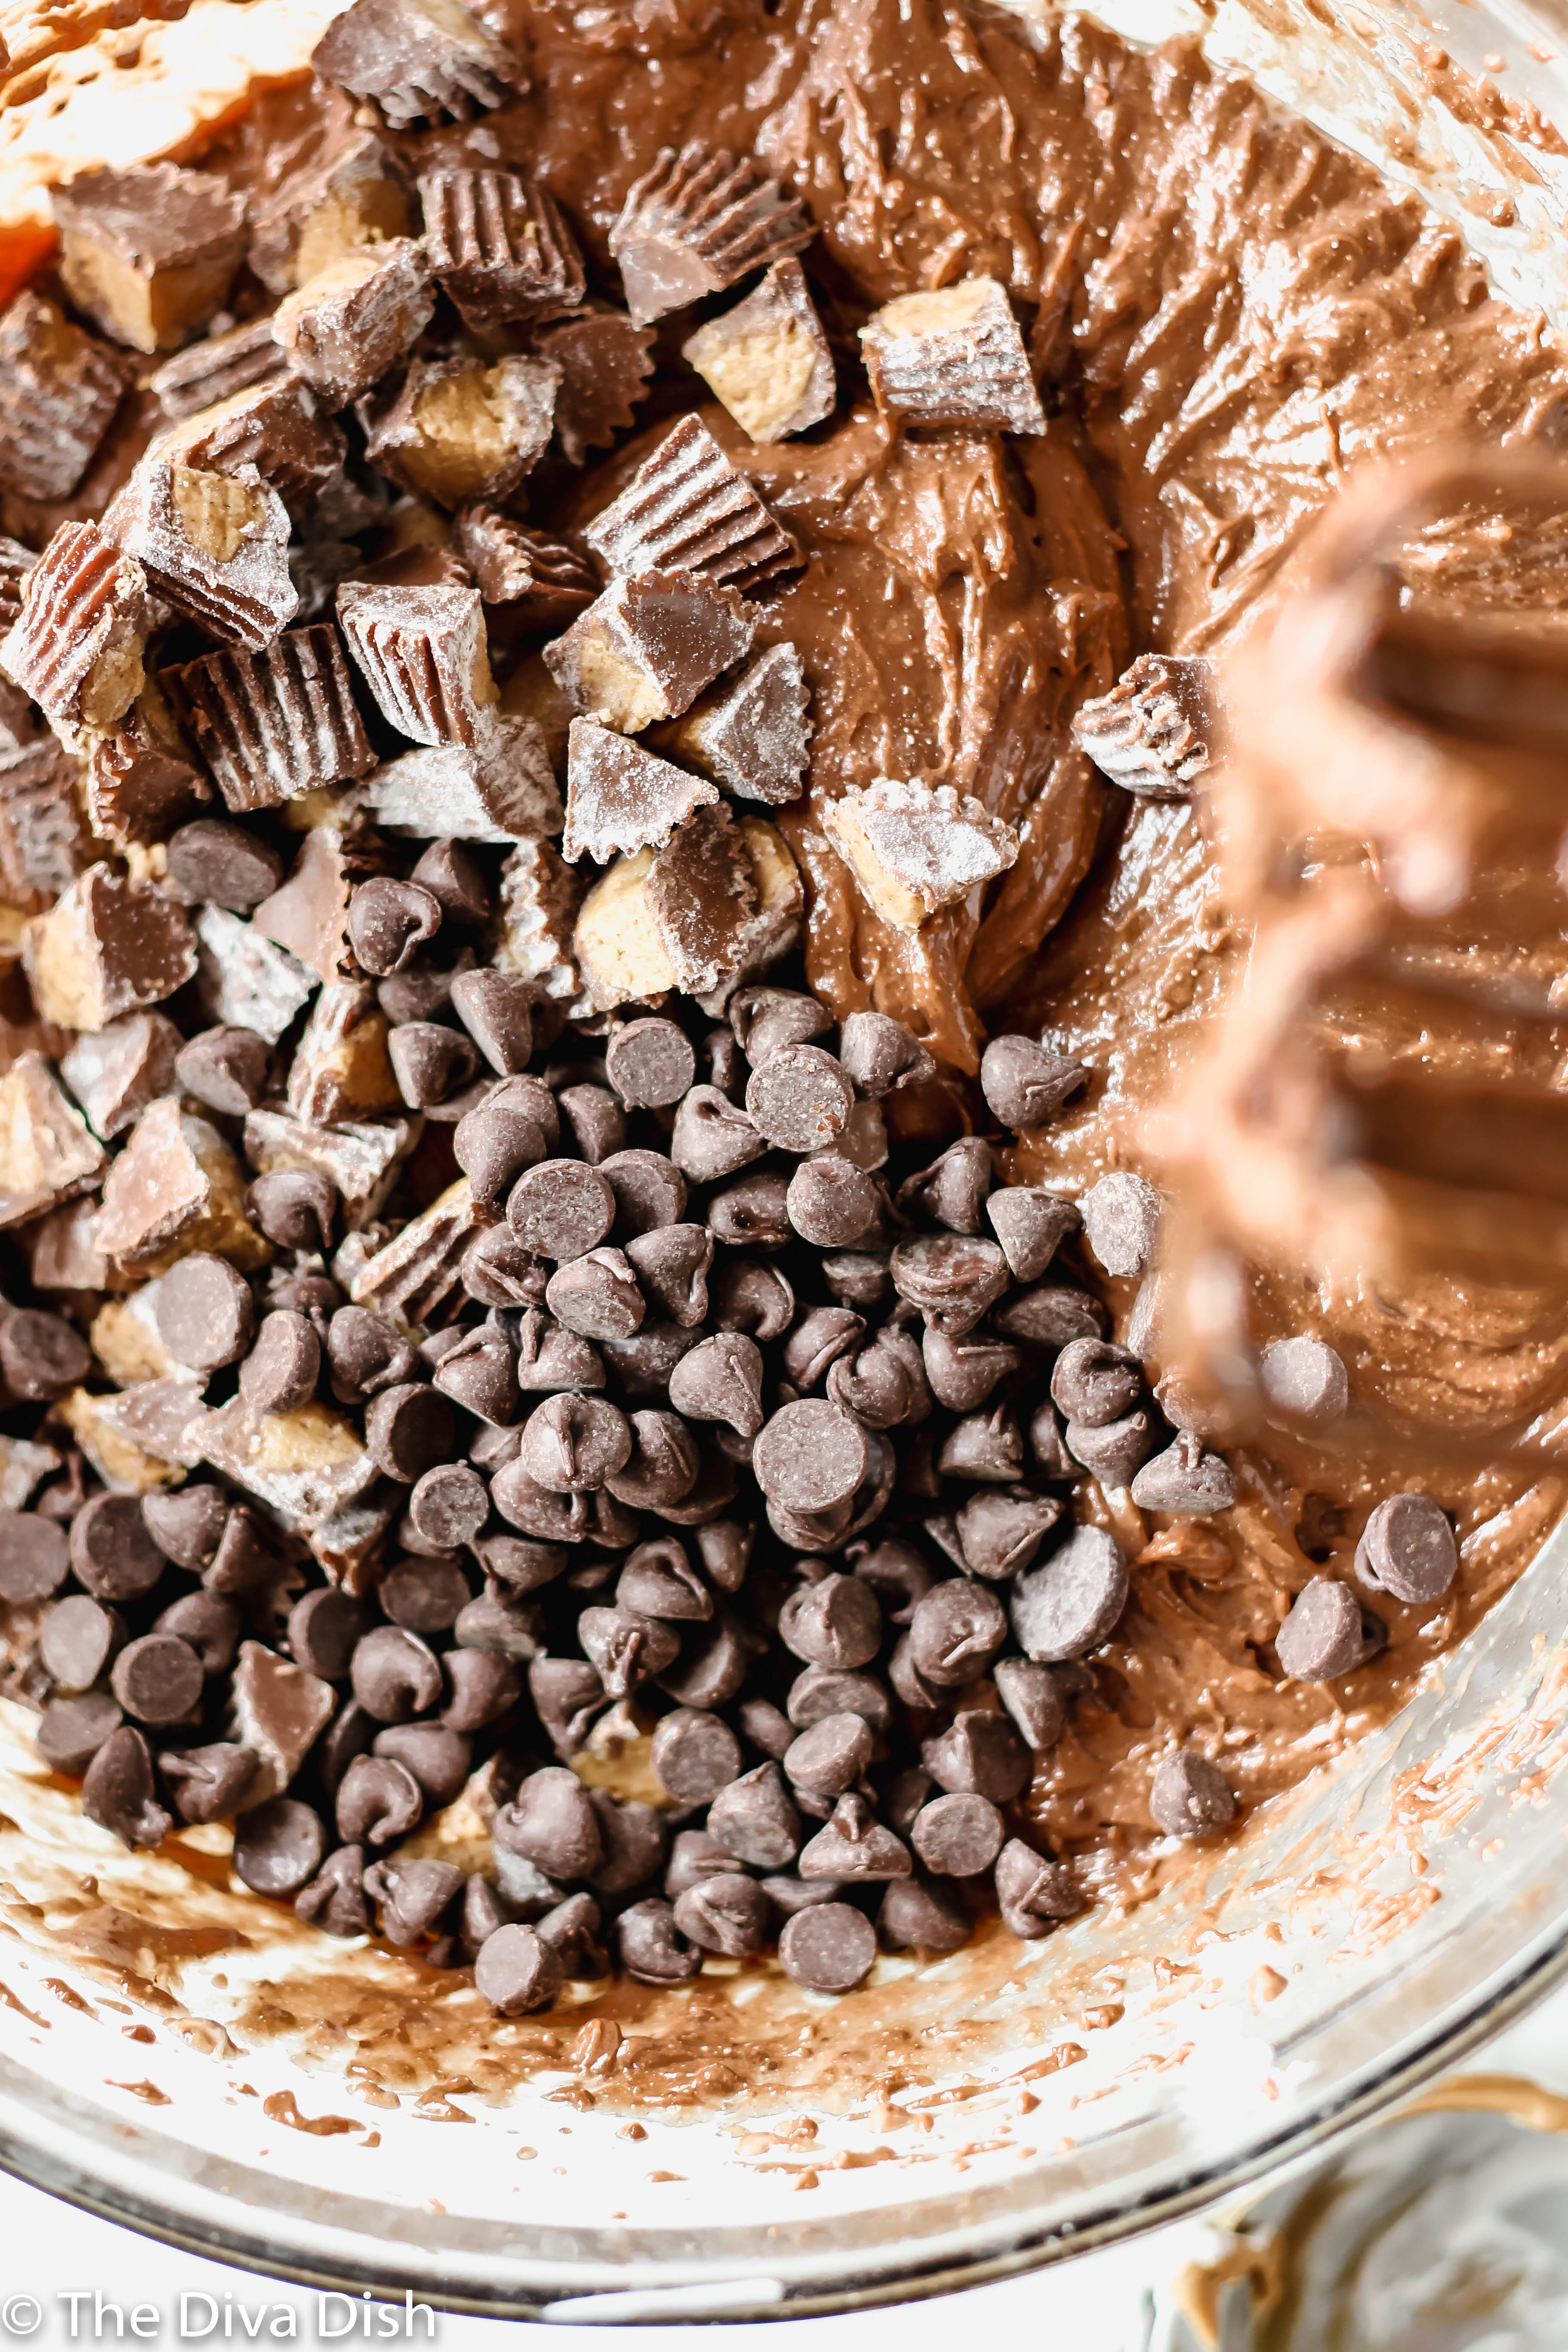
  2. Combine all ingredients together minus the candy and chocolate chips. Beat until the mixture comes together, about 1-2 minutes. Fold in the chocolate chips and candy.

  3. Grease a bundt pan really well.

  4. Pour batter into the bundt pan. Bake for 35-45 minutes, or until a toothpick inserted into the cake comes out clean.

Directions: {For the Glaze}

  1. Mix all the ingredients together, minus the chopped candy. Pour the glaze over the semi cooled cake and then sprinkle with the candy.


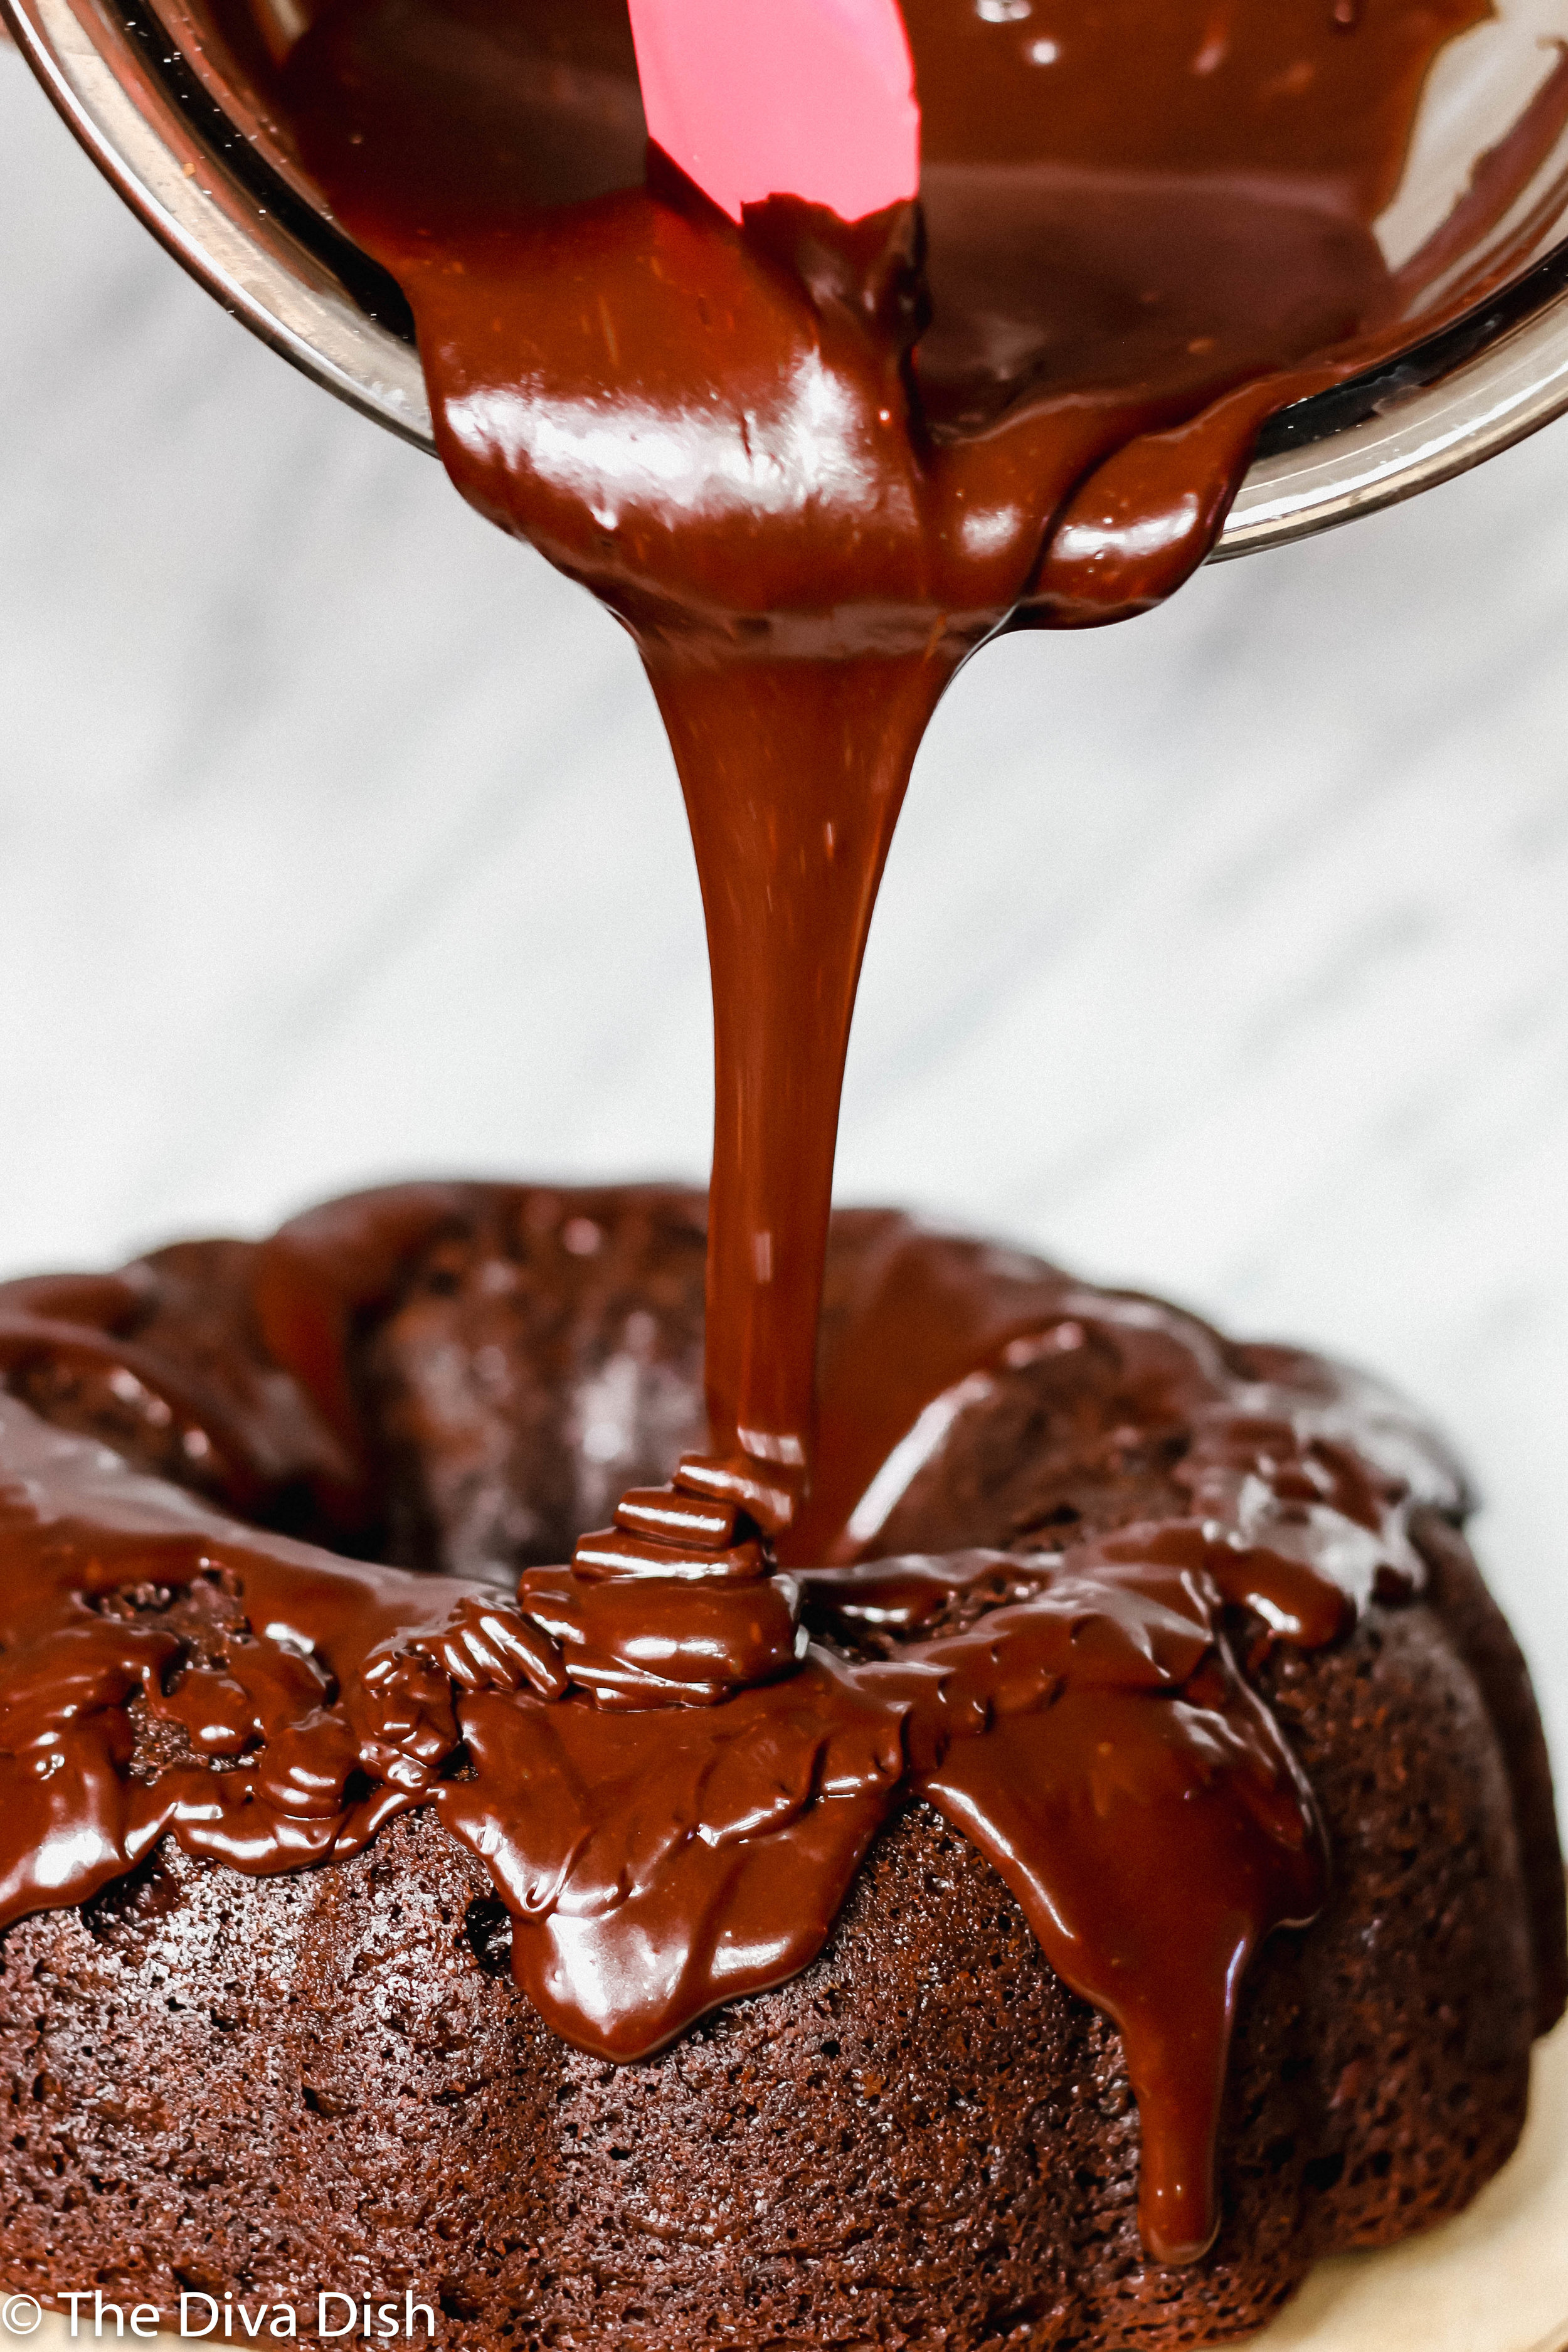
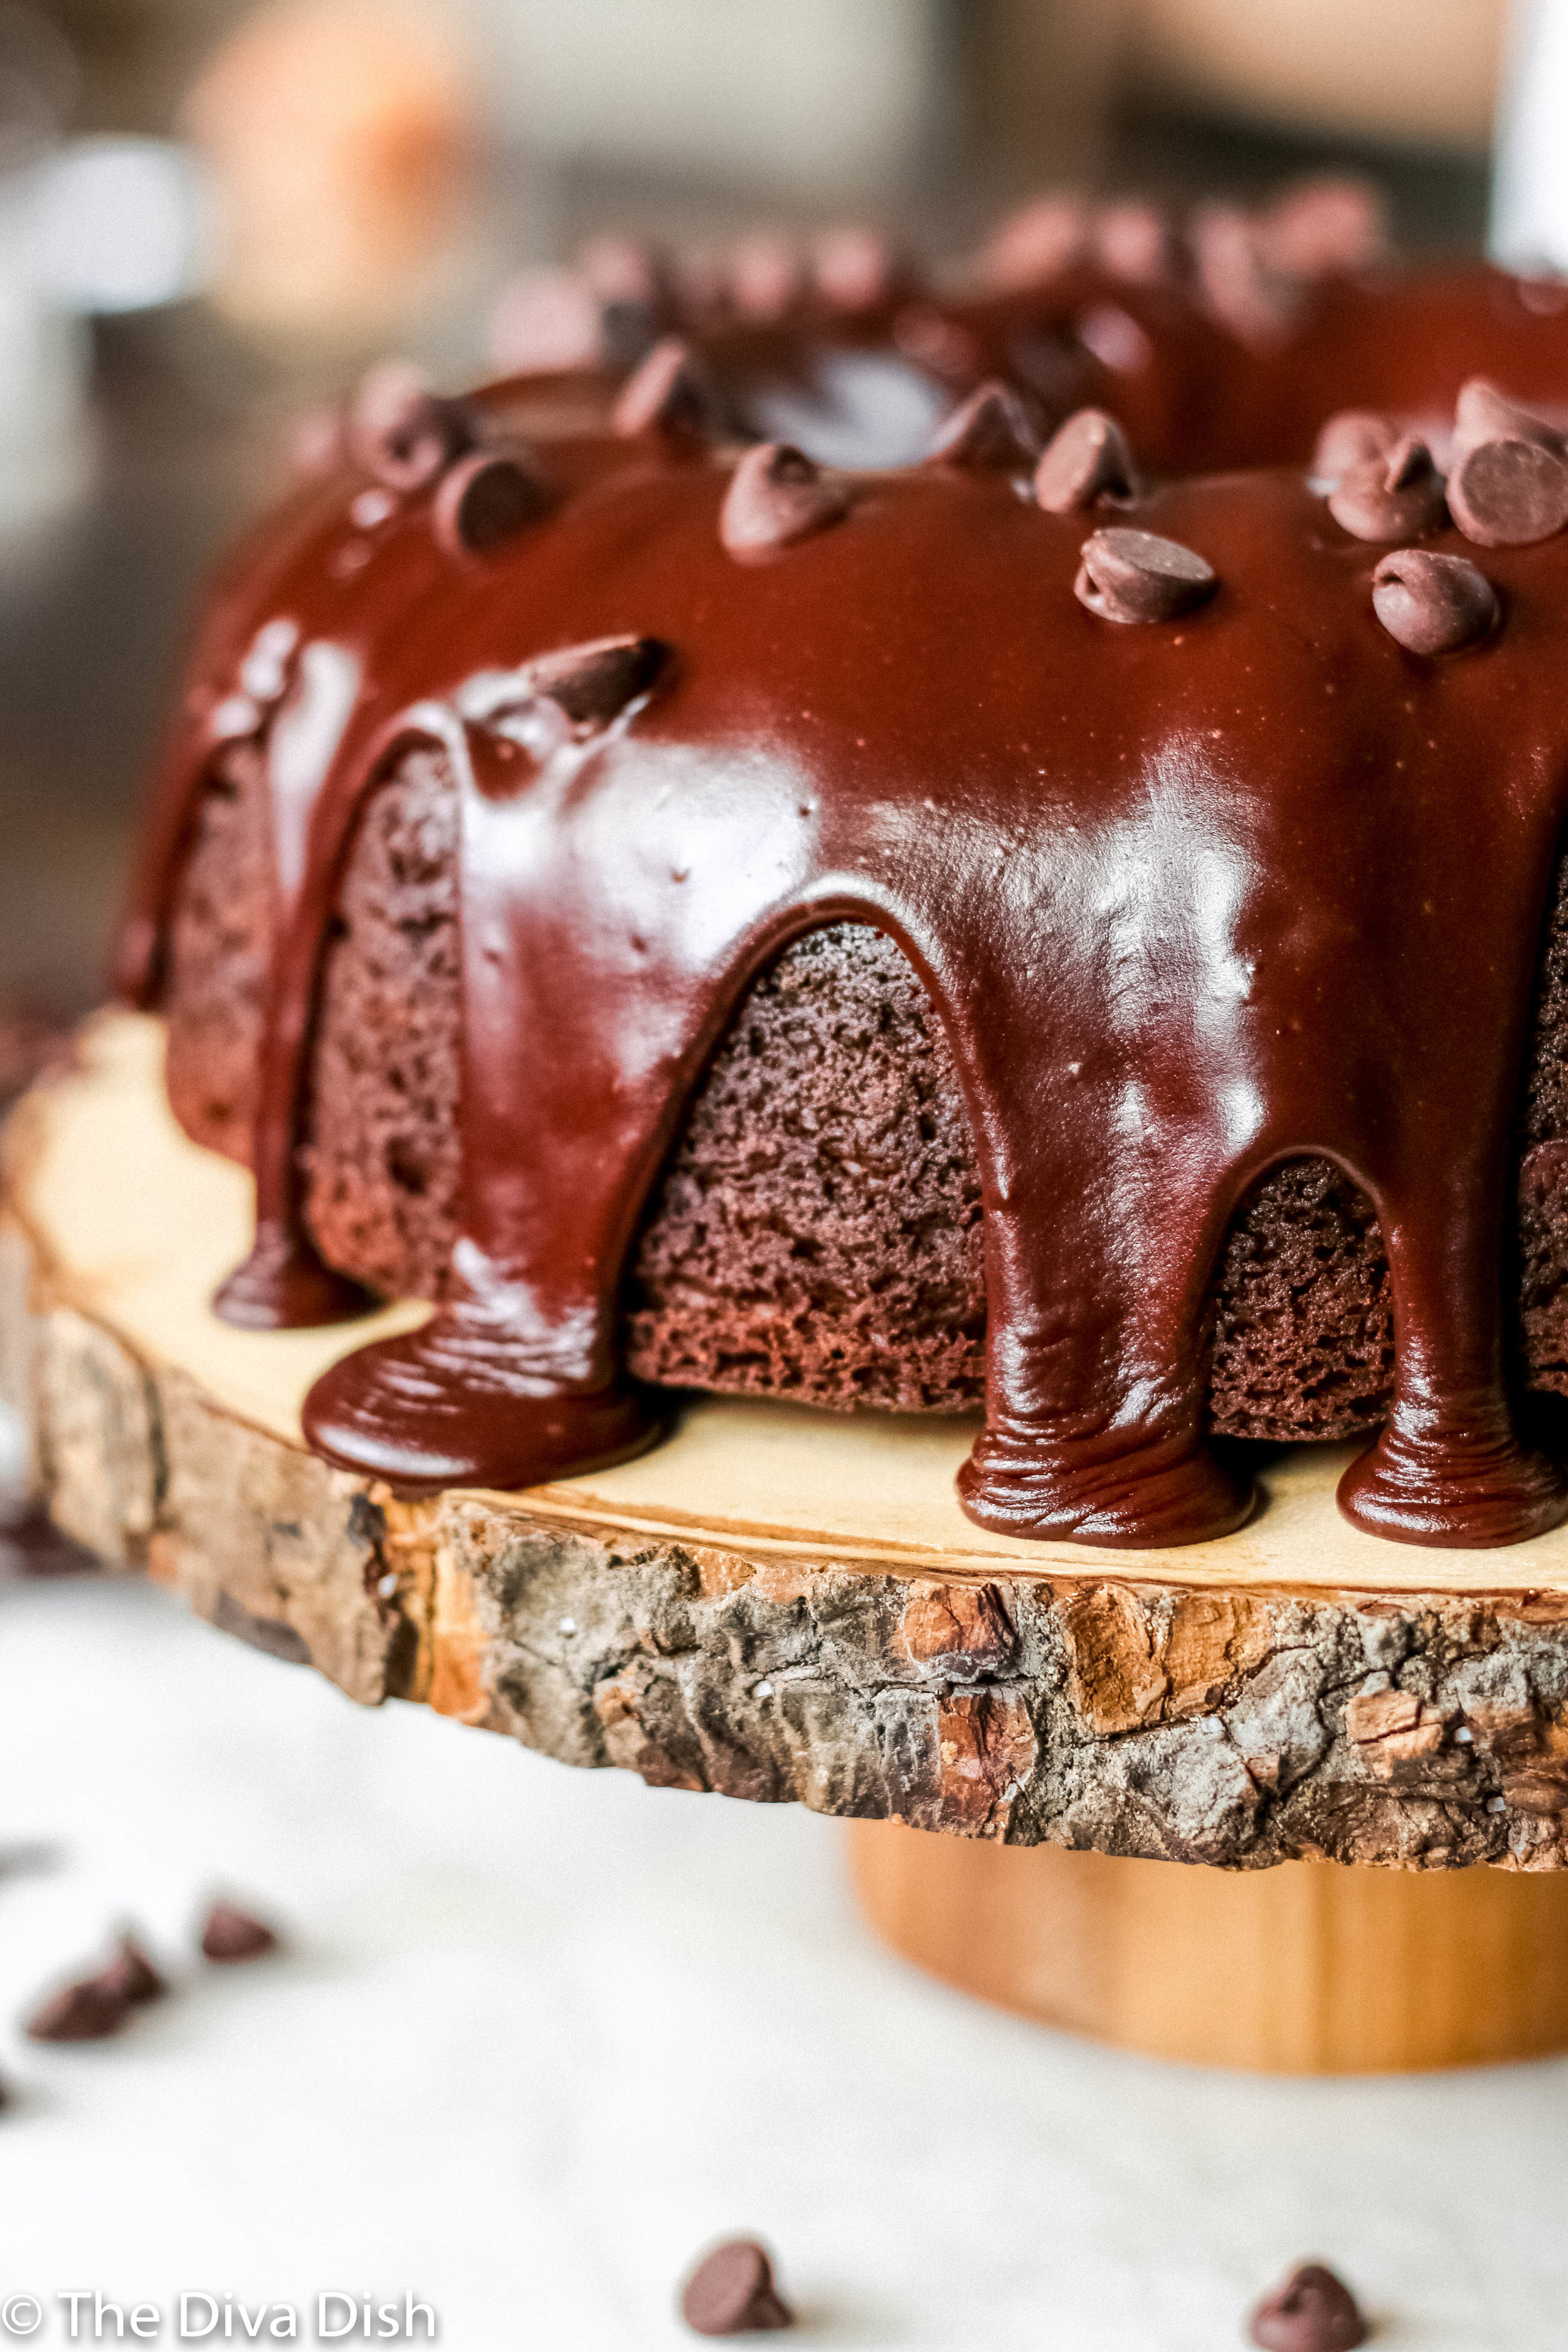
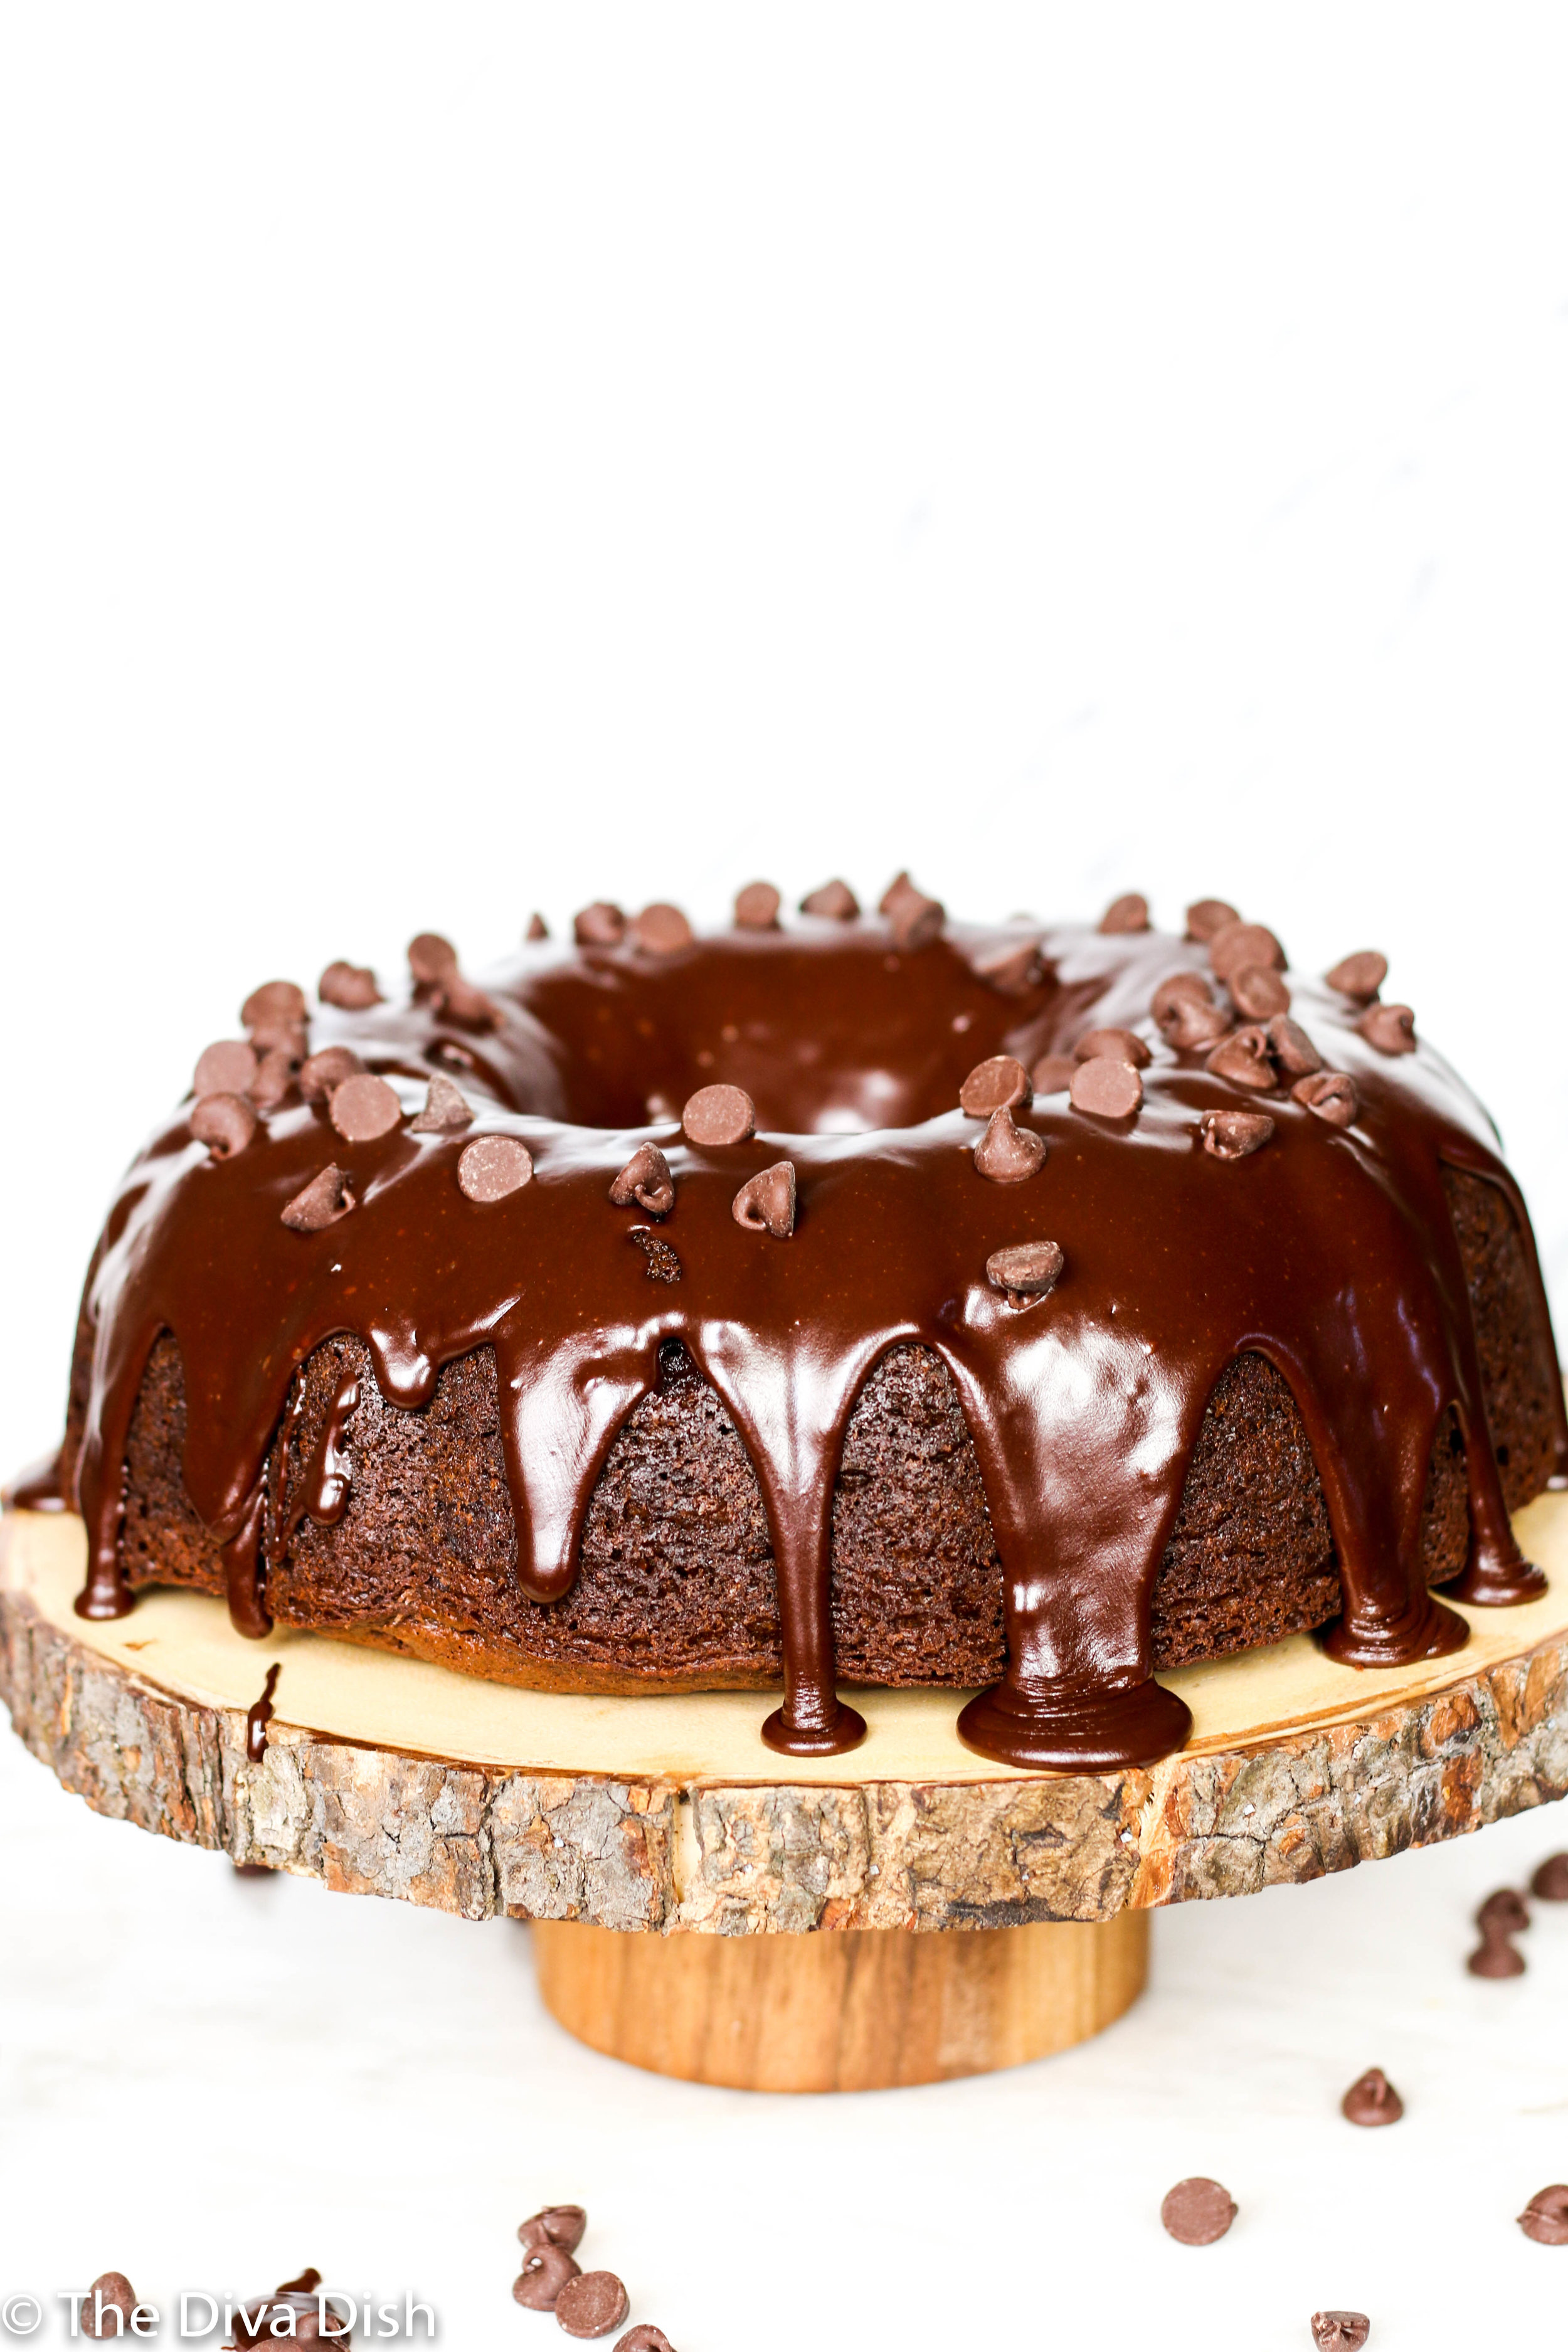
{The Best} Double Chocolate Bundt Cake with Chocolate Glaze

I’ve been making this cake for almost 10 years. It’s evolved a bit over the years with different frostings and shapes and sizes, but every single time I get asked for the recipe. It is literally THE BEST chocolate cake. It’s indulgent, fudge like, intense, satisfying, and addicting! You won’t regret making this for your friends and family!
IMG_9138.jpg

To know me is to understand that chocolate cake will always and forever be my first true love. It may have made my pants a little tighter and my thighs a little more full...But it has also cured many broken hearts, brought joy to a new mom or struggling friend, and even made birthdays that much more special.

Time and time again, as I go back and forth trying to figure out how to feed my body right, I always fall back on chocolate cake. No matter where I am in my life, I consider it healthy. I could not live in a world without it.

I may eat the kale salads and vegetables but I can promise you that if my day has been hard, nothing makes me feel better than to make this chocolate cake. Whether I am making it for my family, or dropping it off to someone who might need it more…

Chocolate cake heals all wounds.

IMG_9120.jpg

Ingredients:

(For The Cake)

1 box Duncan Hines Devils Food Cake

1 small box Jello Instant chocolate pudding

4 eggs

1 cup sour cream

1/2 cup whole milk

1 cup oil

1 TB. vanilla

1 1/2 cups chocolate chips

(For the Glaze)

6 TB. cocoa powder

4 TB. melted salted butter

2 cups powdered sugar

5 TB. hot water

1/2 -3/4 cup chocolate chips

Directions:

  1. Preheat the oven to 350 degrees.

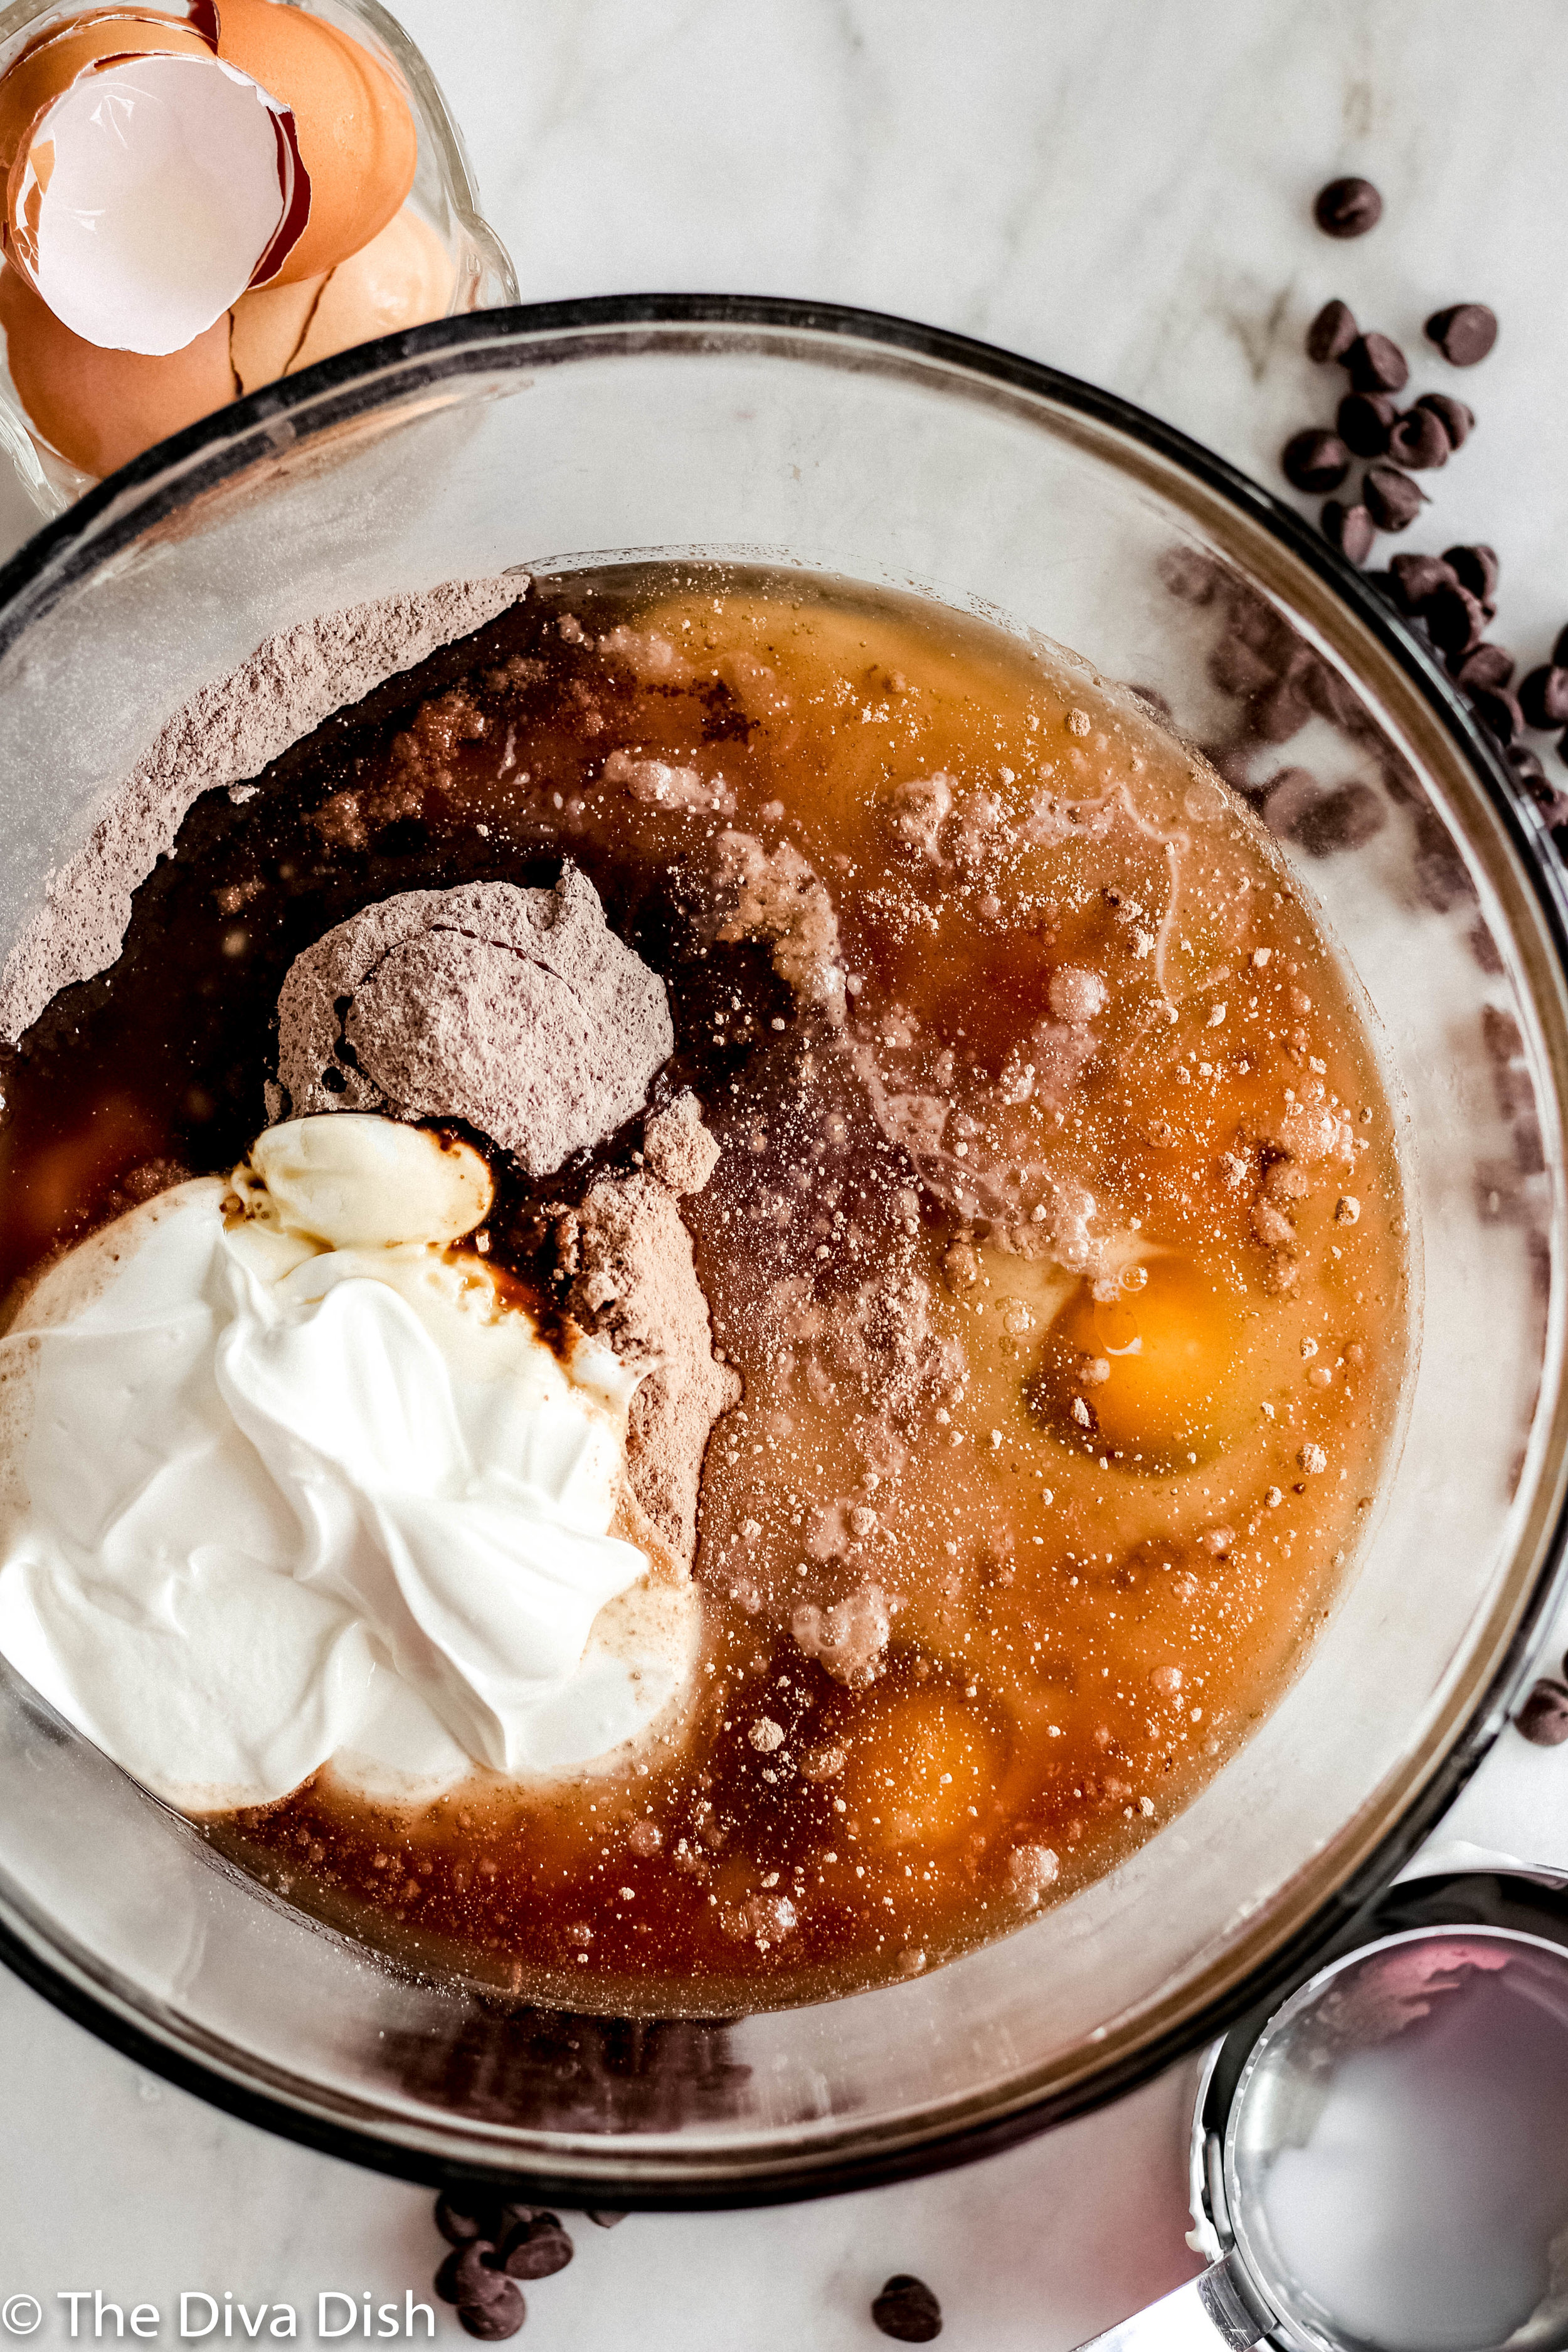
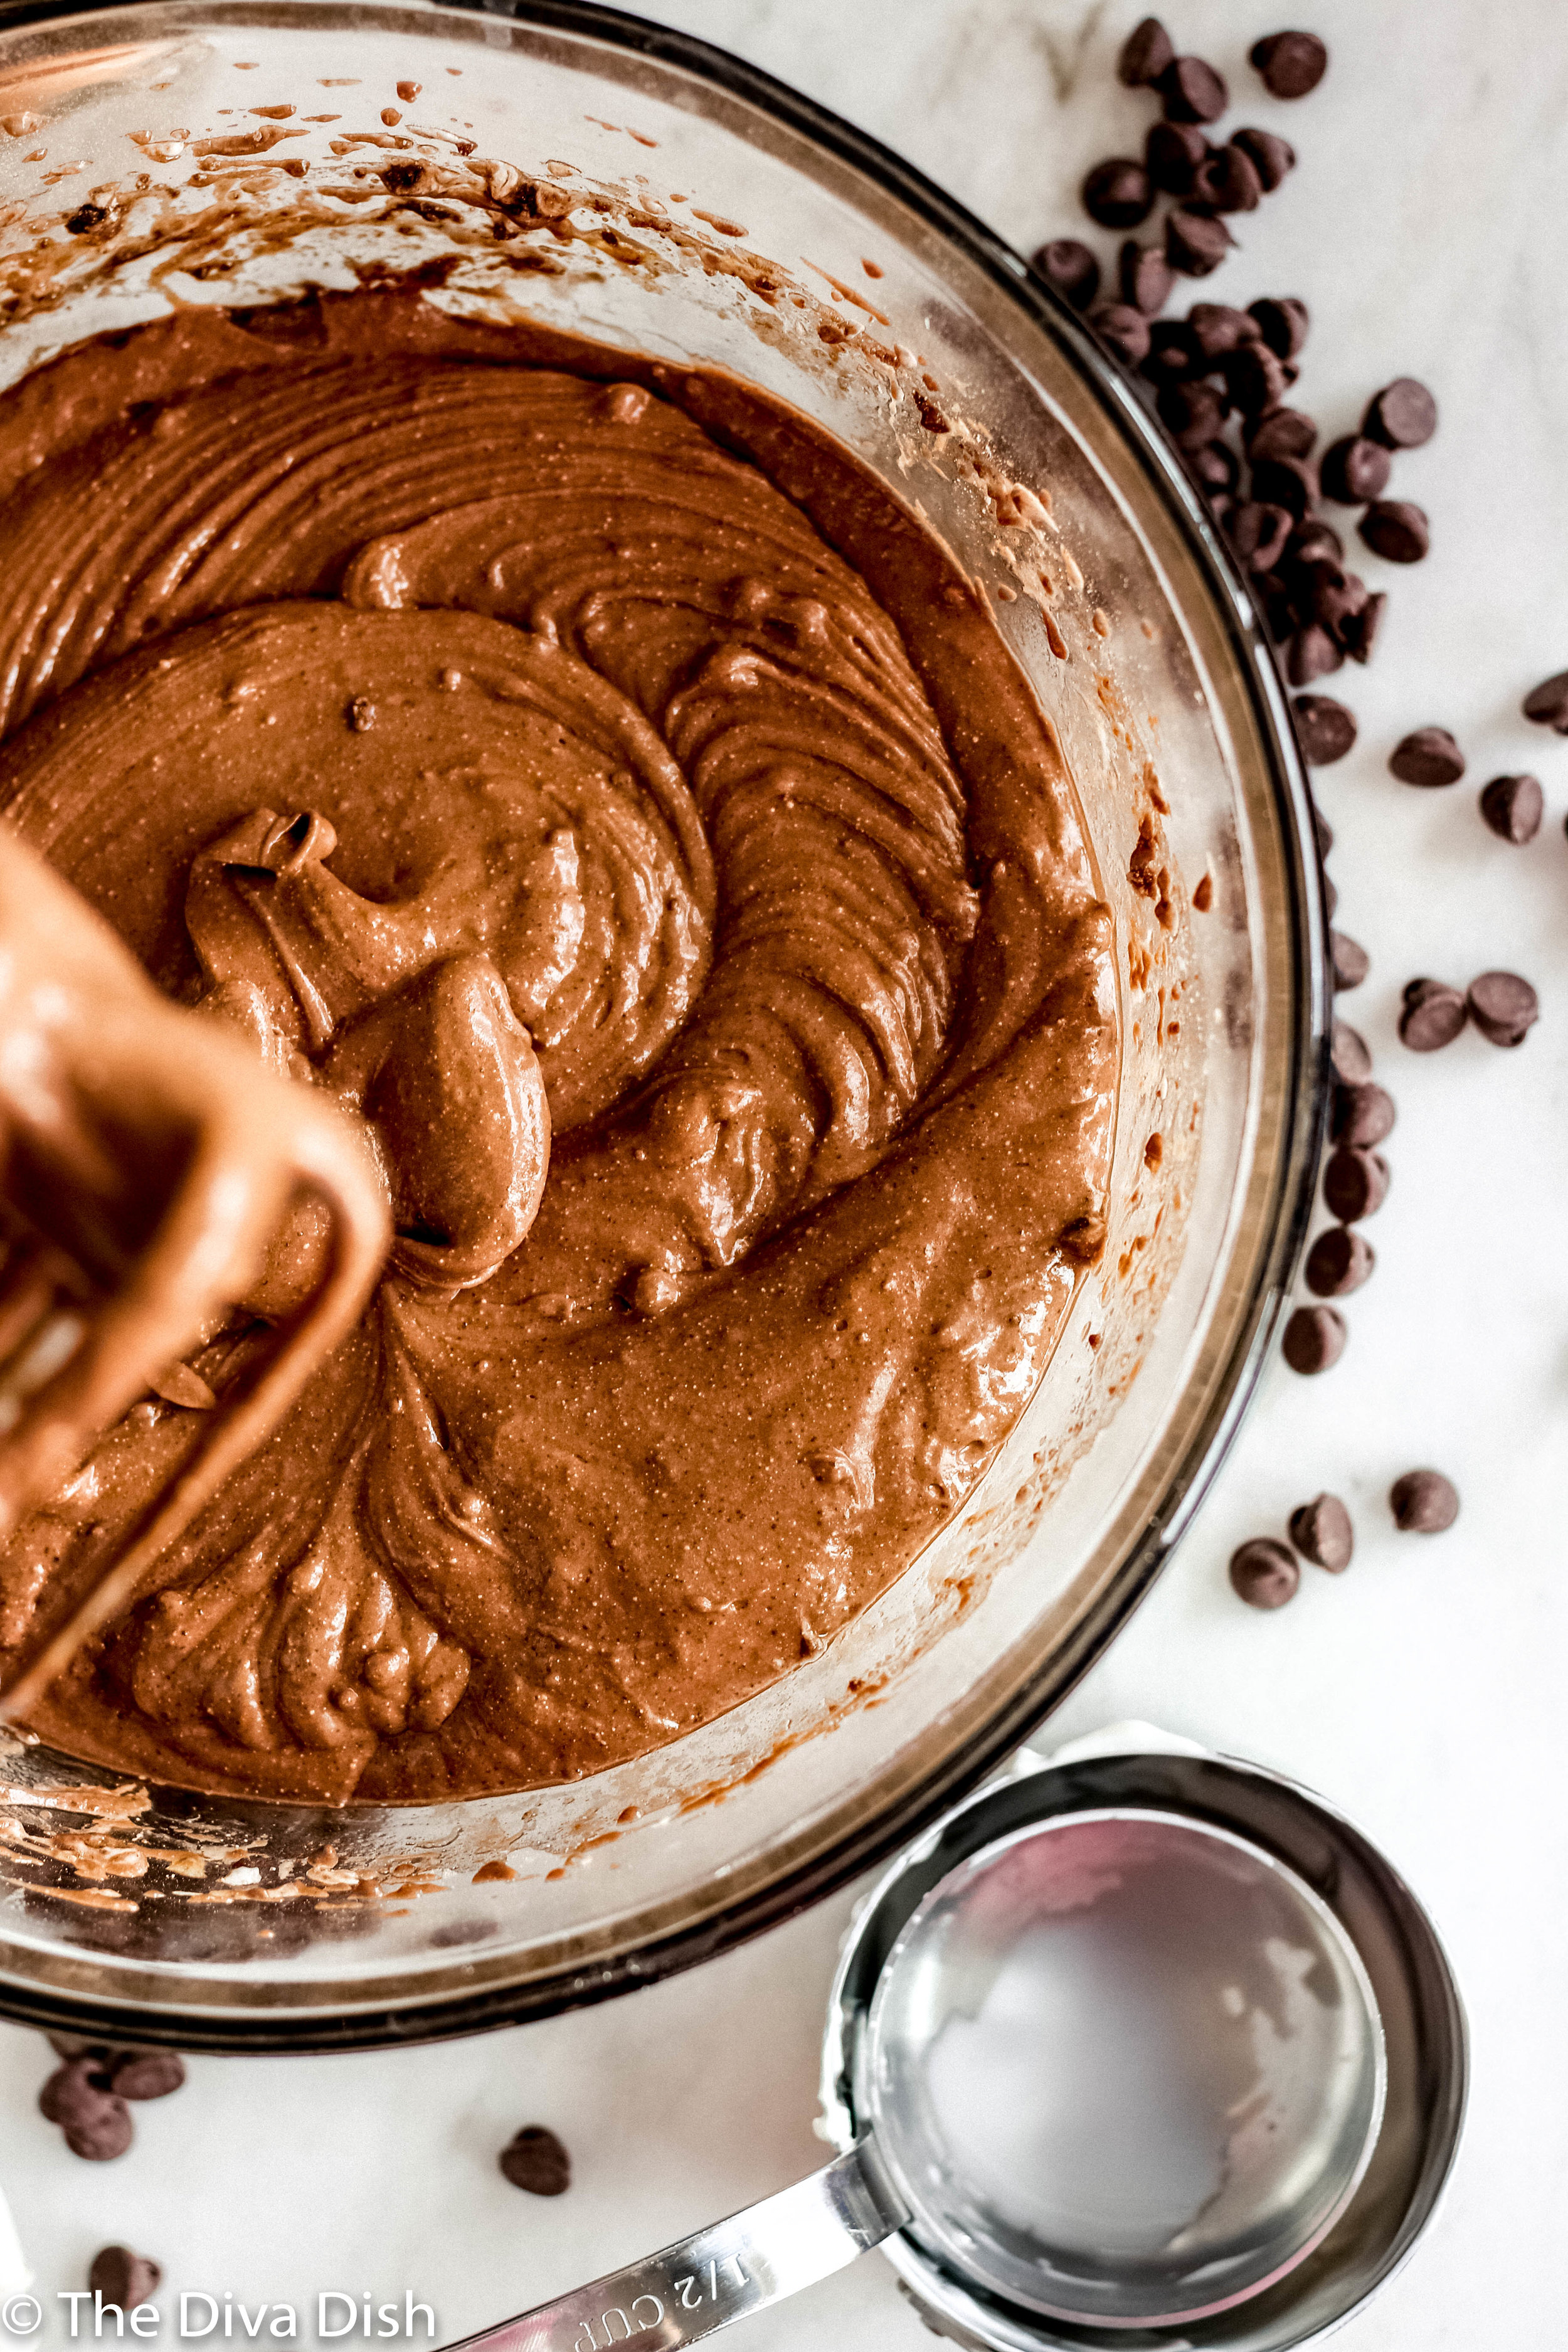
  2. In a large mixing bowl add all the cake ingredients except the chocolate chips. Using a hand mixer, beat the ingredients until they come together and the batter is nice and smooth.

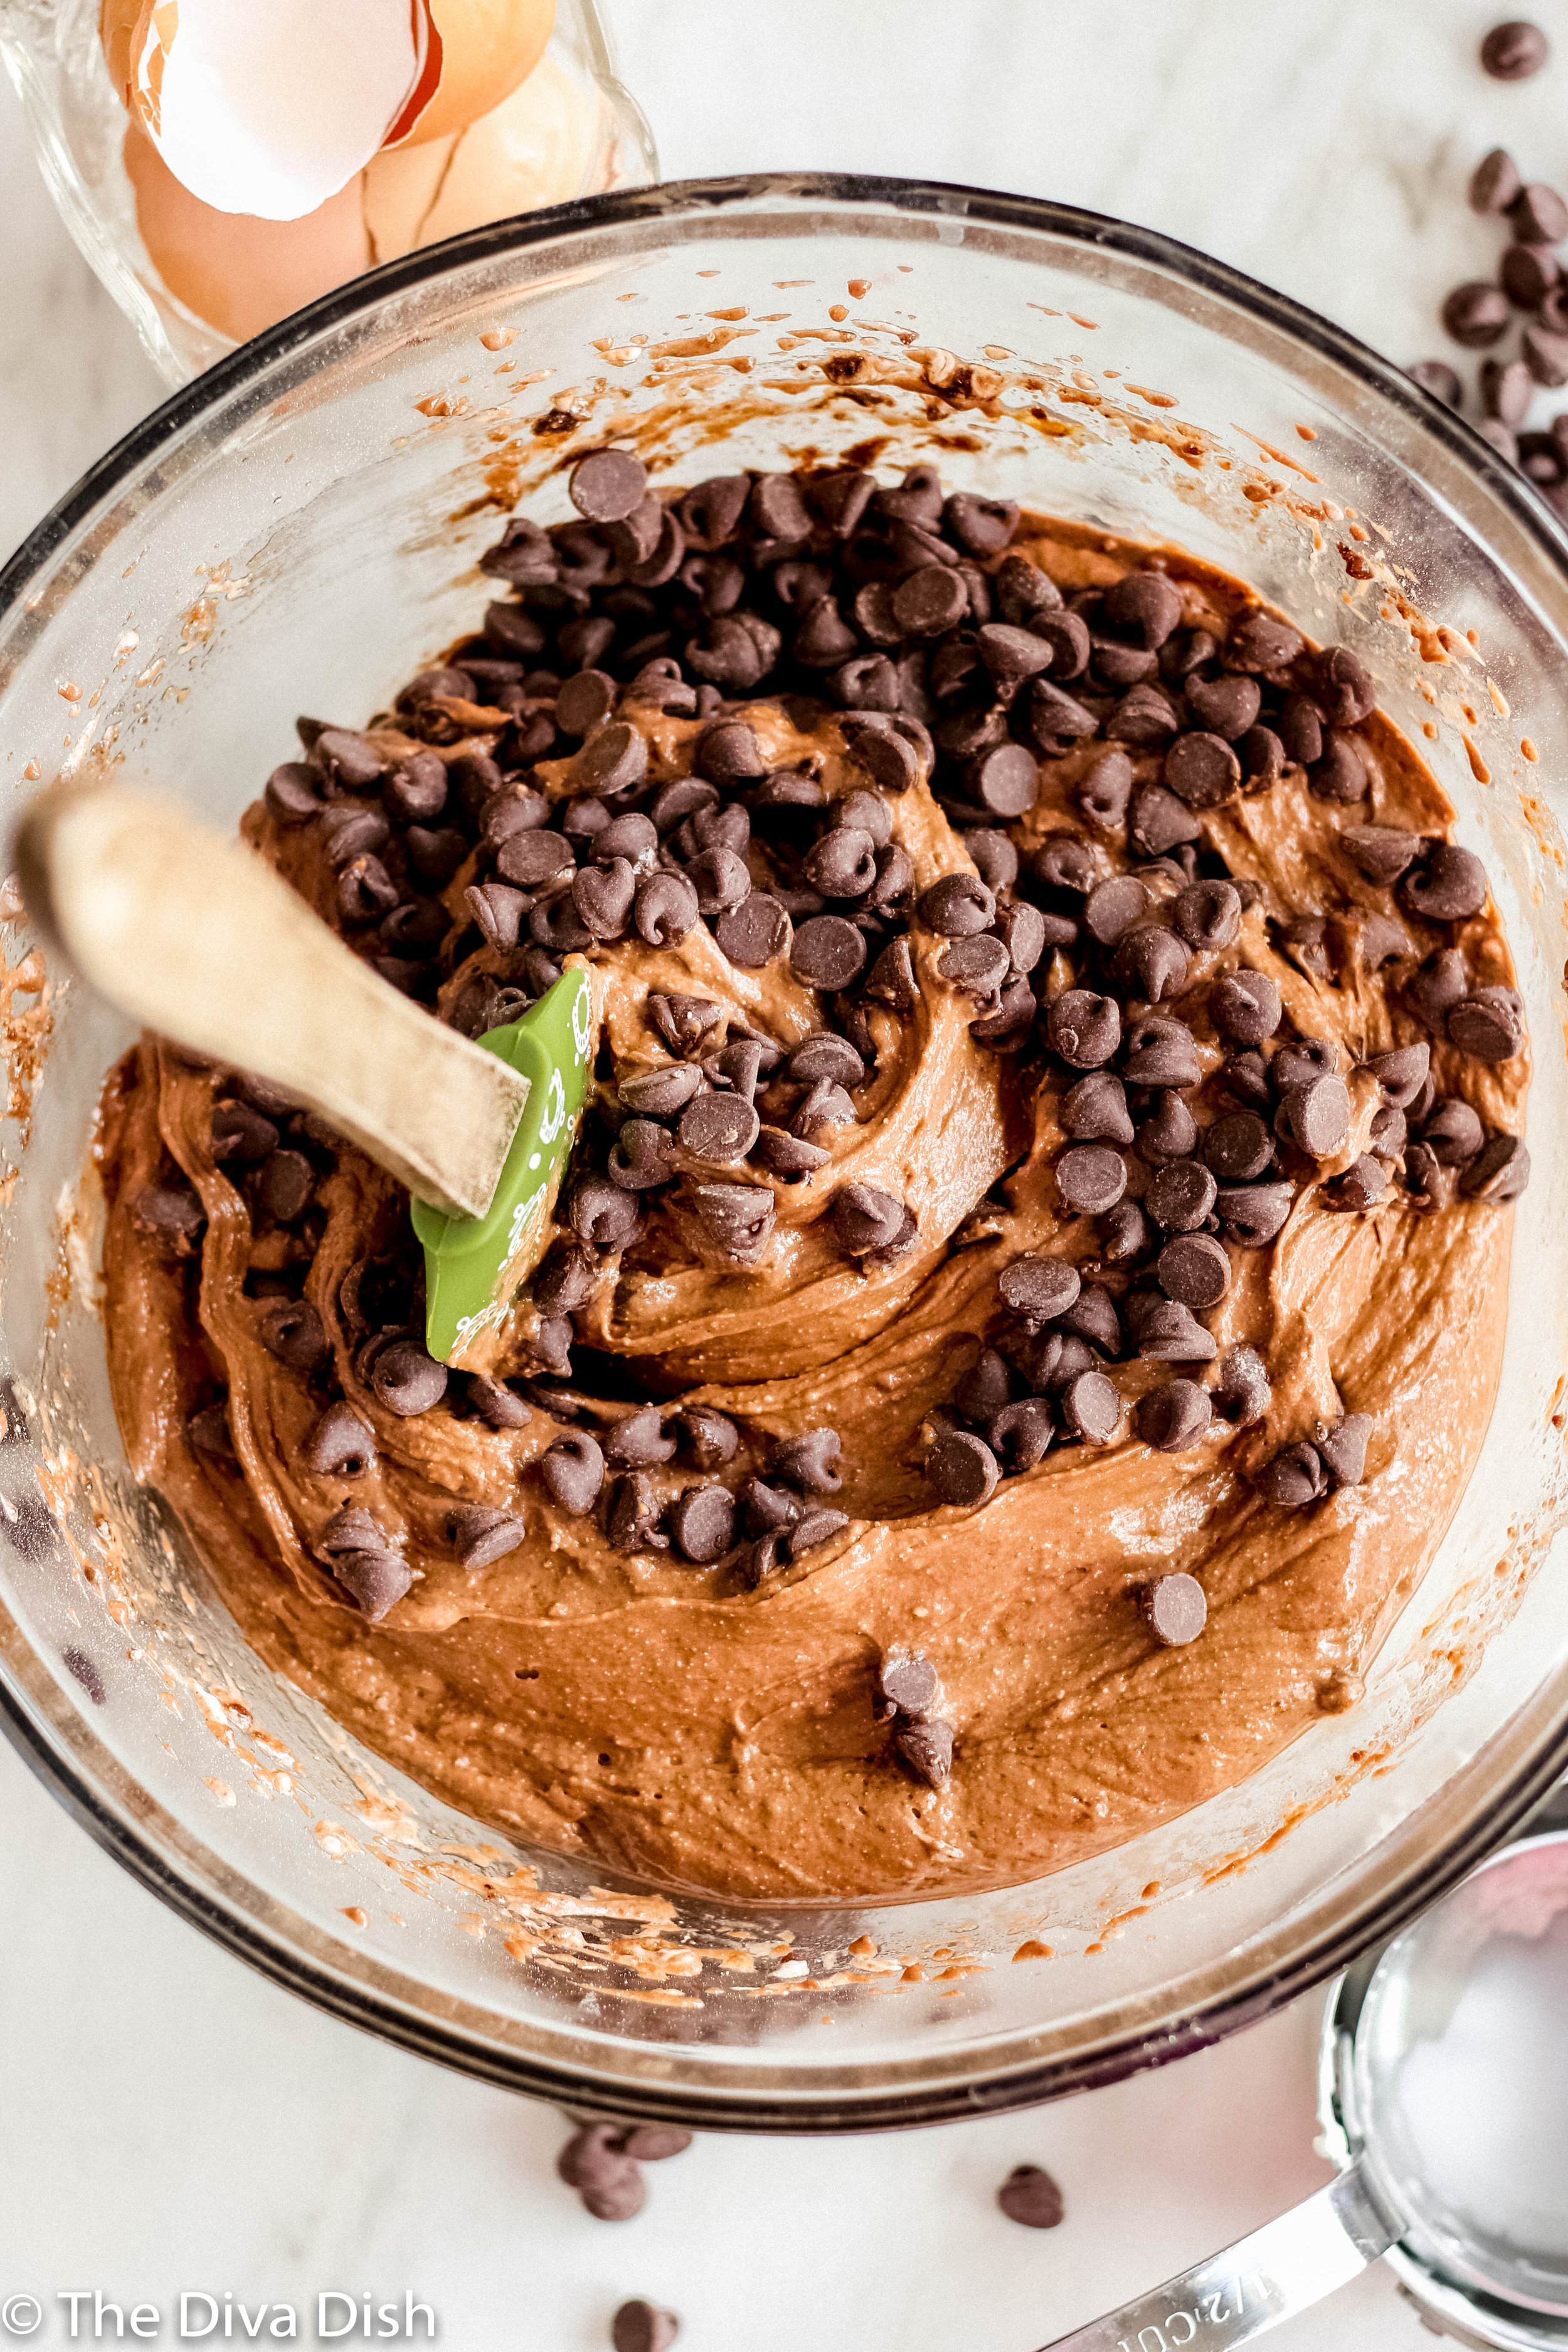
  3. Fold in the chocolate chips.

  4. Generously grease a bundt pan.

  5. Pour the batter into the bundt pan and smooth it so it’s completely even on top, meaning there isn’t more batter to one side or other other.

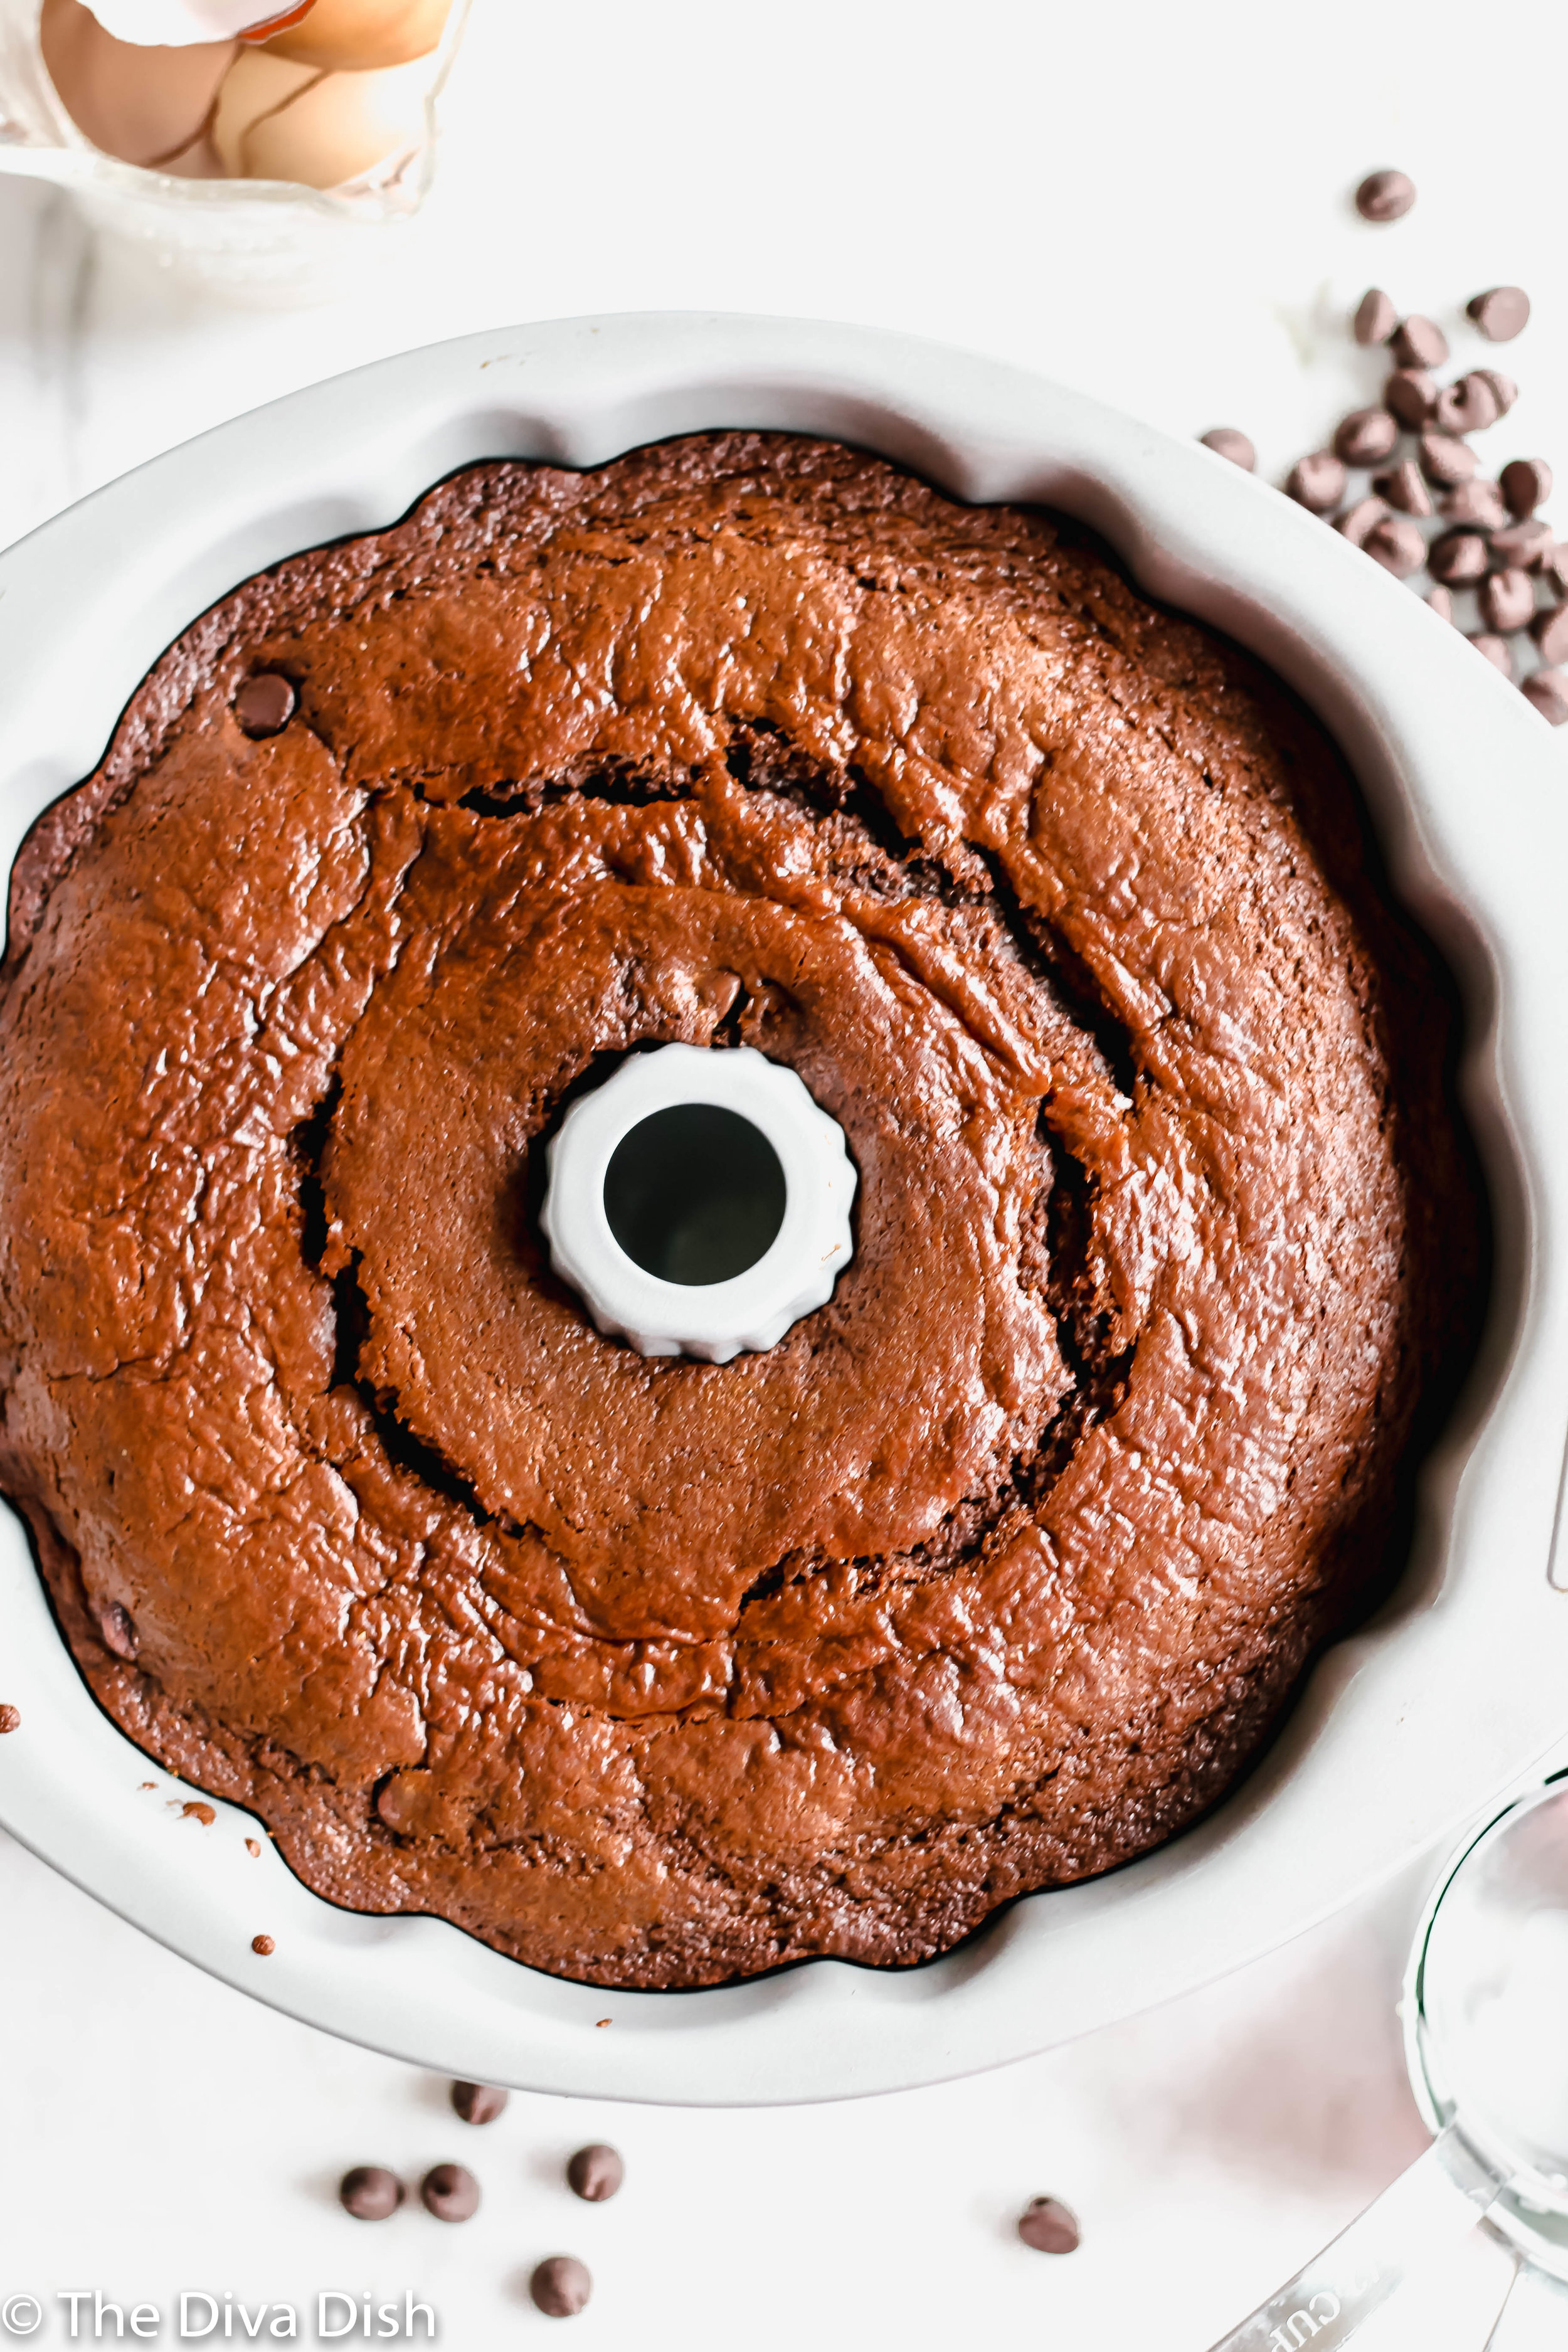
  6. Bake in the oven for 30-40 minutes, or until the top bounces back and is completely cooked.

  7. Let cool completely. Then remove and place on a cake stand.

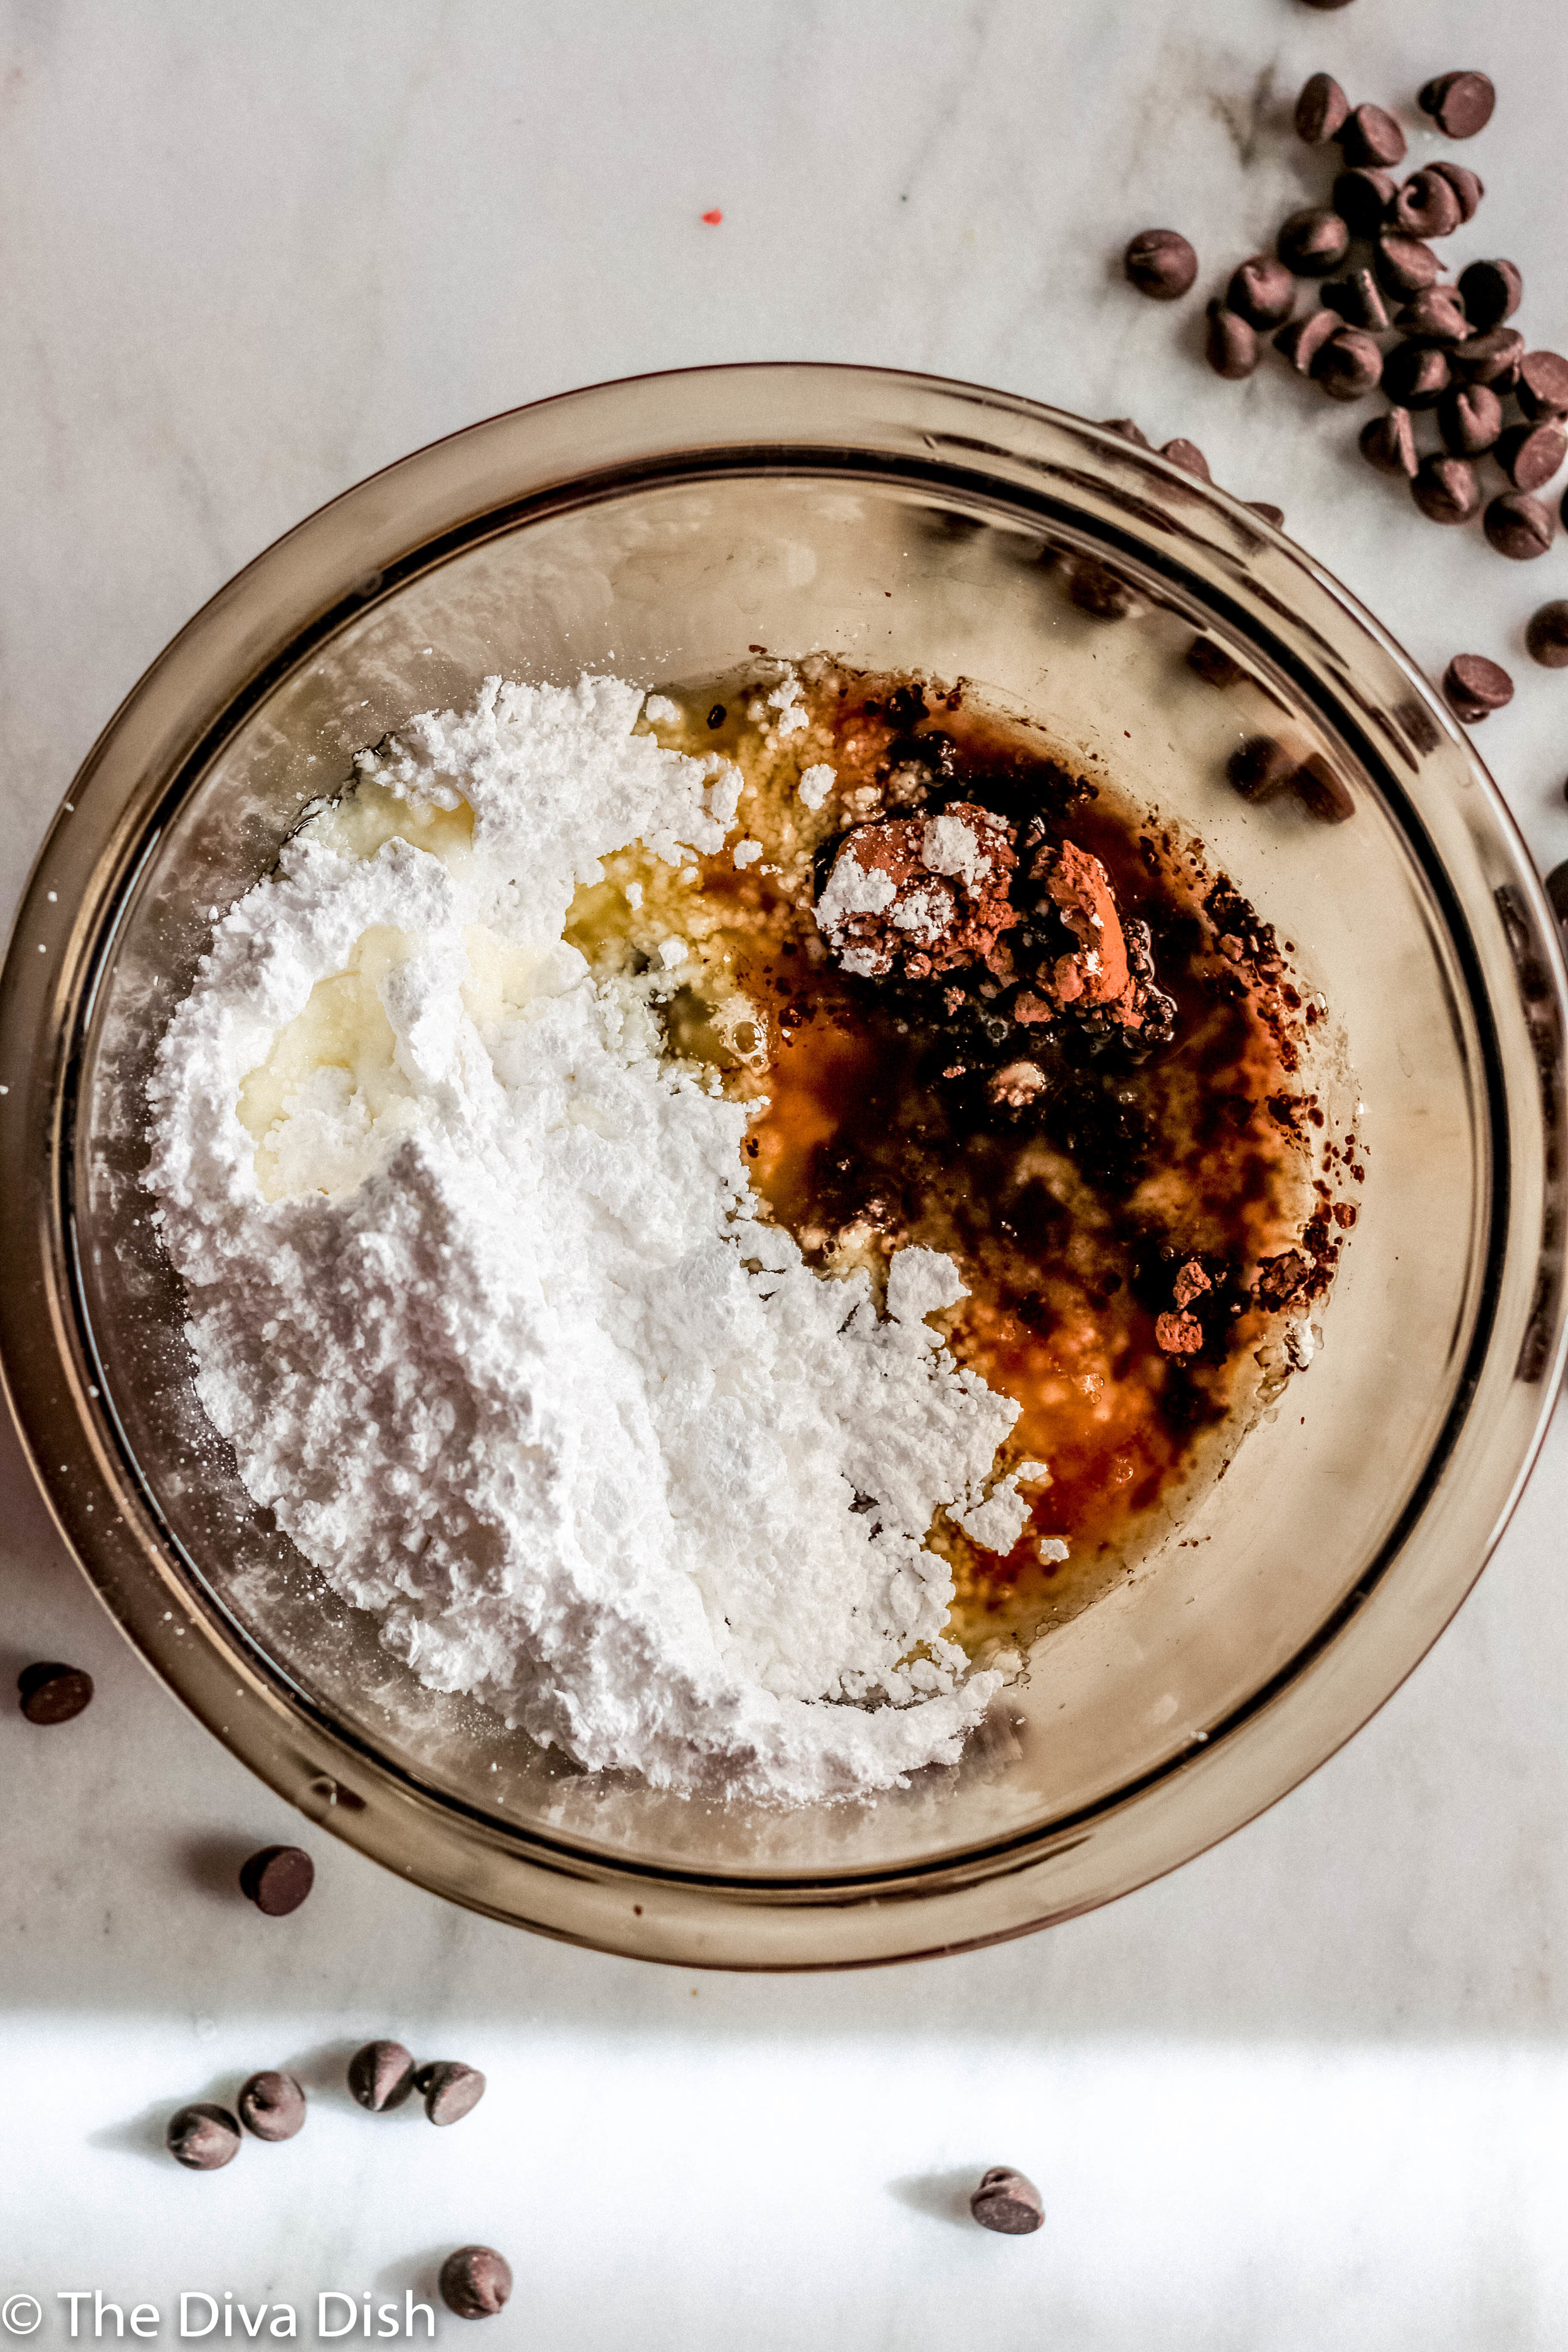
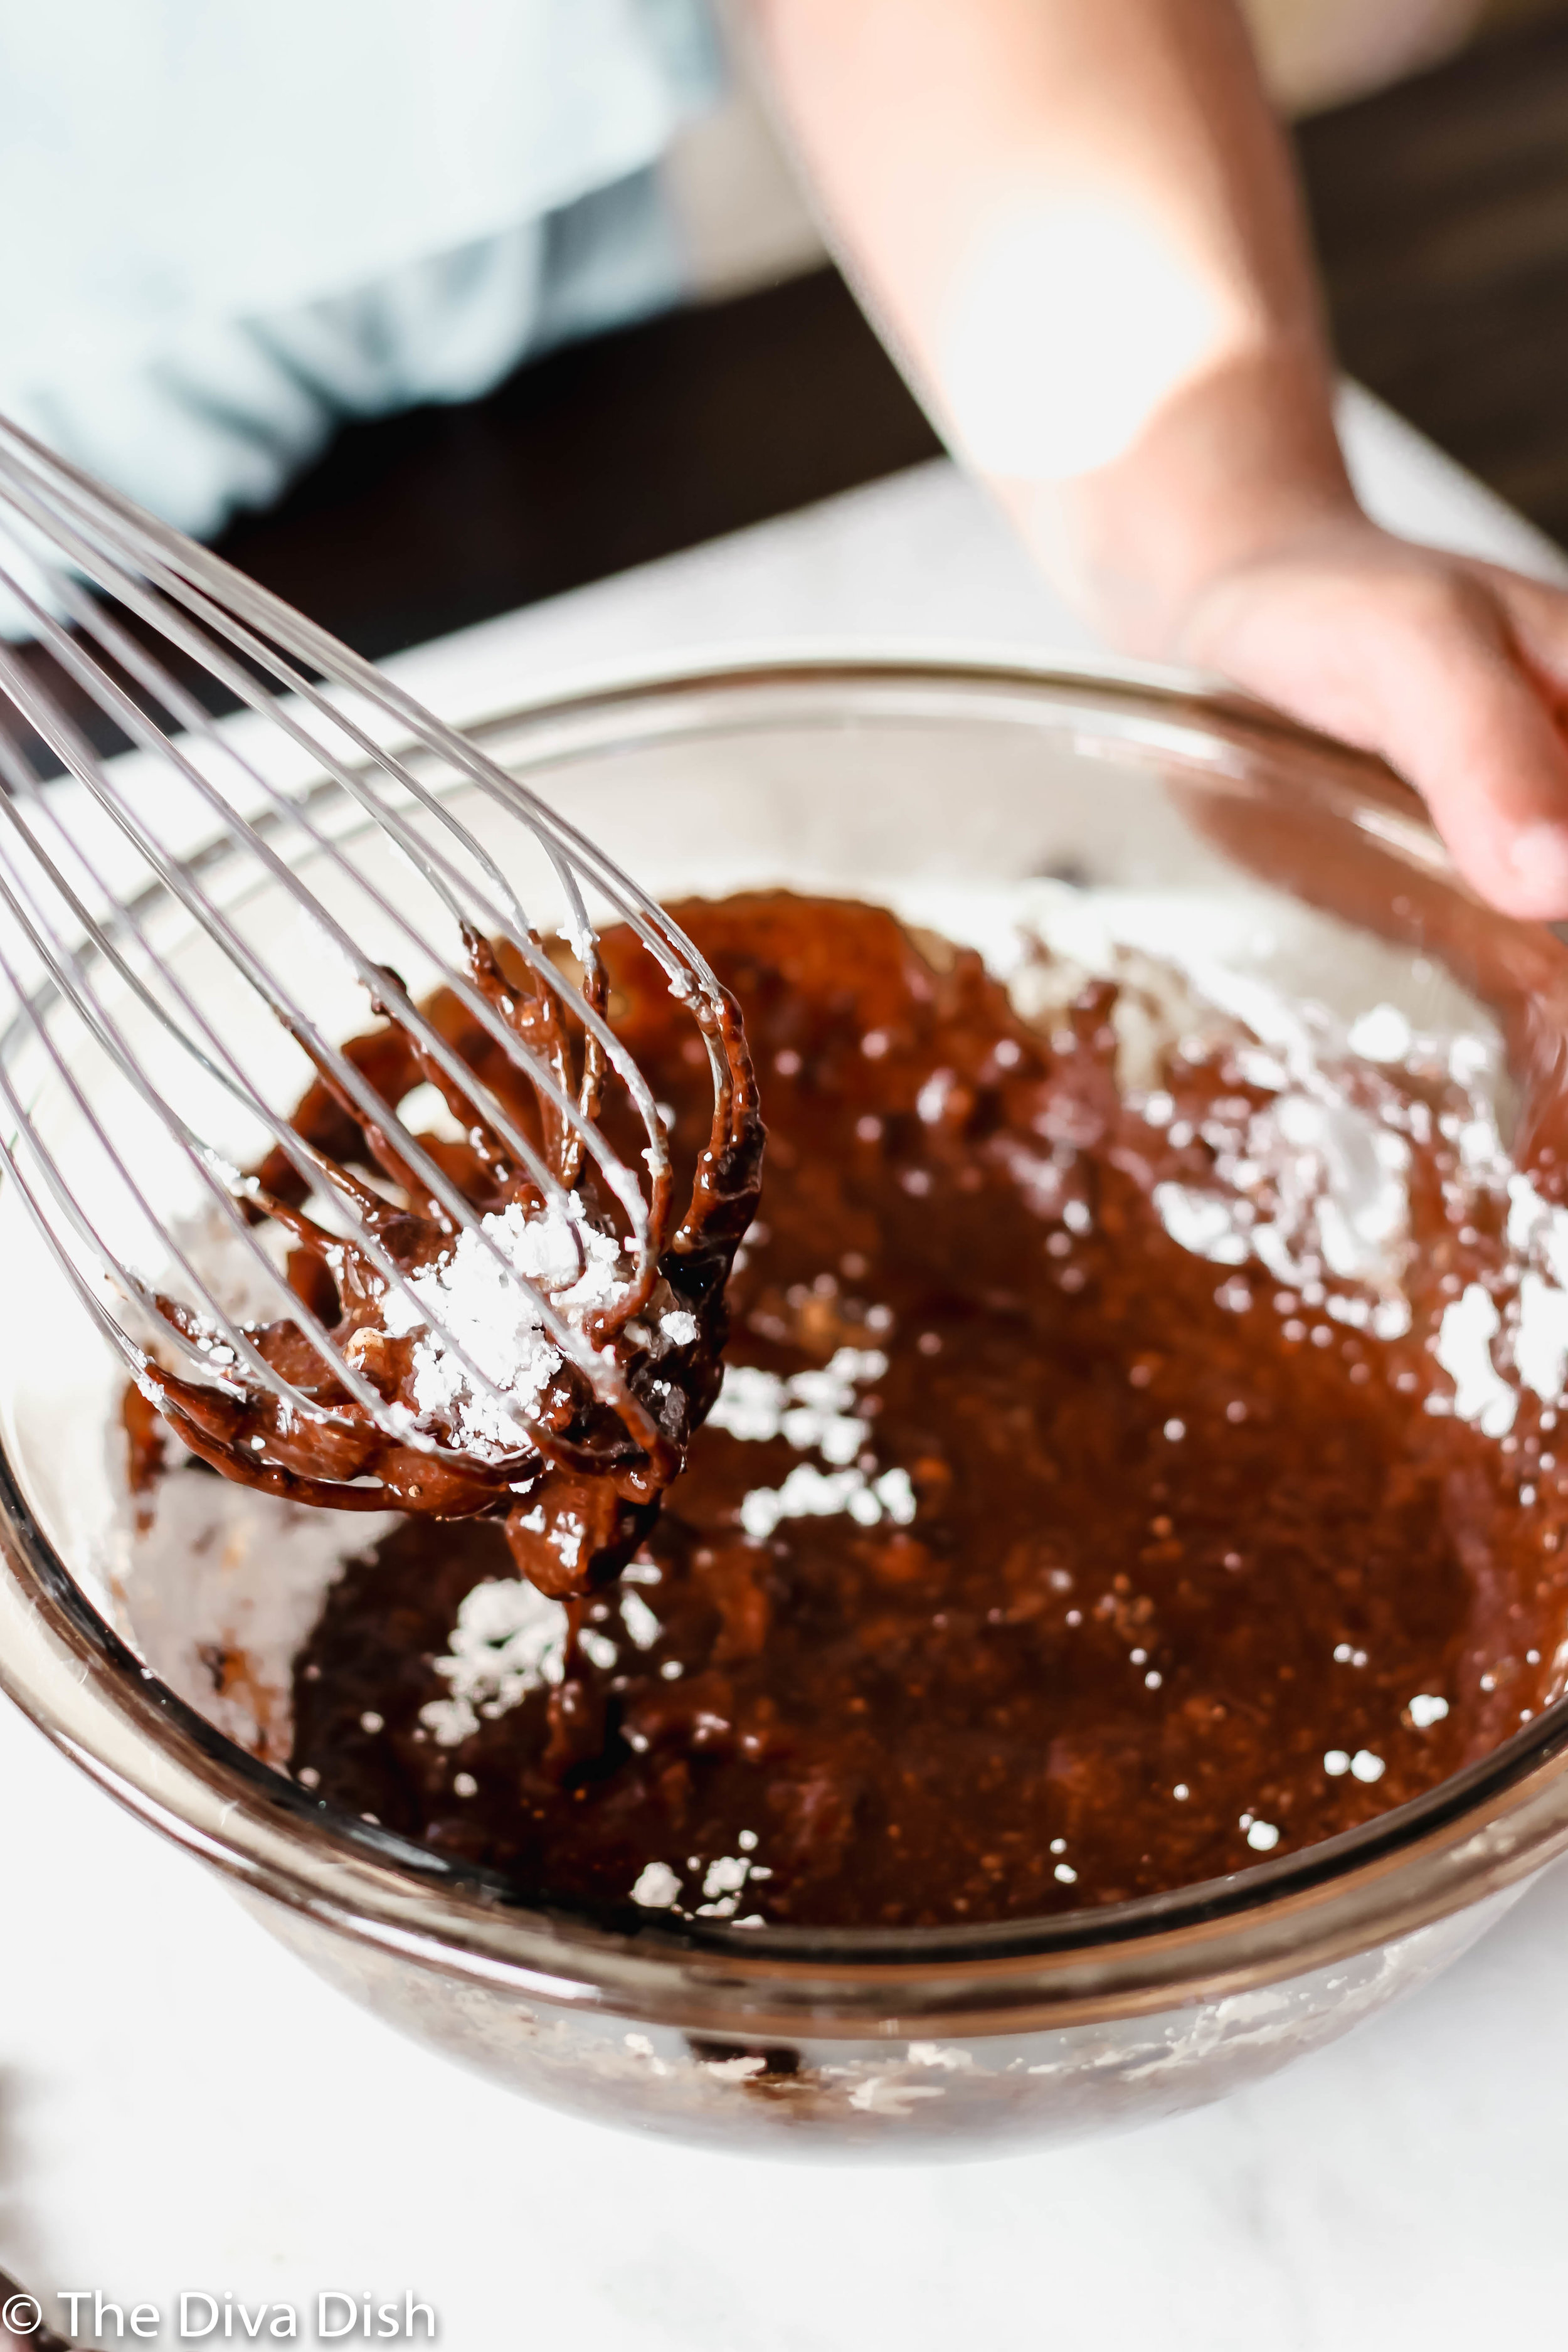
  8. To make the glaze, add all ingredients minus the chocolate chips into a bowl and whisk together until smooth. Immediately pour the glaze evenly over the bundt cake. Use all the glaze :). Top the bundt cake with chocolate chips. Enjoy!

  9. Keep the cake covered in a sealed cake container or wrapped in plastic wrap or foil up to 2 days. Best served fresh or the next morning with a big glass or milk :)!


The Best Supplements for Anxiety

*Taking natural supplements and vitamins has been one of the biggest game changers when it comes to my anxiety. I chose to take these supplements after much research and consulting with my doctor. Please do the same before taking any supplements!*

IMG_9152.jpg

You wouldn’t think that any regular vitamin you find at your local drug store would have such an impact on your mental health and well being, but I’m here to tell you that it’s true! I’m not a medical professional so I can’t tell you exactly WHY these things work, but after talking to my doctor, I learned that so many of us are really deficient in these nutrients, which makes us more susceptible to anxiety and depression.

Below I’ve compiled a list of the supplements I use. Feel free to test and see which ones will be best for you! (With help from your doctor!)


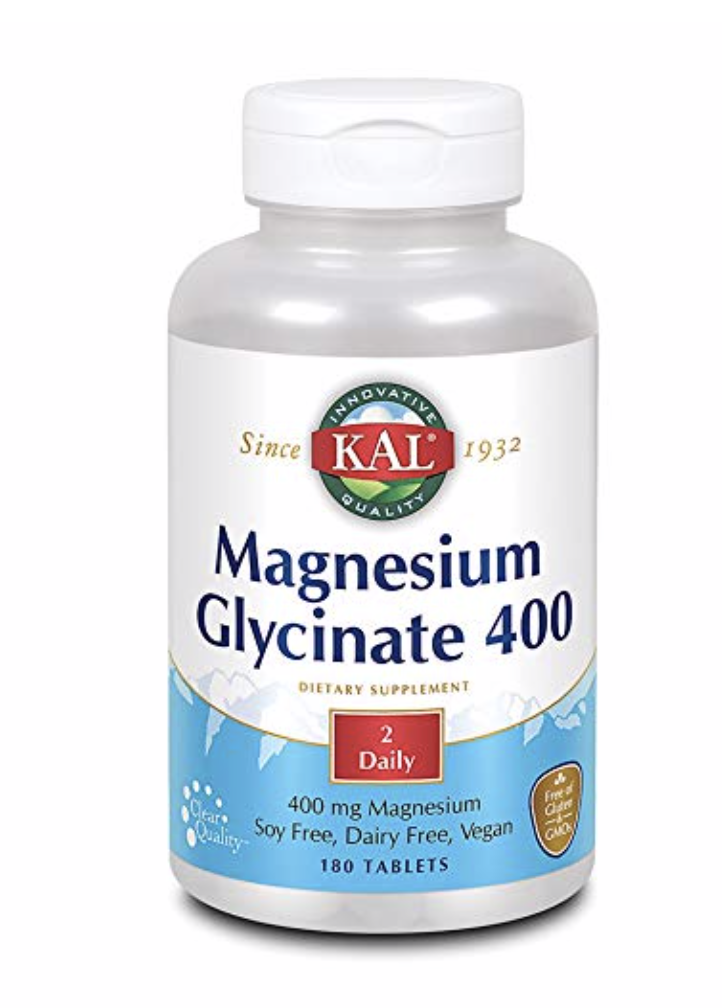
  1. Magnesium:

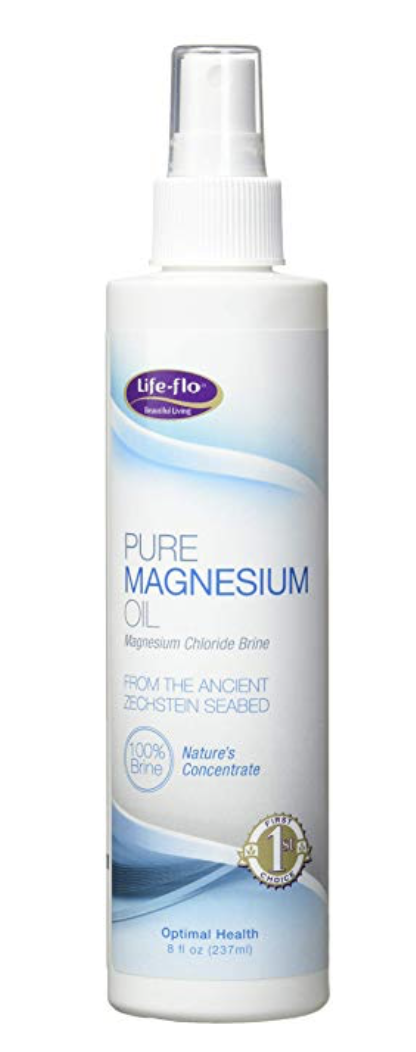
    -There are three different types of magnesium examples I gave you, so you wouldn’t take all three at once. I’ve always taken Magnesium in pill form, but recently my doctor told me to start using the concentrated oil because it absorbs better into our bodies vs. a pill form. I’ve definitely noticed a greater difference when I take it at night because it puts me right to sleep! I spray 4 sprays on the bottom of each foot and rub it in. Warning, it does sting a little the first few uses which is a sign that you are insufficient in magnesium! But it goes away after a few uses.

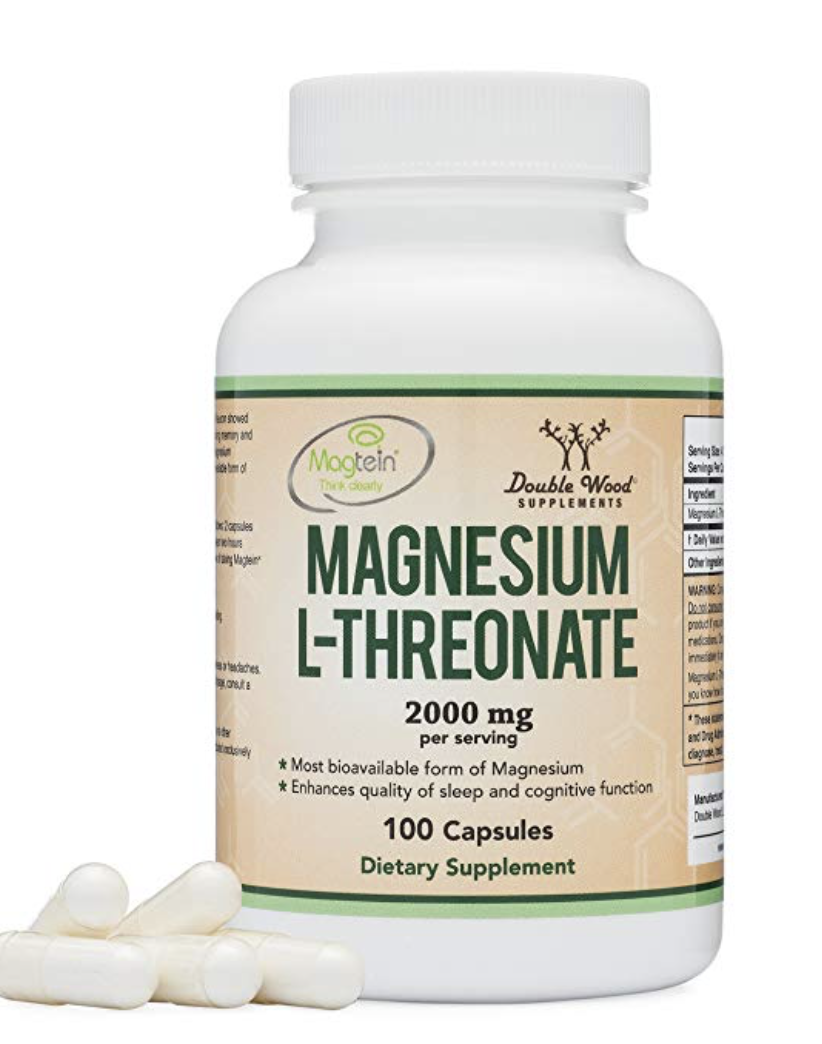
    - Be careful because there are so many different types of Magnesiums out there that most of them are just a laxative. I stick with Glycinate and Citrate. Recently I’ve noticed that Magnesium L-Threonate has great reviews but I haven’t tried it so I added it just in case you want to research. I’m really loving the oil at this point so for now that is what I am sticking with.

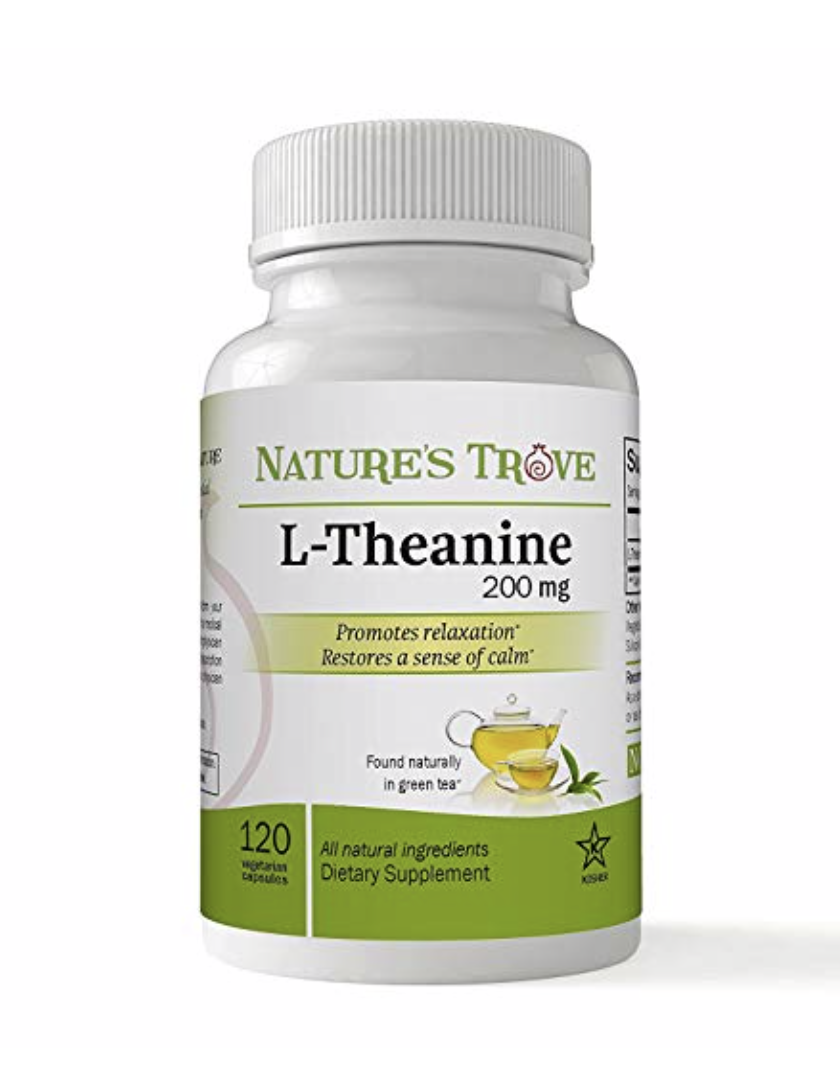
  2. L-Theanine:

    - My doctor suggested this to me because she said it has such a calming affect, and I totally agree. Luckily for me I take all of my supplements before bed, so i’m able to fall asleep pretty quickly. I thought about taking them more in the afternoon when things get stressful, but haven’t done so yet. L-Theanine is one of the main ingredients in green tea as well, so I love to drink iced green tea a lot!

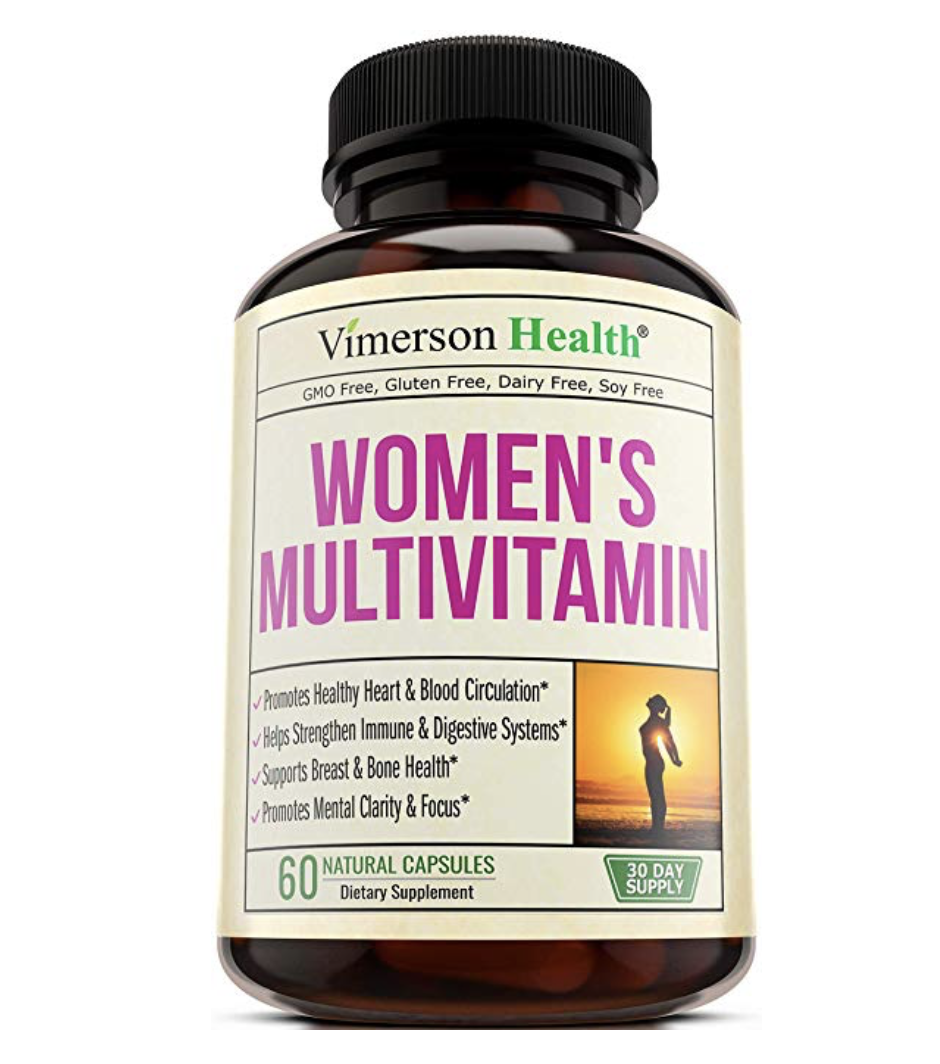
  3. Multvitamin:

    - Just having a good multi-vitamin that covers all your basic needs is important. A lot of times we are lacking in just simple nutrients which can affect out mental health, so a good vitamin will help take care of that.


Have you heard of any of these supplements, and if so have you used them and have they helped?! I would love to hear!

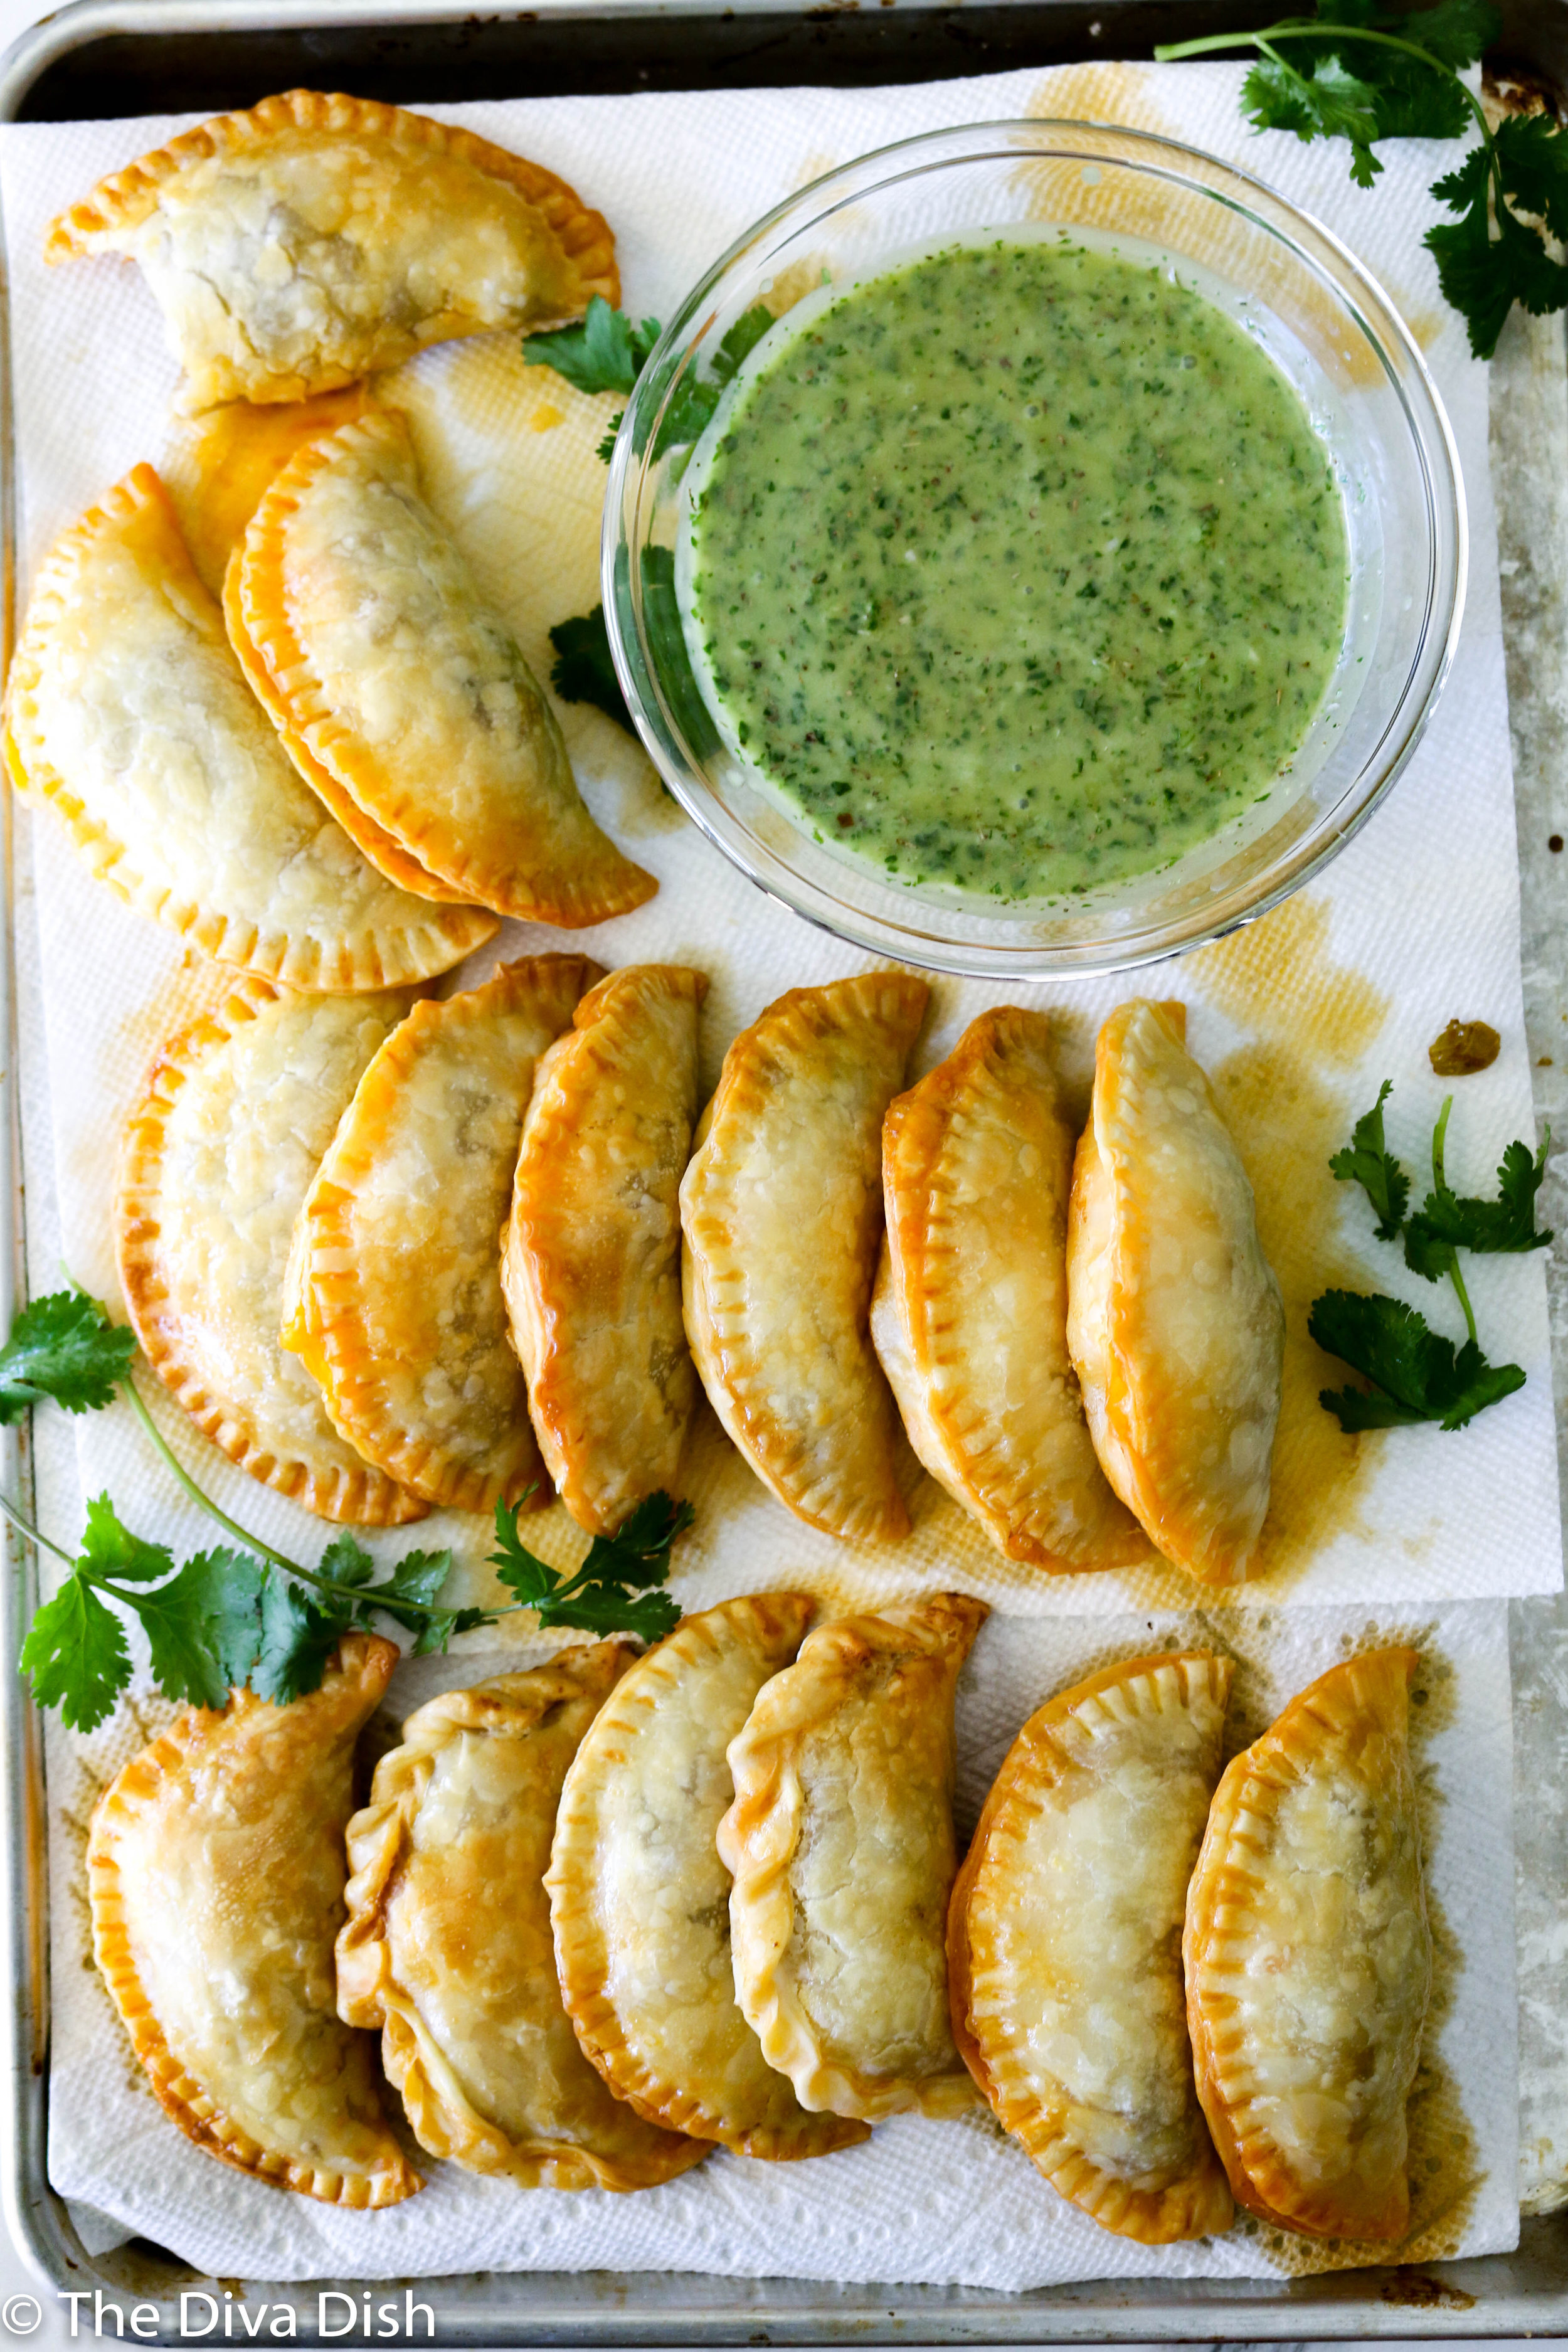
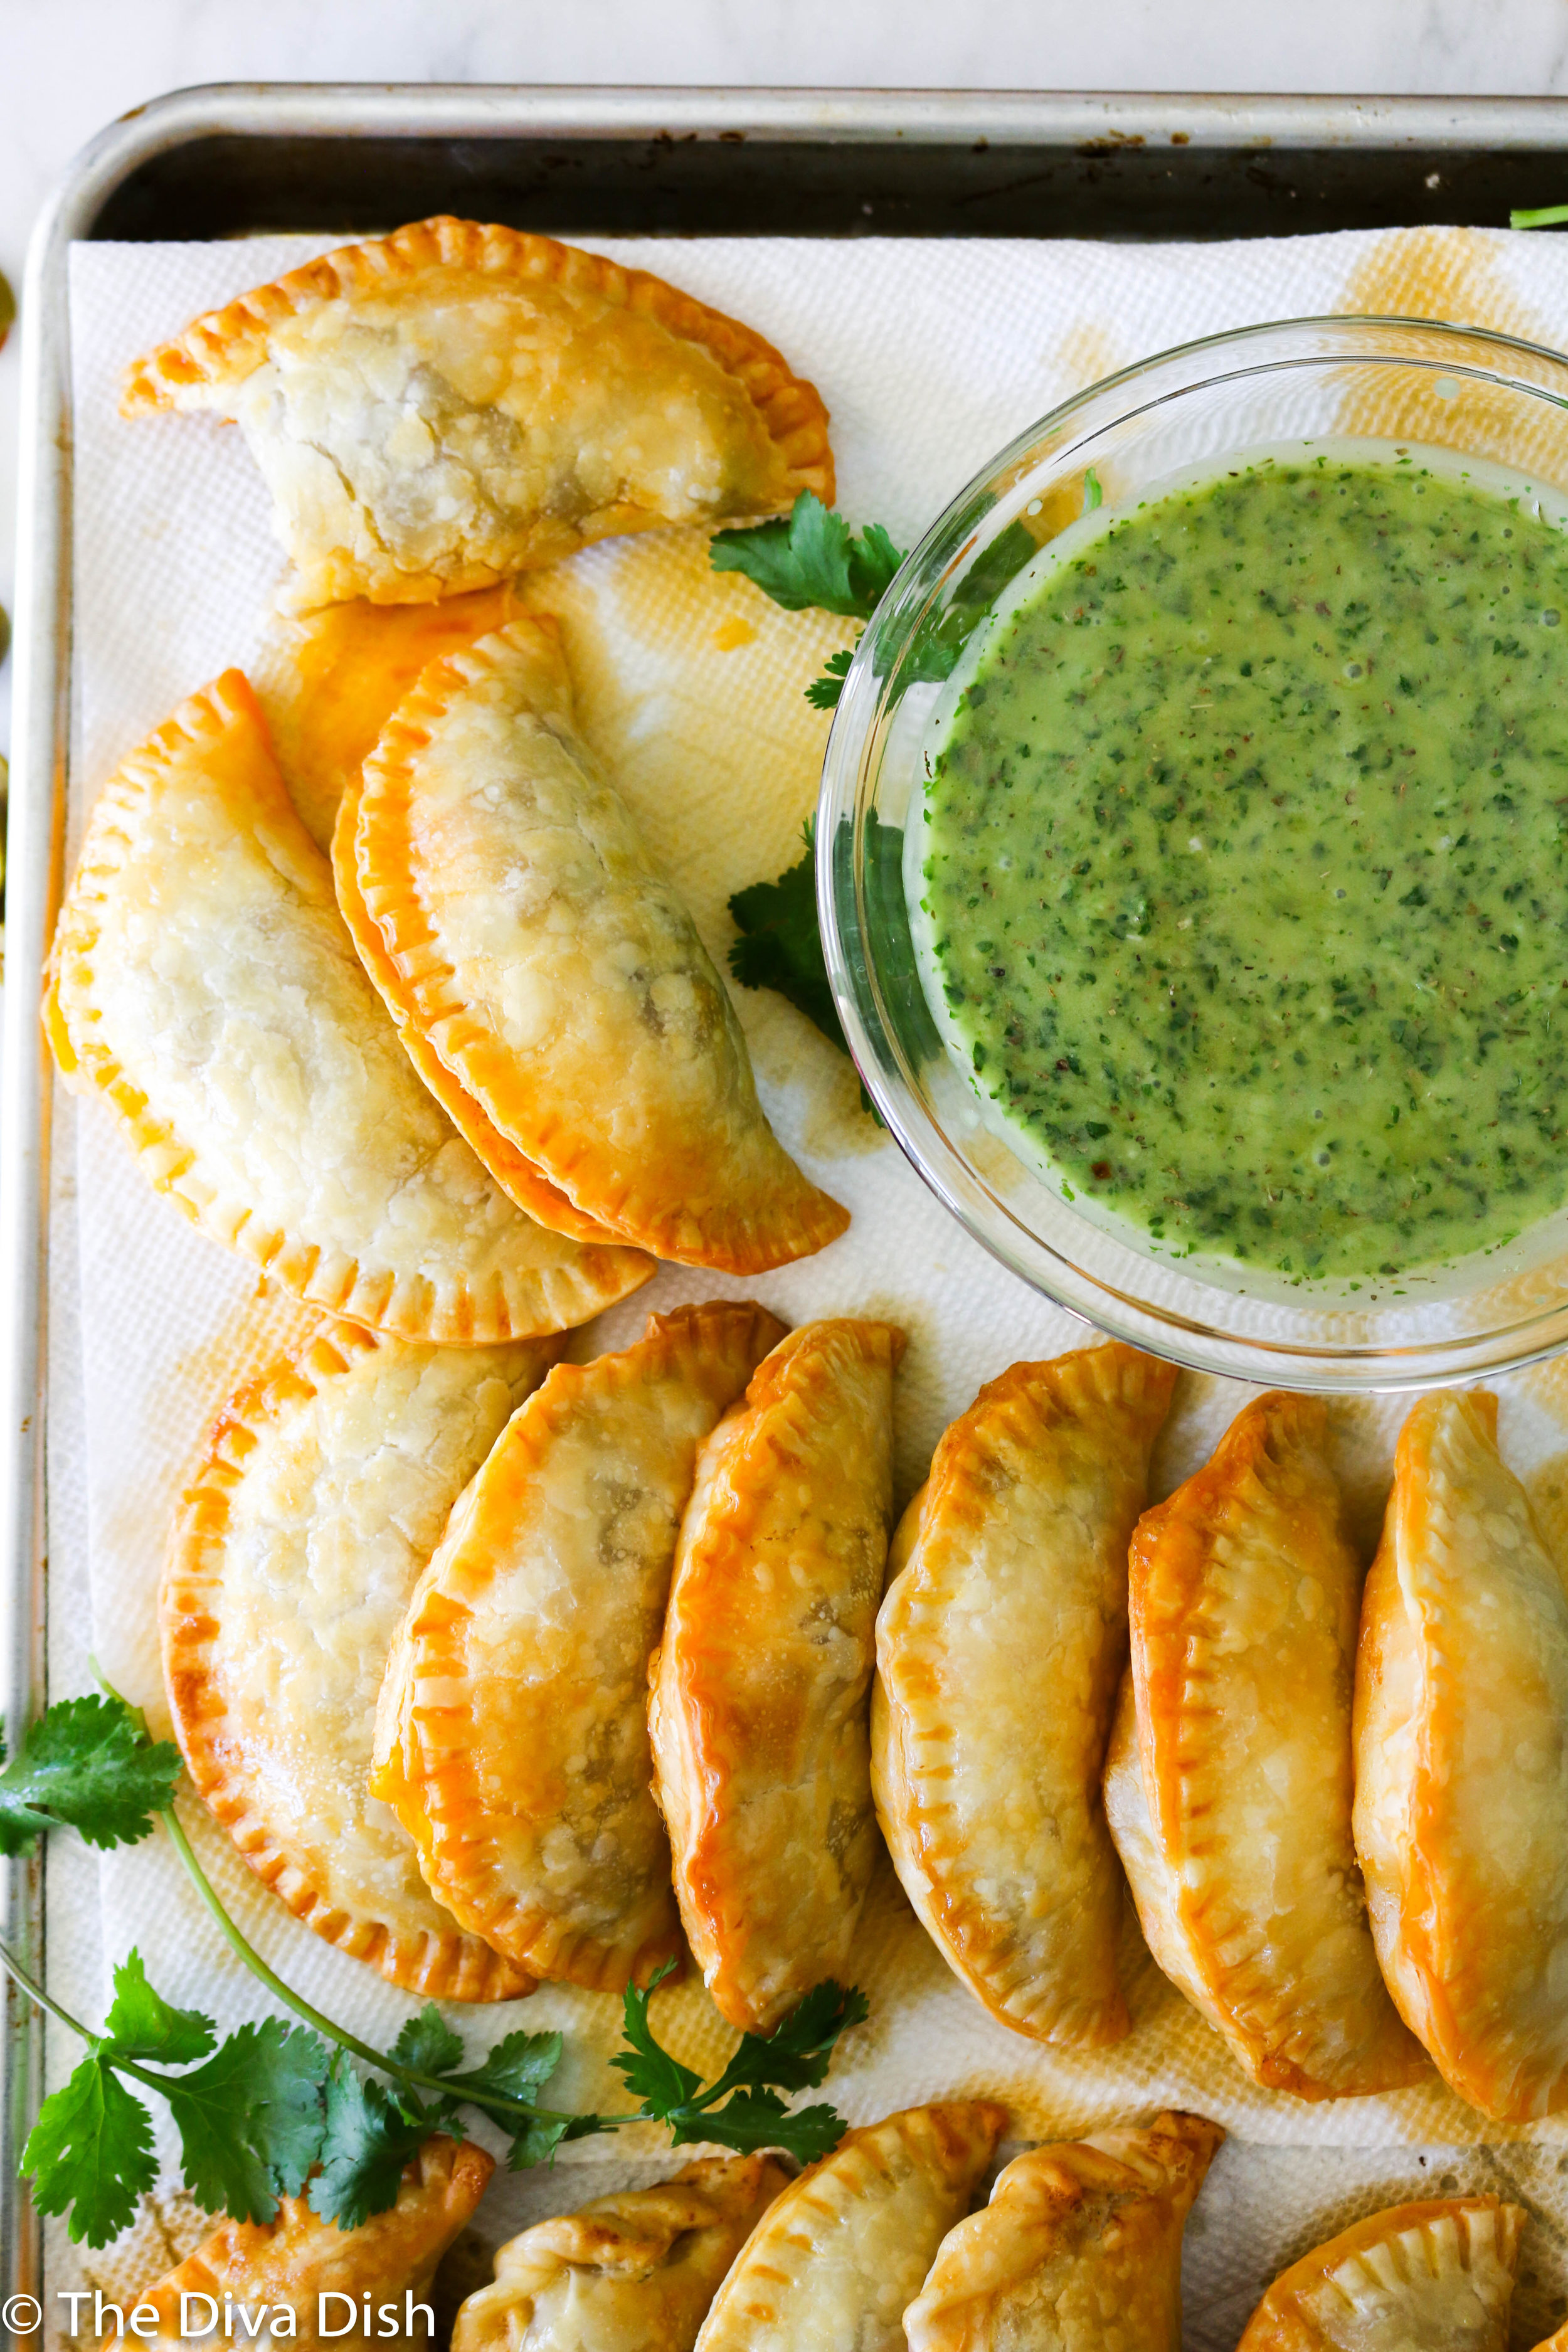
Argentine Empanadas w/ Chimichurri Sauce-My way

Empanadas are probably in my top 5 favorite foods! My family is Argentine, so we make them often and I’ve loved passing the tradition down to my girls. If you haven’t had an empanada before, it’s basically meat stuffed in pie dough. Pair it with the best chimichurri sauce, and you will be in heaven!
IMG_6526.jpeg

I’ll never forget the first time I had an empanada. I was in my early teens and my aunt and uncle had come to America for the very first time. All our family gathered at my grandma’s house as my aunt made Empanadas for our whole family.

It was so exciting because food really makes me happy, for one. But also because as an American kid, I had never really tried anything different than hamburgers and French fries. They were so good!

Since then, as relatives have traveled to the US to visit, I’ve requested empanadas. Last year when my cousin visited I asked if she could teach me how to make empanadas since I never learned. It was an amazing experience and I can’t wait to learn more traditional Argentine dishes that I can hopefully share with you again!

IMG_6528.jpeg

*Recipe Notes*

After making a empanadas a handful of times now, I’ve adjusted the recipe a tad. So these are kind of MY version of empanadas. Argentines are not huge on spice, but my husband and I are, so I added a lot more seasonings than my relatives do. My suggestion would be to adjust the flavors to your desired taste.

Also these contain a few ingredients that might seem questionable, such as eggs, green olives, and golden raisins. It’s one of my favorite things about the empanadas. My husband isn’t a fan of green olives so I’ll make half the batch without. Feel free to do so as well. I have had friends who are not green olive fans that love the taste of them in the empanadas. The main idea is just to go with what you think will taste best :).

Lastly….

This recipe makes a million empanadas. Like SO MUCH FILLING. But it’s the way I was taught, so I’ve always stuck with it. I usually freeze half the filling so that I can make more empanadas in the future and the filling is already done :).

Ingredients:

60 Empanada dough circles*

4-5 TB. olive oil

9 sweet yellow onions, diced

sprinkle of salt

1 bunch green onions, diced

4 roma tomatoes, chopped

3 pounds ground beef

2 TB. sugar

7 TB. paprika

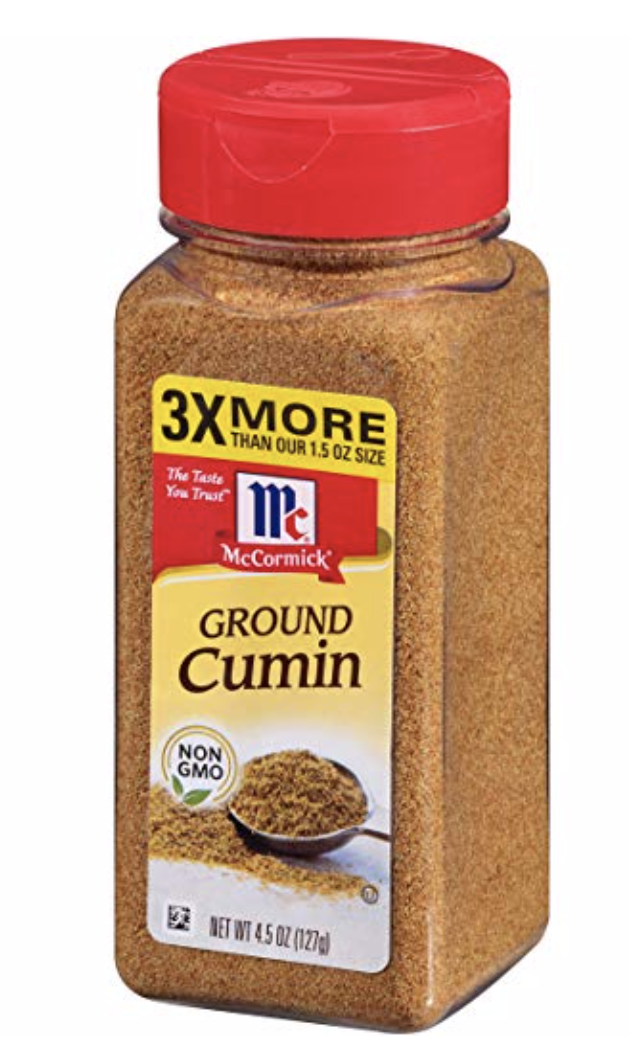
6-7 TB. cumin

2-5 TB. red pepper flakes (adjust to your desired spice)

salt and pepper to taste

1 1/2 cups golden raisins

1 1/2 cups green olives, halved

12 hard boiled eggs, each egg cut into 8ths

2 eggs, beaten for brushing on top of the empanada

*Empanada dough is similar to pie dough. You could definitely make it on your own, but there are markets that sell pre-made empanada dough already made in the discs. I just googled specialty markets in my area. Sometimes regular grocery stores sell them, you just need to call and check! They should be frozen when you get them. I will put the link of the disc I buy from our local store, but I wouldn’t suggest buying them from amazon as they are SUPER expensive!

Directions:

  1. If your empanada dough is frozen, make sure it has been thawing in the fridge for at least 24 hours.

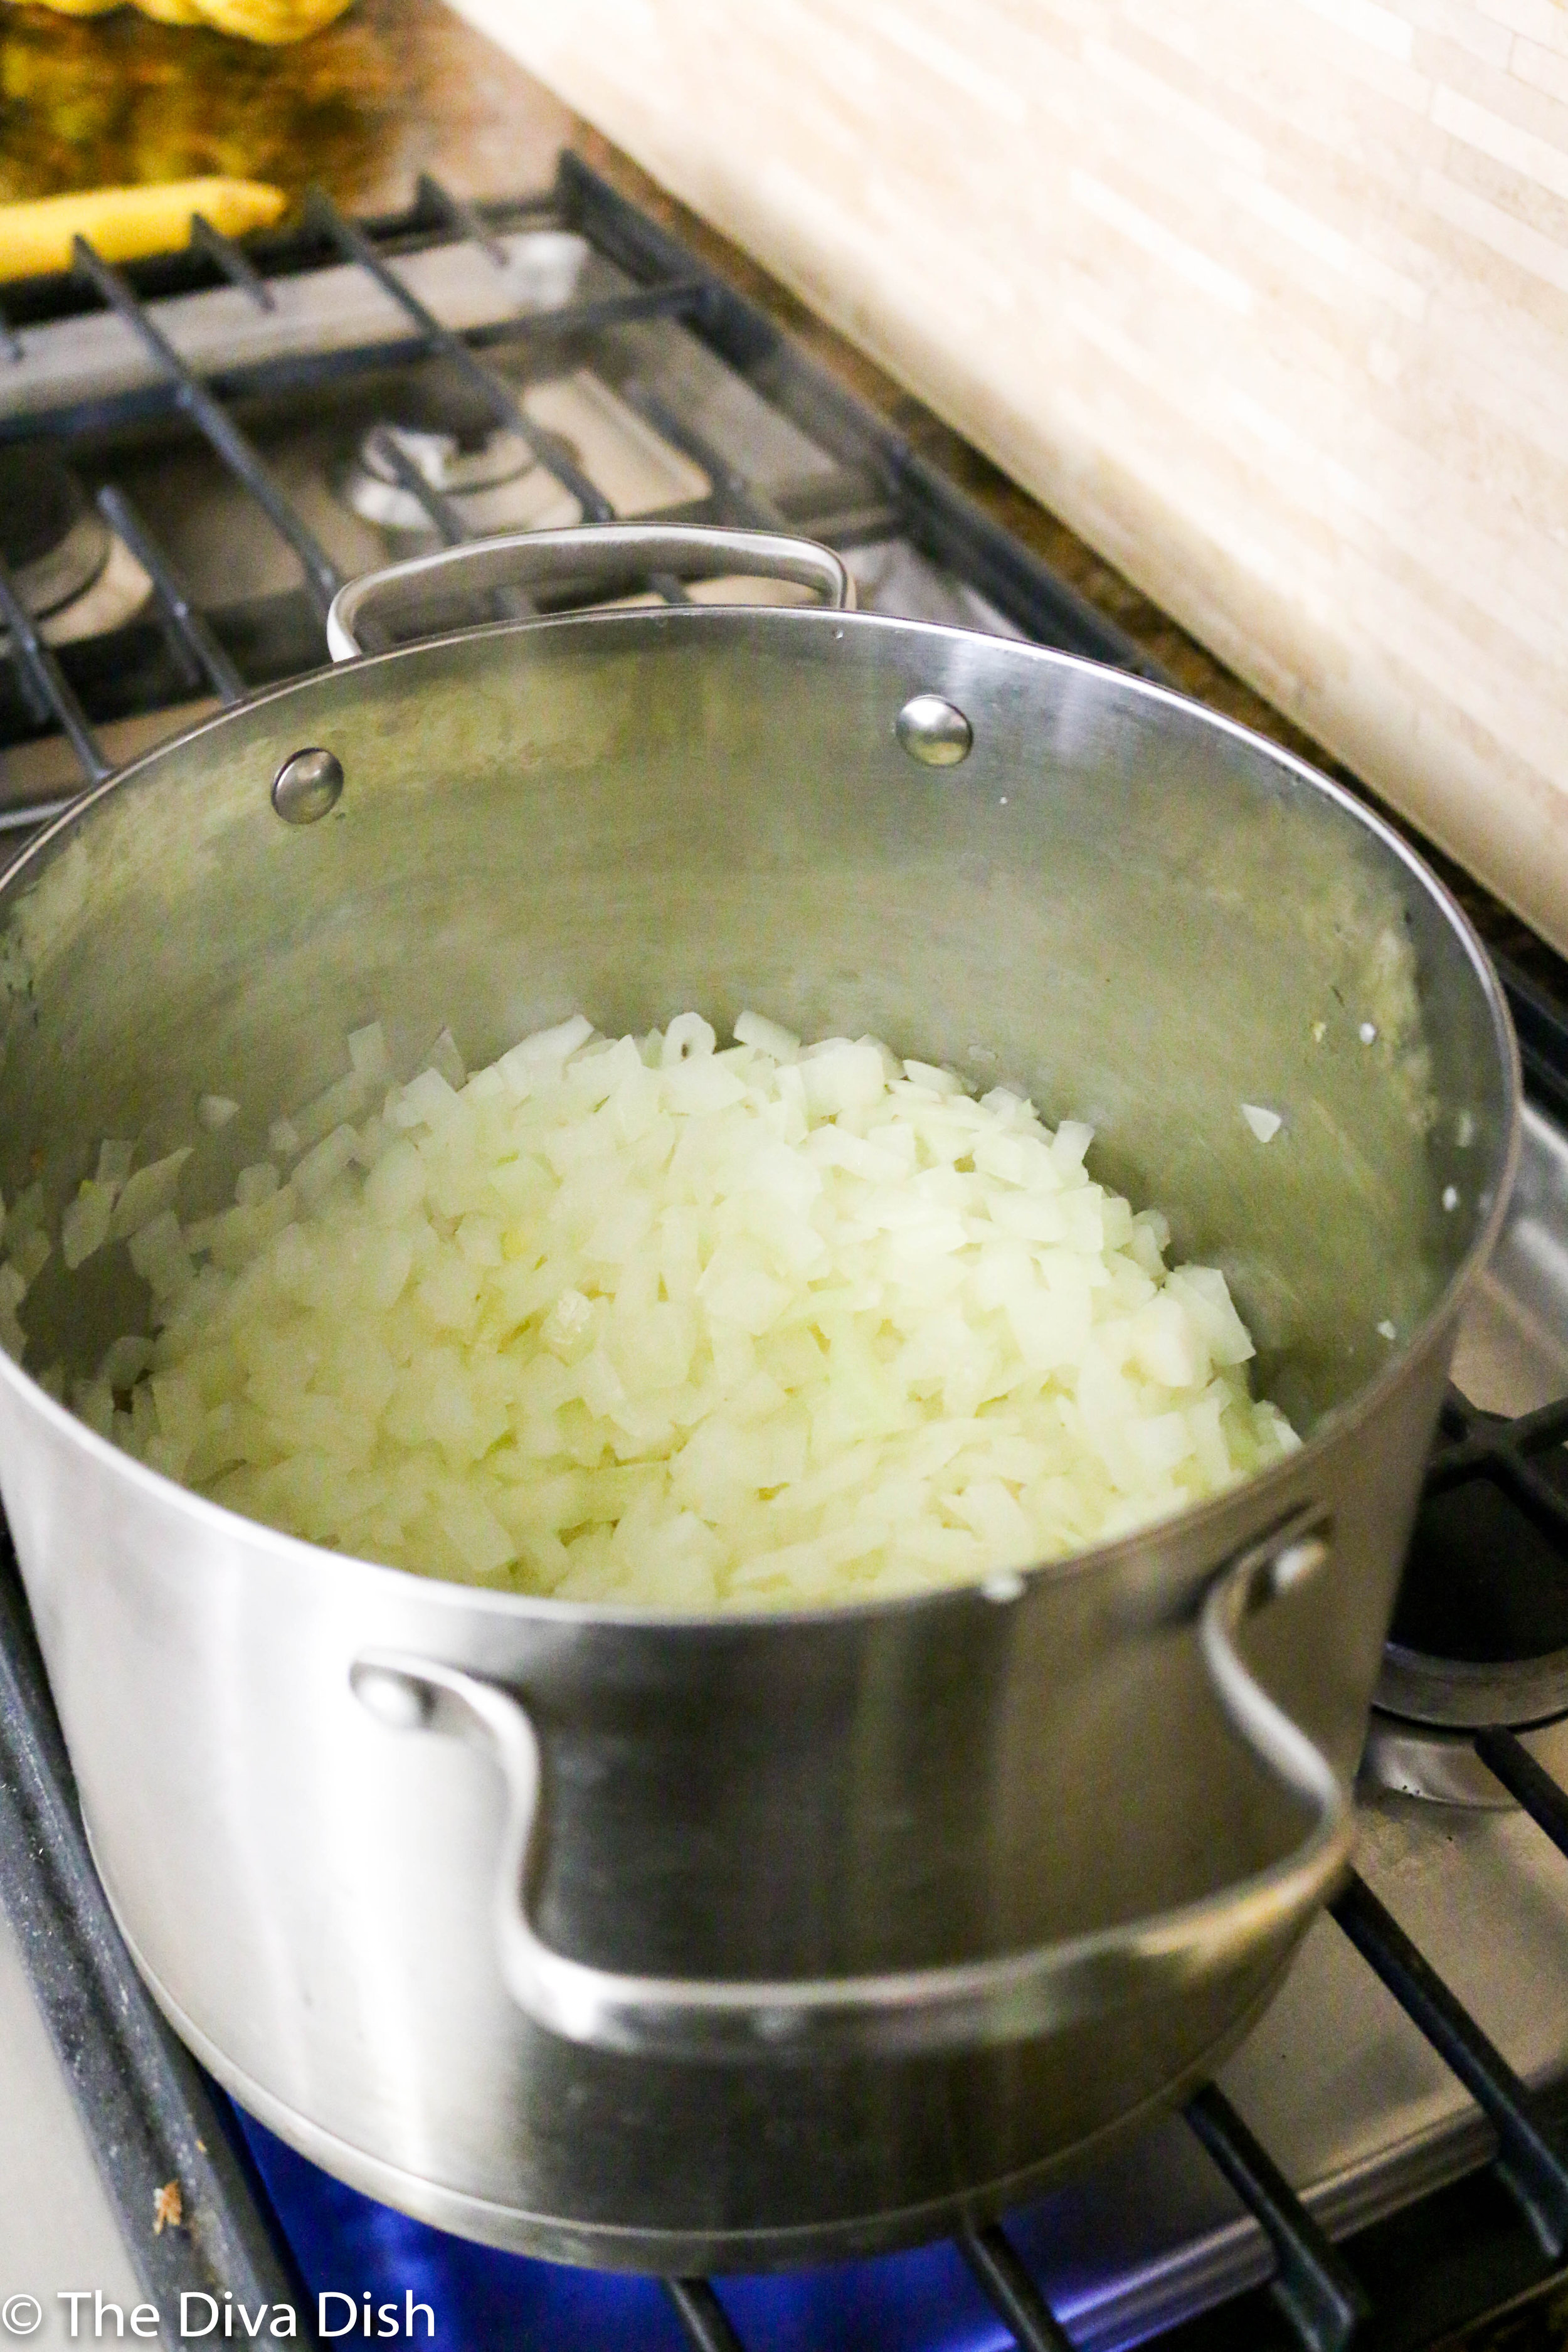
  2. In a large pot, add the olive oil. Add the onions and begin to sauce. Sprinkle generously with salt. This releases the liquid of ALL those onions :). This will take about 10 minutes until they have softened and become translucent.

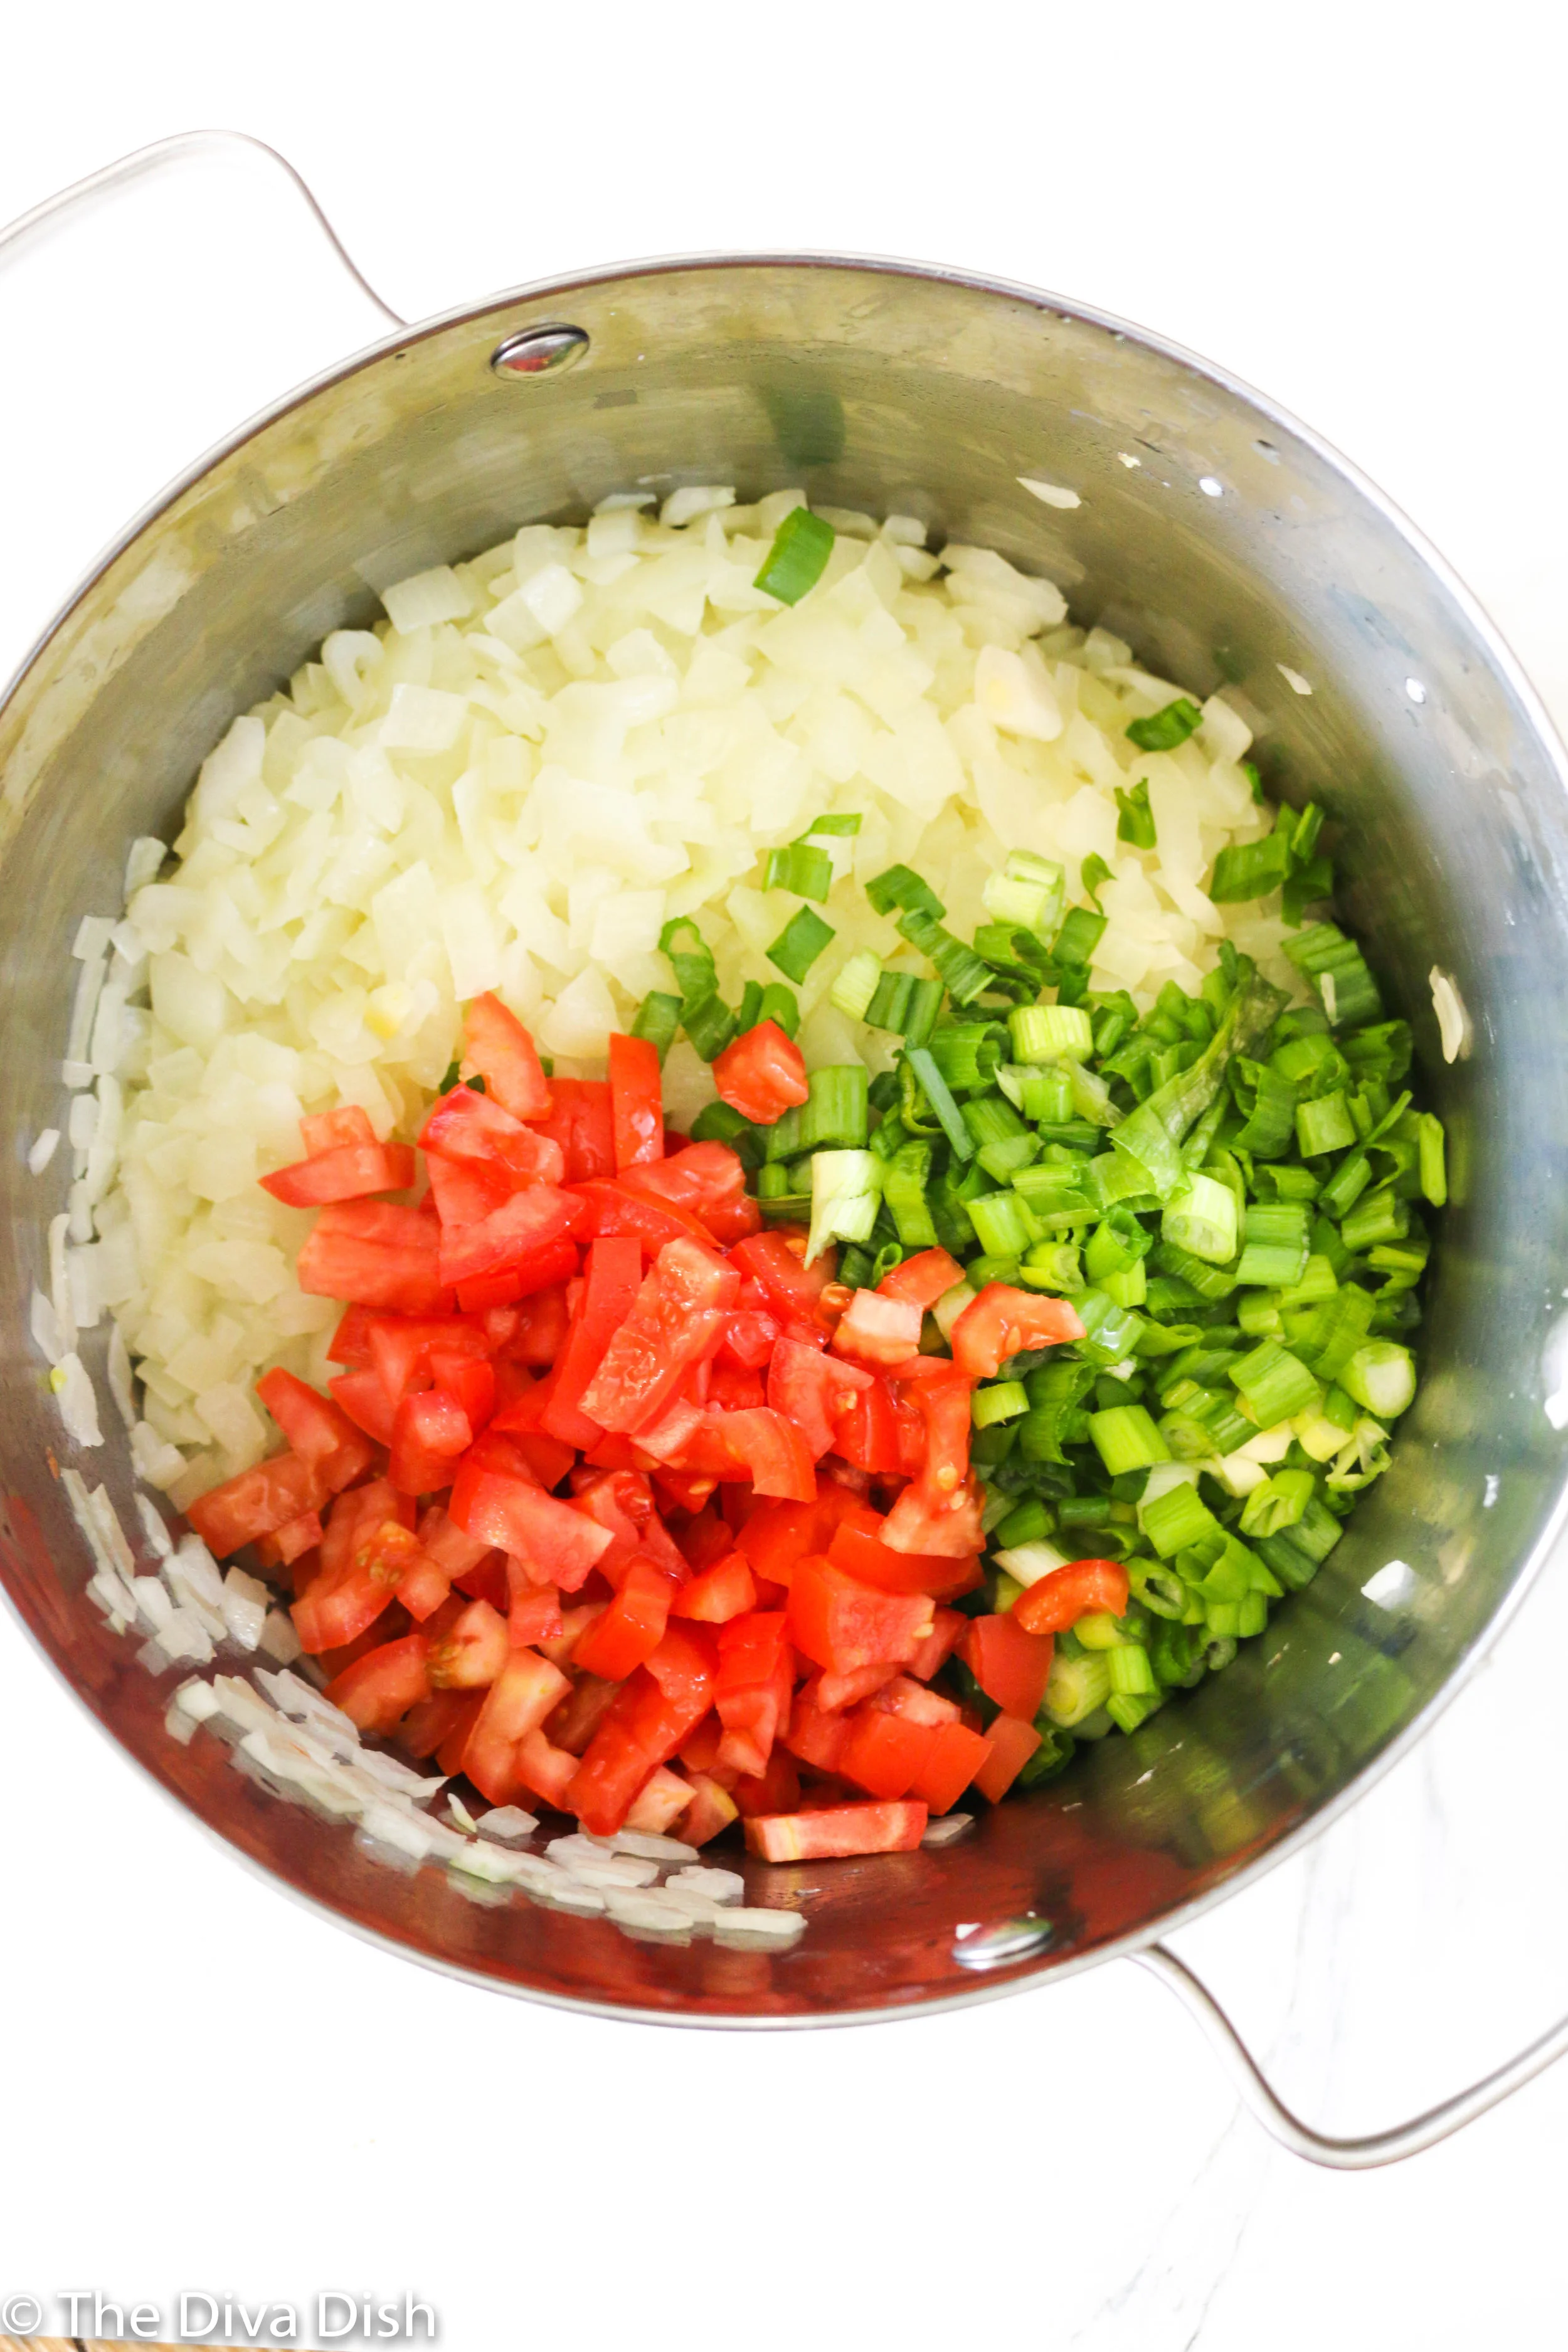
  3. Add in the tomatoes and green onions, and cook for an additional 3-4 minutes.

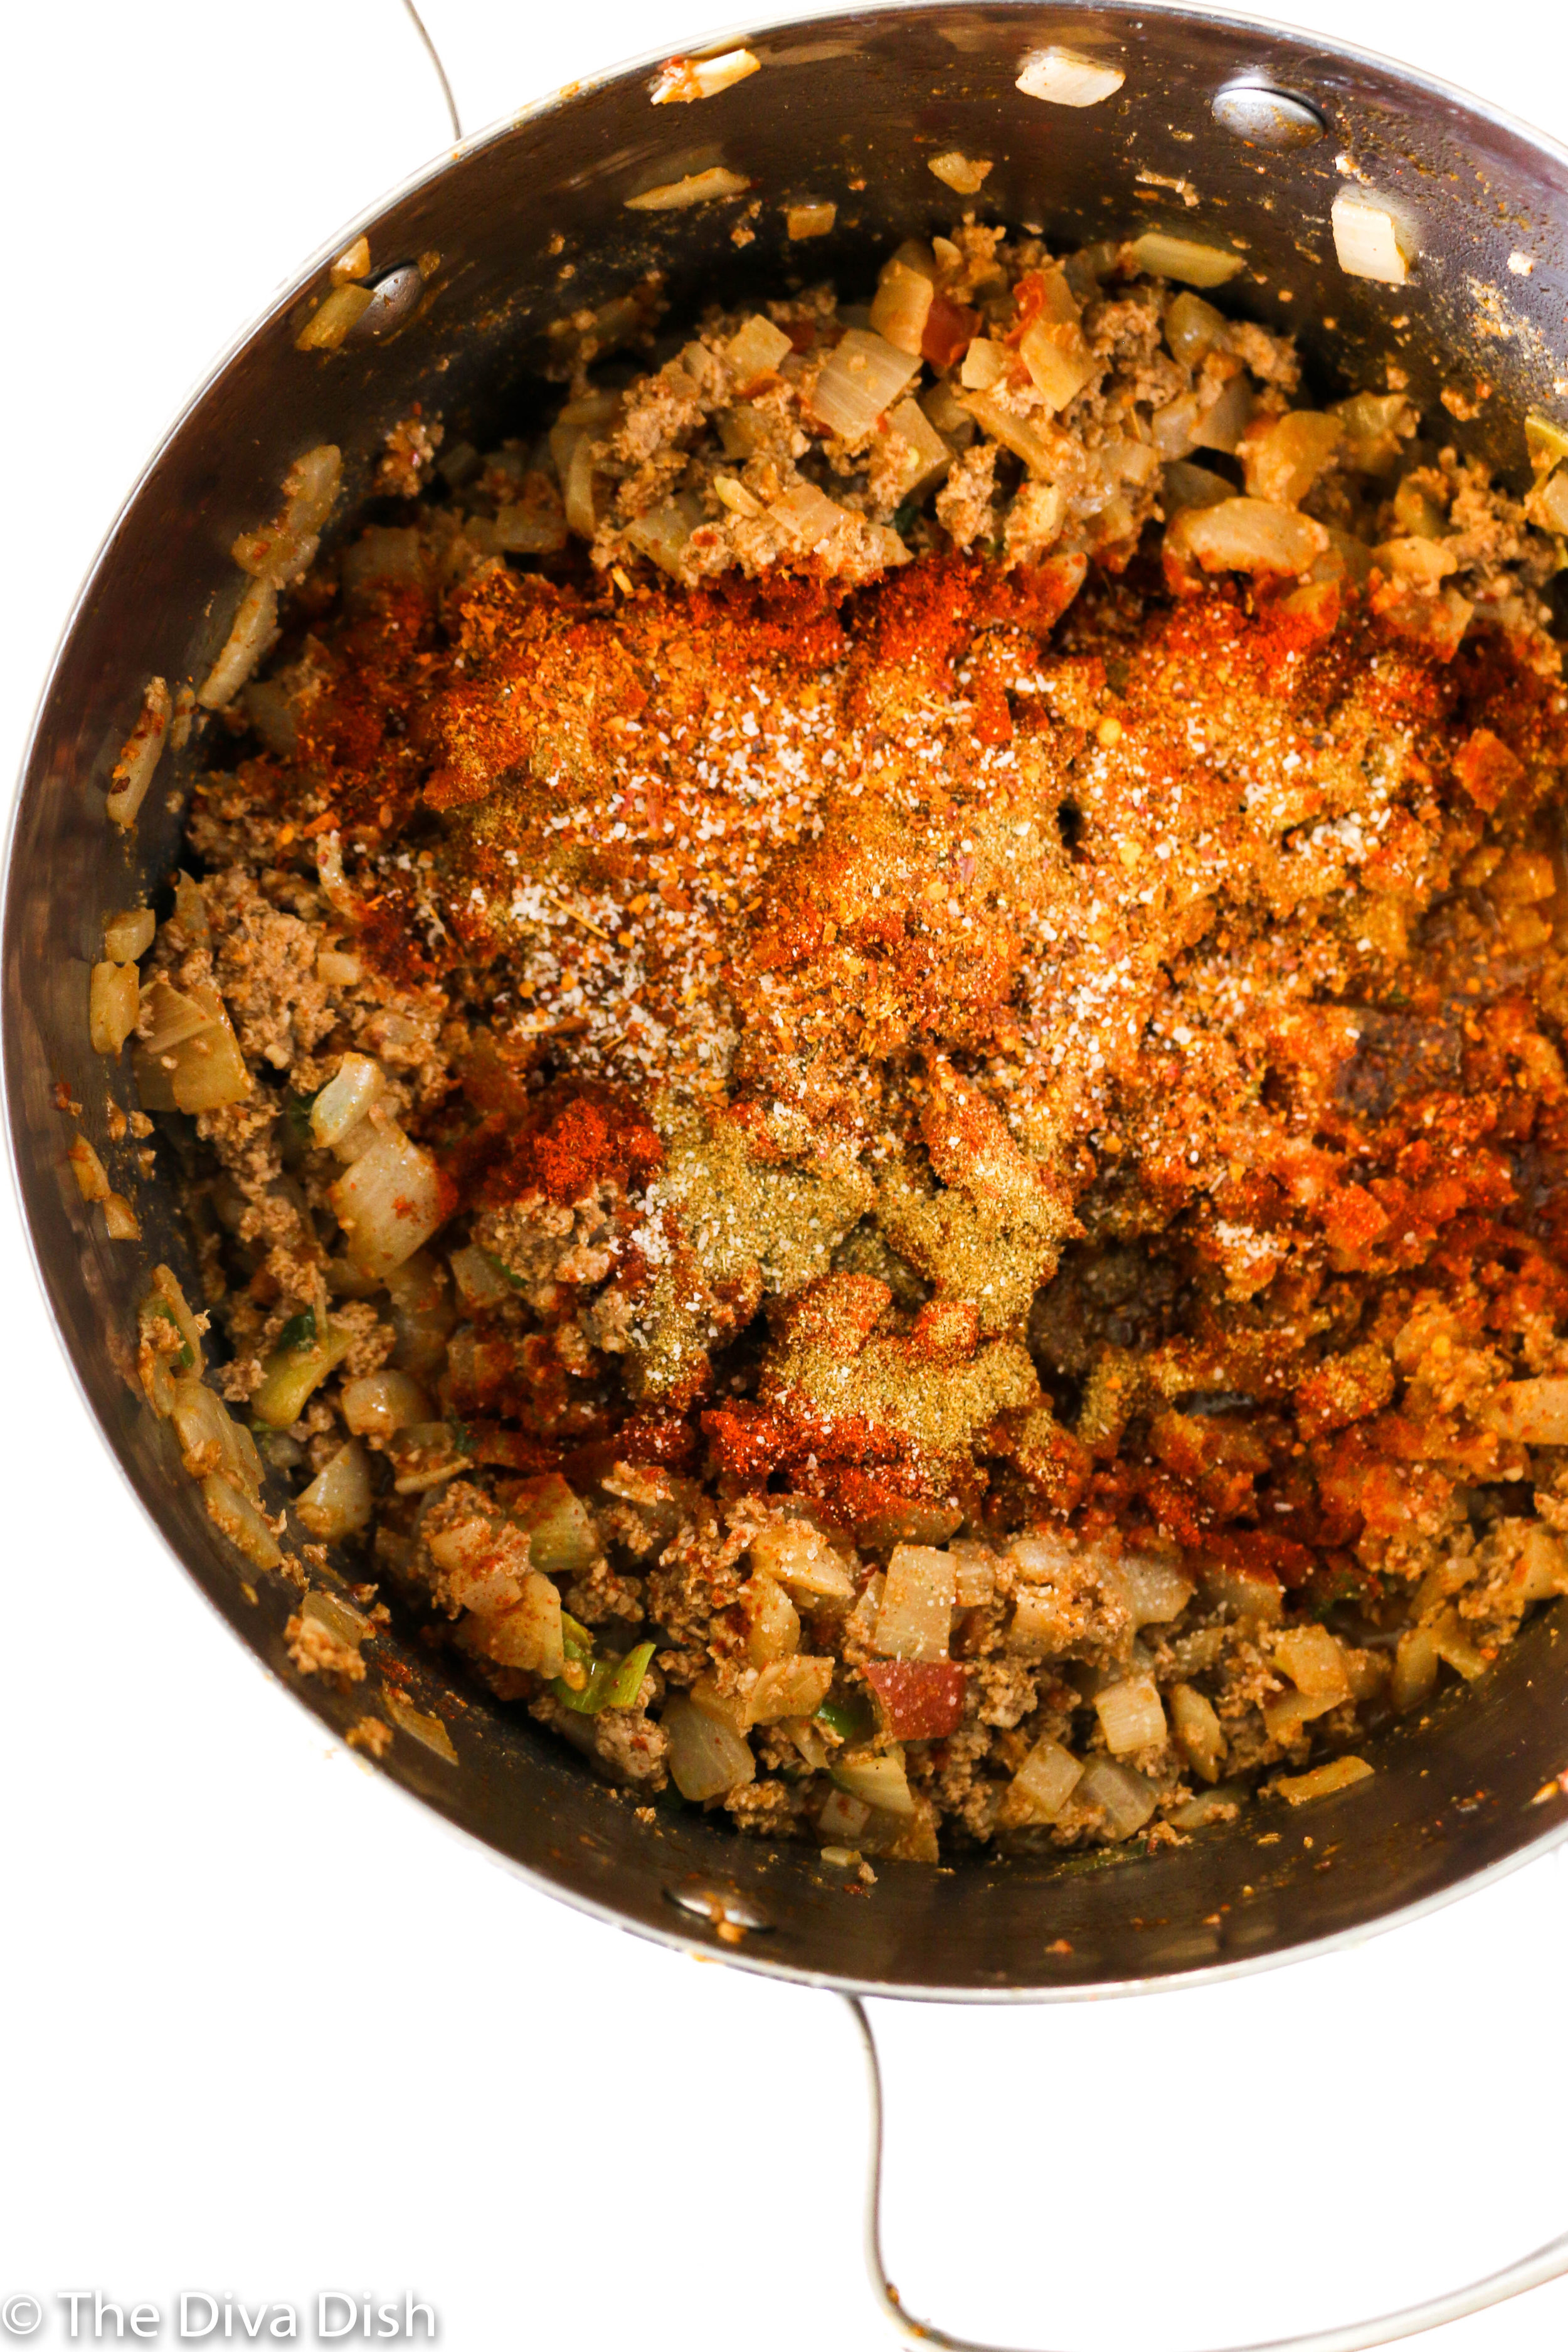
  4. Add in the ground beef. Mix it all together and cook the meet until browned. You can drain a little of the fat if needed, but sometimes I like to keep the fat in there to keep moisture in the mixture. Up to you! Slowly add in all the seasonings and adjust to your desired taste.

  5. Once the meet has cooked and the seasonings are added, allow it to cook for an additional 5 minutes on low heat, then turn off the heat. Cover and let it cool a little before adding in the green olives and golden raisins.

  6. Once it has cooled a little bit, stir in the olives and golden raisins.

  7. Get ready to assemble the empanadas.

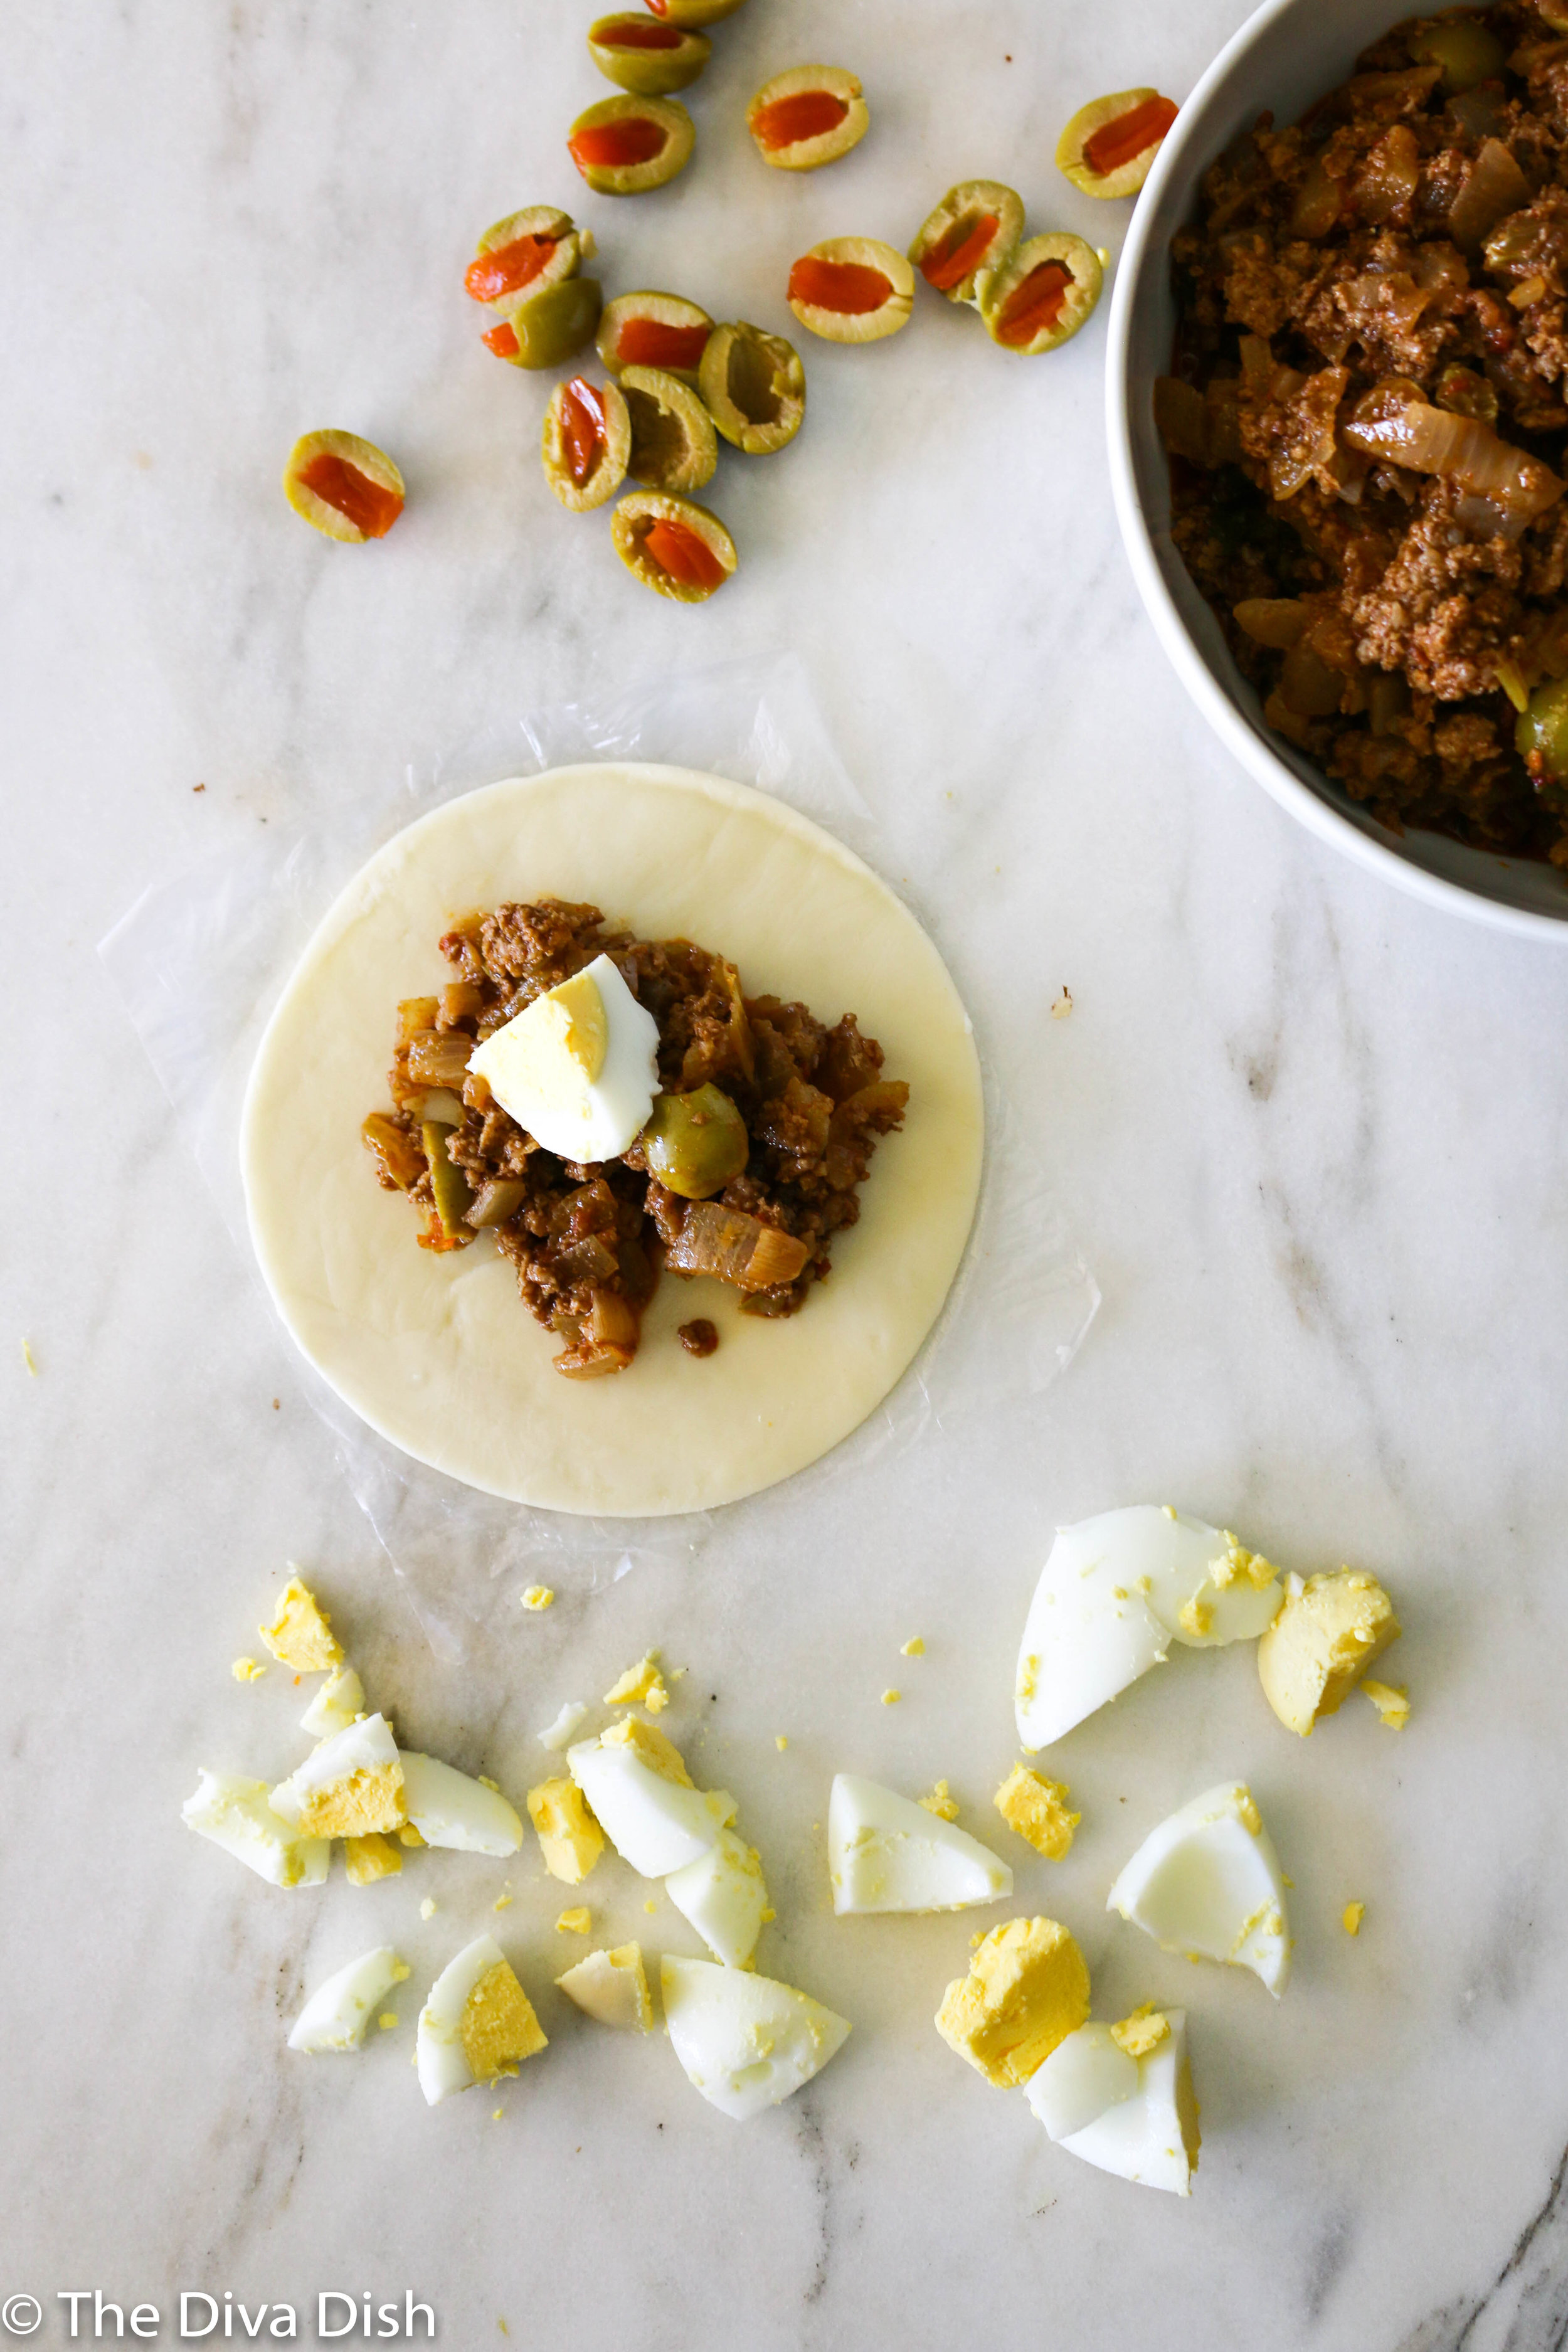
  8. Using a larger silver slotted spoon, add about 1-2 TB. filling in the middle of the empanada. Place one of the chopped egg pieces on top of the filling. (Not one egg per empanada. Place 1/8 of the egg on the empanada. (Pictures below.)

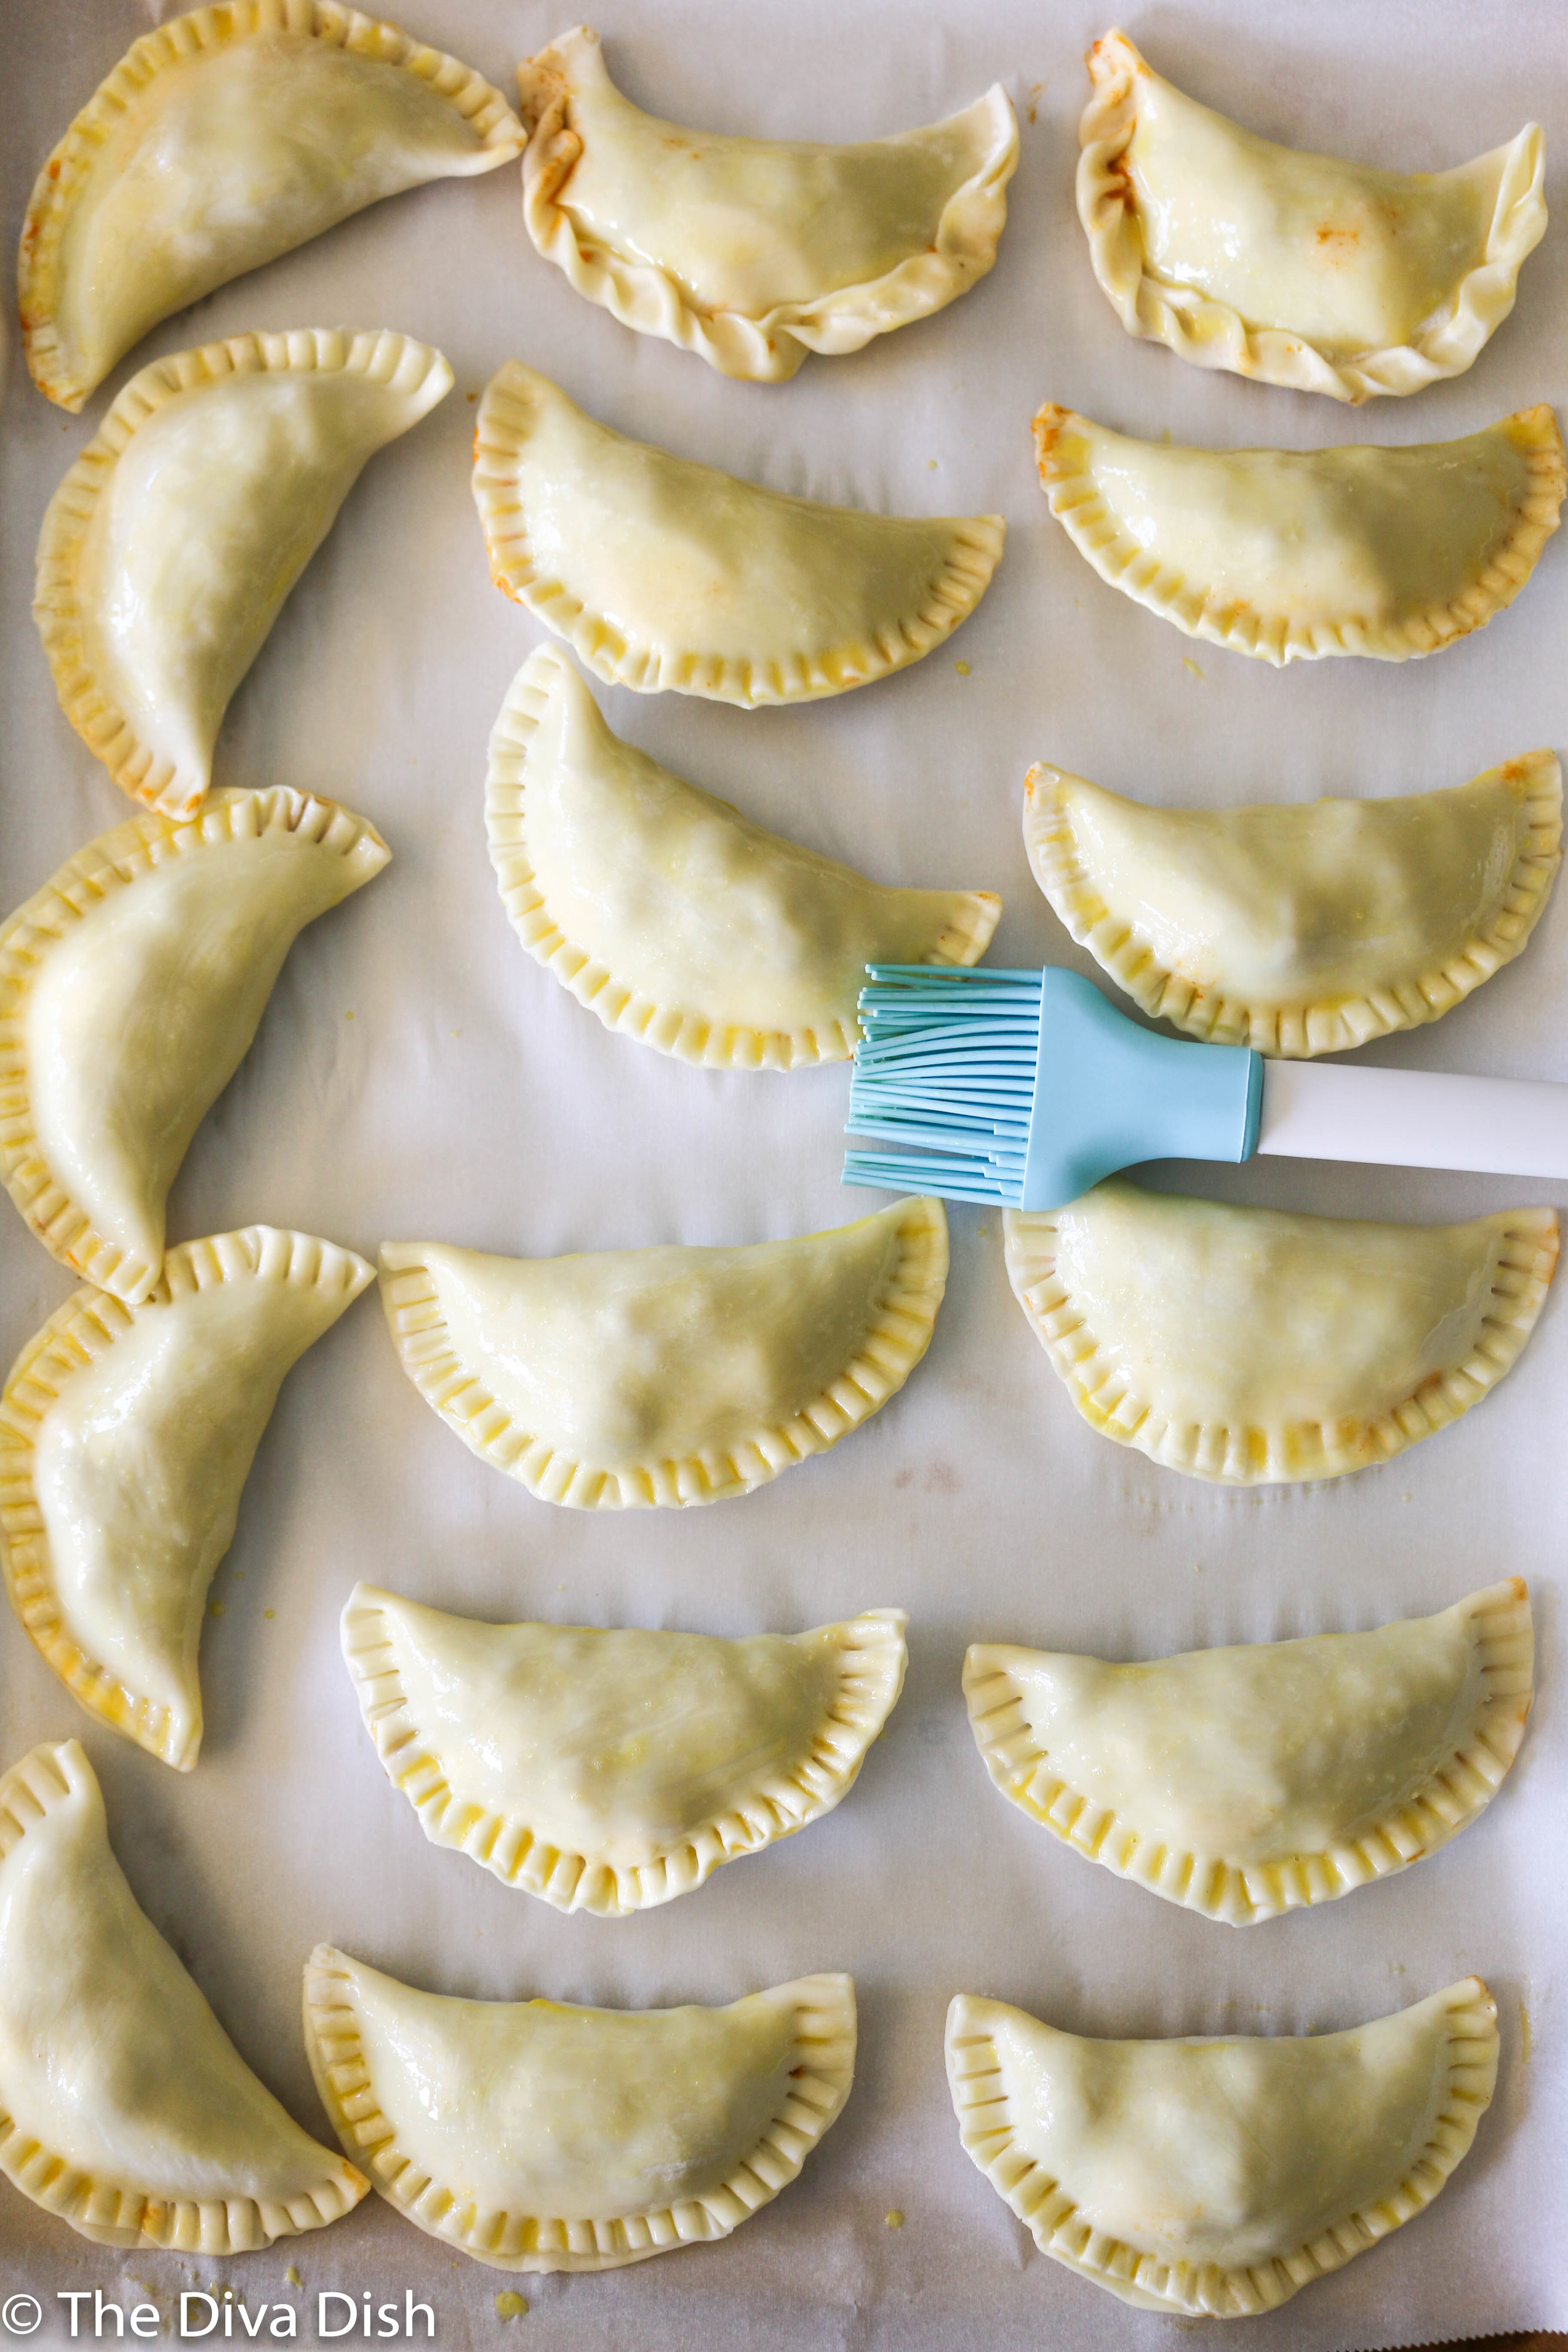
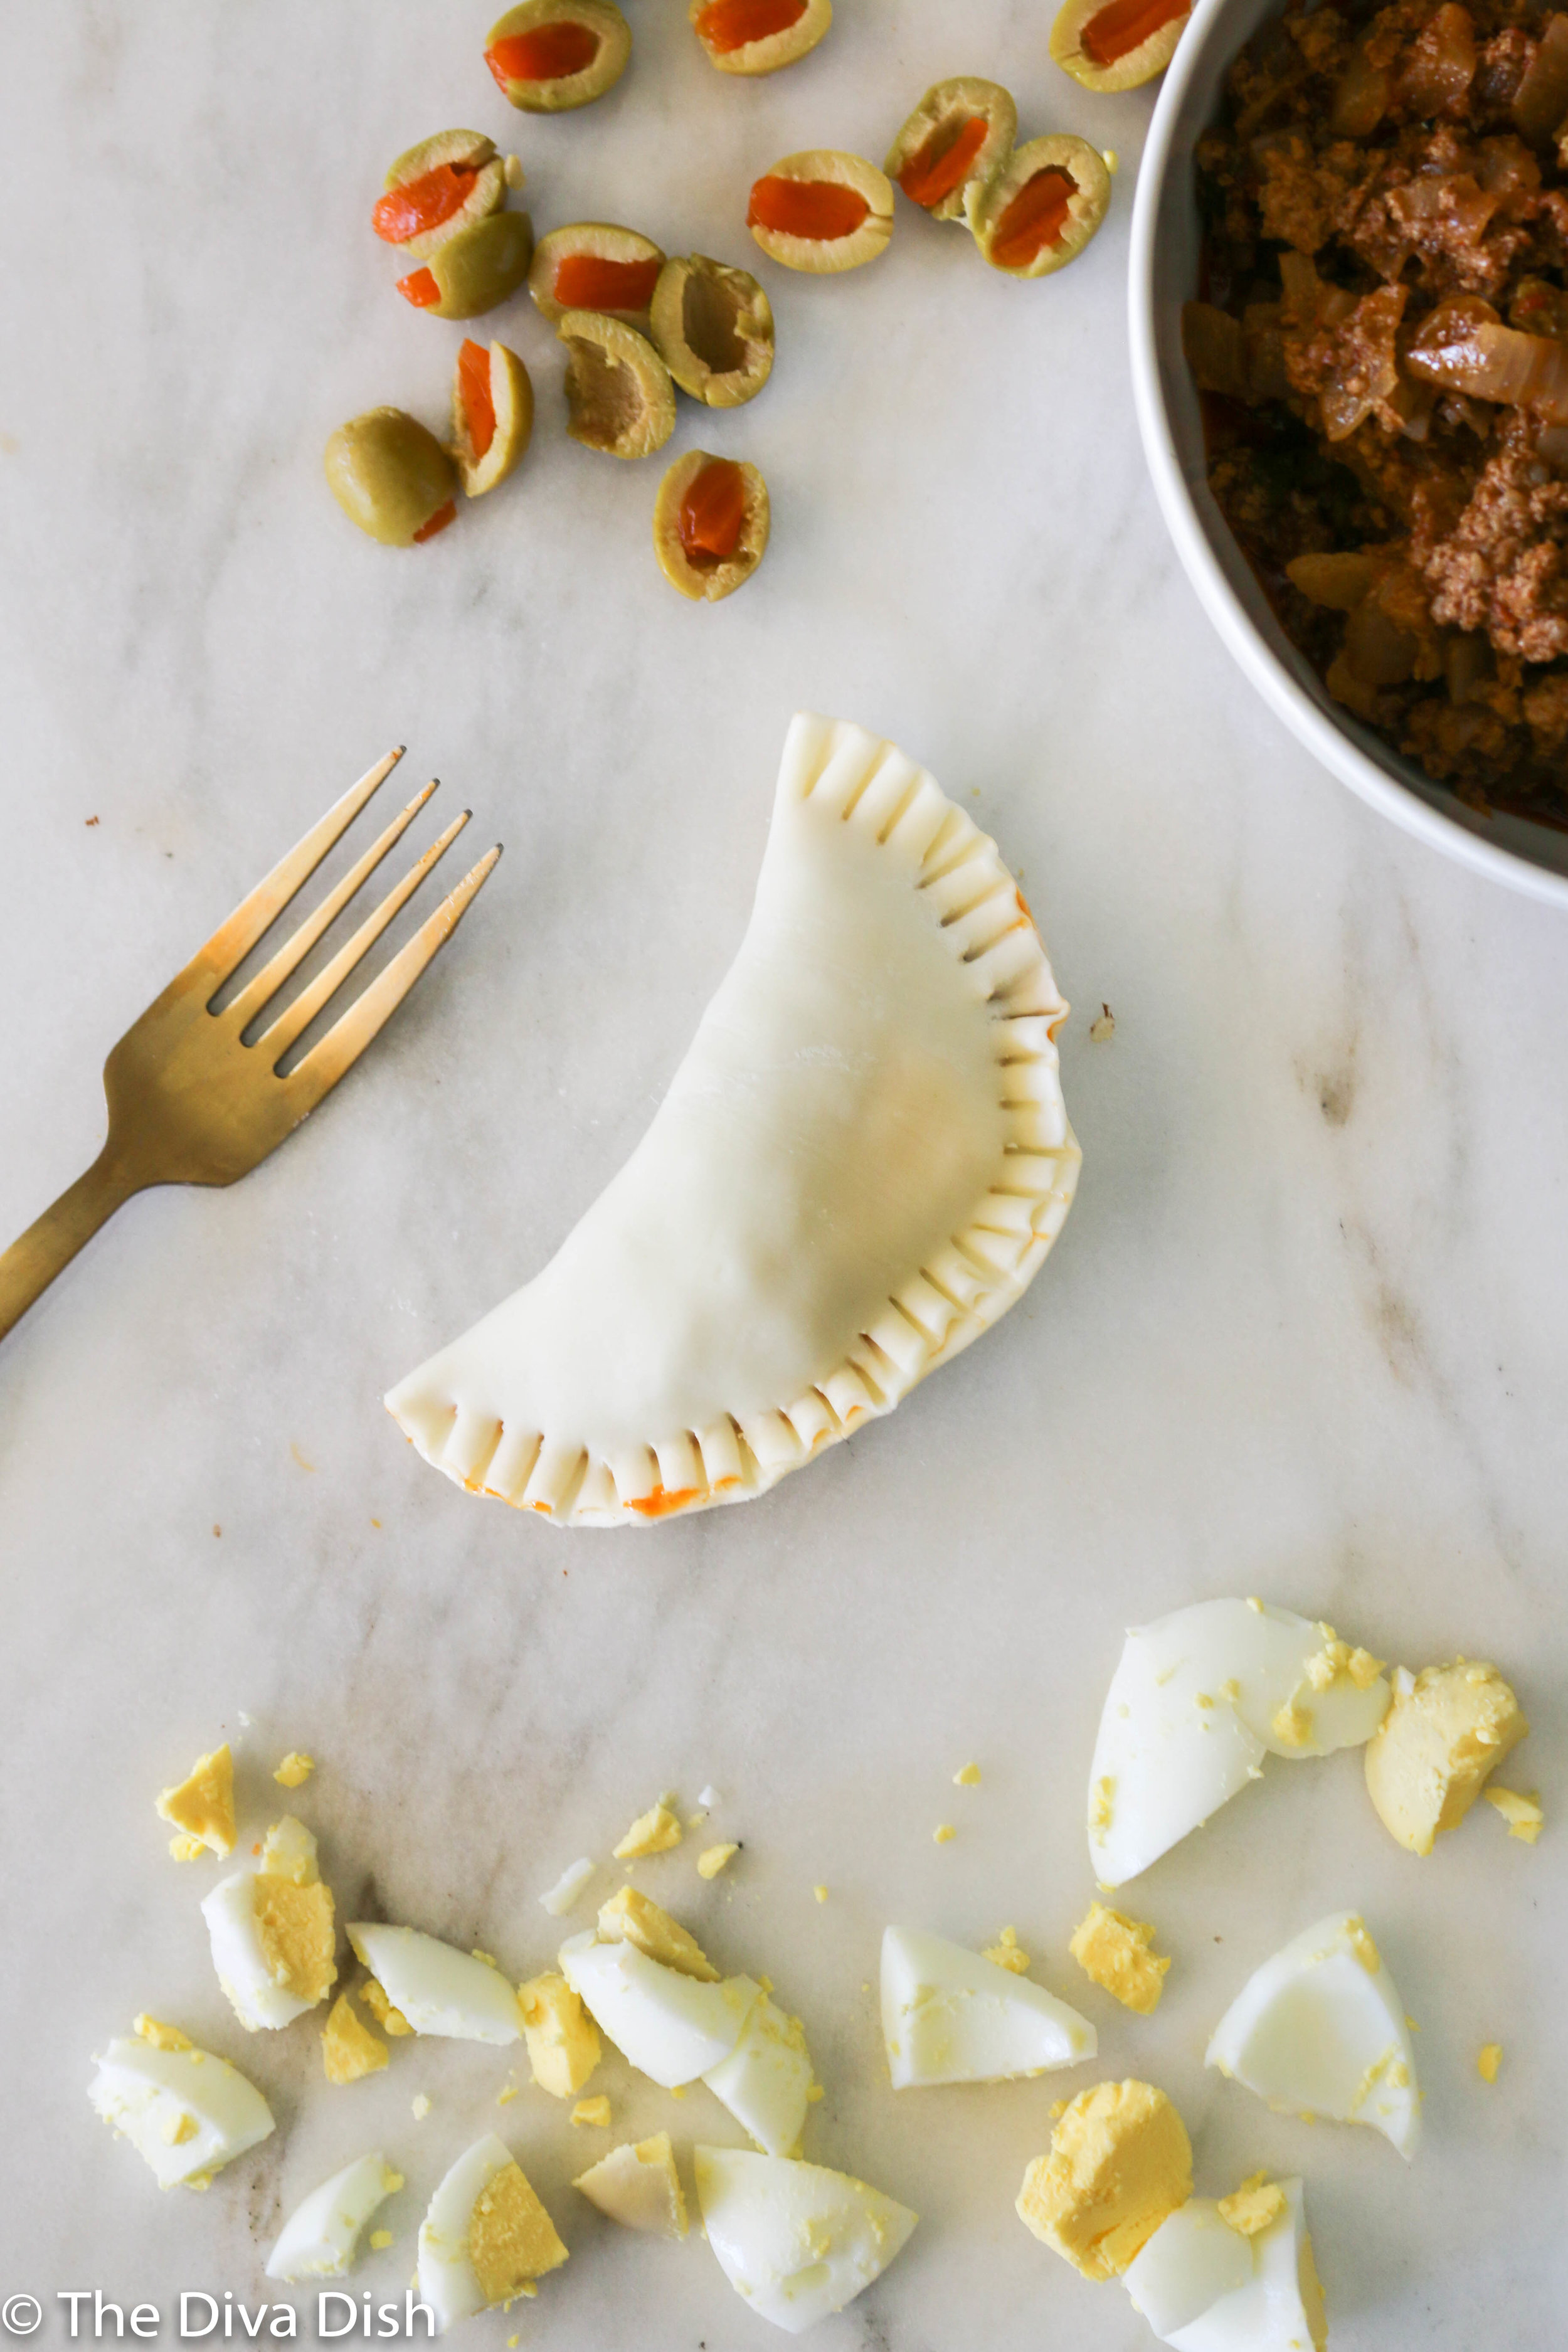
  9. Dip your finger in a bowl full of cold water, and rub it around the outside of the empanada. Fold the empanada in half and press a fork all around the edges to seal the empanada. (Pictures below.) Brush the egg on top of the empanadas.

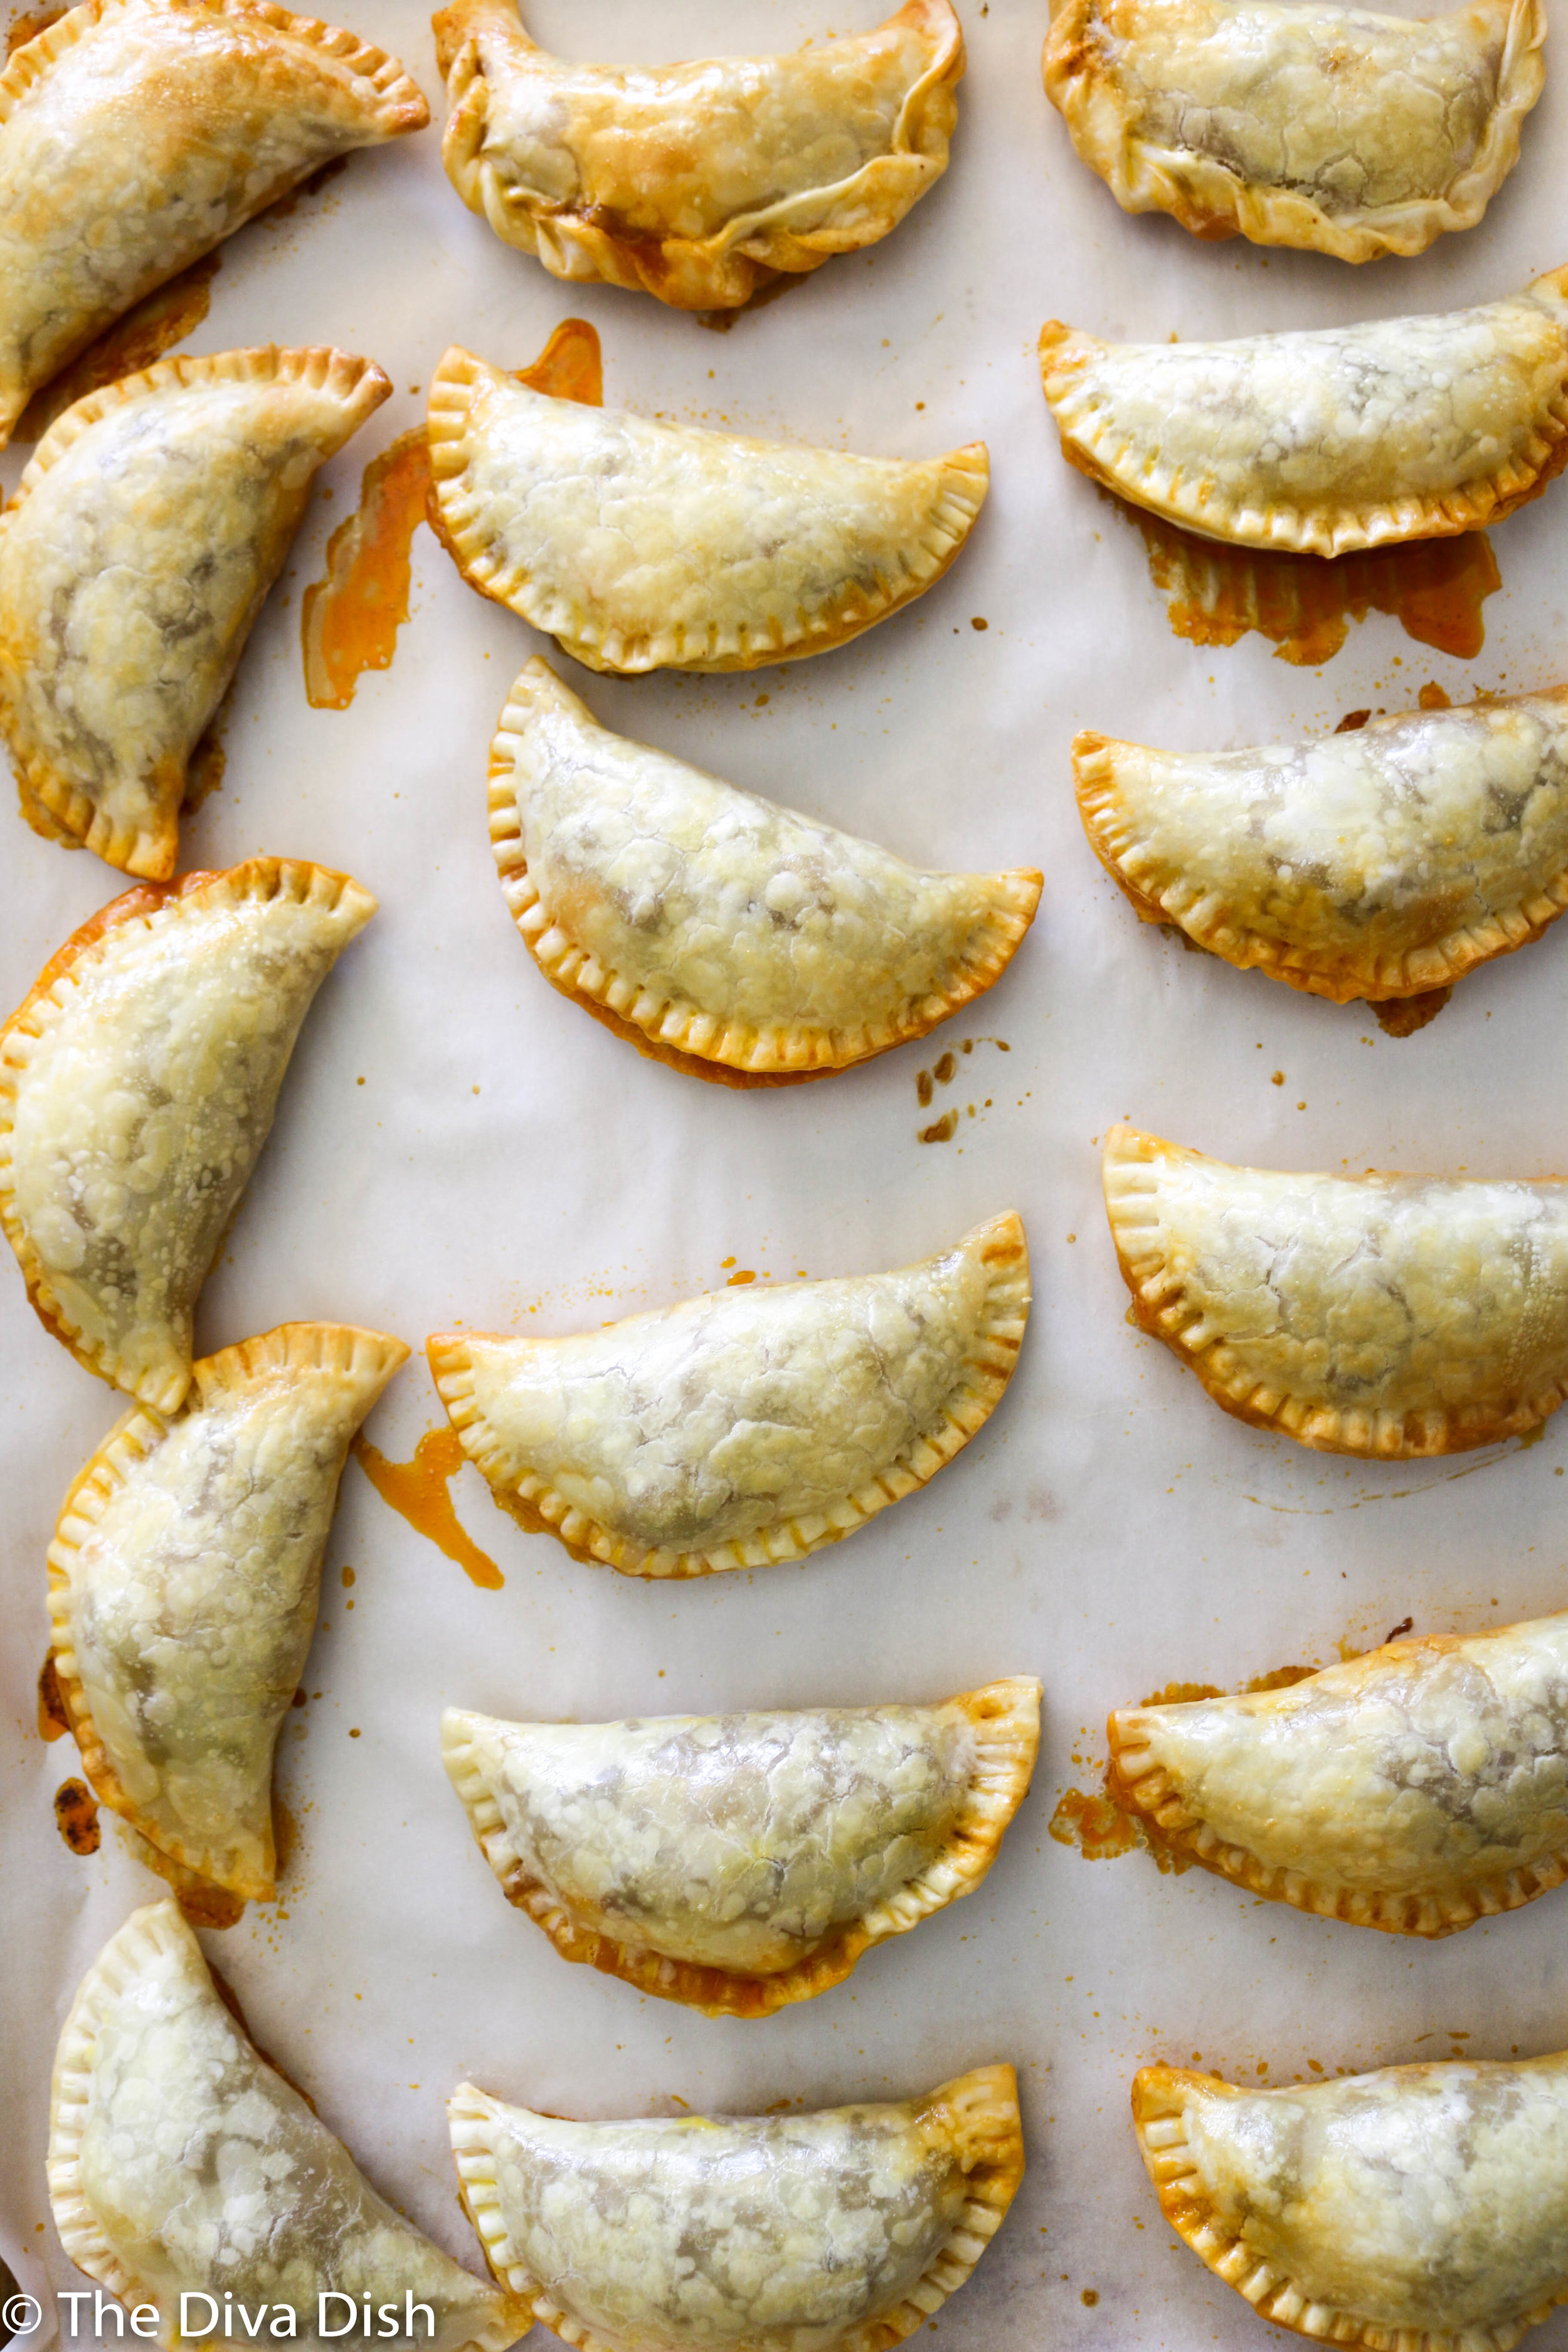
  10. Bake at 350 degrees for 25-40 minutes, or until the empanadas are golden brown. (Time depends on the type of dough you use.)


*Traditional Chimichurri sauce isn’t blended like I blend mine. The herbs and seasoning are finely chopped and then incorporated in olive oil. I like to puree mine almost like a dressing, so keep that in mind. :)

Ingredients:

4 garlic cloves

1/2 cup red wine vinegar

1/2 bunch cilantro

1/2 bunch parsley

1 TB. dried oregano

1 jalapeño, seeds removed

1/2 -1 tsp. salt

3/4 cup olive oil

Directions:

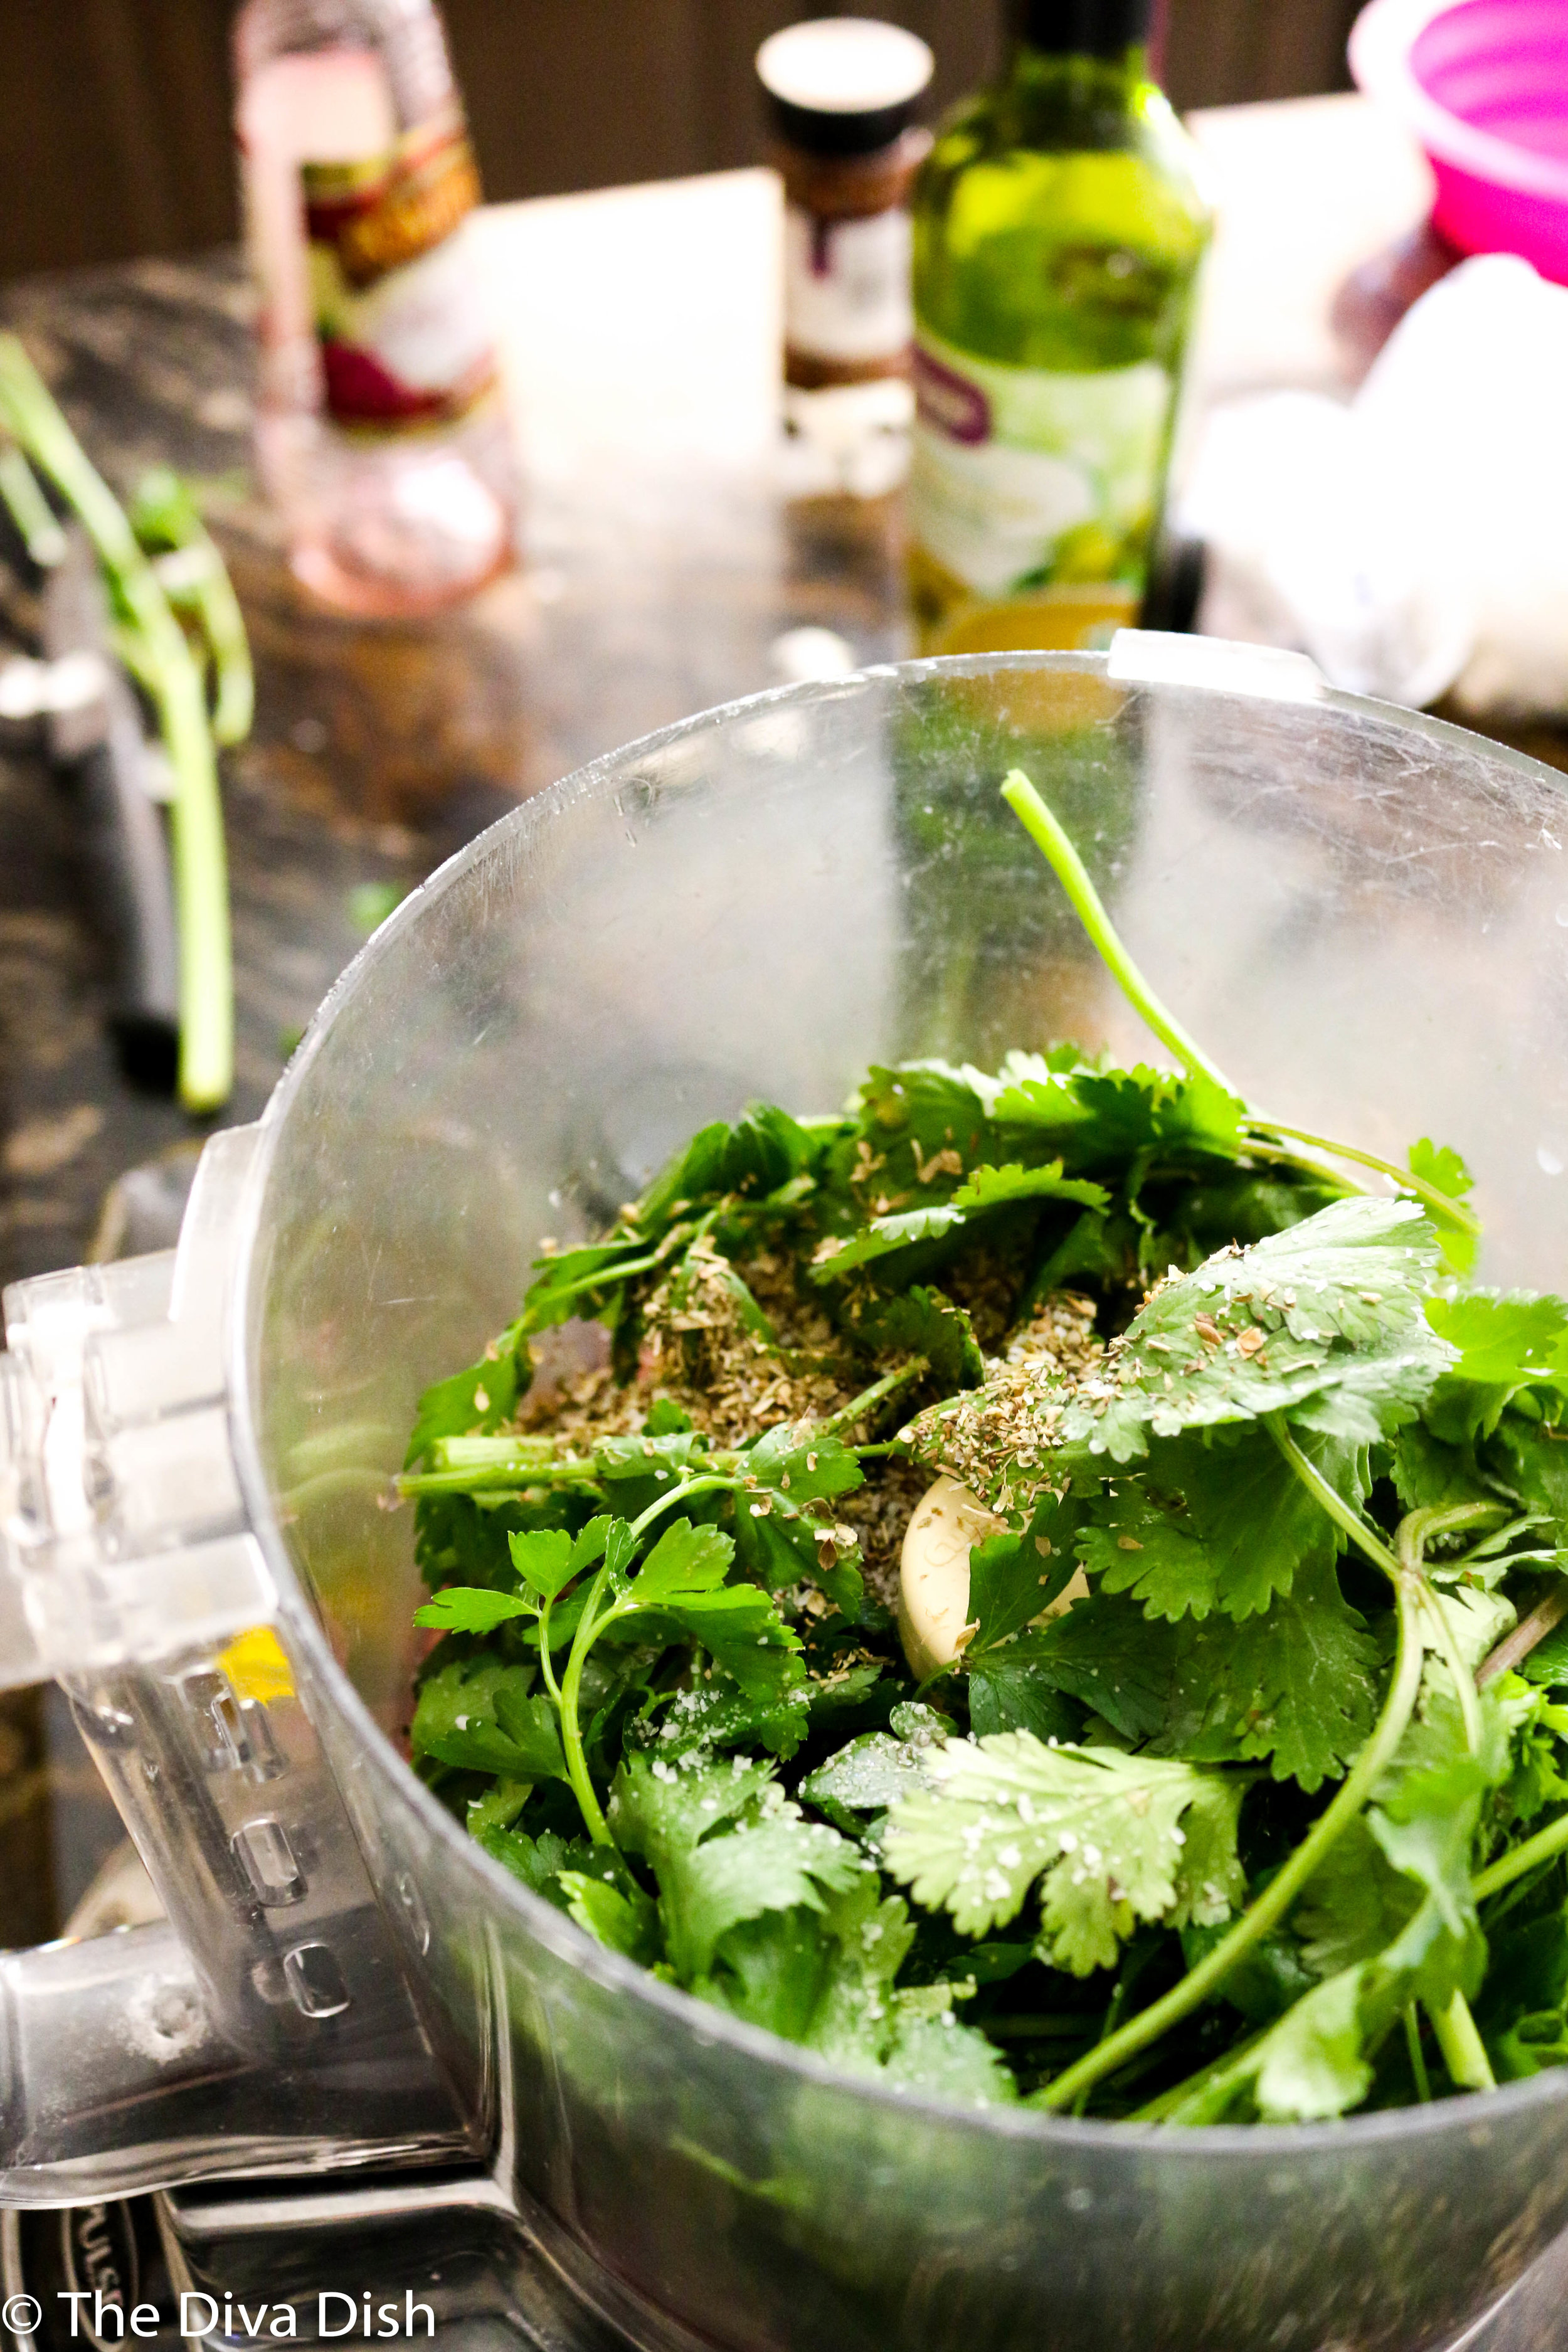
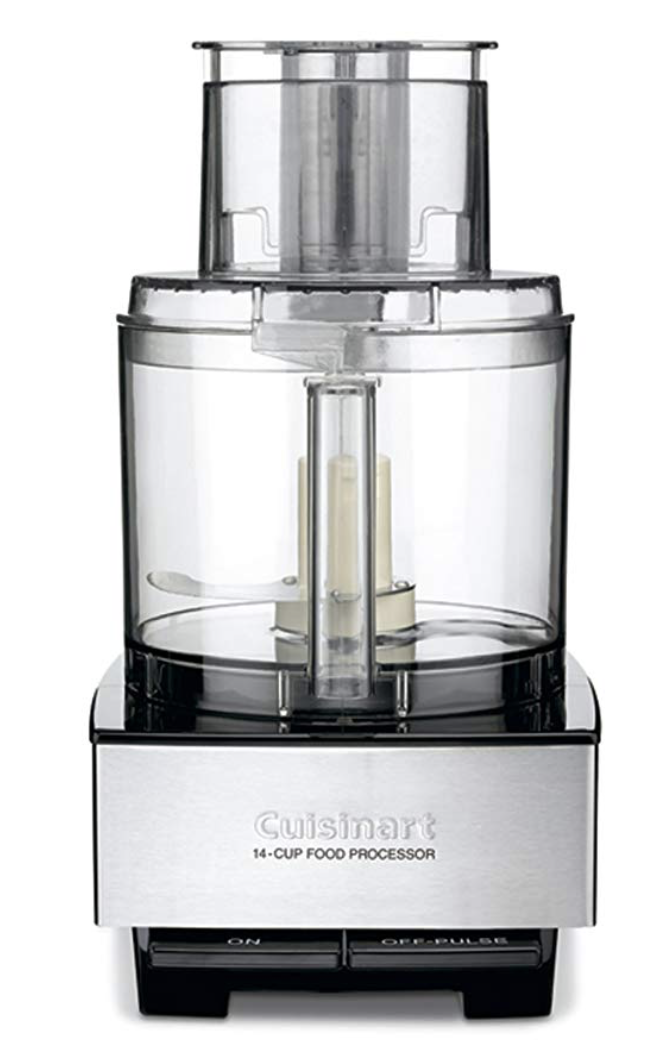
  1. Add all the ingredients, minus the olive oil, into a food processor. Blend together.

  2. While it’s blending, slowly add in the olive oil.

  3. Adjust seasonings to desired taste.

  4. Store in the fridge in a tightly covered container until ready to use.

  5. Can be saved for up to 2-3 days.


IMG_8892.jpg


5-Minute Alfajores - Argentine Cookies

Alfajores have a special place in my heart, and my belly.

My grandma is from Argentina, but moved to the US in her twenties. She would travel back to Argentina every summer and when she would come home she would bring home boxes of Alfajores. I loved them, and looked forward to them every year.

If you’ve never had an Alfajor, imagine a buttery cookie sandwiches between layers of dulce de Leche. Dulce de Leche is a similar texture and taste to caramel but in my opinion SO much better!! It’s caramelized sugar, but with milk. Then the Alfajor is either covered in coconut, chocolate, or powdered sugar.
As Monica from friends would say….”I KNOW!”

Obviously there are ways to make these completely homemade but whenever I would ask my grandma how to make them she would just tell me to do this recipe. I’ve made it for years, specifically I remember making it in Elementary school for a project I did on Argentina.

So if you want a super QUICK dessert that comes together in minutes that taste delicious and looks super fancy…

Then meet Alfajores…My first true love

IMG_8843.jpg
IMG_8847.jpg

Ingredients:

1 box Nilla Wafer Cookies

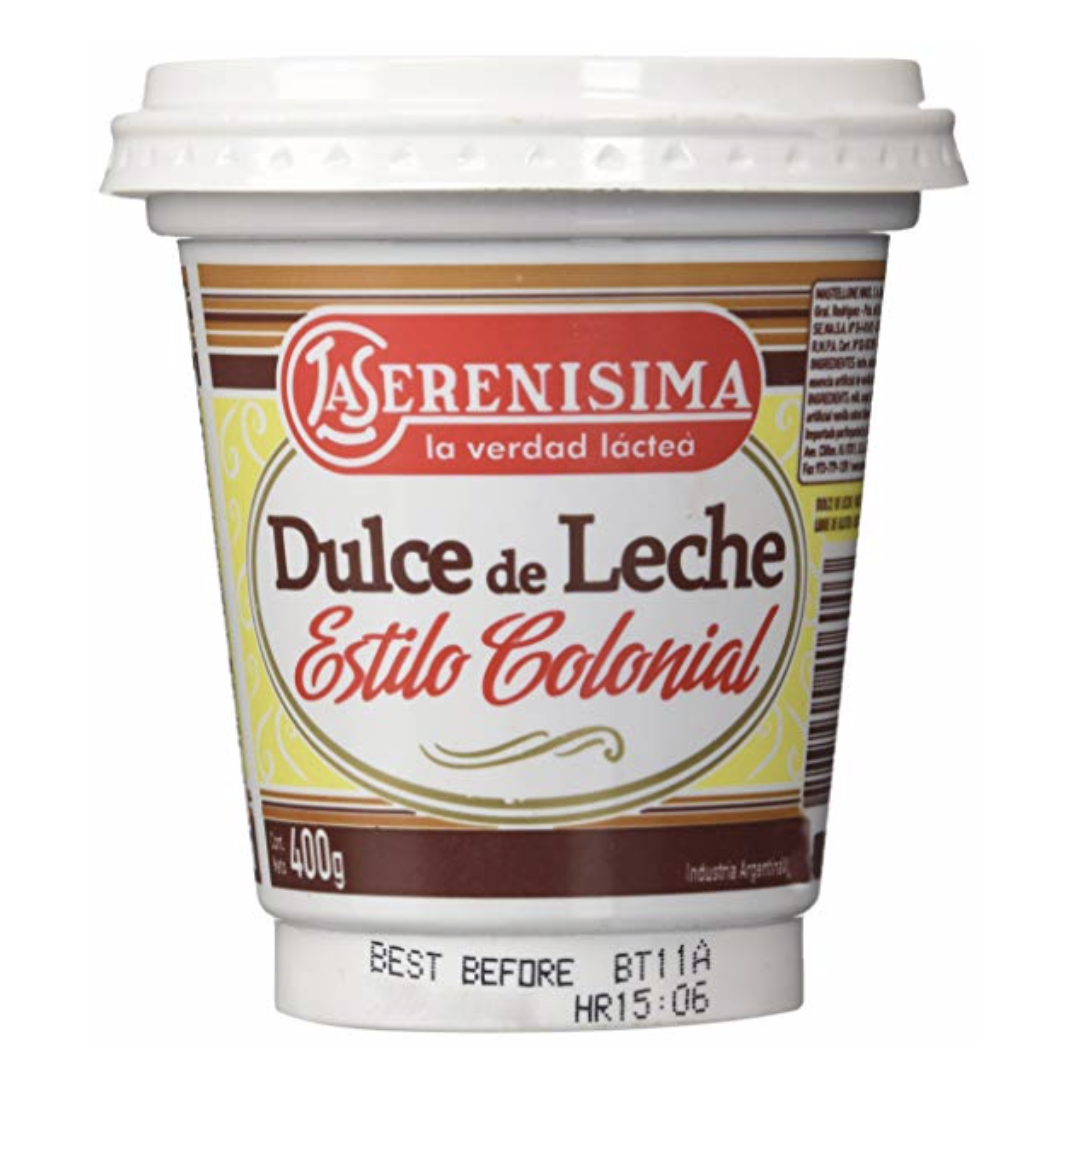
1 Can Dulce de Leche

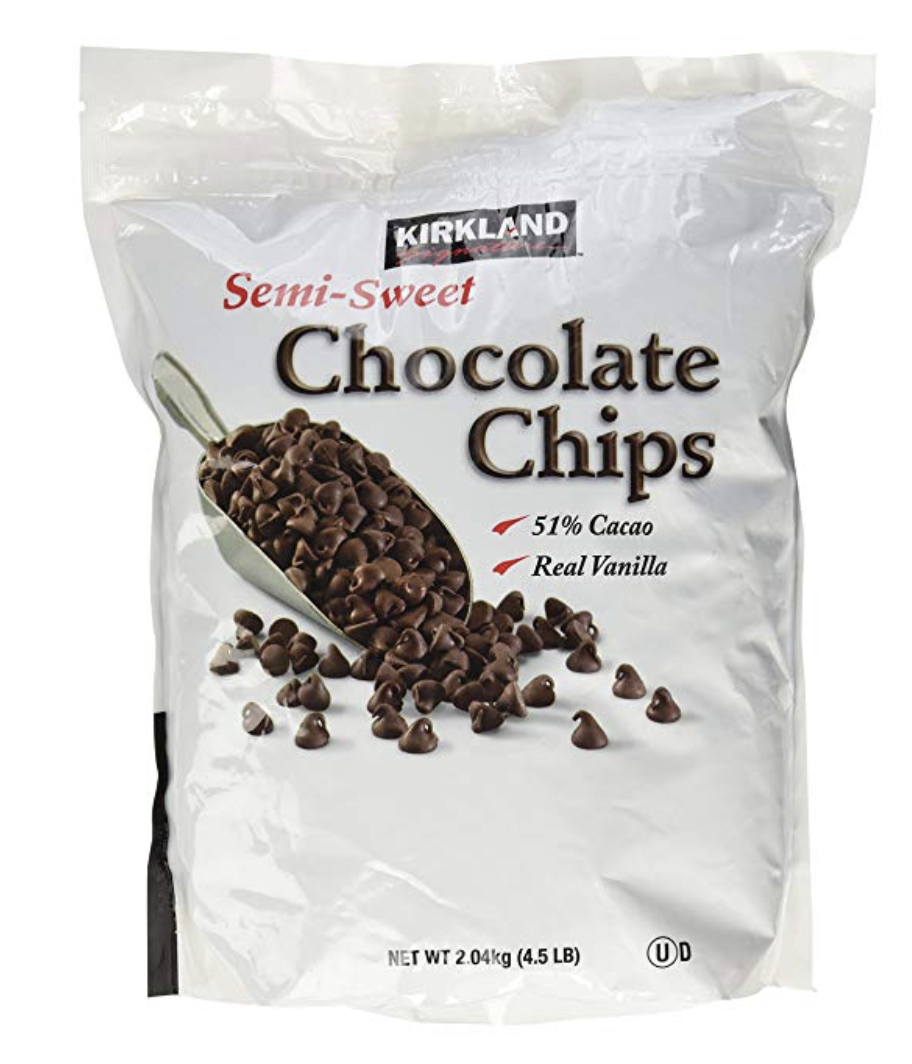
1 1/2 cups chocolate chips, melted

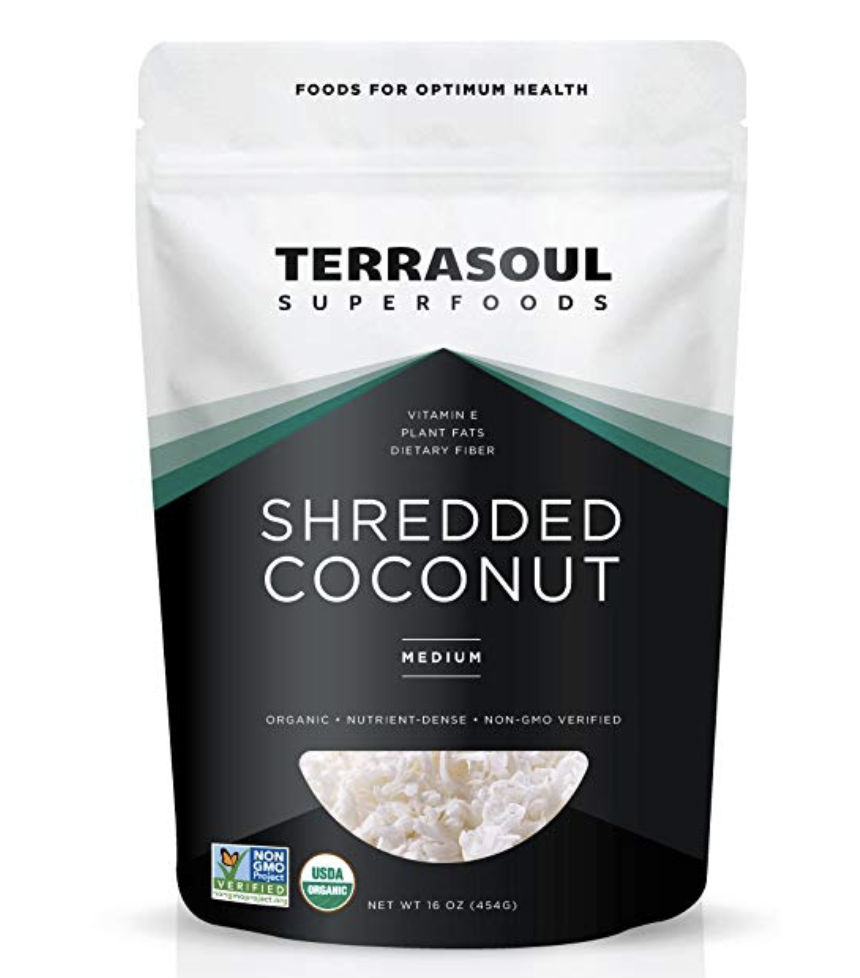
1 cup shredded coconut


Directions:

  1. Spread a spoonful of dulce de Leche on a Nilla Wafer cookie.

  2. Top with another Nilla Wafer cookie. Dip half the cookie in melted chocolate. OR roll the sides in shredded coconut.

  3. You could also do both, chocolate plus shredded coconut. Store in an air tight container in the fridge.


IMG_8844.jpg

These links are affiliate links. Thank you SO much for supporting The Diva Dish!


BBQ Jackfruit Sandwiches

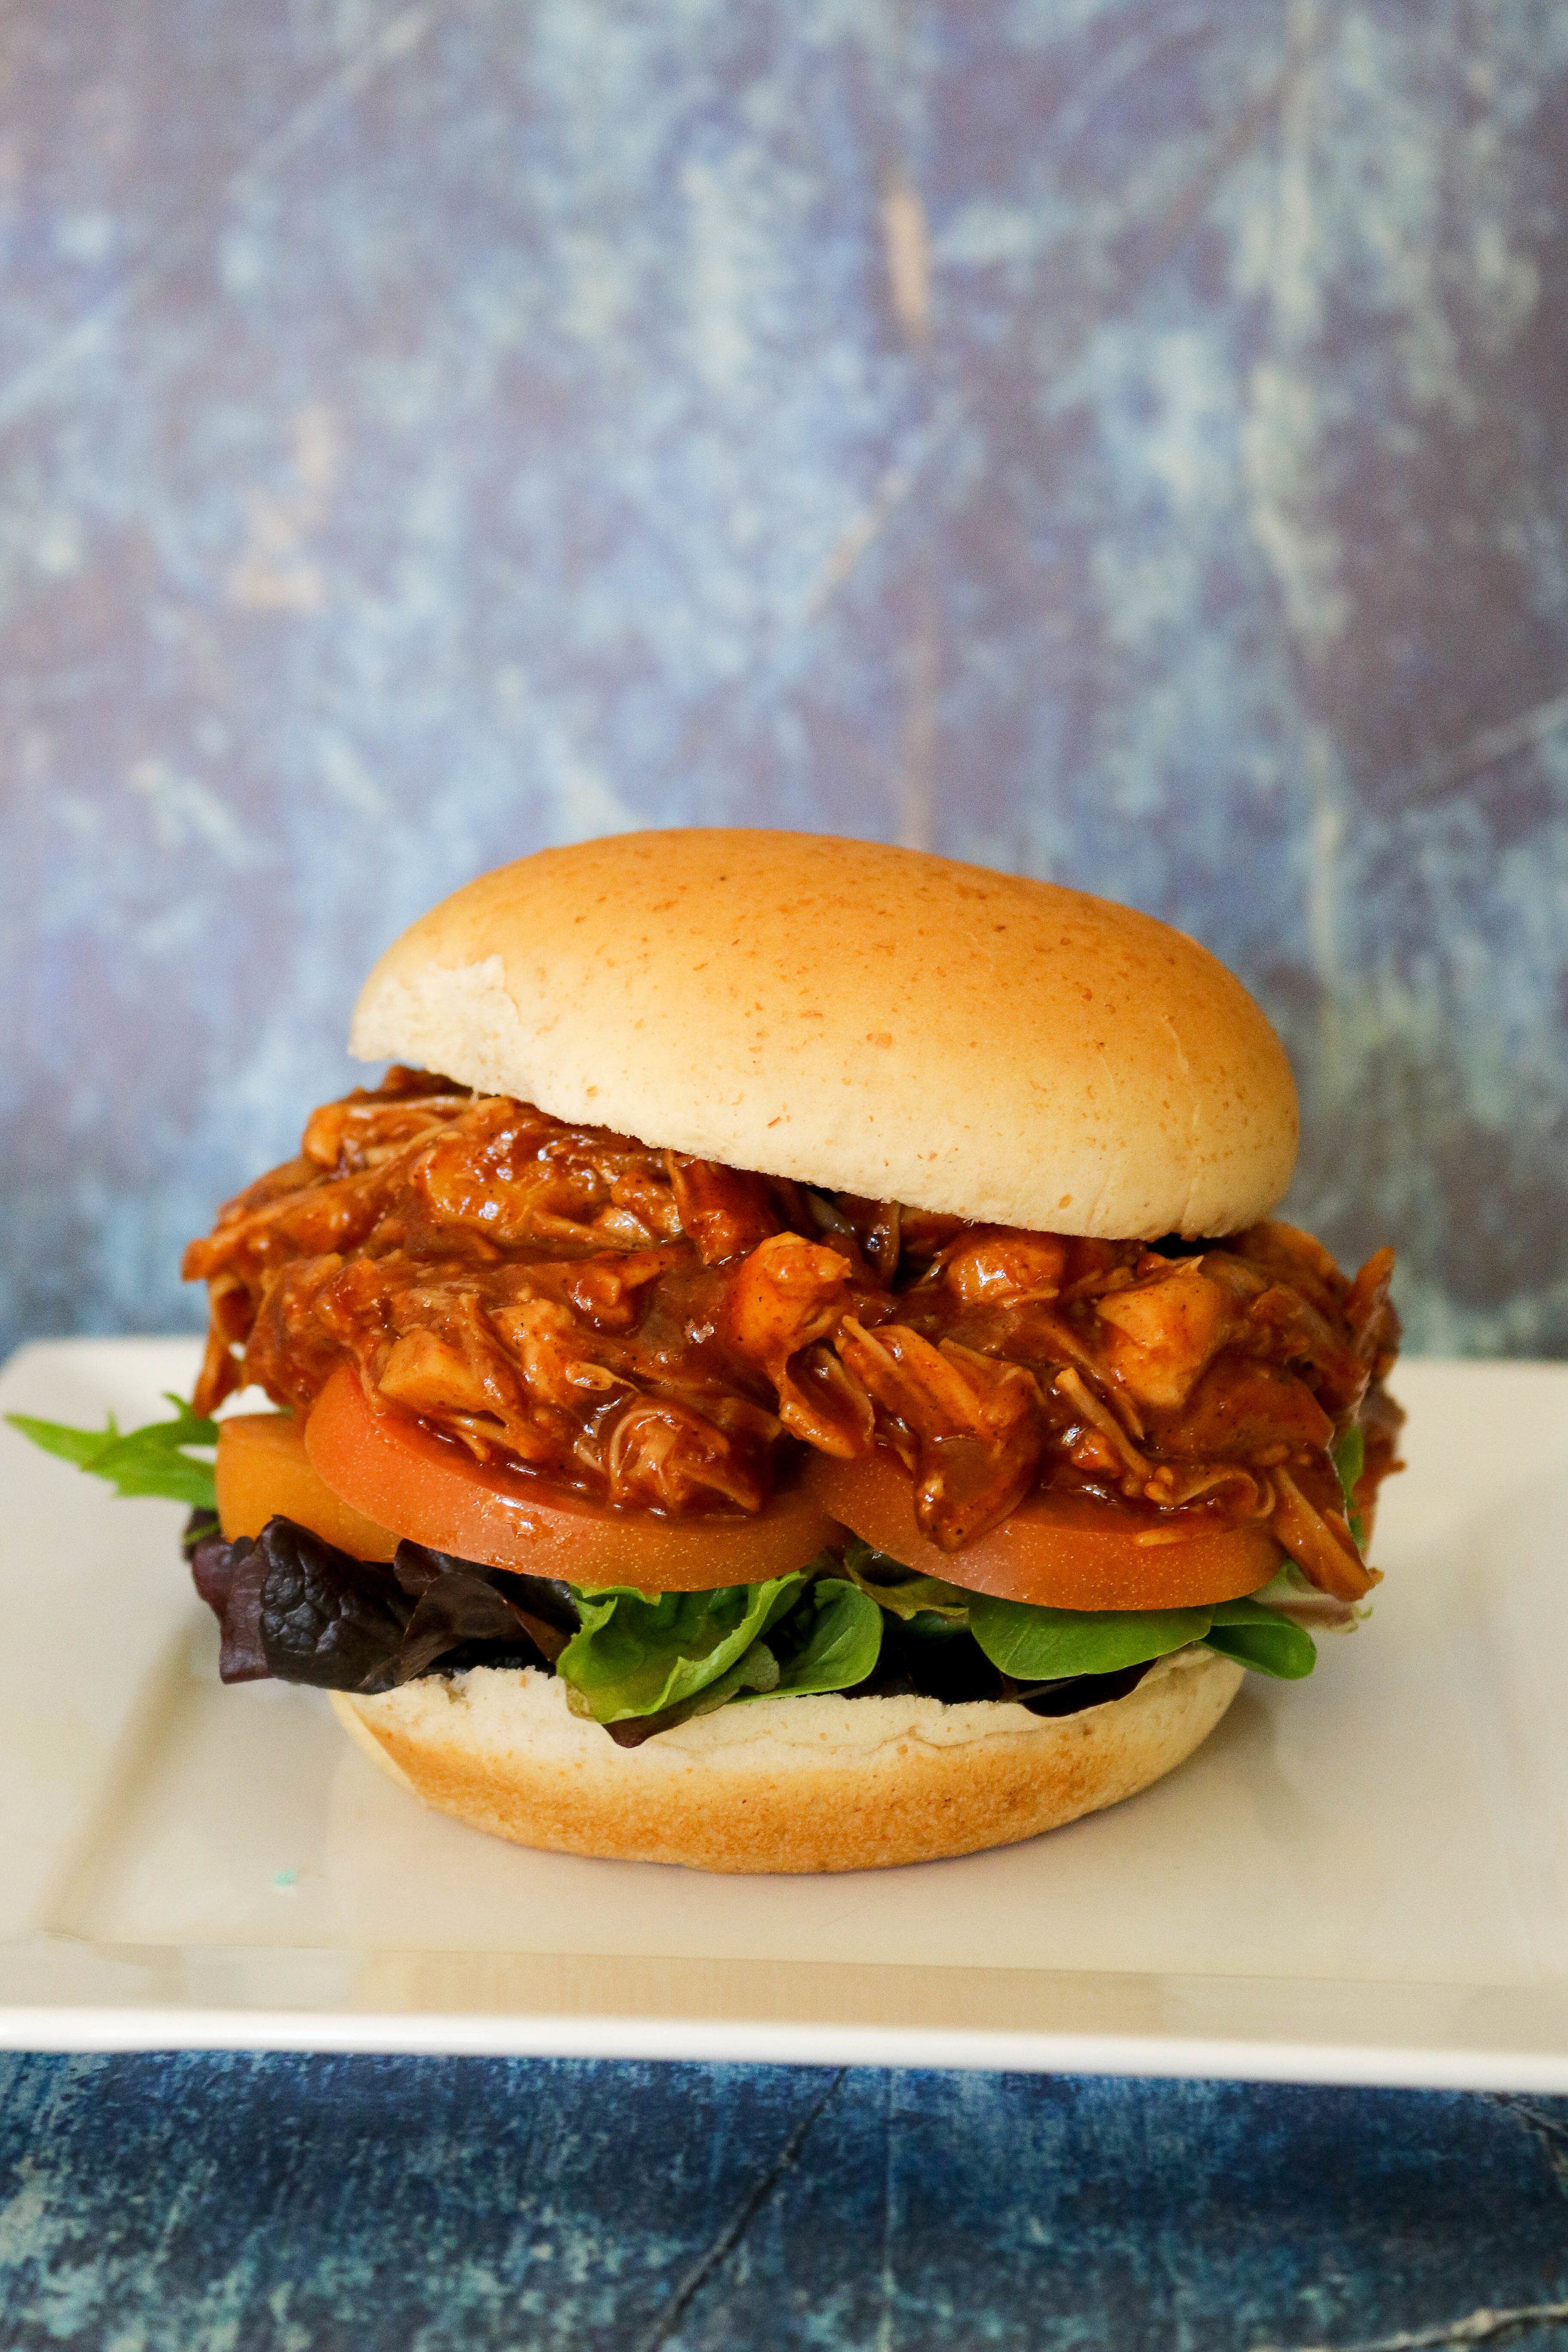
This delicious vegetarian/vegan take on BBQ ‘chicken’ sandwiches is definitely one you have got to try! The jackfruit shreds just like if you were shredding chicken. I served this to my kids and they didn’t even notice a difference! If you haven’t tried jackfruit, you definitely must!
IMG_8565.jpg

A majority of the people on my side of extended family members are vegetarian and vegans. Also for some time many years ago I myself was vegetarian so I’ve always been super comfortable with eating that way! Whenever family visits I have to come up with dinner ideas that can please meat eaters and non meat eaters…and let me tell you, there are only so many soups and tacos you can make before it gets boring.

I had heard so much about jackfruit that I knew I needed to give it a try. I was a little hesitant because it was new and when I started to shred it I gave me the willies. (Please tell me I am not the only one.) I was also afraid of the texture, taste, etc…But honestly…

I couldn’t tell a difference.

I would say that chicken is a little more tough, and this has more of a tender/artichoke heart type texture…But the taste and everything was the same.

Want to know HONESTLY what my family thought?

  • My kids had no idea. They ate the whole thing I didn’t complain of any differences.

  • My husband immediately took a bite and noticed a difference. He’s incredibly picky because he eats Taco Bell 5 times a week so…

(Yes Ari…THAT’S why he didn’t like it.)

Either way I will definitely make this again when family comes out. It was incredibly easy to pull together, and there are so many options to go along with it to please everyone. (All the toppings and textures you could add would really make this a crowd pleaser!)

IMG_8597.jpg

Ingredients:

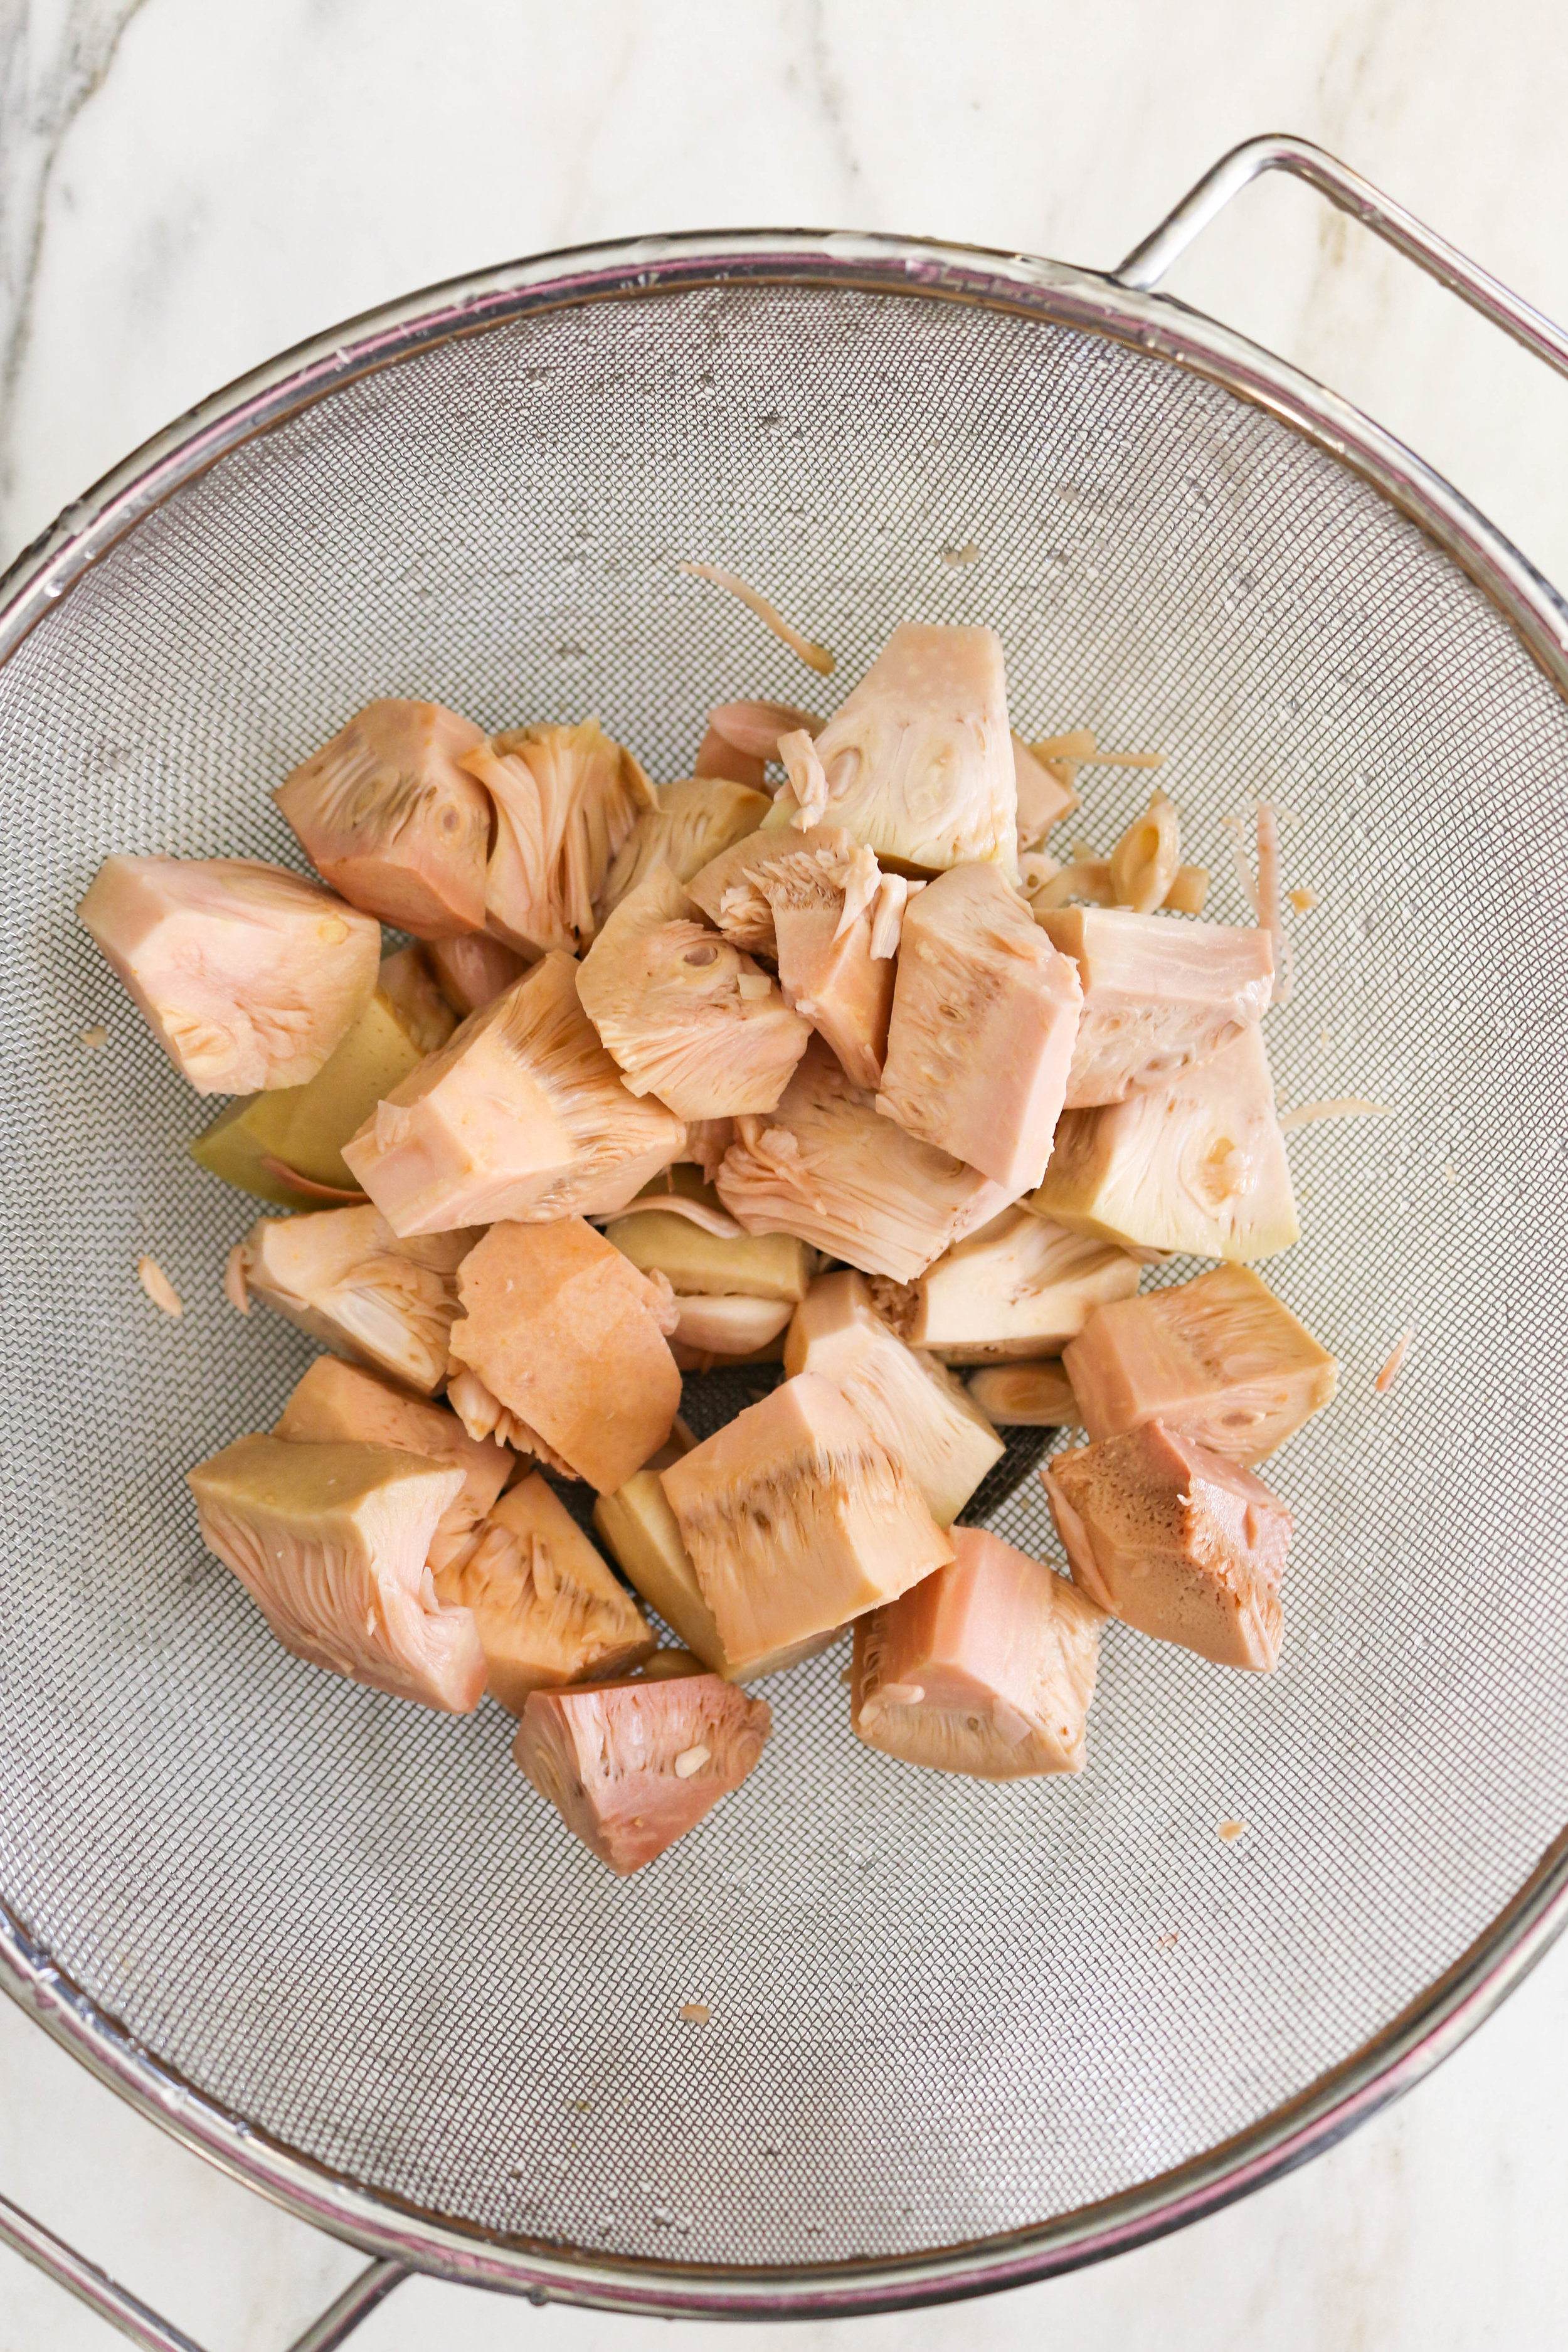
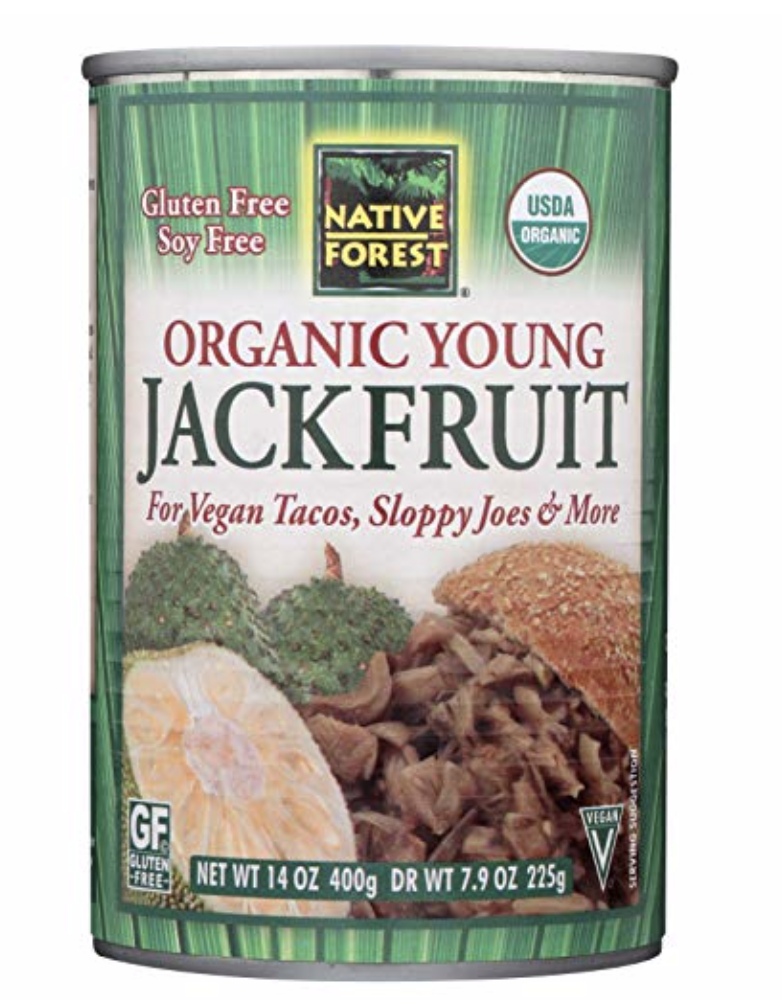
Two 14 once cans jackfruit, drained

2 TB. olive oil

3 TB brown sugar

1/2 tsp. each garlic powder, onion powder, cumin, and paprika

1/4 tsp. chili powder

salt and pepper to taste

2 cups BBQ sauce

Directions:

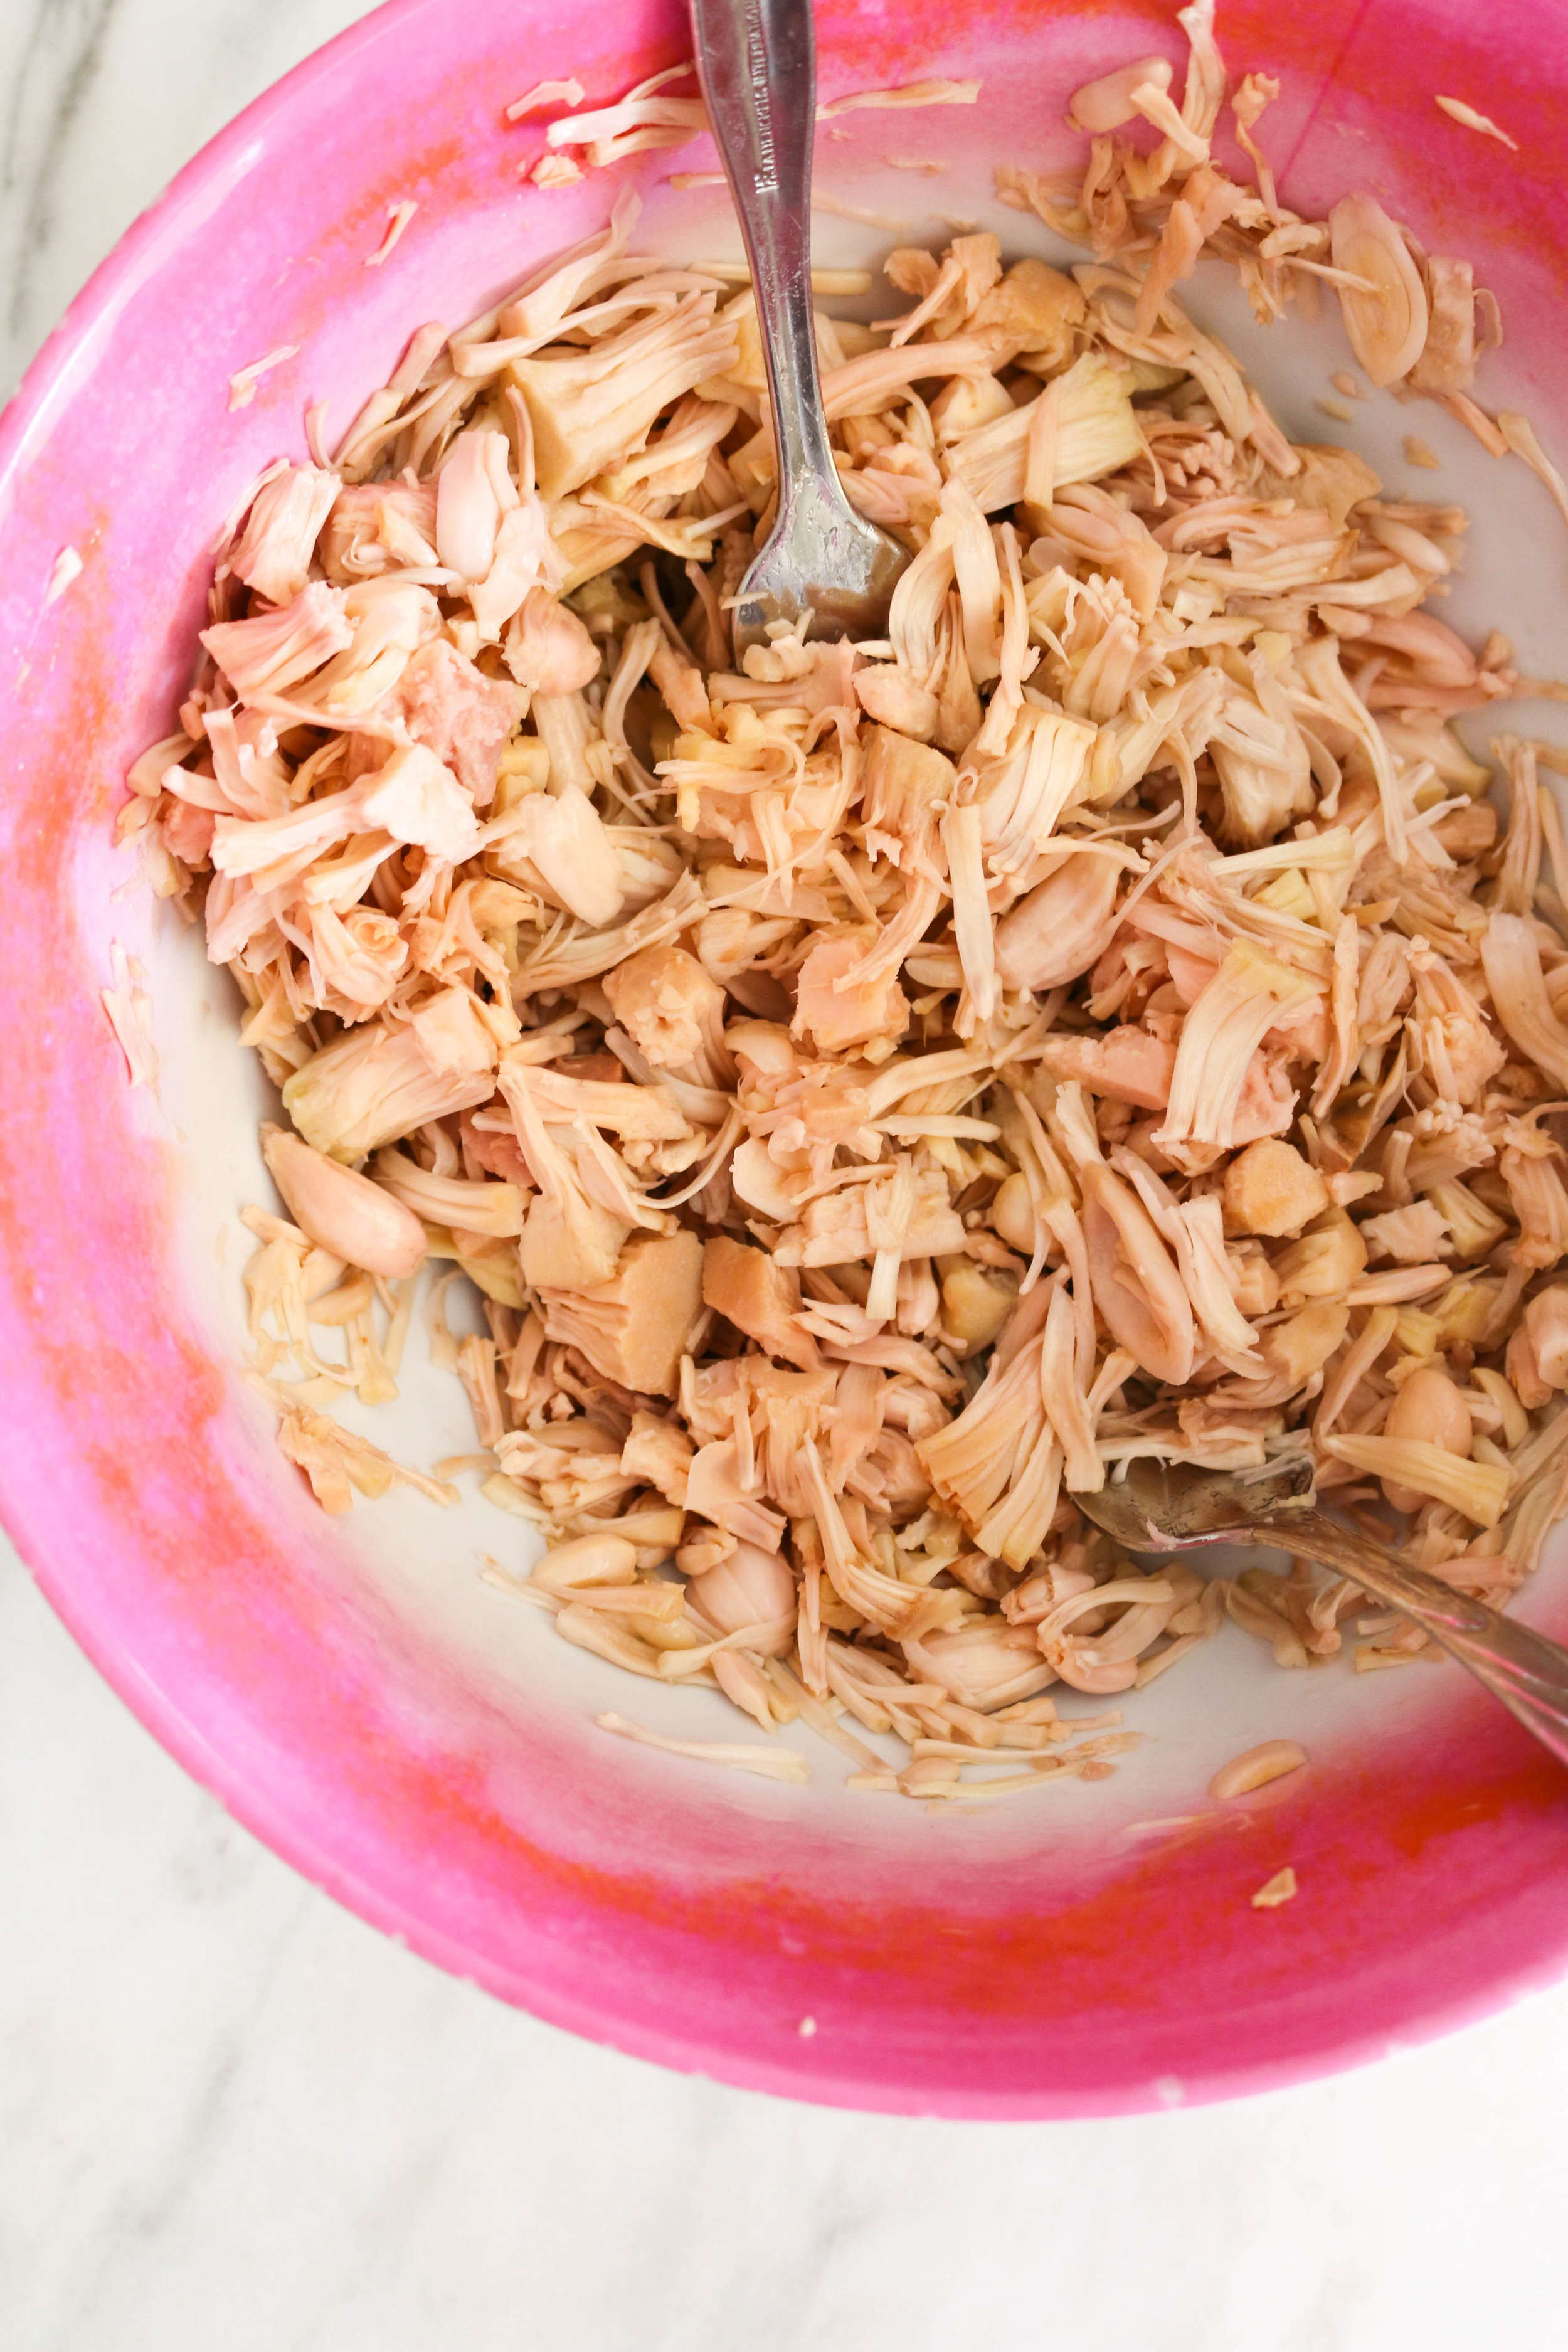
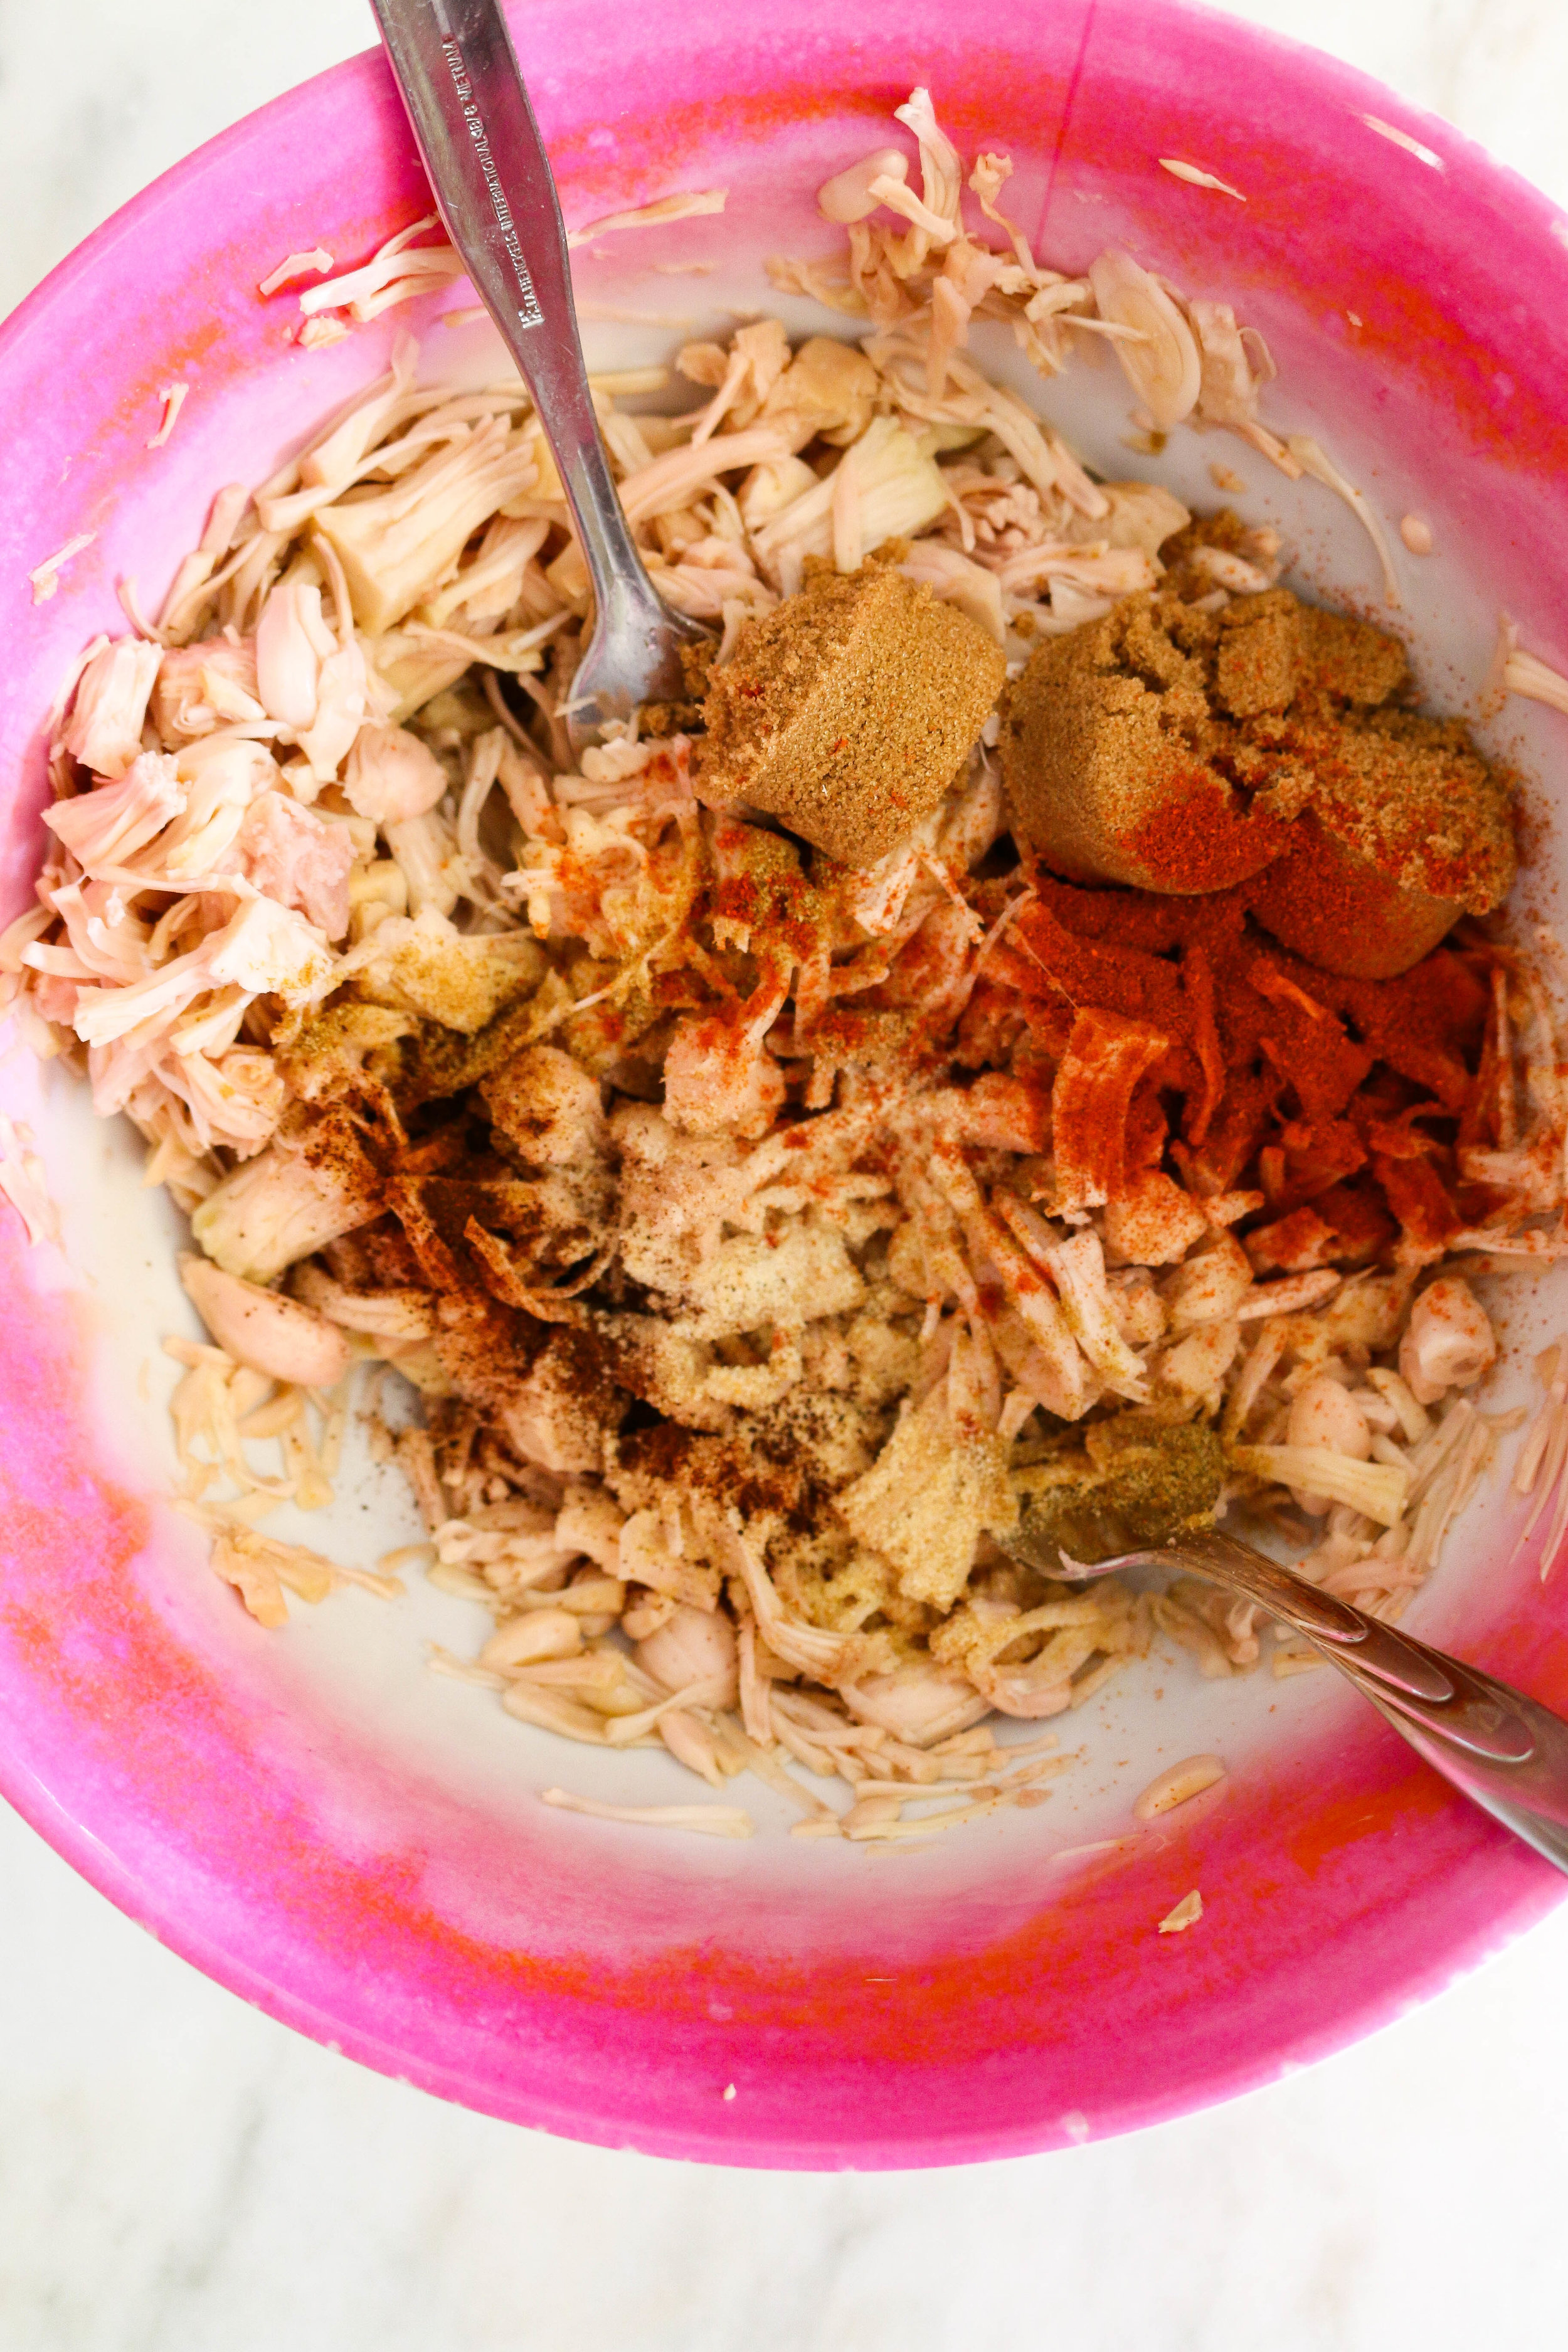
  1. In a bowl, add your jackfruit. Using two forks, potato masher, or whatever you choose…separate the jackfruit into shreds. Add all the spices to the jackfruit and combine.

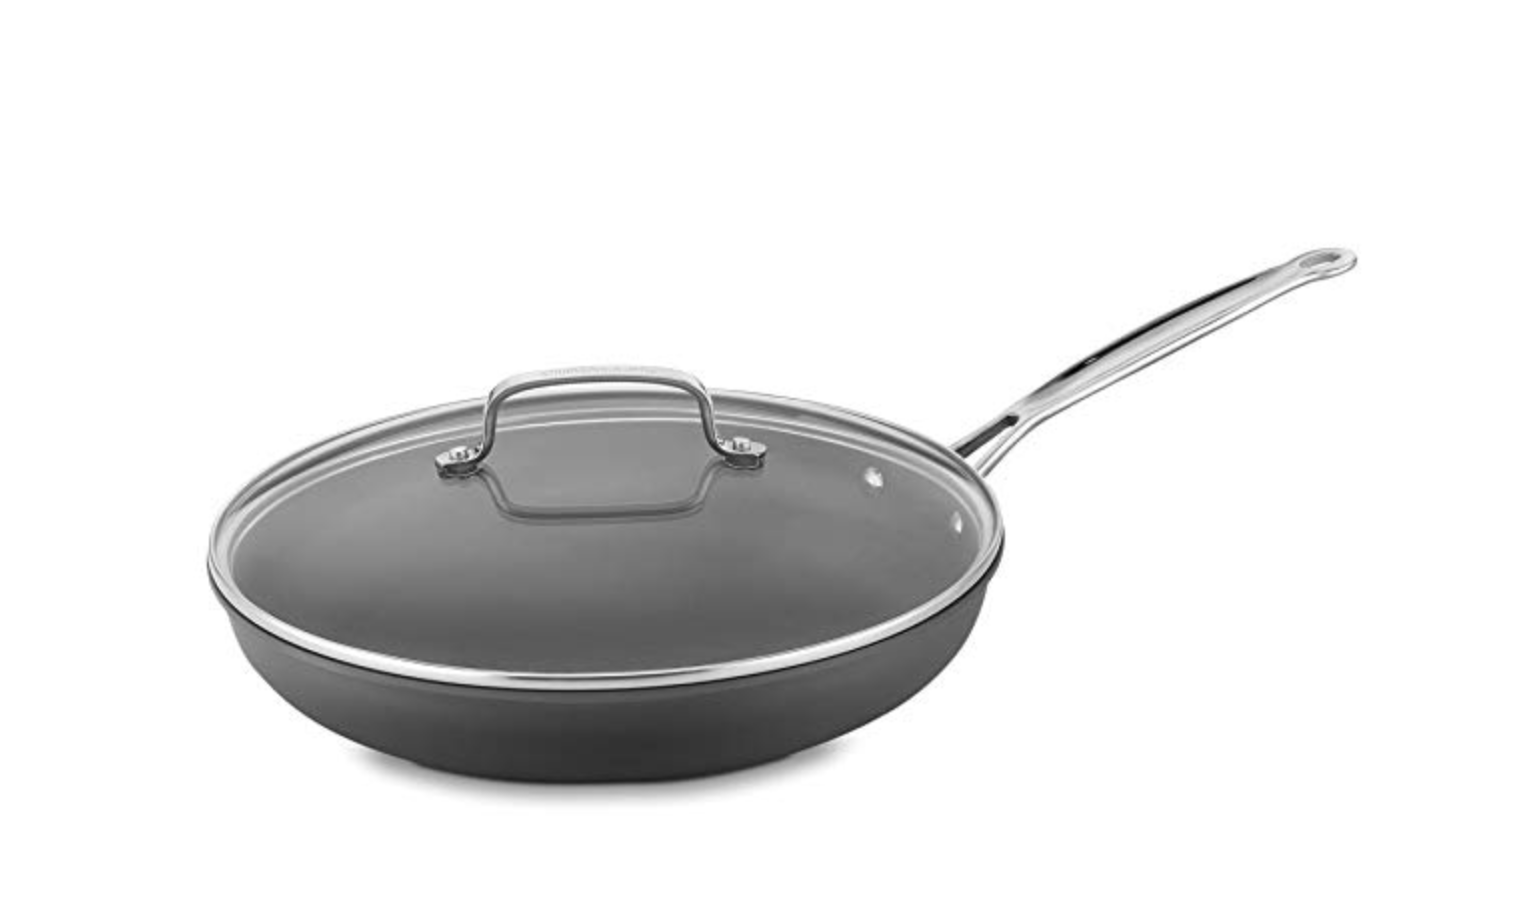
  2. Add oil to a low/medium heated skillet. Add the seasoned jackfruit to the skillet and cook for 3-4 minutes, stirring often.

  3. Stir in the BBQ sauce and continue to cook through until the BBQ sauce is heated through.

  4. Serve on buns with desired toppings and enjoy! Good in a sealed container in the fridge for 2-3 days.


IMG_8550.jpg

How To Conquer Gym Anxiety

A few years back when I was in the midst of my daily panic attacks, going to the gym seemed like THE LAST thing on earth that I wanted to do. It didn’t matter that every blog/suggestion/doctor said that exercise would help reduce my stress and anxiety…For me and in my anxious mind, the gym was not the answer.

One of my biggest triggers was being a lone…(It still is the main trigger of my anxiety)…So the thought of going to a large over-crowded gym where I would be working to get my already high heart rate up, it just didn’t sound appealing. You see, when anxiety controls your life, it tells you where you shouldn’t go or what you shouldn’t do because of fear. Literal fear, as if you could die. Being anxious you avoid that fear at all cost because, why wouldn’t you?

Only, when you say it out loud it sounds so stupid really. You avoid walking in the middle of a busy freeway because it’s dangerous. You could die, among many other things that could happen.

But avoiding the gym because you’re afraid of a panic attack among other anxiety ridden thoughts just sounds…Stupid.

Now that we’ve addressed the why, we need to address the HOW. How do you go to a place that would benefit you so much in the long run, but it’s causing you incredible fear?

For starters you might think, what is the problem if I work out at home? I have a treadmill, weights, youtube…

Here is the thing. If gyms/studios aren’t your thing, that is ok. But part of dealing with constant anxiety is isolation. We isolate ourselves out of fear of something bad happening, and a lot of times we become agoraphobic. So whether it’s the gym or target, we make excuses for putting our selves in uncomfortable positions. Now I know that sometimes going to a place to workout really isn’t peoples thing, and I can only share from my personal (and some friends) experiences, going to a gym by myself, without my children has been one of the greatest hurdles for me. It was so hard, but in the end was one of the reasons why I was able to overcome daily panic attacks and anxiety.

I will be honest and say that it is sometimes difficult to get there. Sometimes I get on the elliptical and my anxiety starts to creep in. But having the tools to overcome it, and being so comfortable now in that environment, is SO FREEING. Whenever I leave the gym I am seriously so much more mentally strong. It’s time for ME to heal and to grow…and it has been amazing.

Whether you are in the thick of your panic and anxiety, or you just have a little bit, these steps will help you overcome that fear of going to the gym! You cannot give up. The way to overcome this is my going through it.

  • Start Small

There very first thing I did was get out of my house. It was SO hard for me. I hired a babysitter and started to go on walks/runs near my house. I would tell myself to just go for 10 minutes. Then after 10 minutes, if I could go longer, I would. I kept pushing myself for a longer and longer time, until it was easier to leave my house alone.

  • Get a friend to workout with

The next thing I did was get a gym membership with a friend. We would meet at the gym, my biggest fear, and I would workout beside her and have that piece of mind that she was with me. It wasn’t easy, but having someone there forced me to stay and really helped me to reach that next step.

  • Start to go alone, slowly

Obviously if working out with friends is really helping, continue doing that. But also go a few times alone to really conquer those feelings of fear. It was so hard for me just to DRIVE there, so when I got there with an already elevated heart rate, the last thing I wanted to do was run. SO I started slow. I would walk around the track. And go back to the beginning where I would just try and stay for 10 minutes. And each time I would push my self to stay longer and longer.

  • Good music/show/podcast

Music is known to change an anxious mind into a calm one, there are so many studies on this. Create a play list of your favorite songs that excite you and listen to them. Save your favorite shows for when it’s gym time so you can watch them on a piece of exercise equipment. Or find a motivating podcast to help you. Whatever it is, these subtle distractions will keep your mind busy and less likely to bother you with a stupid, “What if?!”

  • Do not give up, even if you have a setback

If you are doing well and then all of the sudden you are lifting weights and have a full blown panic attack…keep going. Walk around a few times, get some water…but don't leave. Leaving just tells your body that you are in trouble, when in reality you really aren’t. Fight those feelings that something bad will happen, and stay. Or if you had a panic attack and left, and now you can’t workout because you remember that feeling…GO ANYWAYS. It’s scary, I know! But I promise you…When you go, you are telling yourself there is NOTHING to be afraid of. You are gaining control of that anxiety, and that is the best feeling.

  • Take care of you

Are you well rested? Drinking enough water before the gym? Taking the right supplements for anxiety, like magnesium? All of these things matter when it comes to anxiety. If you do these things, anxiety is less likely to creep in.

  • Have the right tools and resources

One of my biggest saving graces is my Anxiety Bible, as I call it. It’s really called DARE. But it gives you the tools to overcome ANY anxiety. It talks about everything you feel and go through, and how to work through them. A good resource will help you continue goin

Click the picture to find the book on Amazon!)

  • As always, make sure if you feel Anxiety/Panic Attacks/etc. that you tell someone, talk to someone, see someone, and get some help. It’s not easy to admit we are struggling…but I promise, it’s the first step into getting better and healing. Just remember, you would go to the doctor or tell someone if you had bronchitis! Mental health is just as if not more important than our physical health!


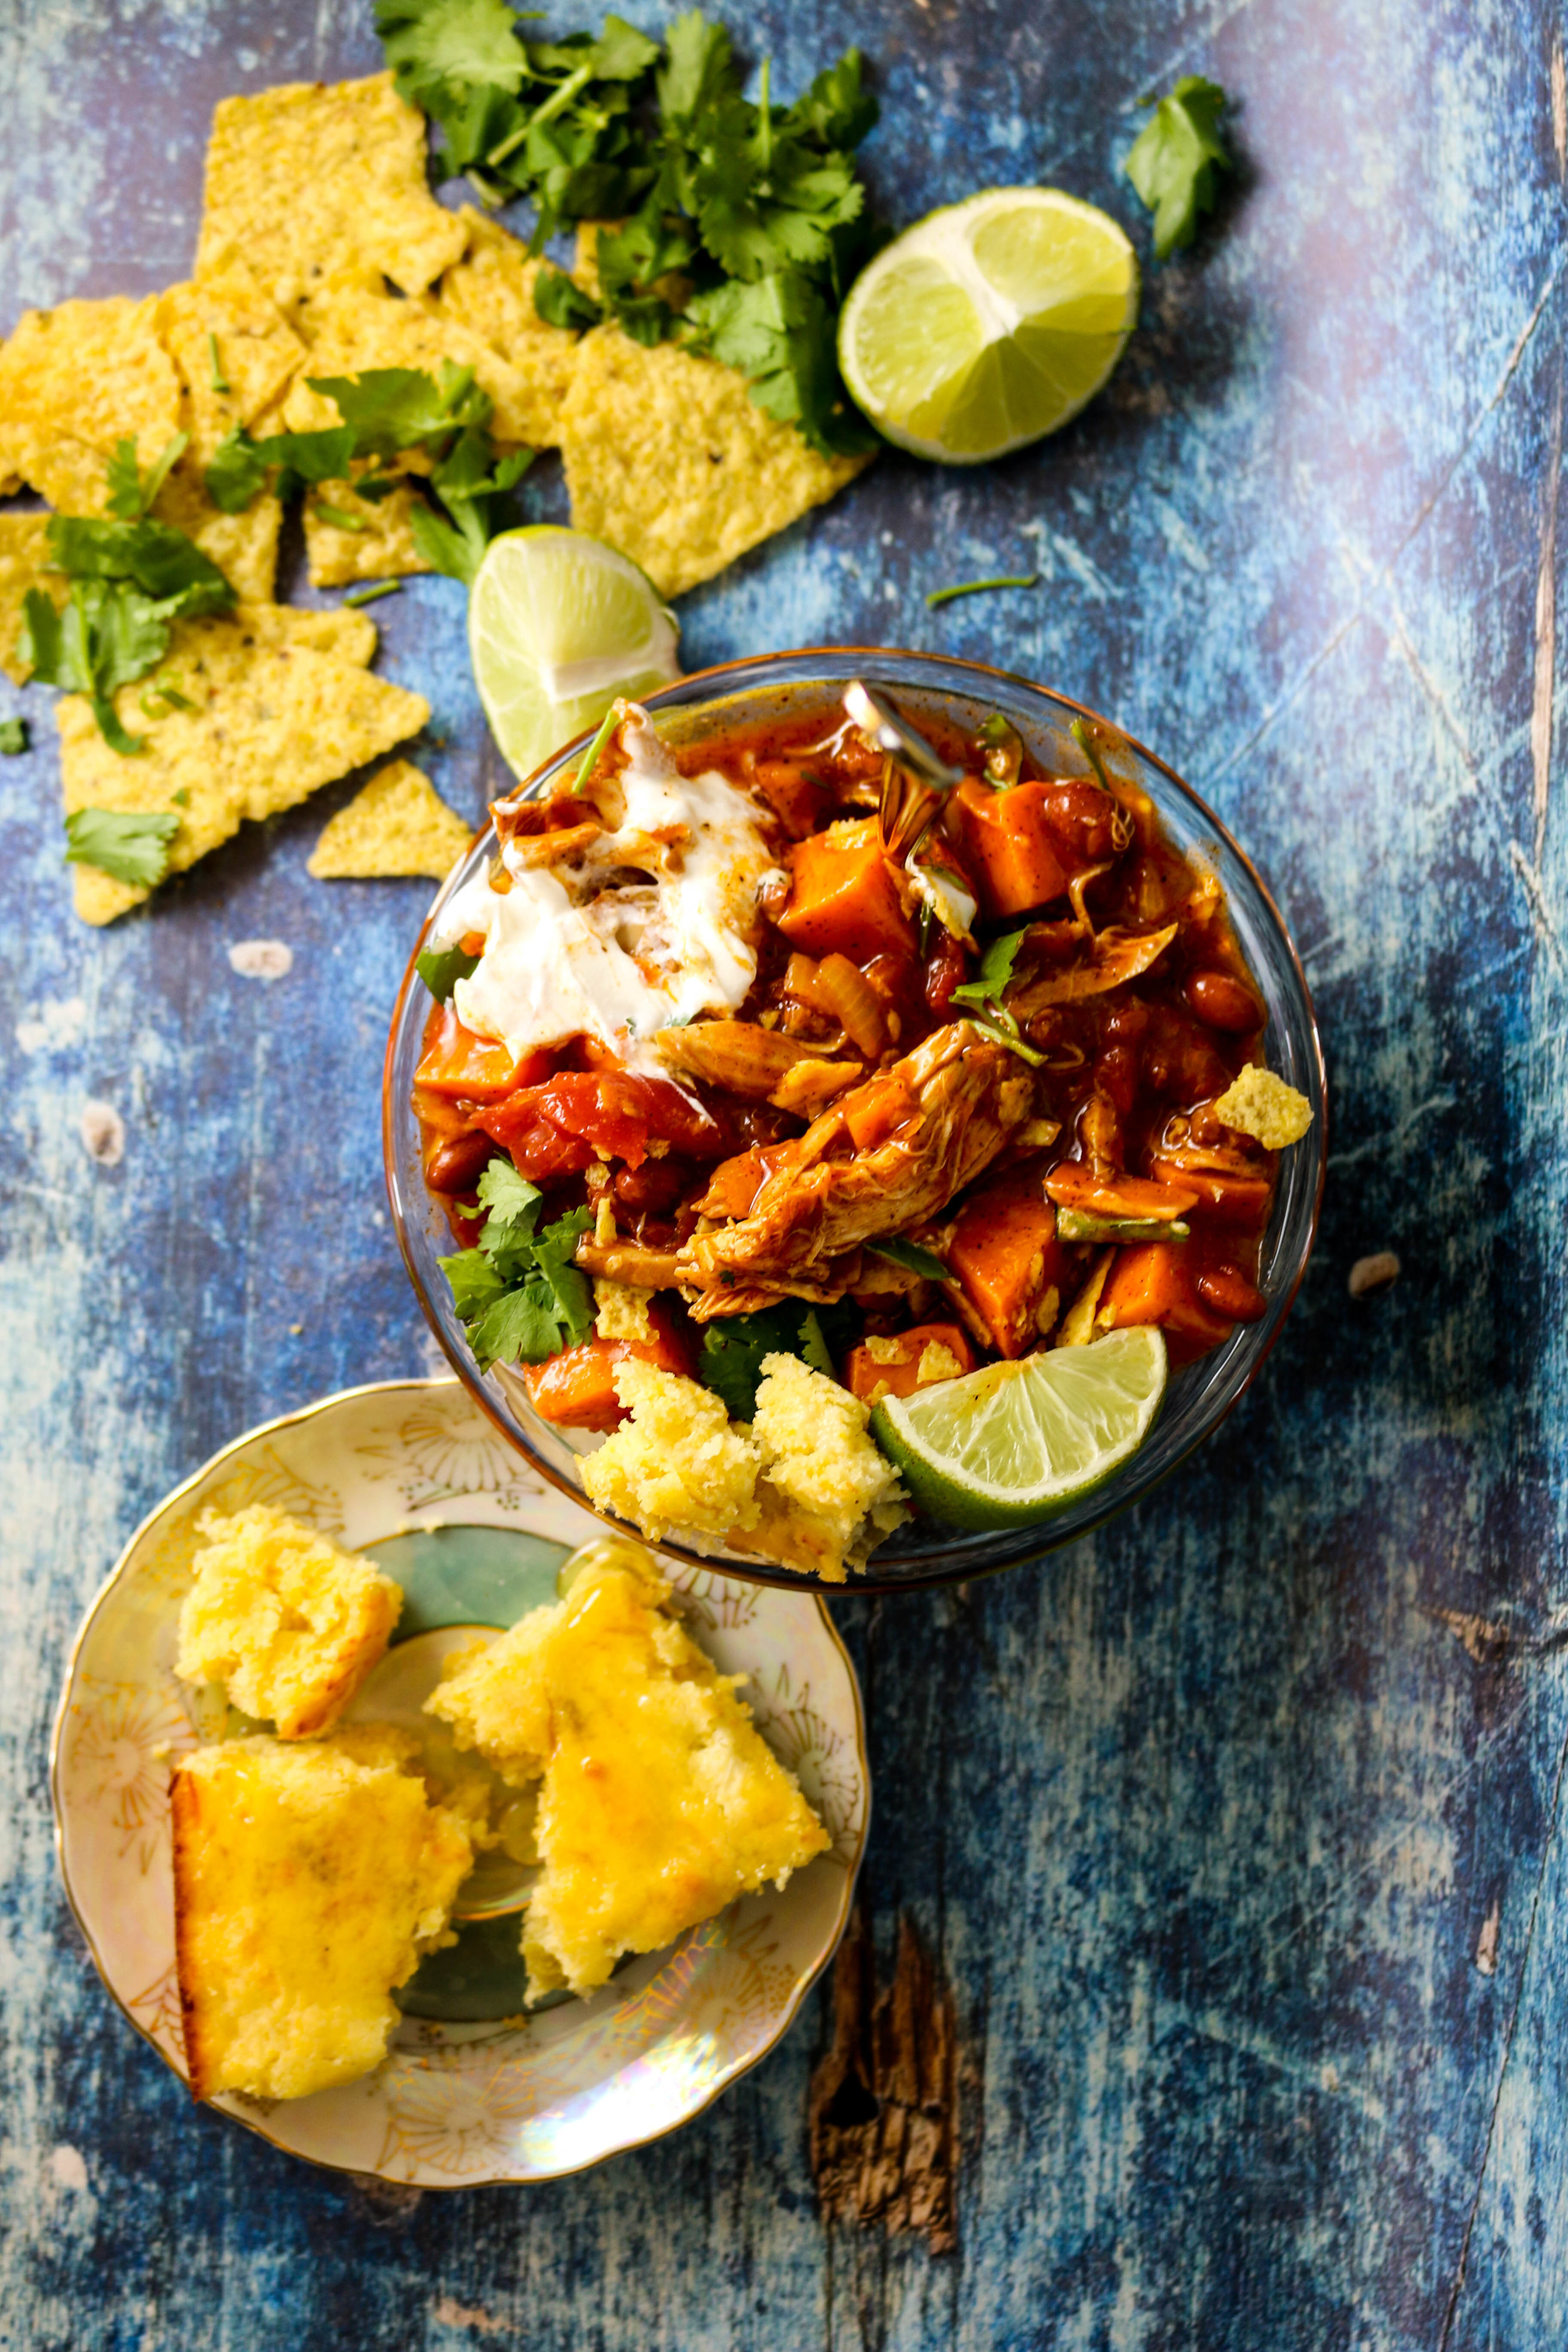
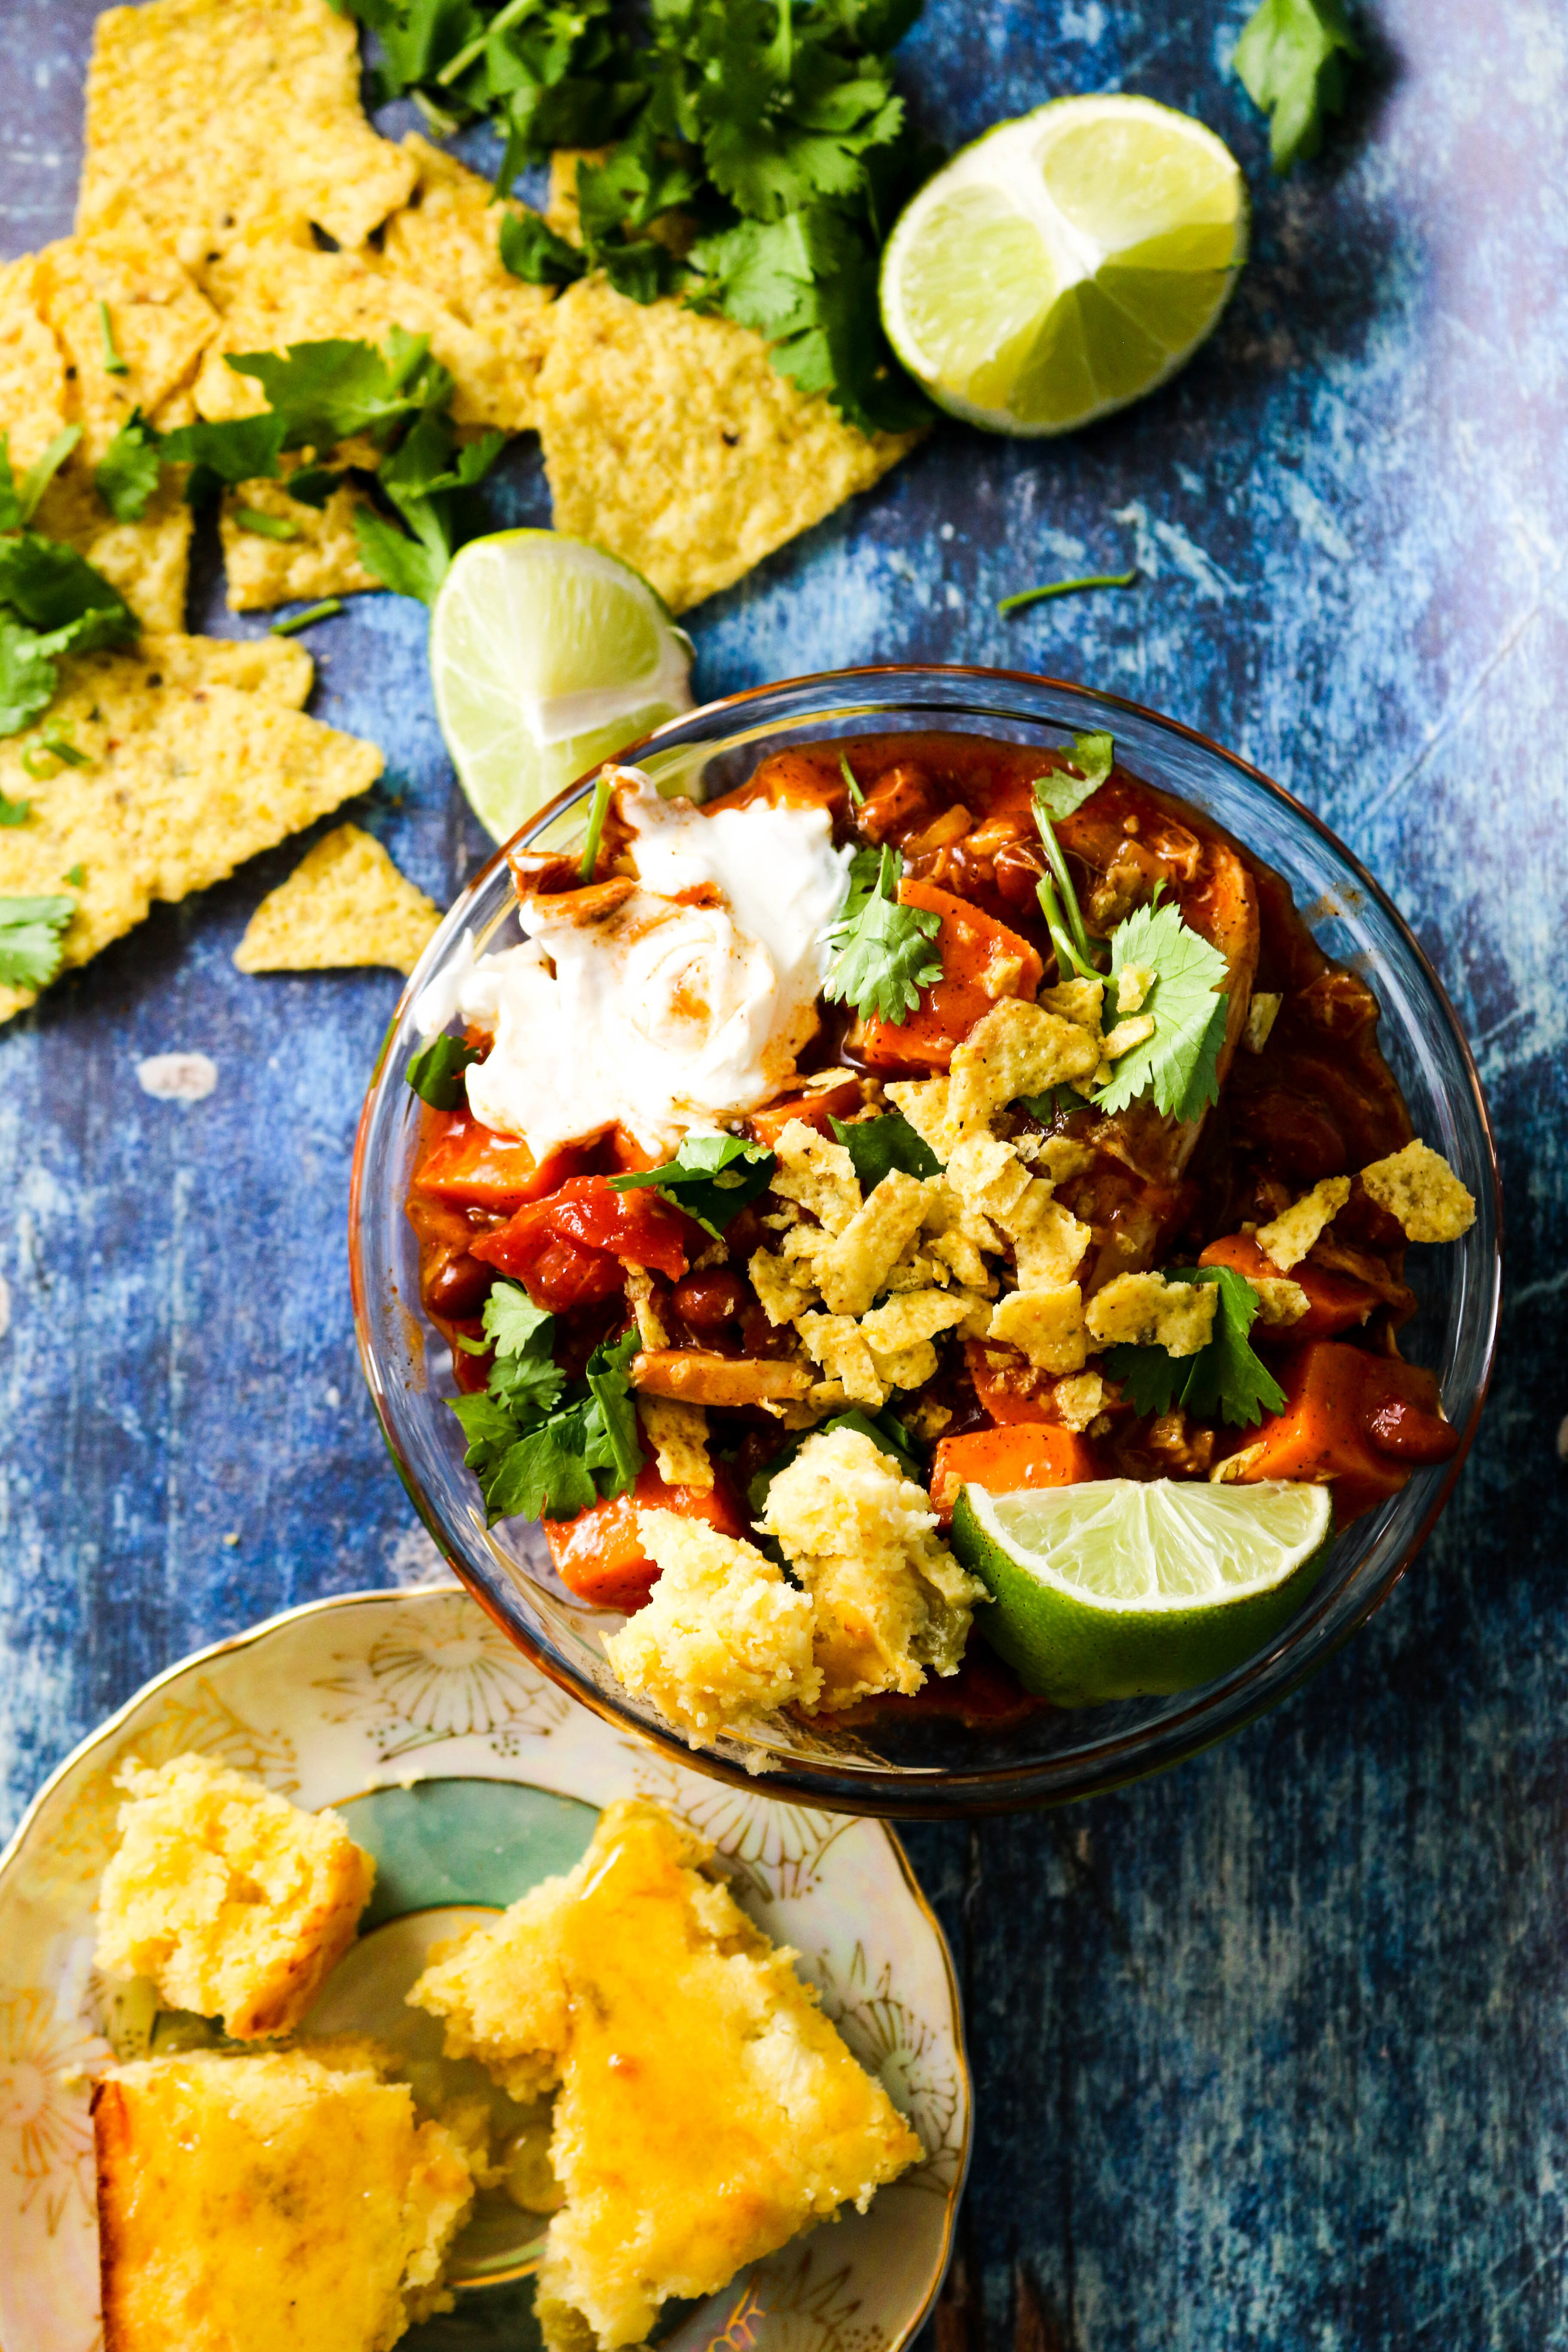
Sweet Potato and Chicken Chili

This is a super quick dinner to put together on those busy weeknights! It’s filling, healthy, and delicious! Pair with a delicious cornbread topped with honey and this meal will definitely become a family favorite!
IMG_8359.jpg

I was thinking about a time a few years back when dinner time was crazy because I had a little baby clinging to me, while another one was taking every item out of the pantry closet. It was hard and exhausting but now more than ever I can admit I wish I could pull a jar of baby food out of the pantry and call it dinner!

Every season is exhausting, but with each season certain things become easier while certain things become harder. As of now, having three kids In school with homework, dance classes, singing lessons, piano, soccer, and reruns of Gilmore Girls to catch up on…I HAVE NO TIME!

So while I love to make a good ol’ peanut butter and banana sandwich for dinner, sometimes I feel the need to make a healthy home cooked meal because I love the idea of adding a lot on my plate. I thrive on stress. ;)

Luckily, for you and for me, I have nailed down a handful of delicious, quick, and healthy dinners that come together in under 20-30 minutes. I’ll definitely continue to share these as time goes on because we have to stick together! Also, this meal can be made simultaneously while your 1st grader reads to you a story about spiders and their babies.

In case you were wondering…

IMG_8350.jpg

Sweet Potato and Chicken Chili


Ingredients:

3 TB. olive oil

1 yellow onion, diced

4-5 cloves garlic, diced

1 orange bell pepper, chopped

1 orange sweet potato, peeled and chopped into small chunks

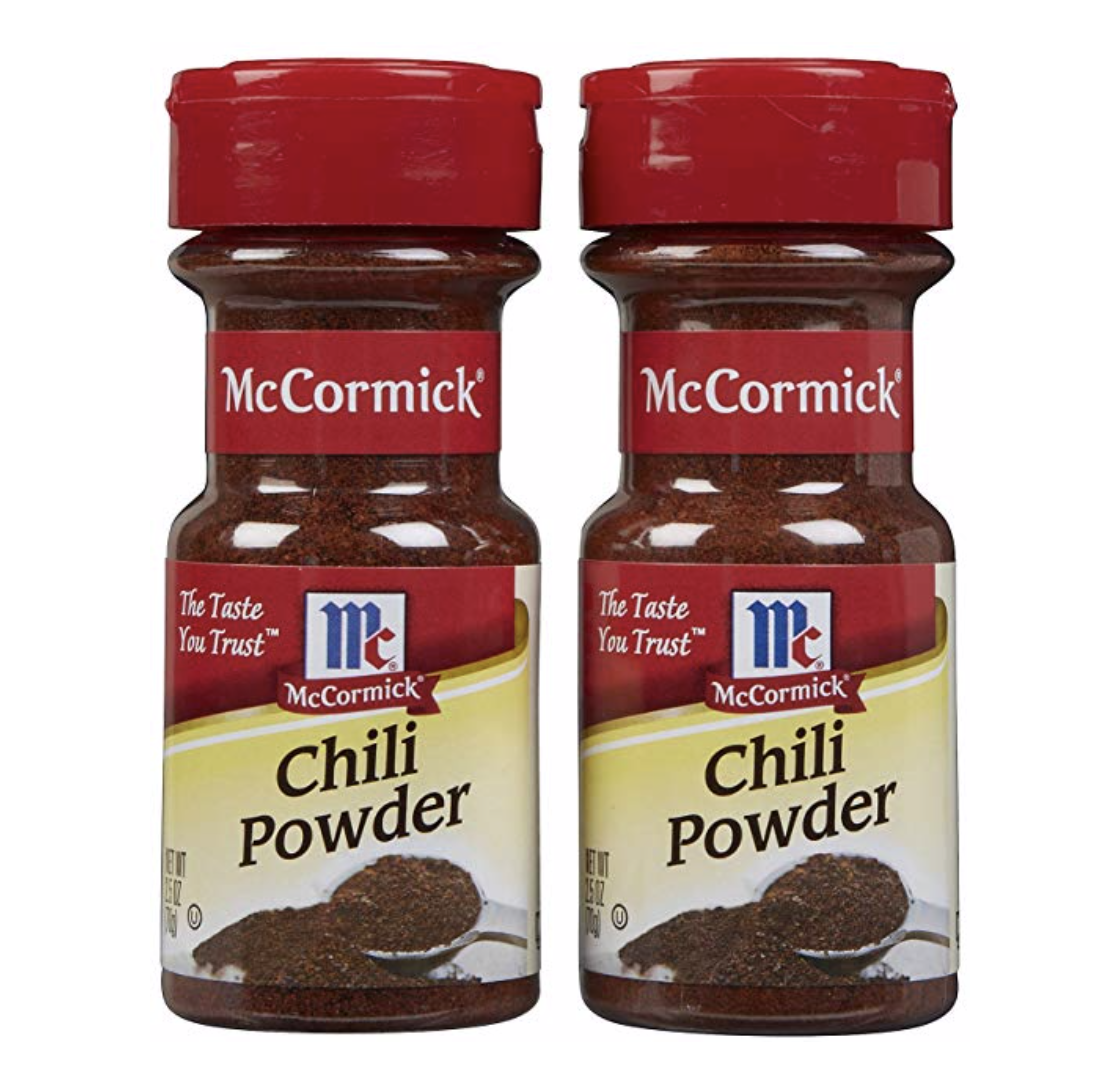
1 TB. chili powder

2 tsp. cumin

3 cups canned crushed tomatoes

1 can chili beans OR black beans in sauce

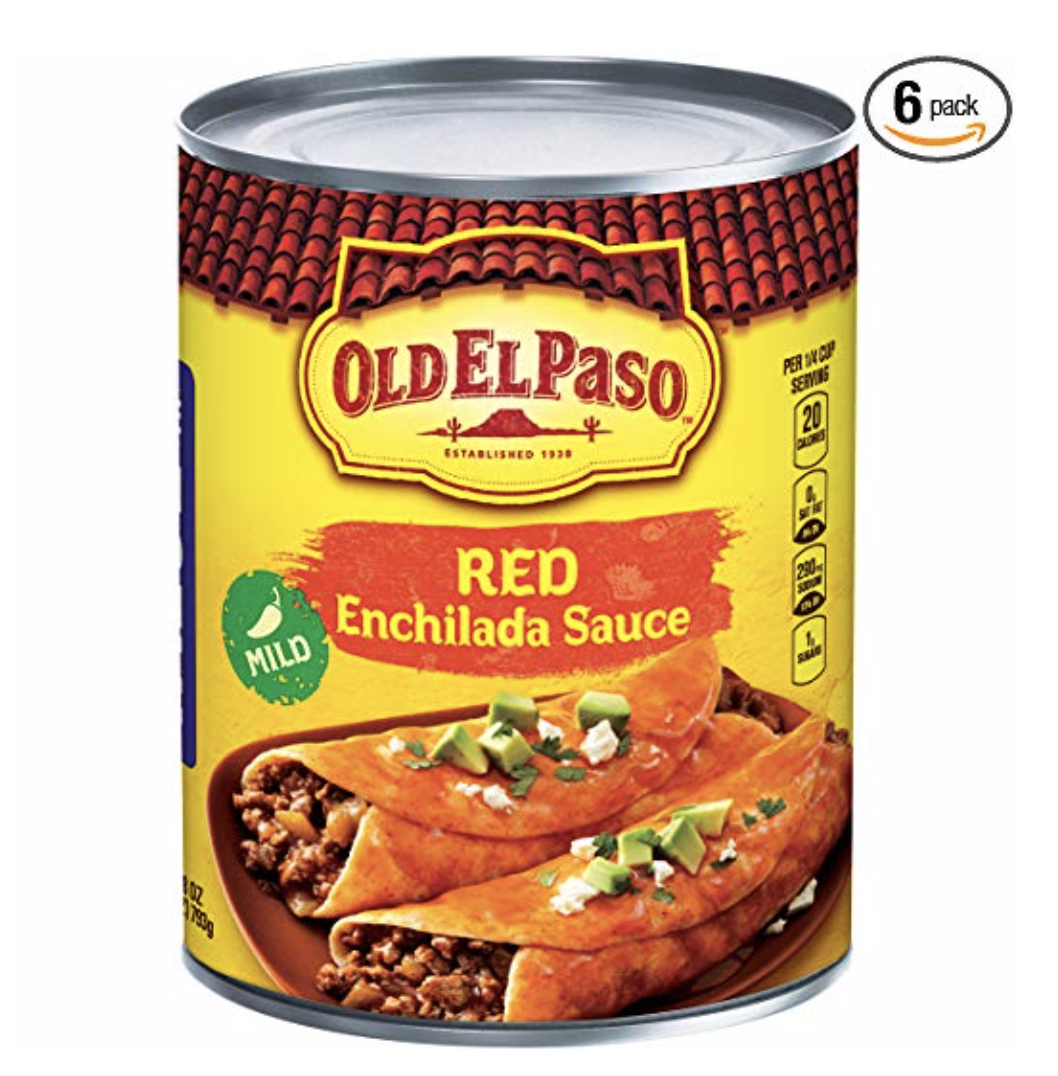
1 can mild red enchilada sauce

1 cup vegetable or chicken broth

3 cups shredded rotisserie chicken


Toppings: Fresh lime, sour cream, scallions, cilantro, and crushed tortilla chips.


Directions:

  1. In a medium heated pot on the stove, add the olive oil. Toss in the onion, garlic, and bell pepper. Cook until the vegetables have softened and are translucent.

  2. Add in the sweet potato and spices, stir and cook for 3 minutes. Next add in tomatoes, beans, enchilada sauce, and broth. Cover and cook until the soup has thickened and the sweet potatoes have softened. Continue to stir frequently.

  3. Once the chili is ready, fold in the chicken and remove the chili from the heat. Serve immediately and top each bowl with the toppings!

IMG_8355.jpg


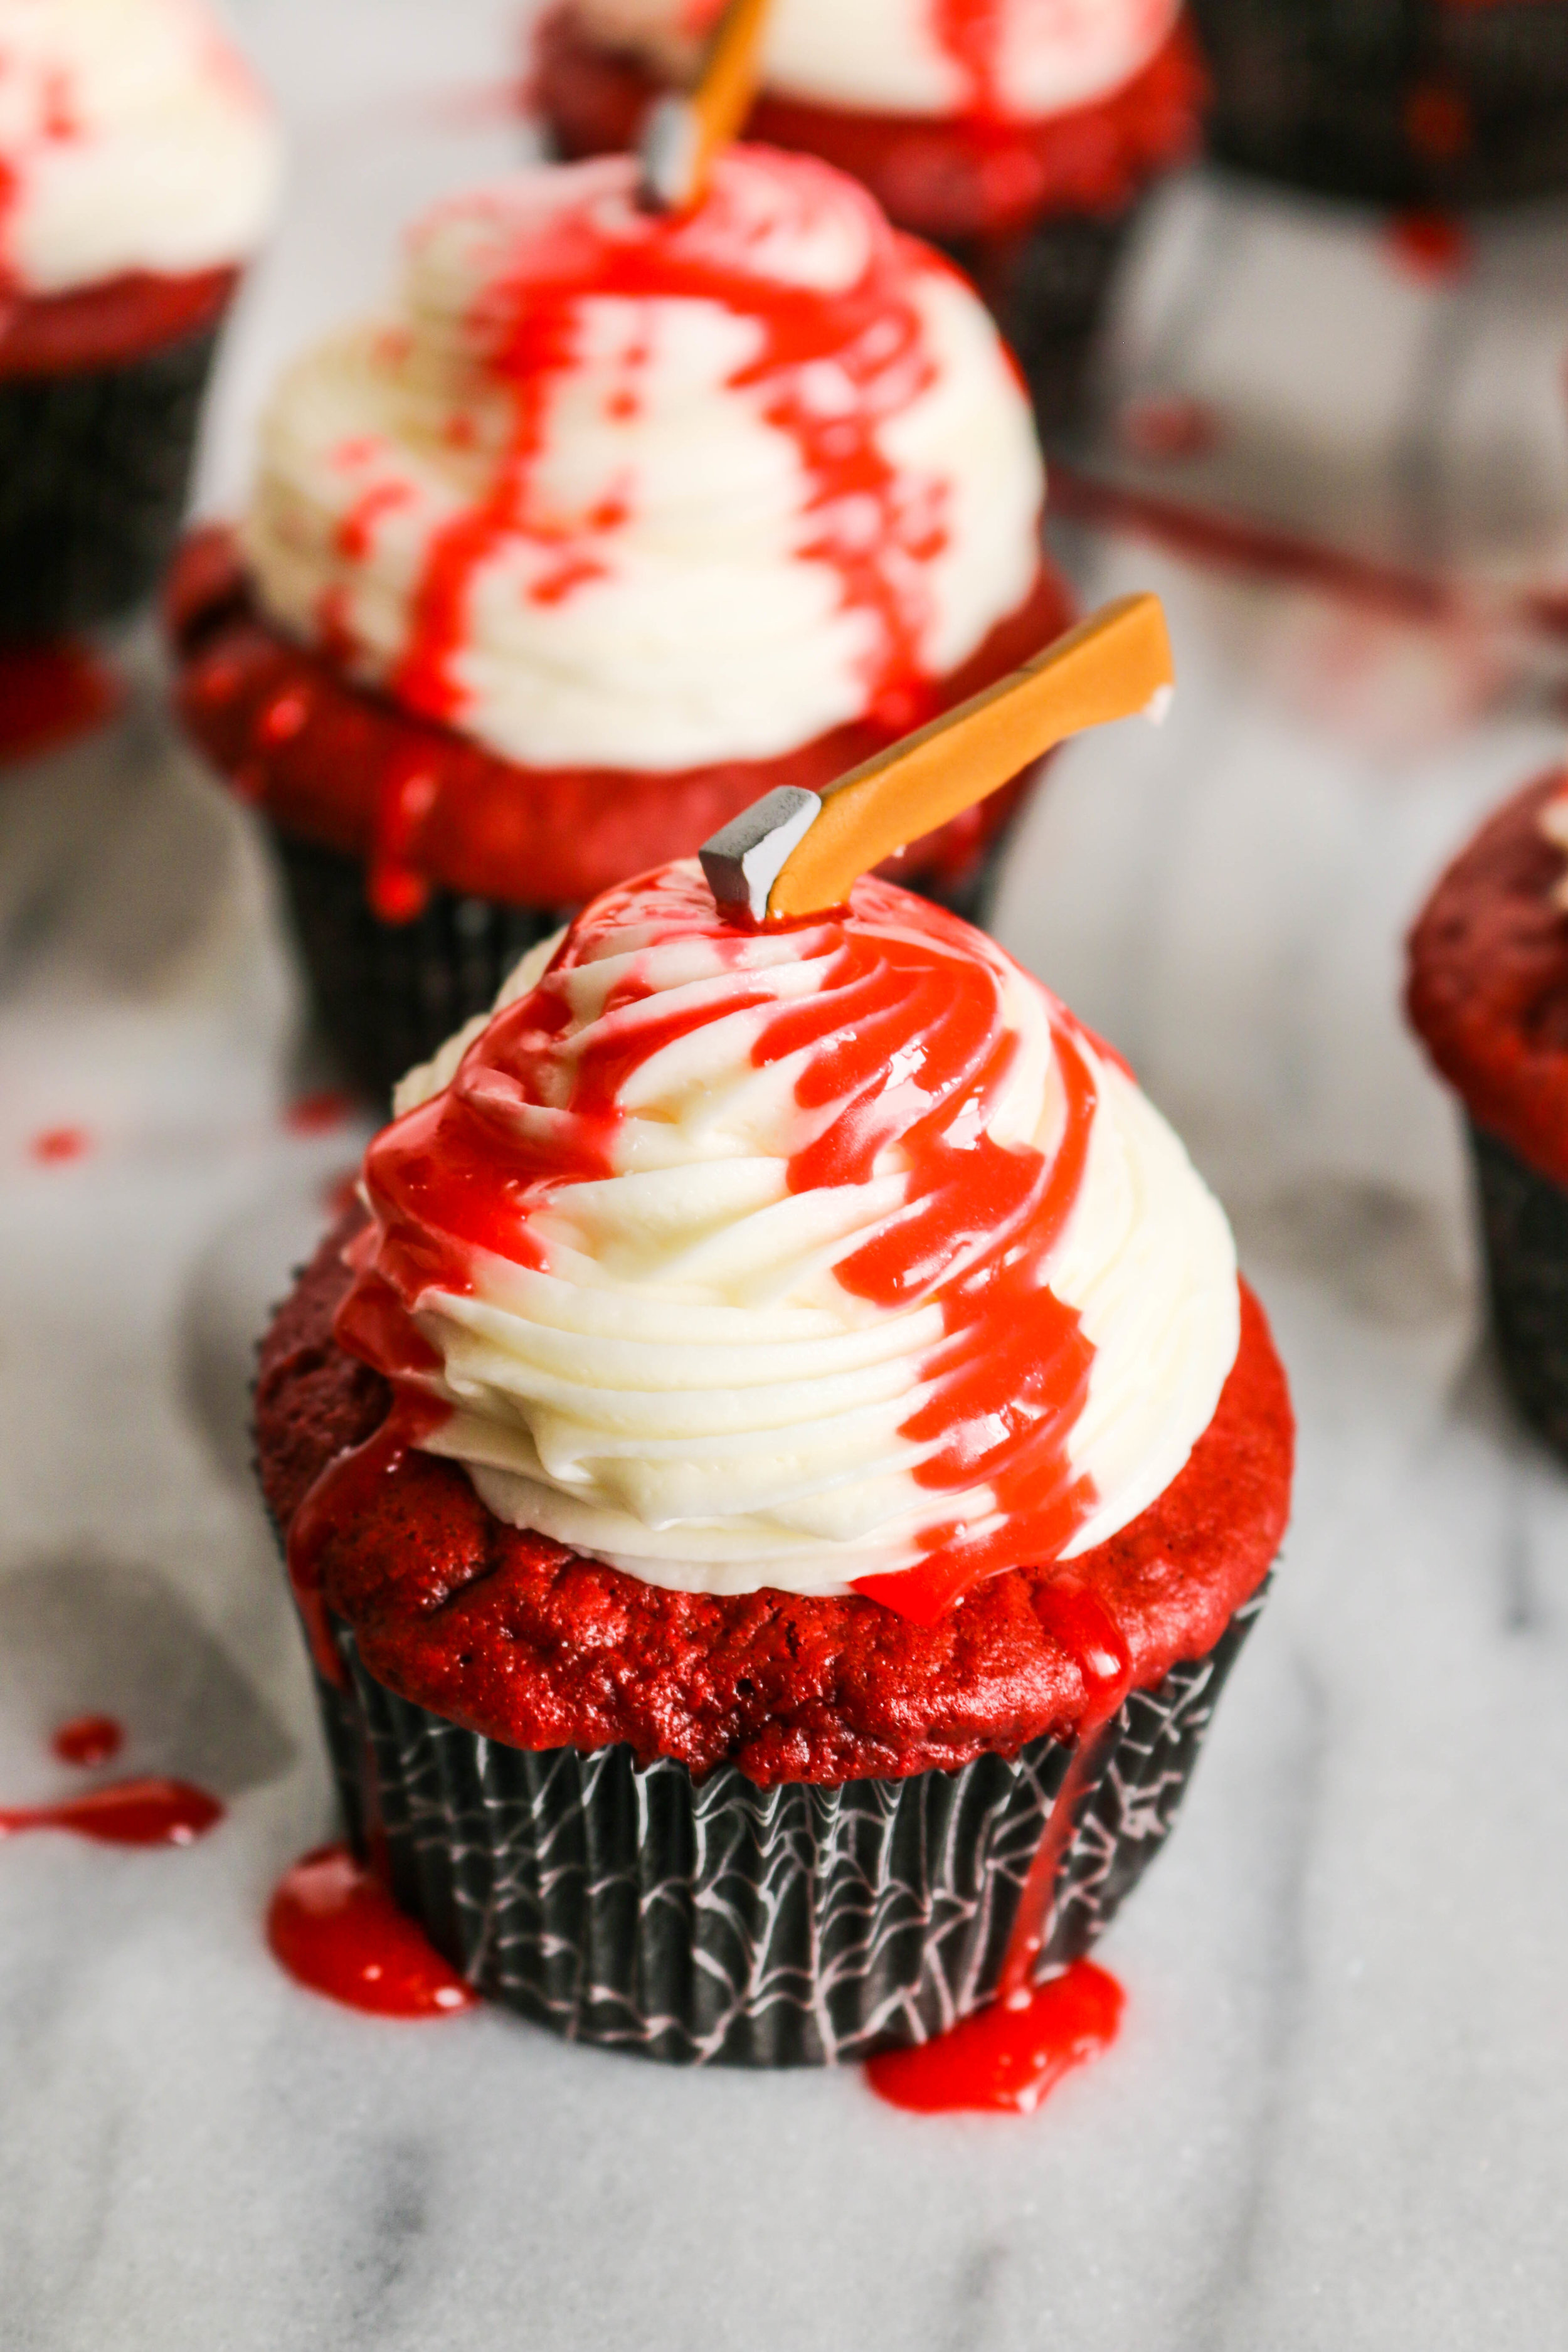
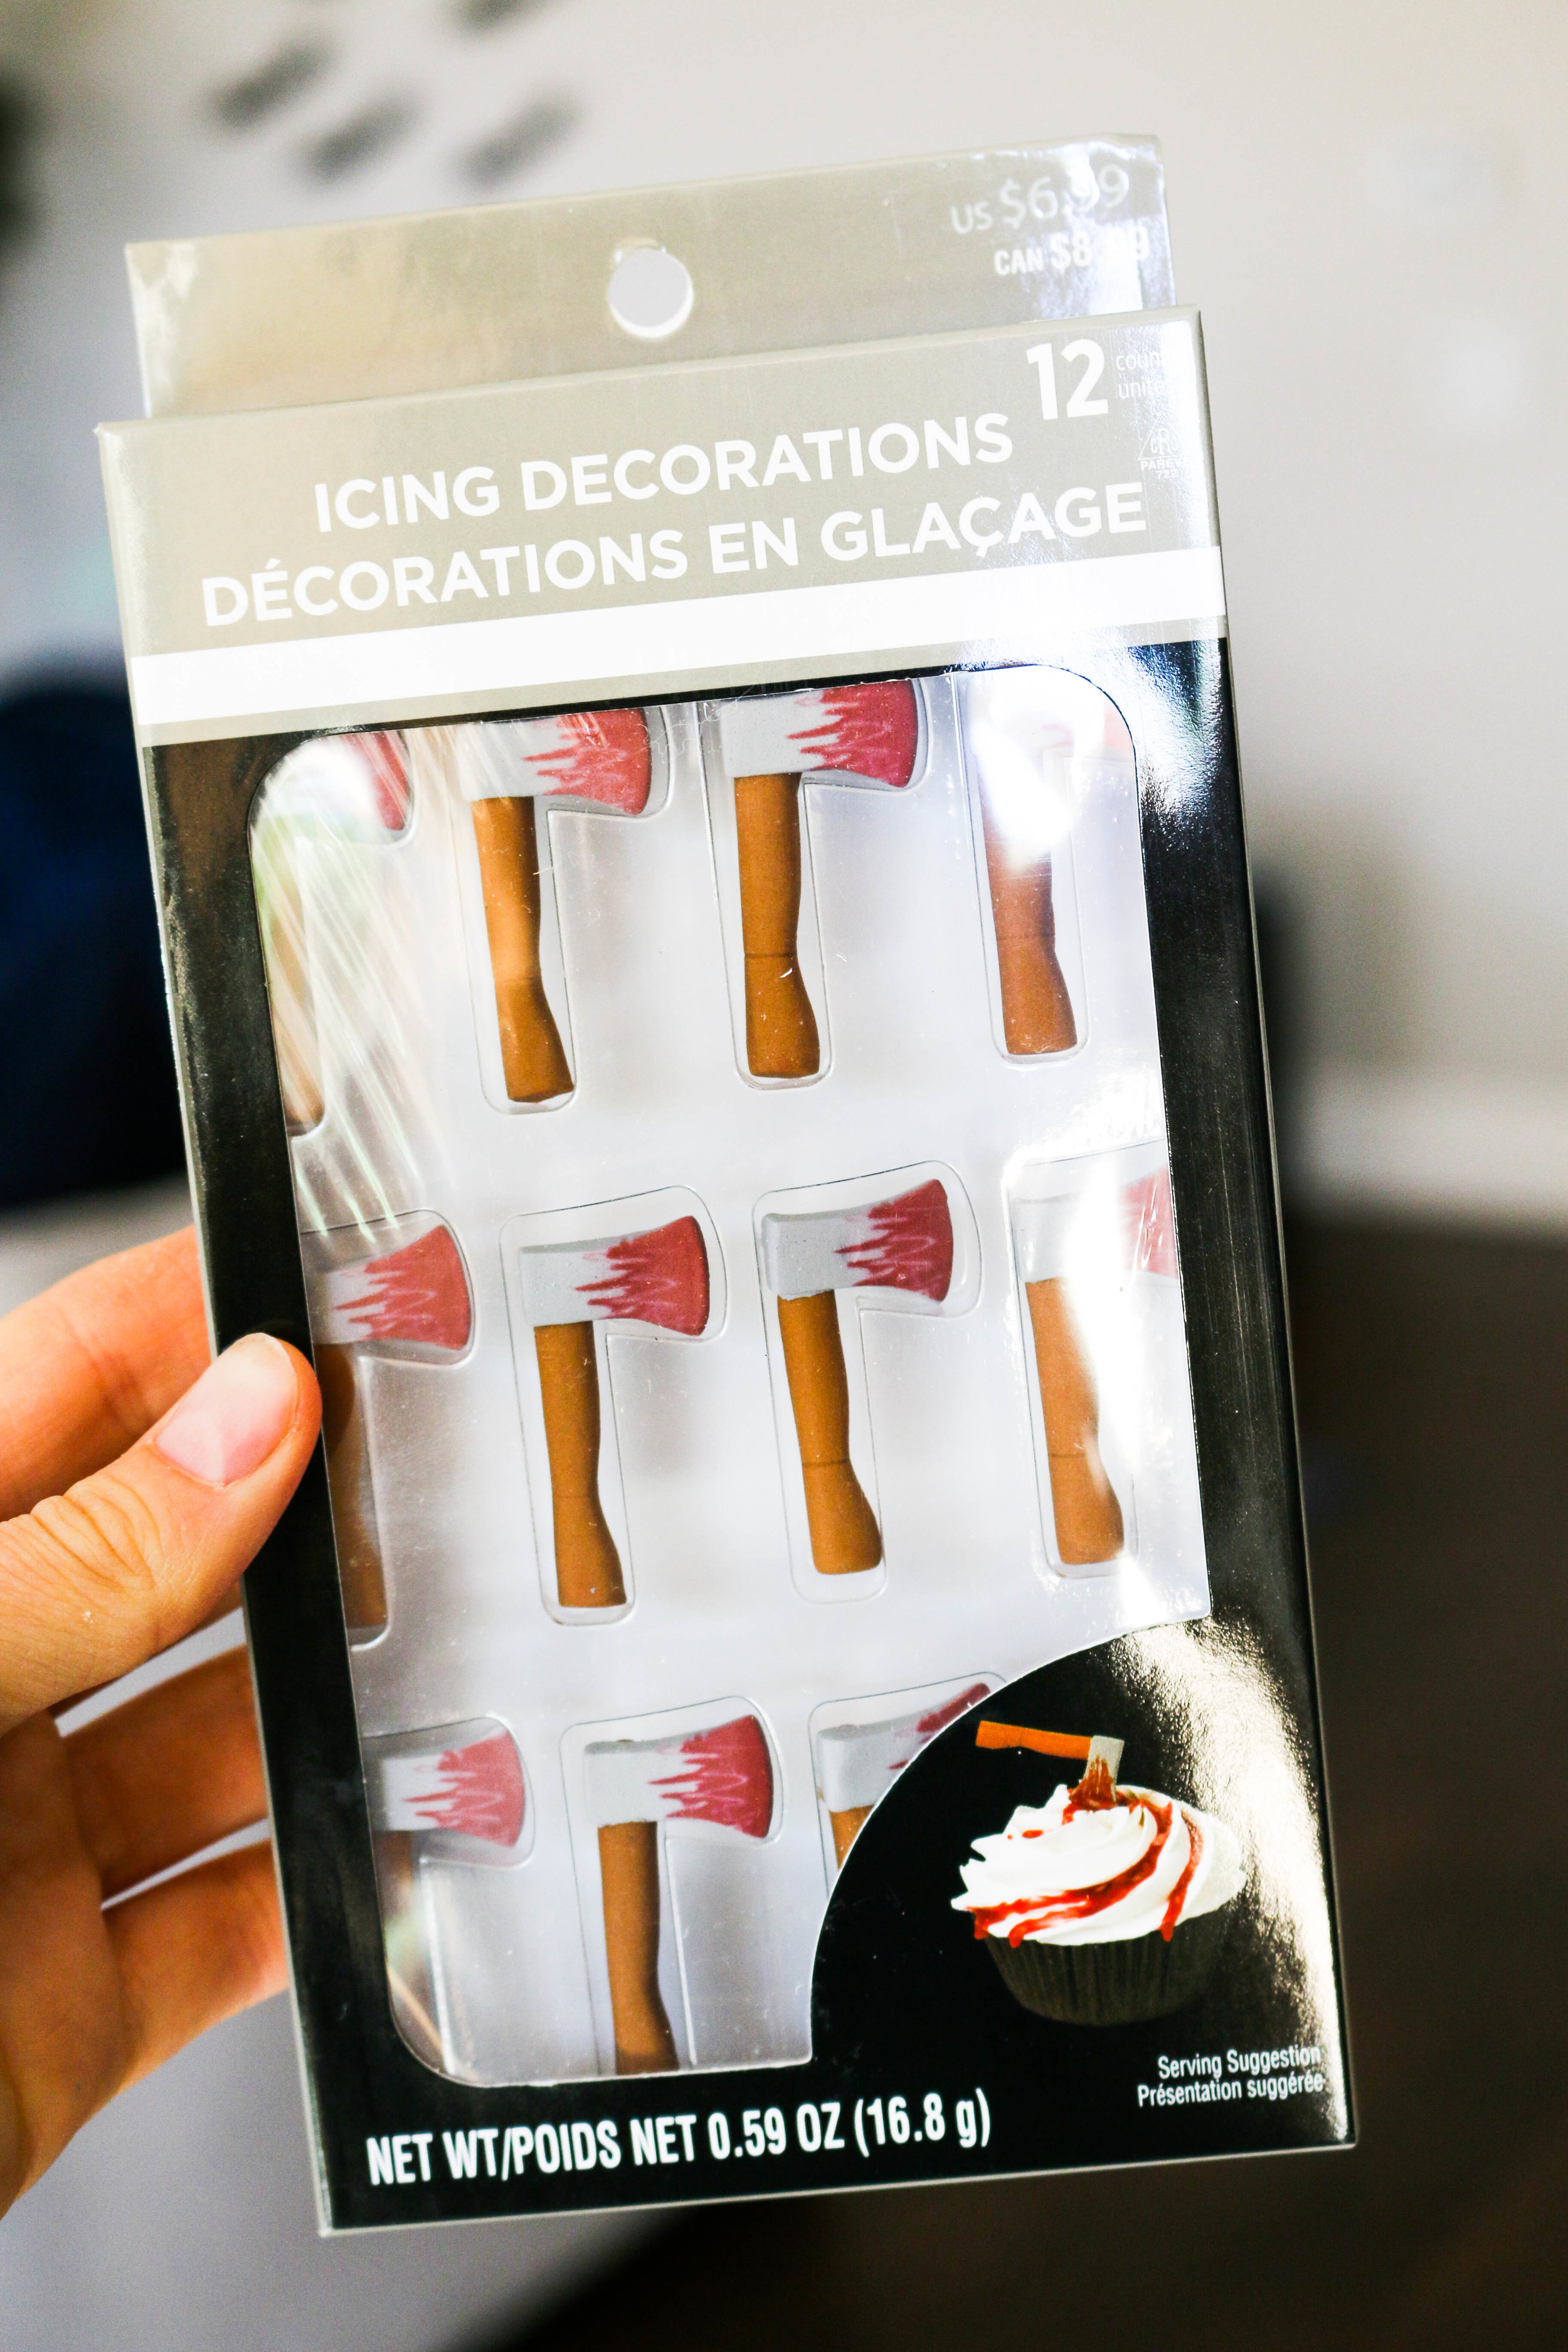
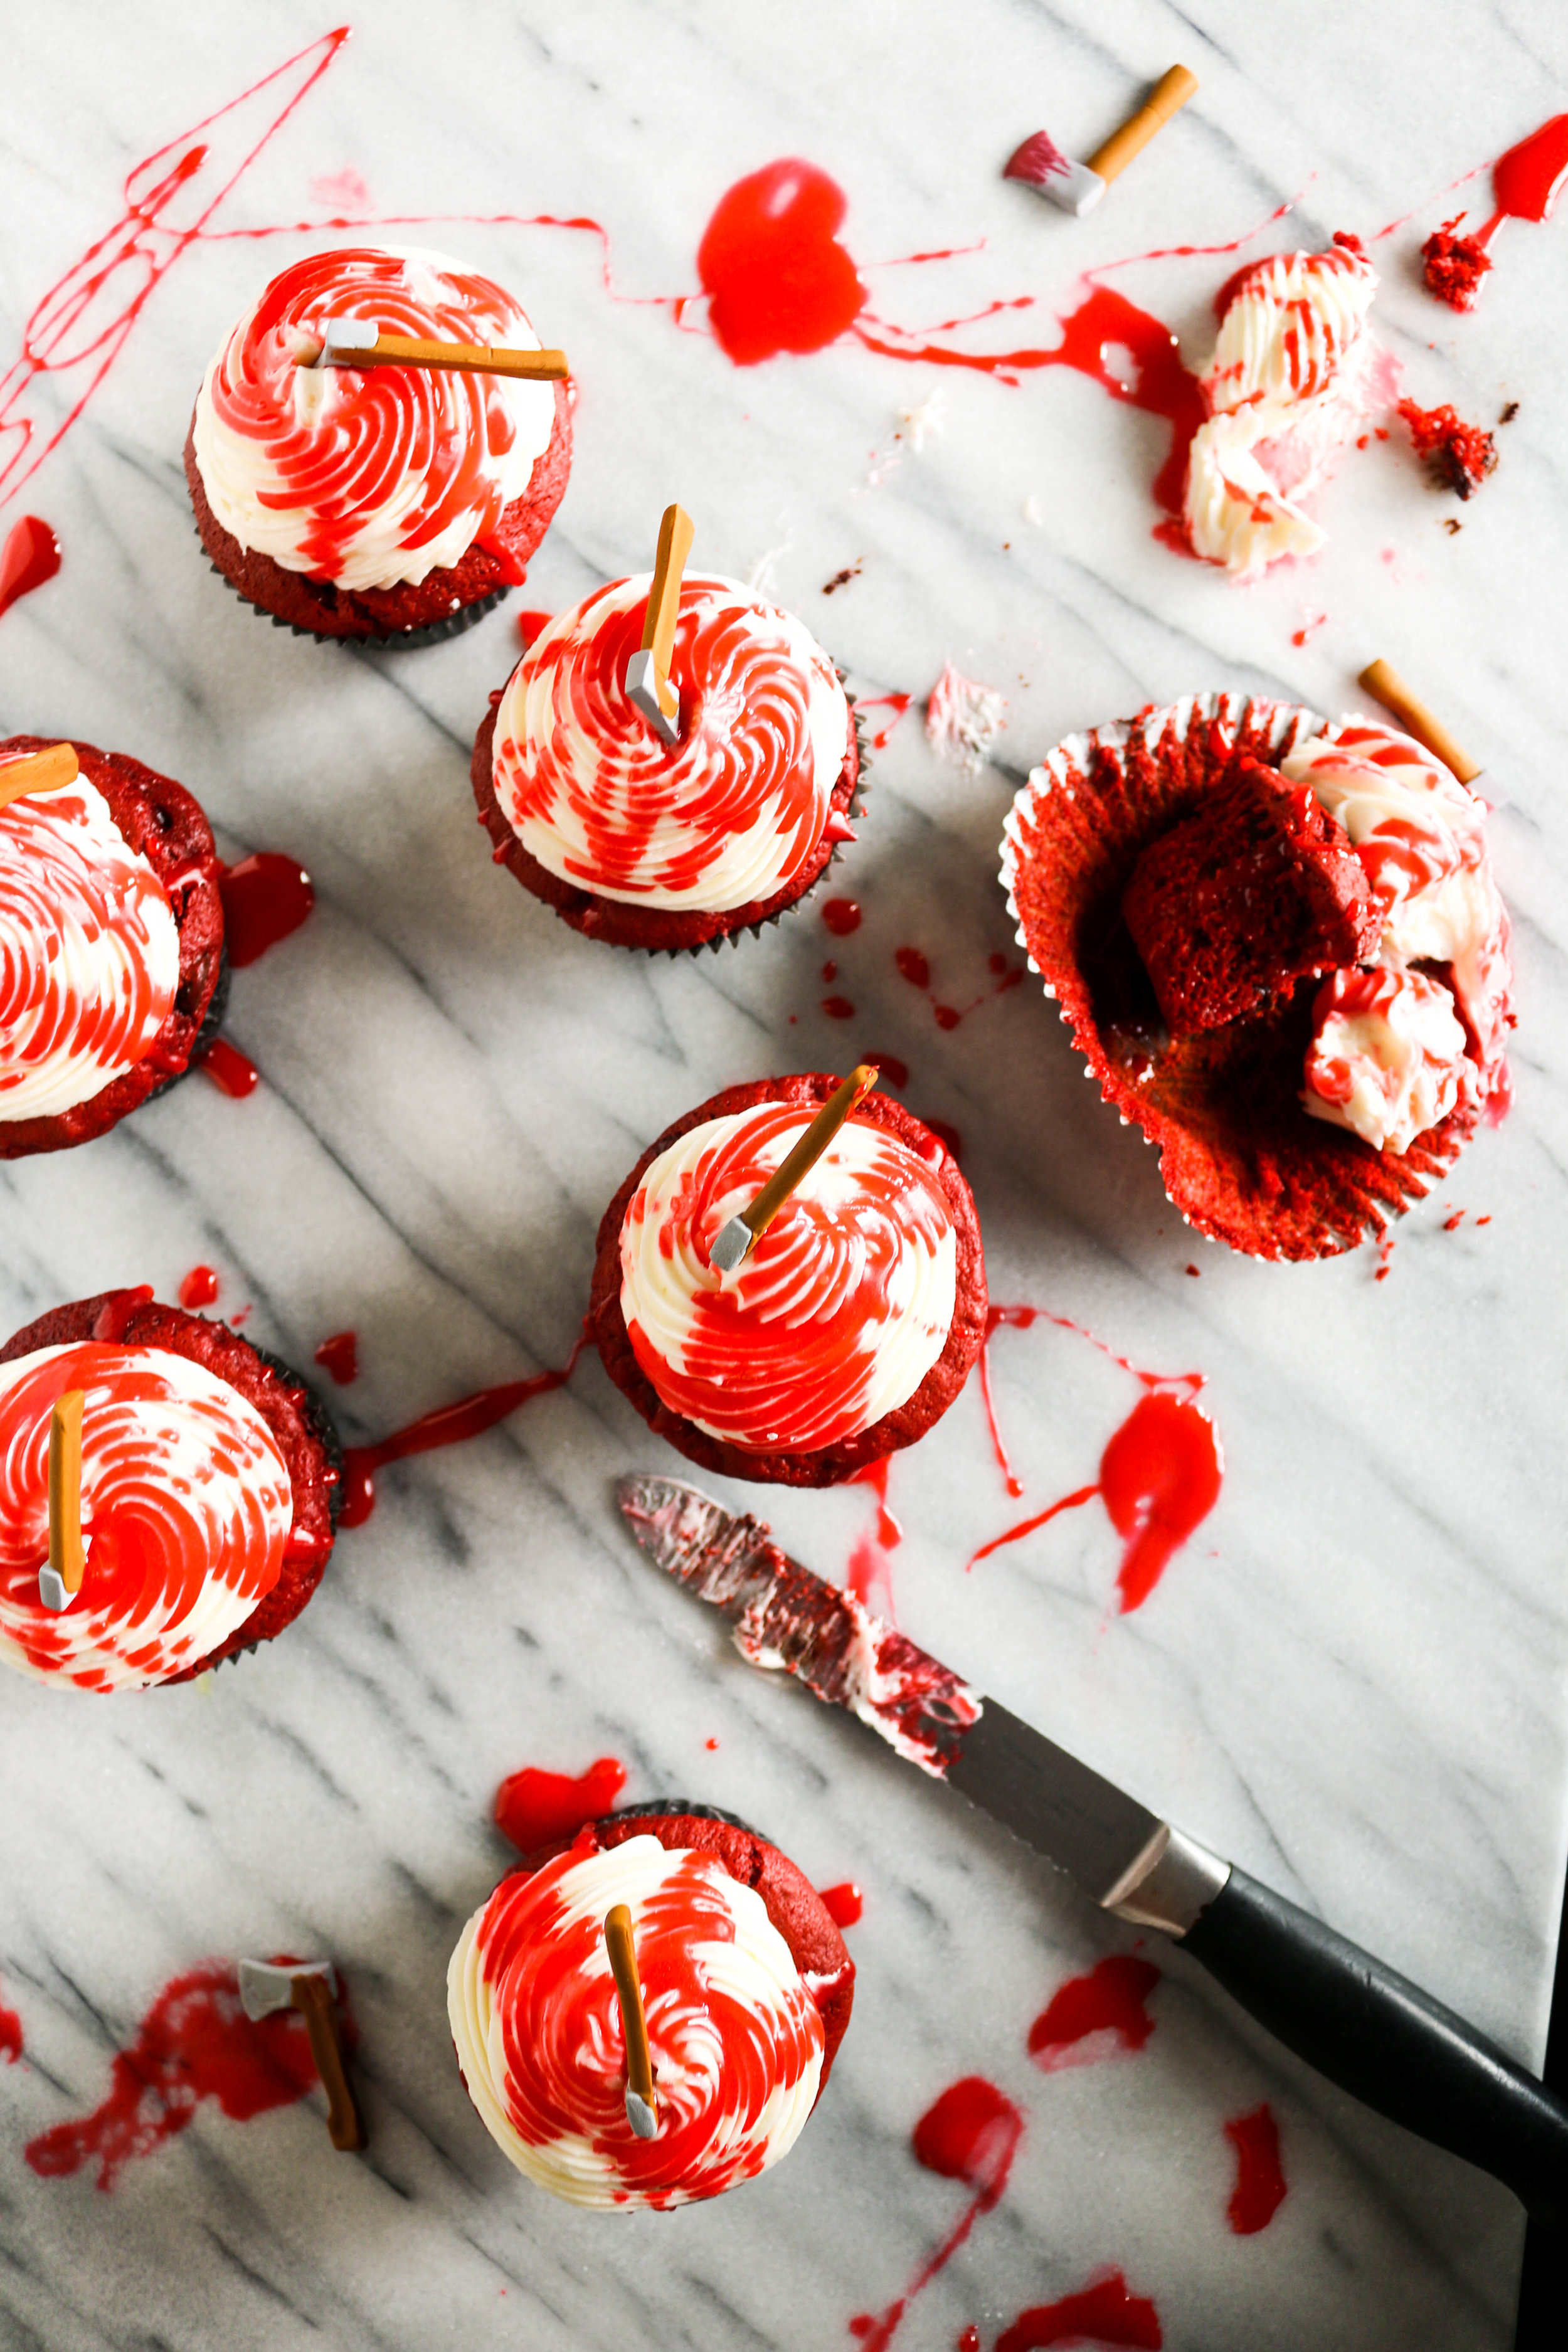
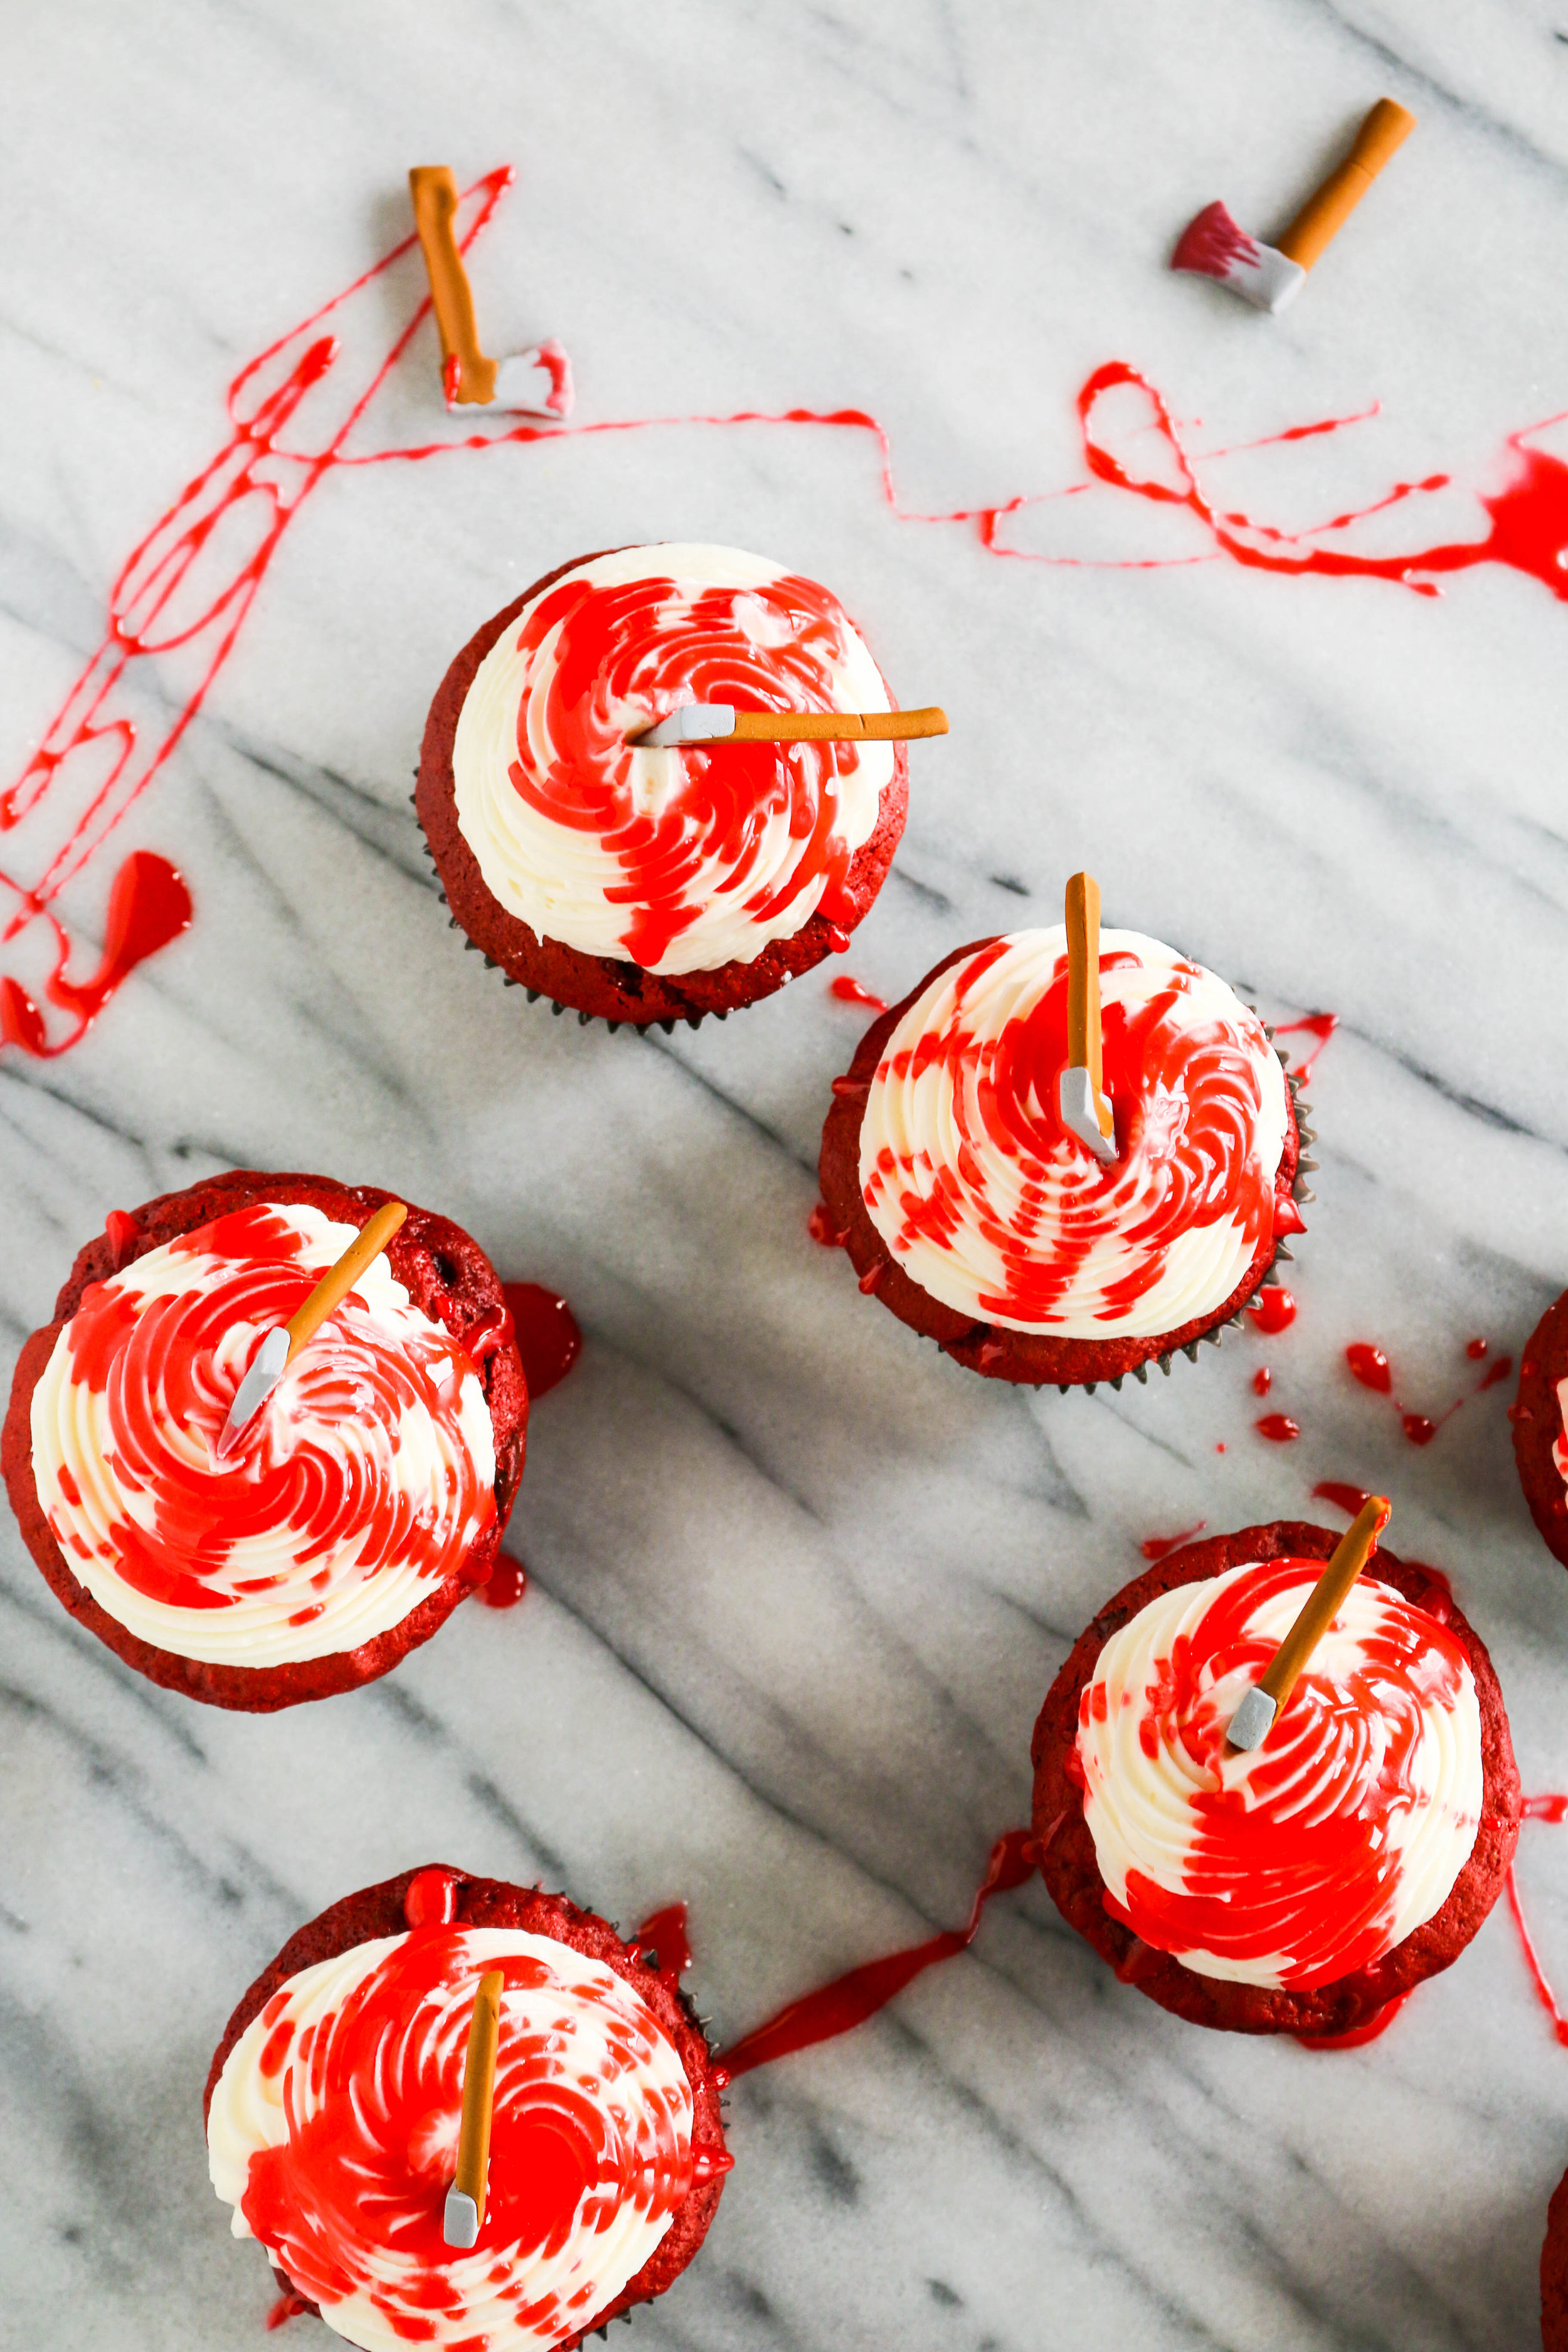
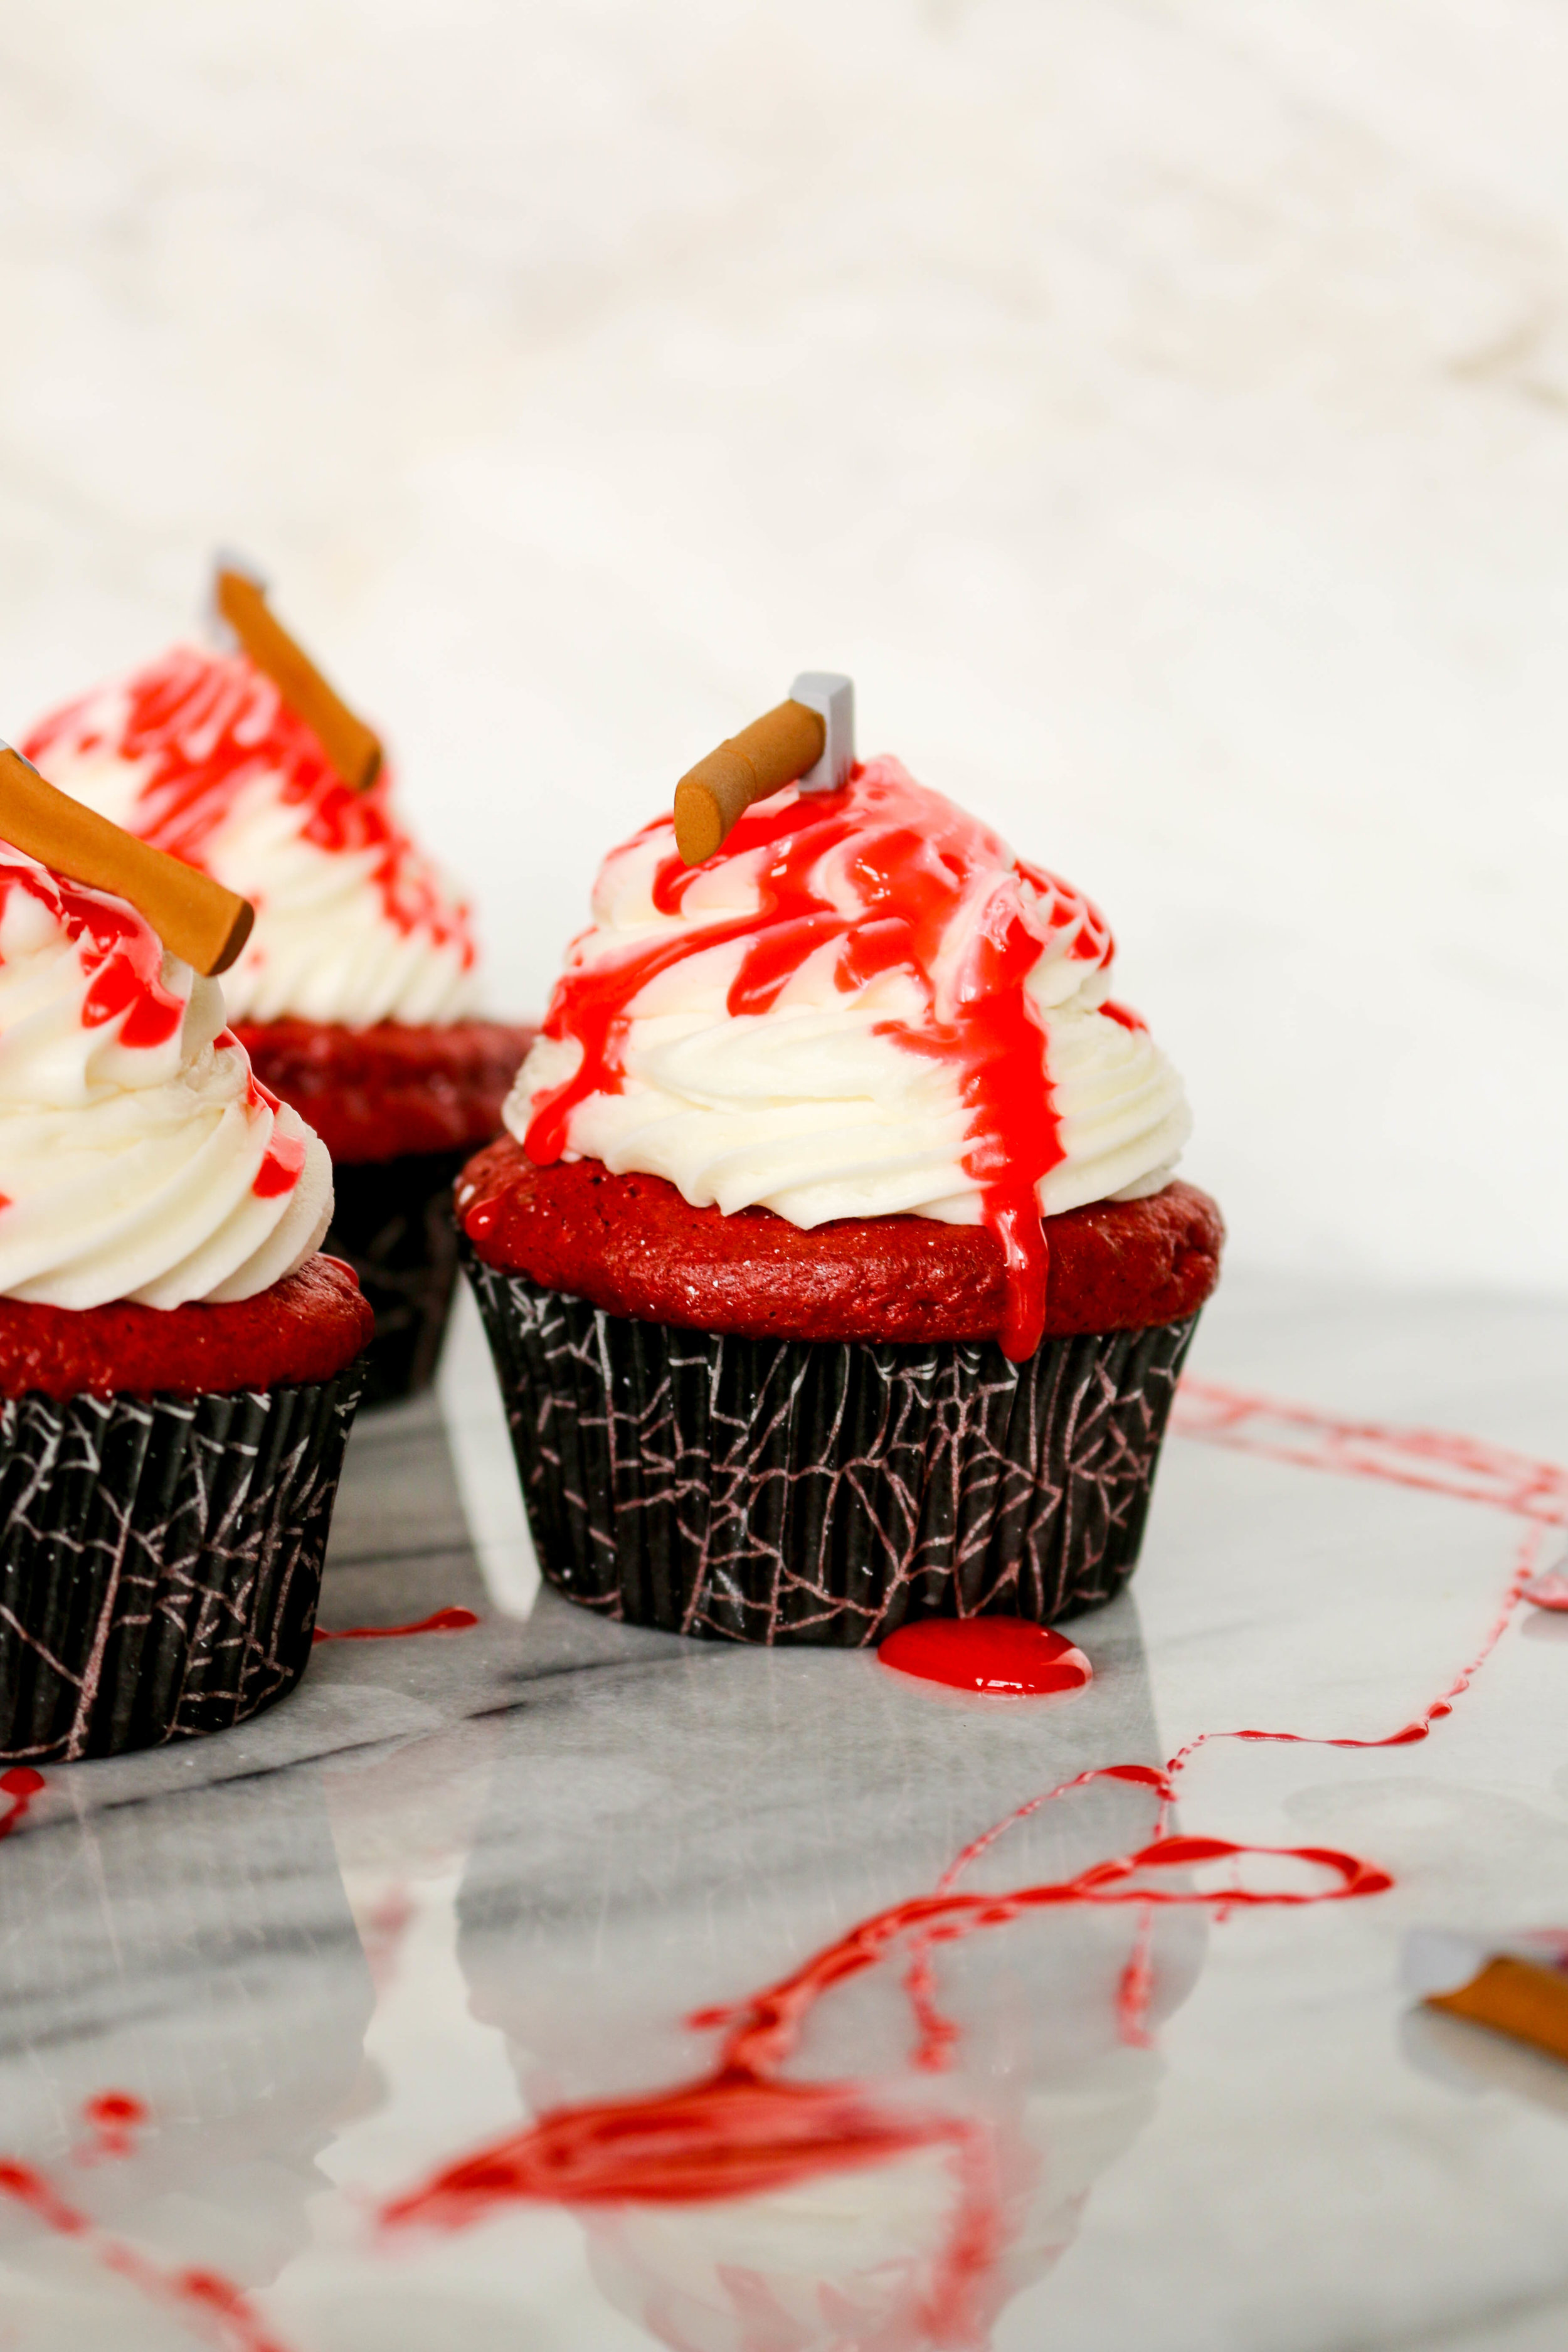
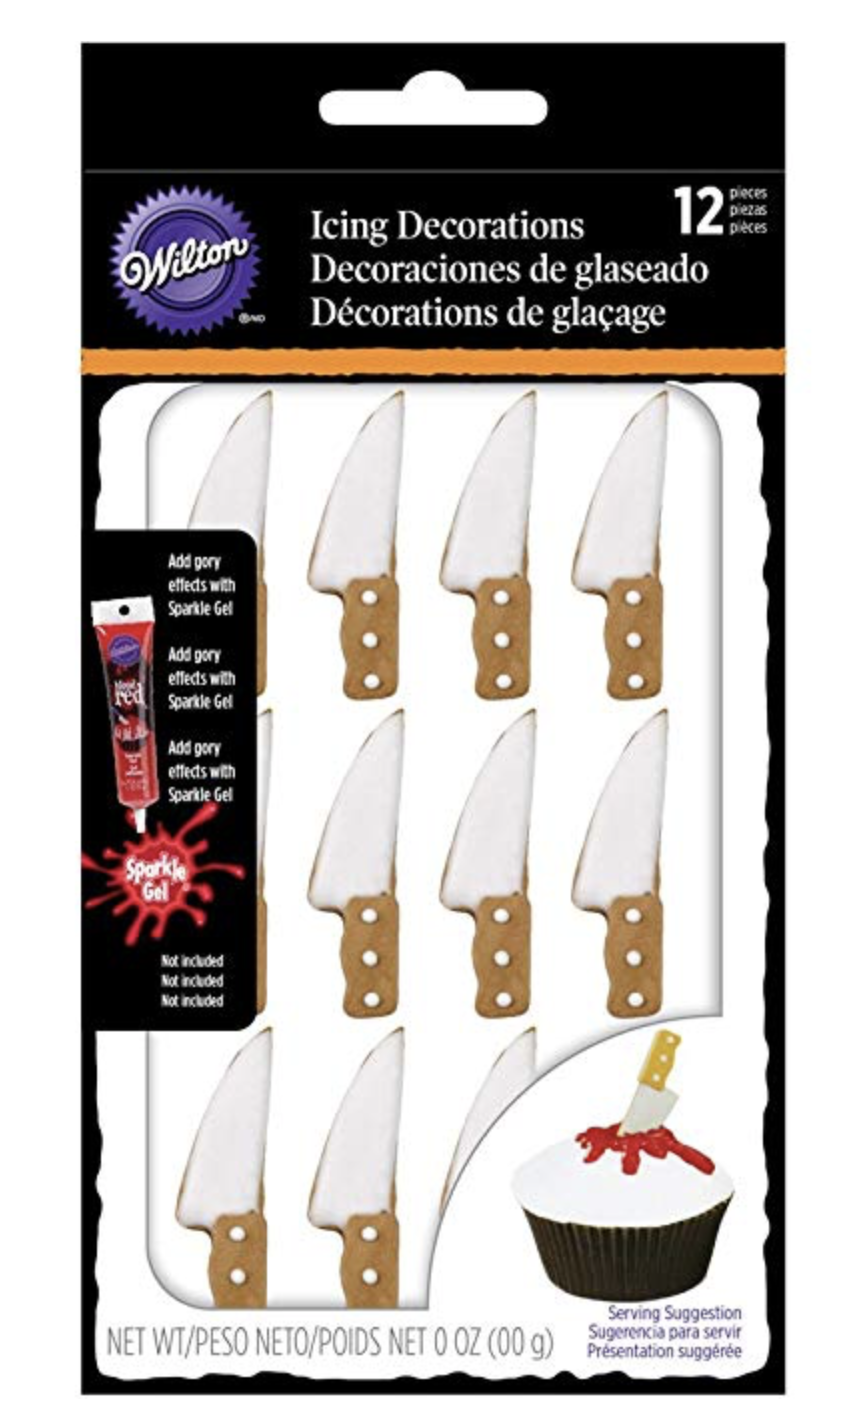
Red Velvet {Blood} Halloween Cupcakes

This MAY be a healthy living blog, but I am a firm believer in doing what you love and eating what you love! (I guess within certain limits haha!)

I love to bake…and I love to eat baked goods!

IMG_7234.jpg

I’ve been making these RED VELVET cupcakes for years! Back when I was baking for parties, weddings, and other fun events these were always a request! I’ve topped them with glittery white flowers and even delicious chocolate ganache.

But today…Today it’s blood.

These are perfect for Halloween or maybe even Valentines Day…

Or maybe a day when you are stressed ;).

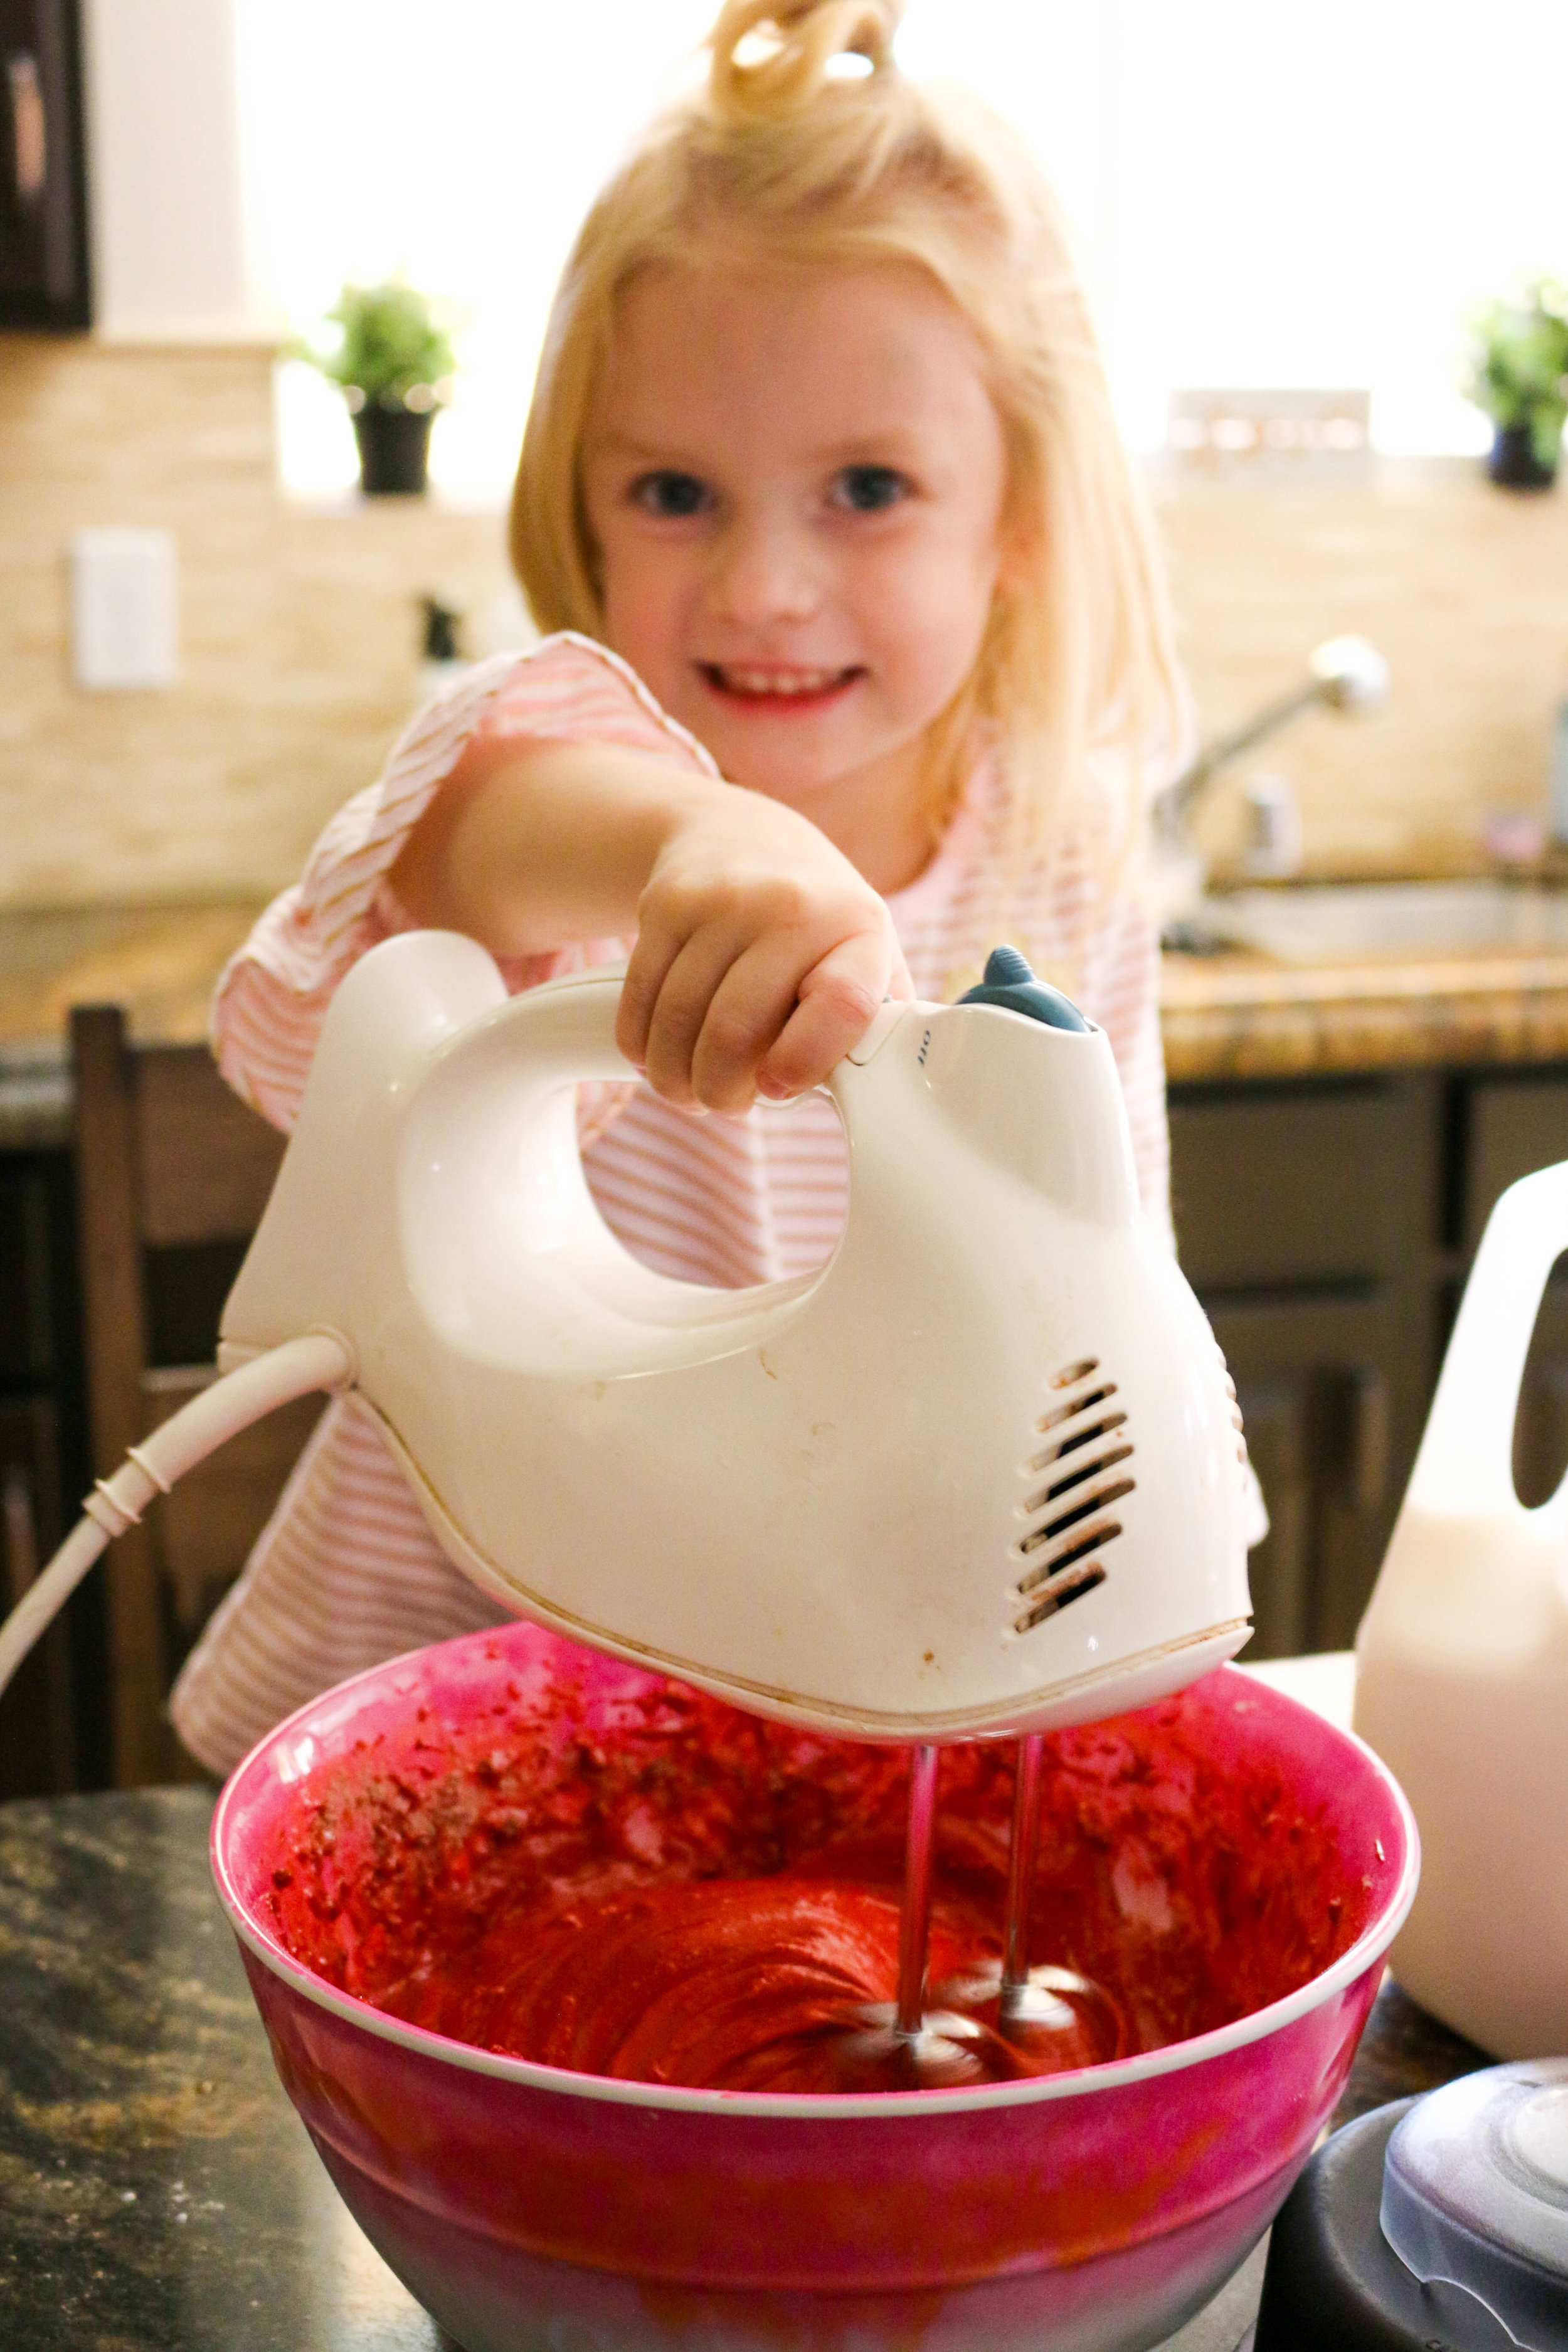
Either way, I love a good Doctored up cake mix because it makes things a little easier, especially when baking with a three year old.

Have you ever been faced with a 3 year old demanding to add 3 cups of flour to a bowl??

None of it makes it in that bowl…Most of it ends up on the floor. ;)


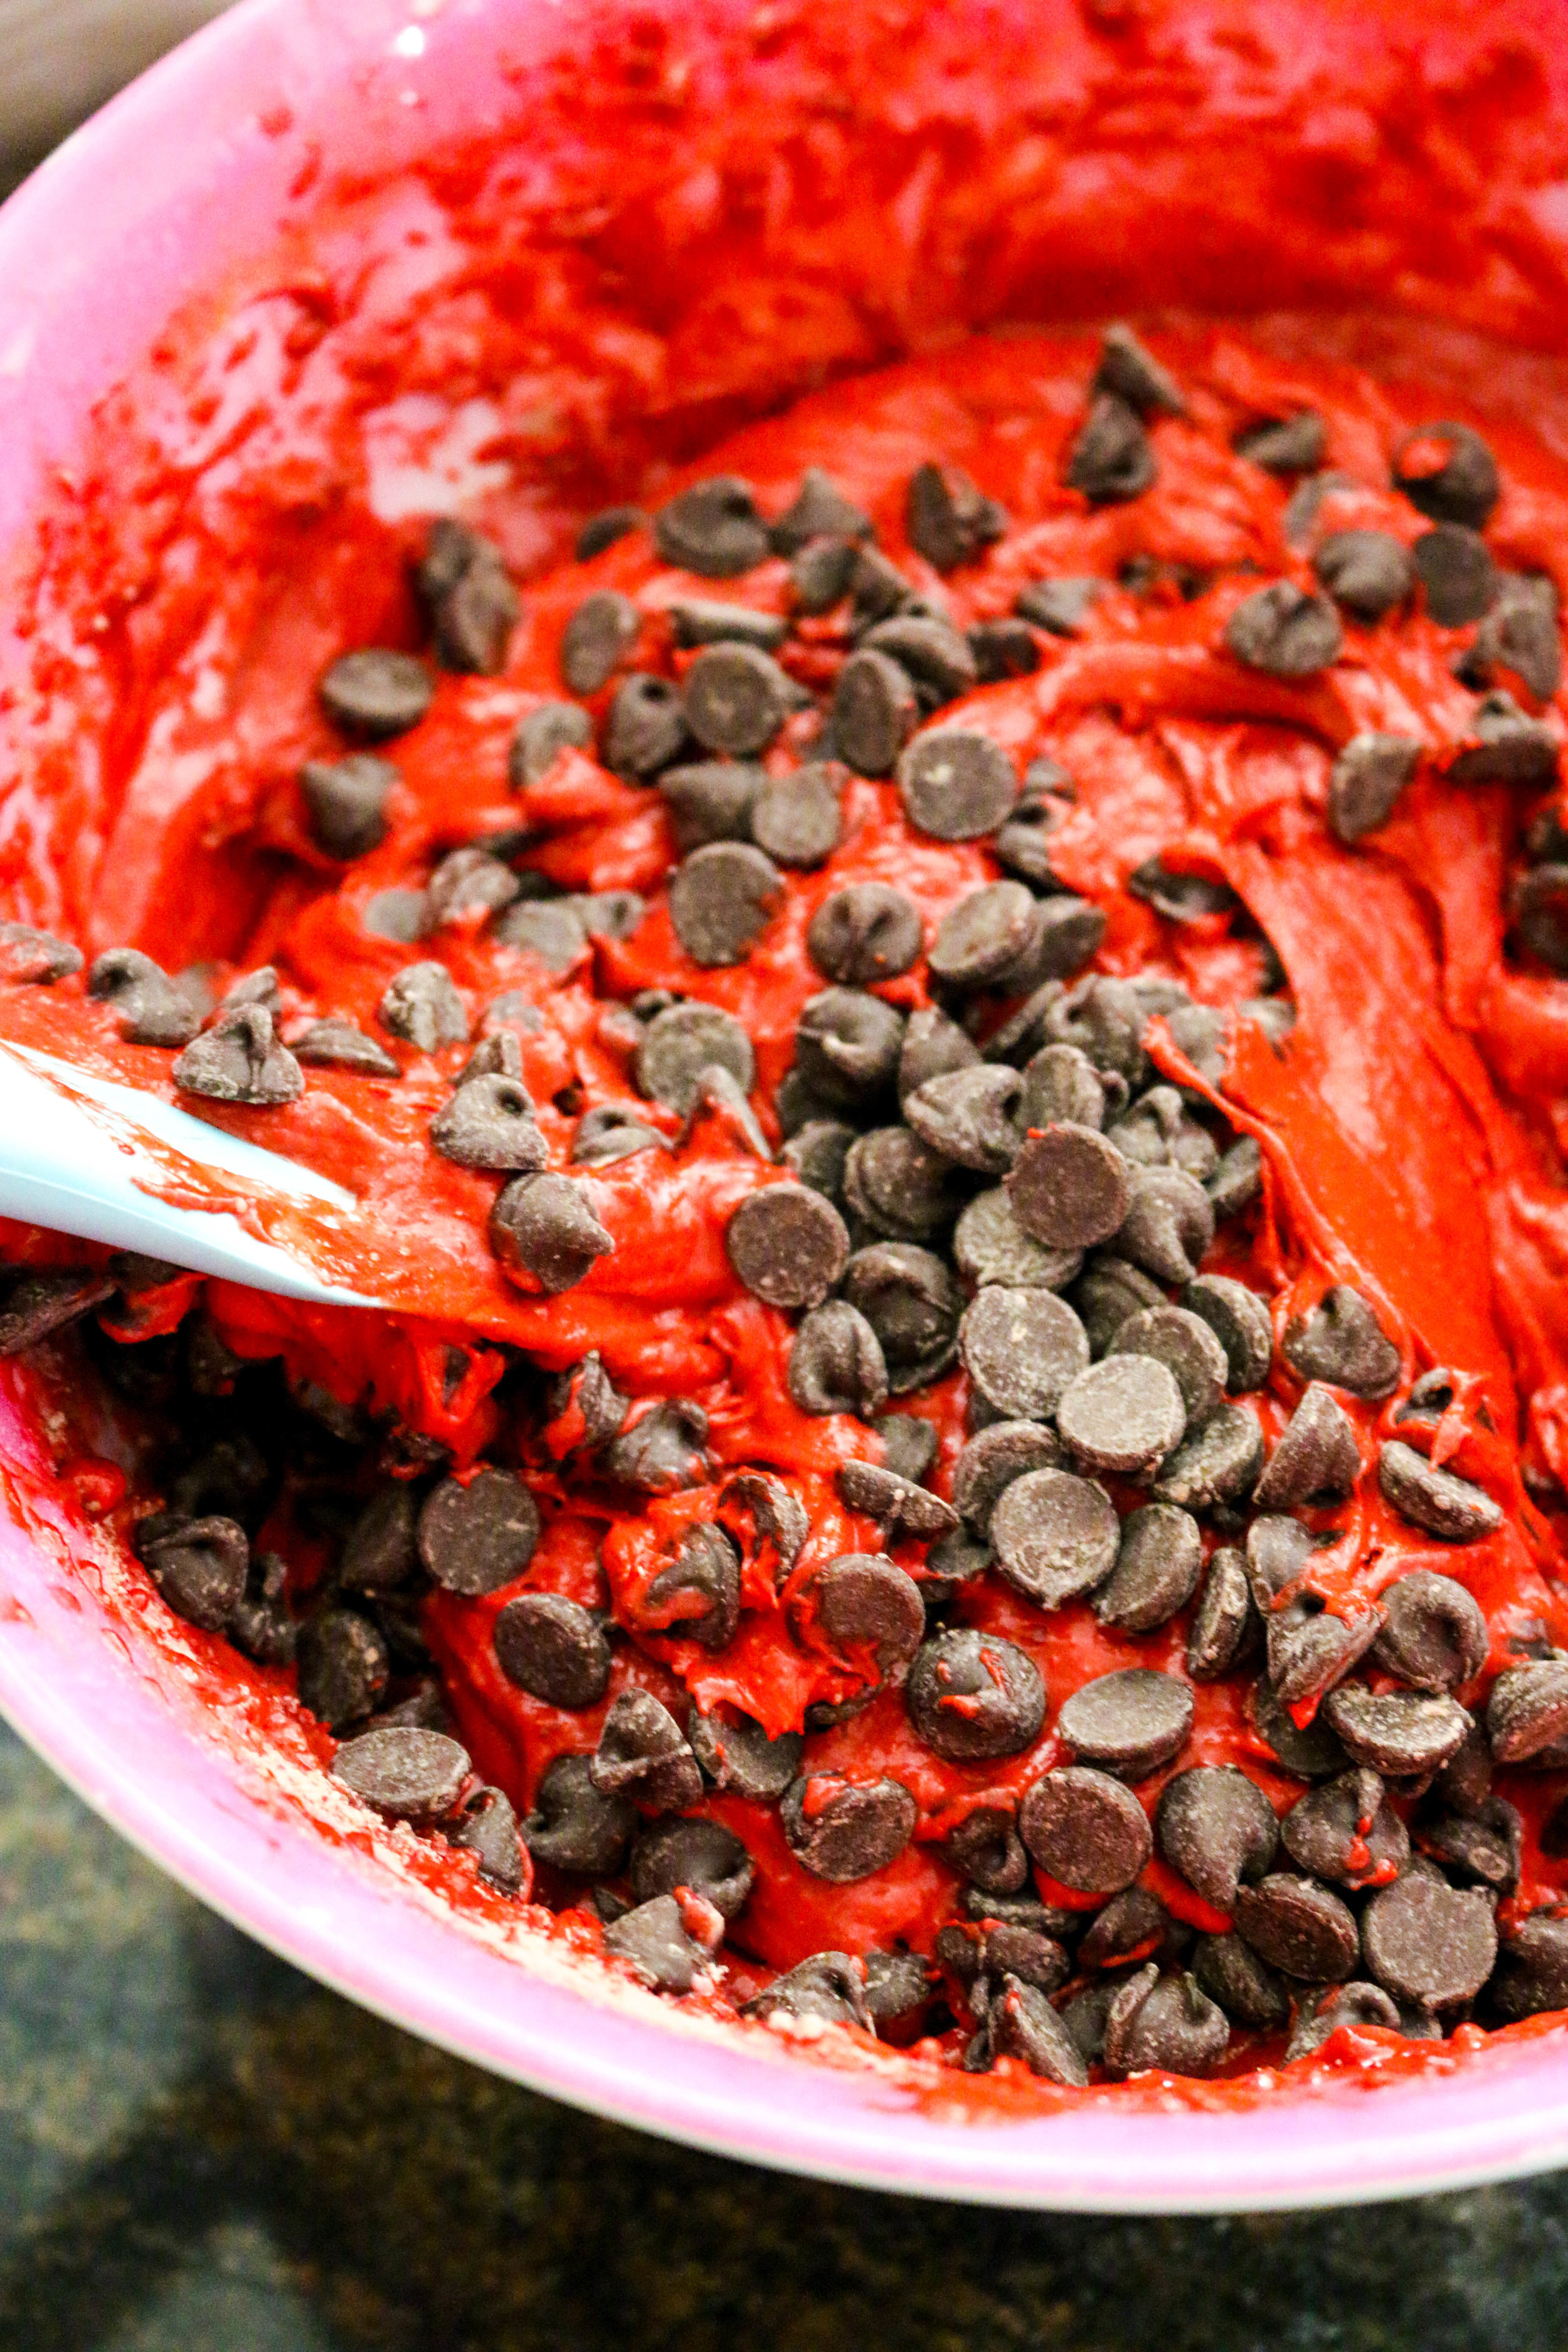
{Doctored-Up} Red Velvet Chocolate Chip Cake

Yields 24 cupcakes

Ingredients:

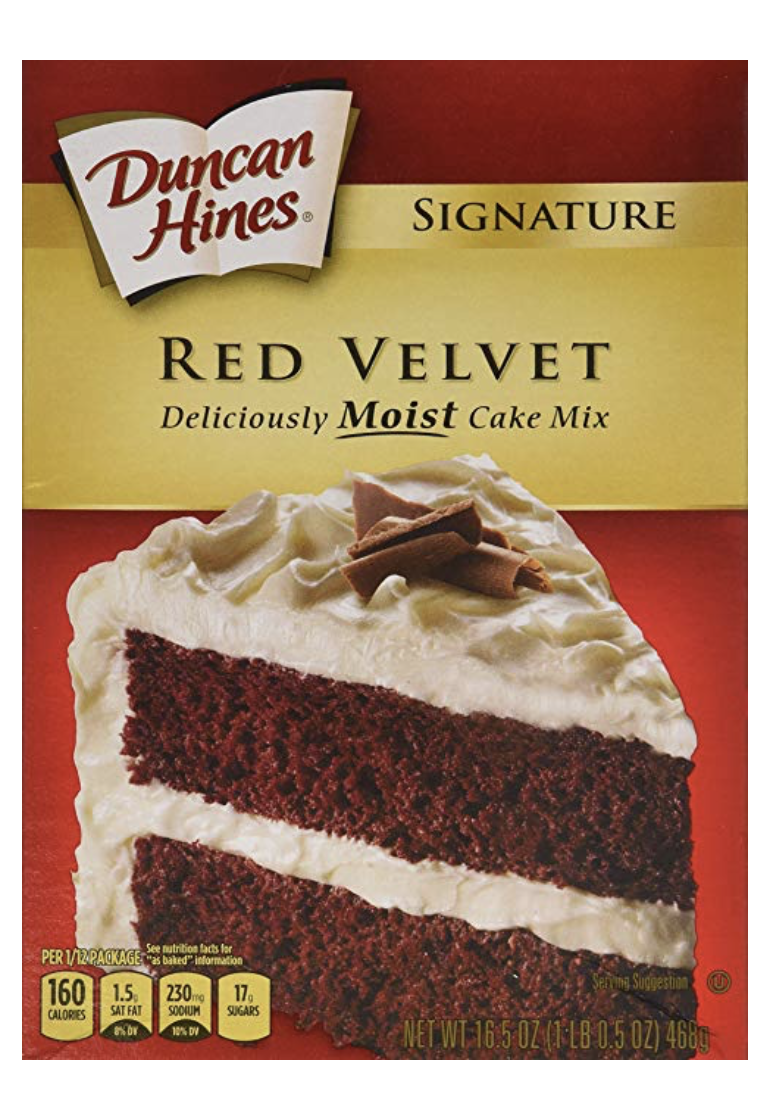
1 box Duncan Hines Red Velvet Cake mix

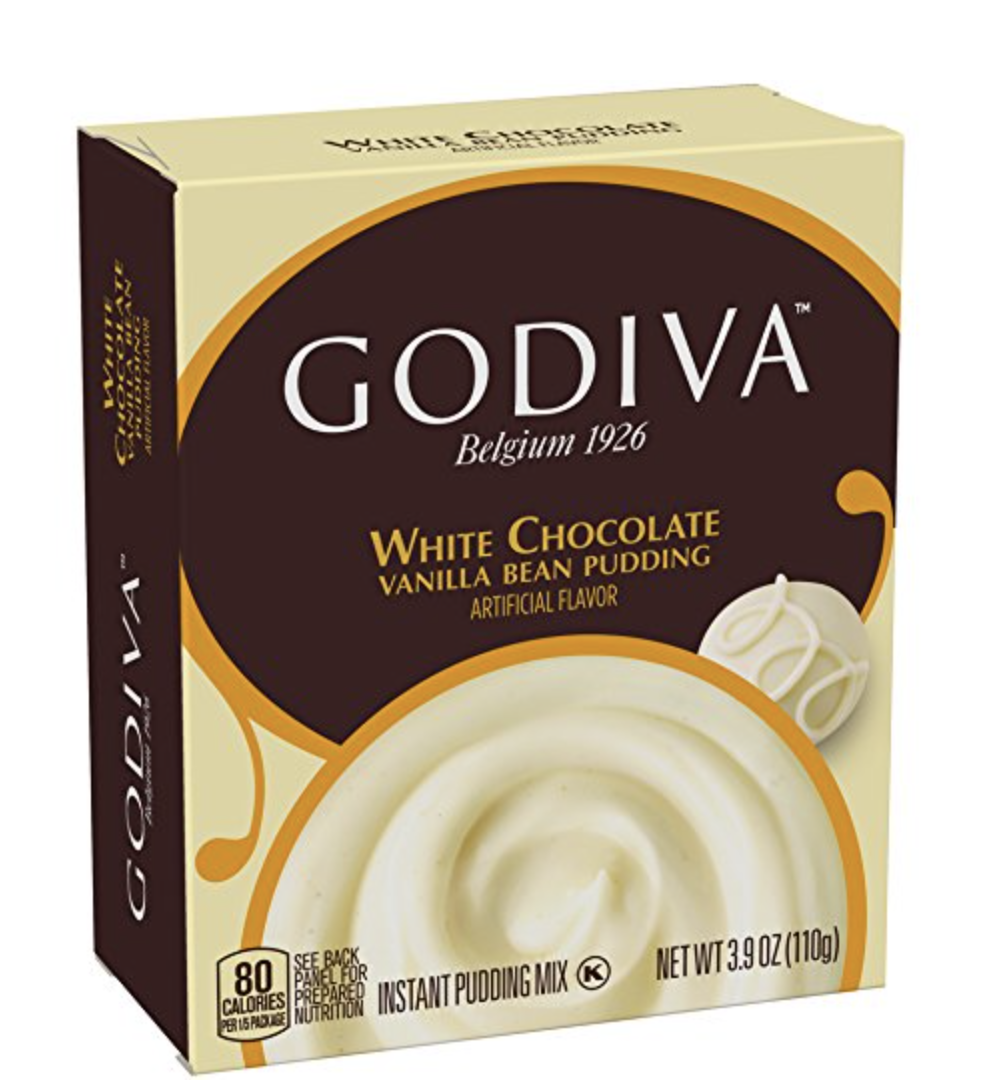
1 box Godiva white chocolate pudding, 3.9 ounce

4 eggs

1 TB. vanilla

1/2 cup + 2 TB. buttermilk

1/2 cup vegetable oil

1/2 cup sour cream

2 cups chocolate chips

Directions:

  1. Preheat the oven to 325 degrees. Line a cupcake pan with cupcake liners.

  2. In a mixer bowl, add all of your ingredients except the chocolate chips. Mix until combined, but do not overmix.

  3. Fold in the chocolate chips.

  4. Using a cookie scoop, add batter to cupcake pan and fill liners 3/4 full.

  5. Bake for 15-20 minutes, or until cupcakes have baked all the way through.


Cream Cheese Frosting:

Yields 3-4 cups

Ingredients:

1 block cream cheese, softened

2 sticks salted butter, softened

2-3 TB. heavy whipping cream

1 TB. vanilla Extract

3-4 cups powdered sugar

Directions:

  1. Add the butter and cream cheese to a mixer bowl. Using the whisk attachment, beat together until creamy.

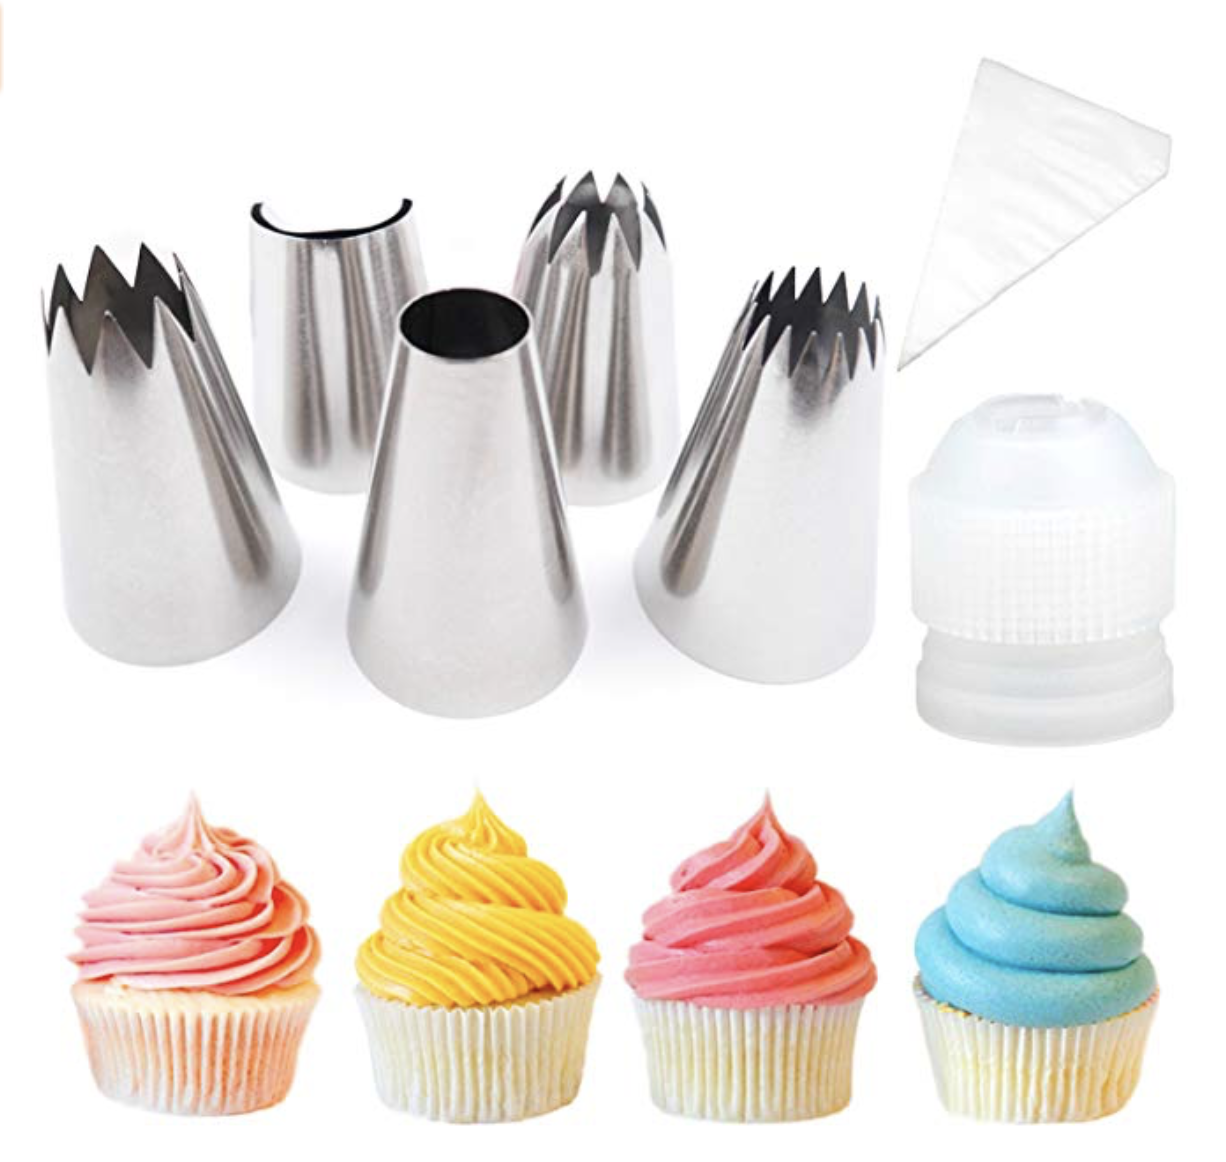
  2. Add the rest of your ingredients and beat until creamy and fluffy! Frost cupcakes when cool. For this recipe I used a FRENCH STAR FROSTING TIP.


Fake Blood

Yields 1/2 cup

Ingredients:

1/2 cup corn syrup

1 TB. cornstarch

Red Food coloring

Directions:

  1. Mix all ingredients together until combined. Drizzle on top of cupcakes for a bloody look ;).


IMG_7216.jpg

“These links are from Amazon and include Affiliate Links. I receive a small portion when you buy from my site. Thank you so much for supporting The Diva Dish!”

Apple Cider Bundt Cake

It’s Faaaaalllllllllllll.

You have no idea the joy that this time of year brings me! I tend to bake a lot this time of year…and I tend to eat a lot of those baked goods too…

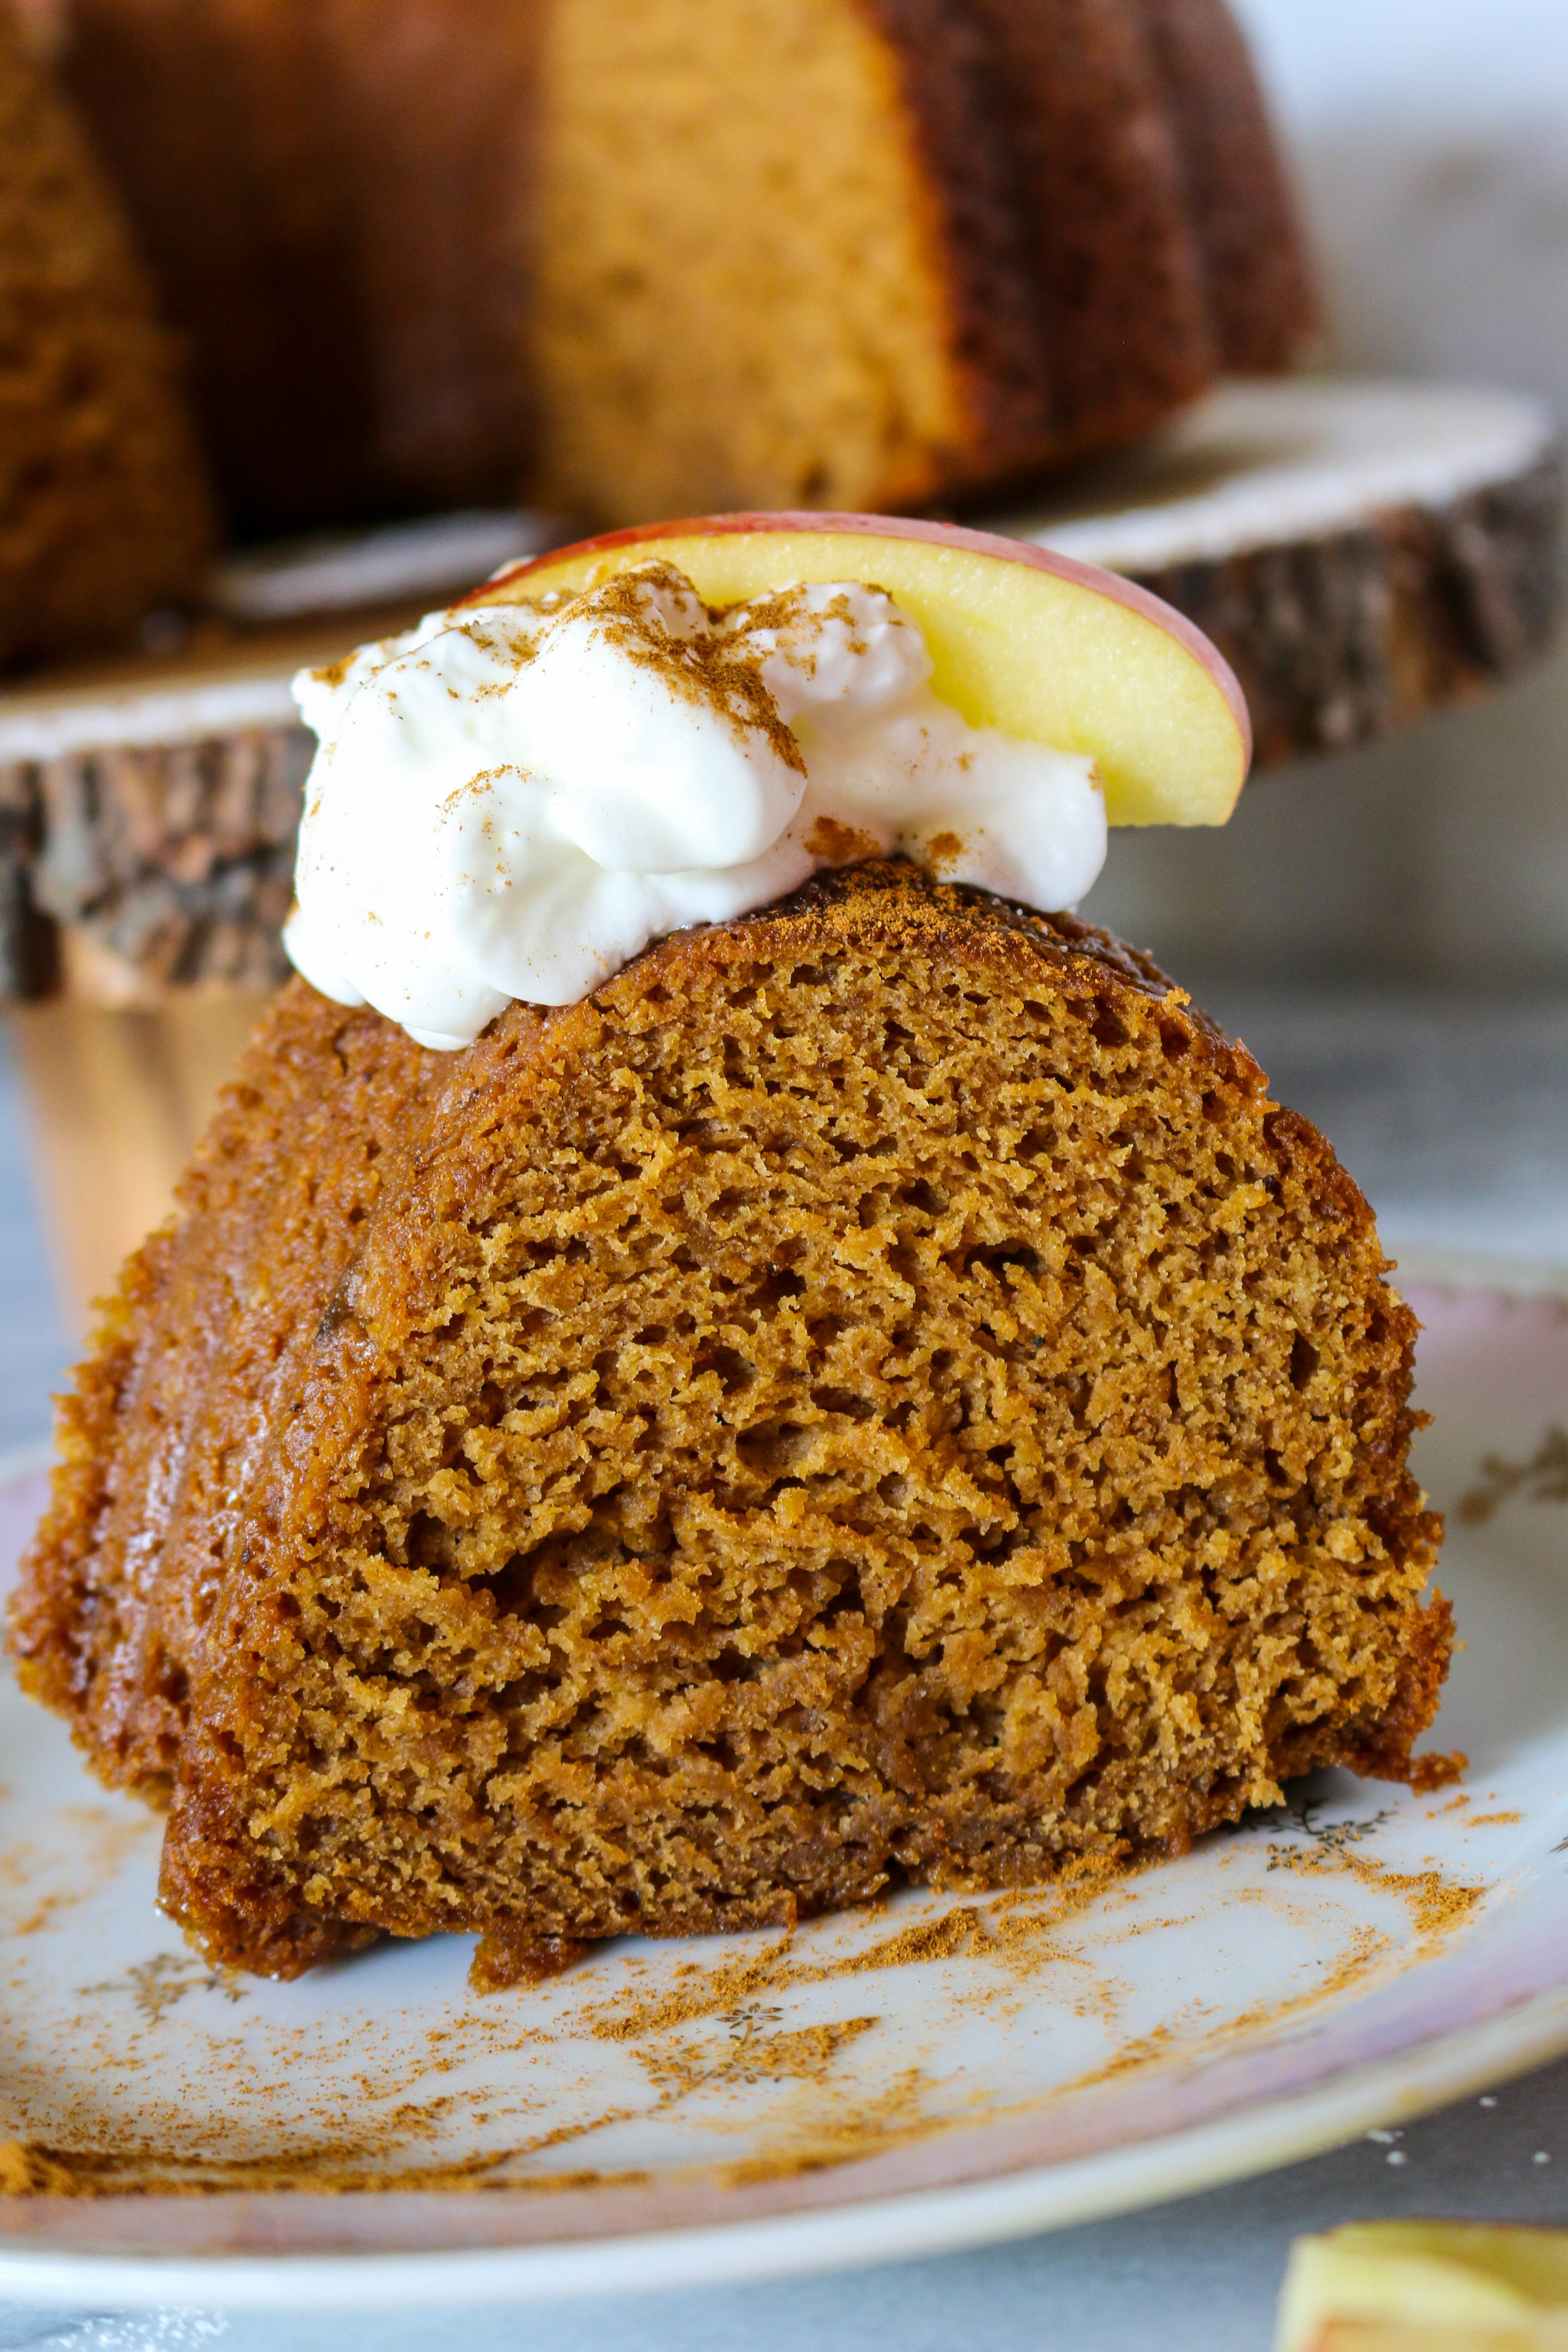
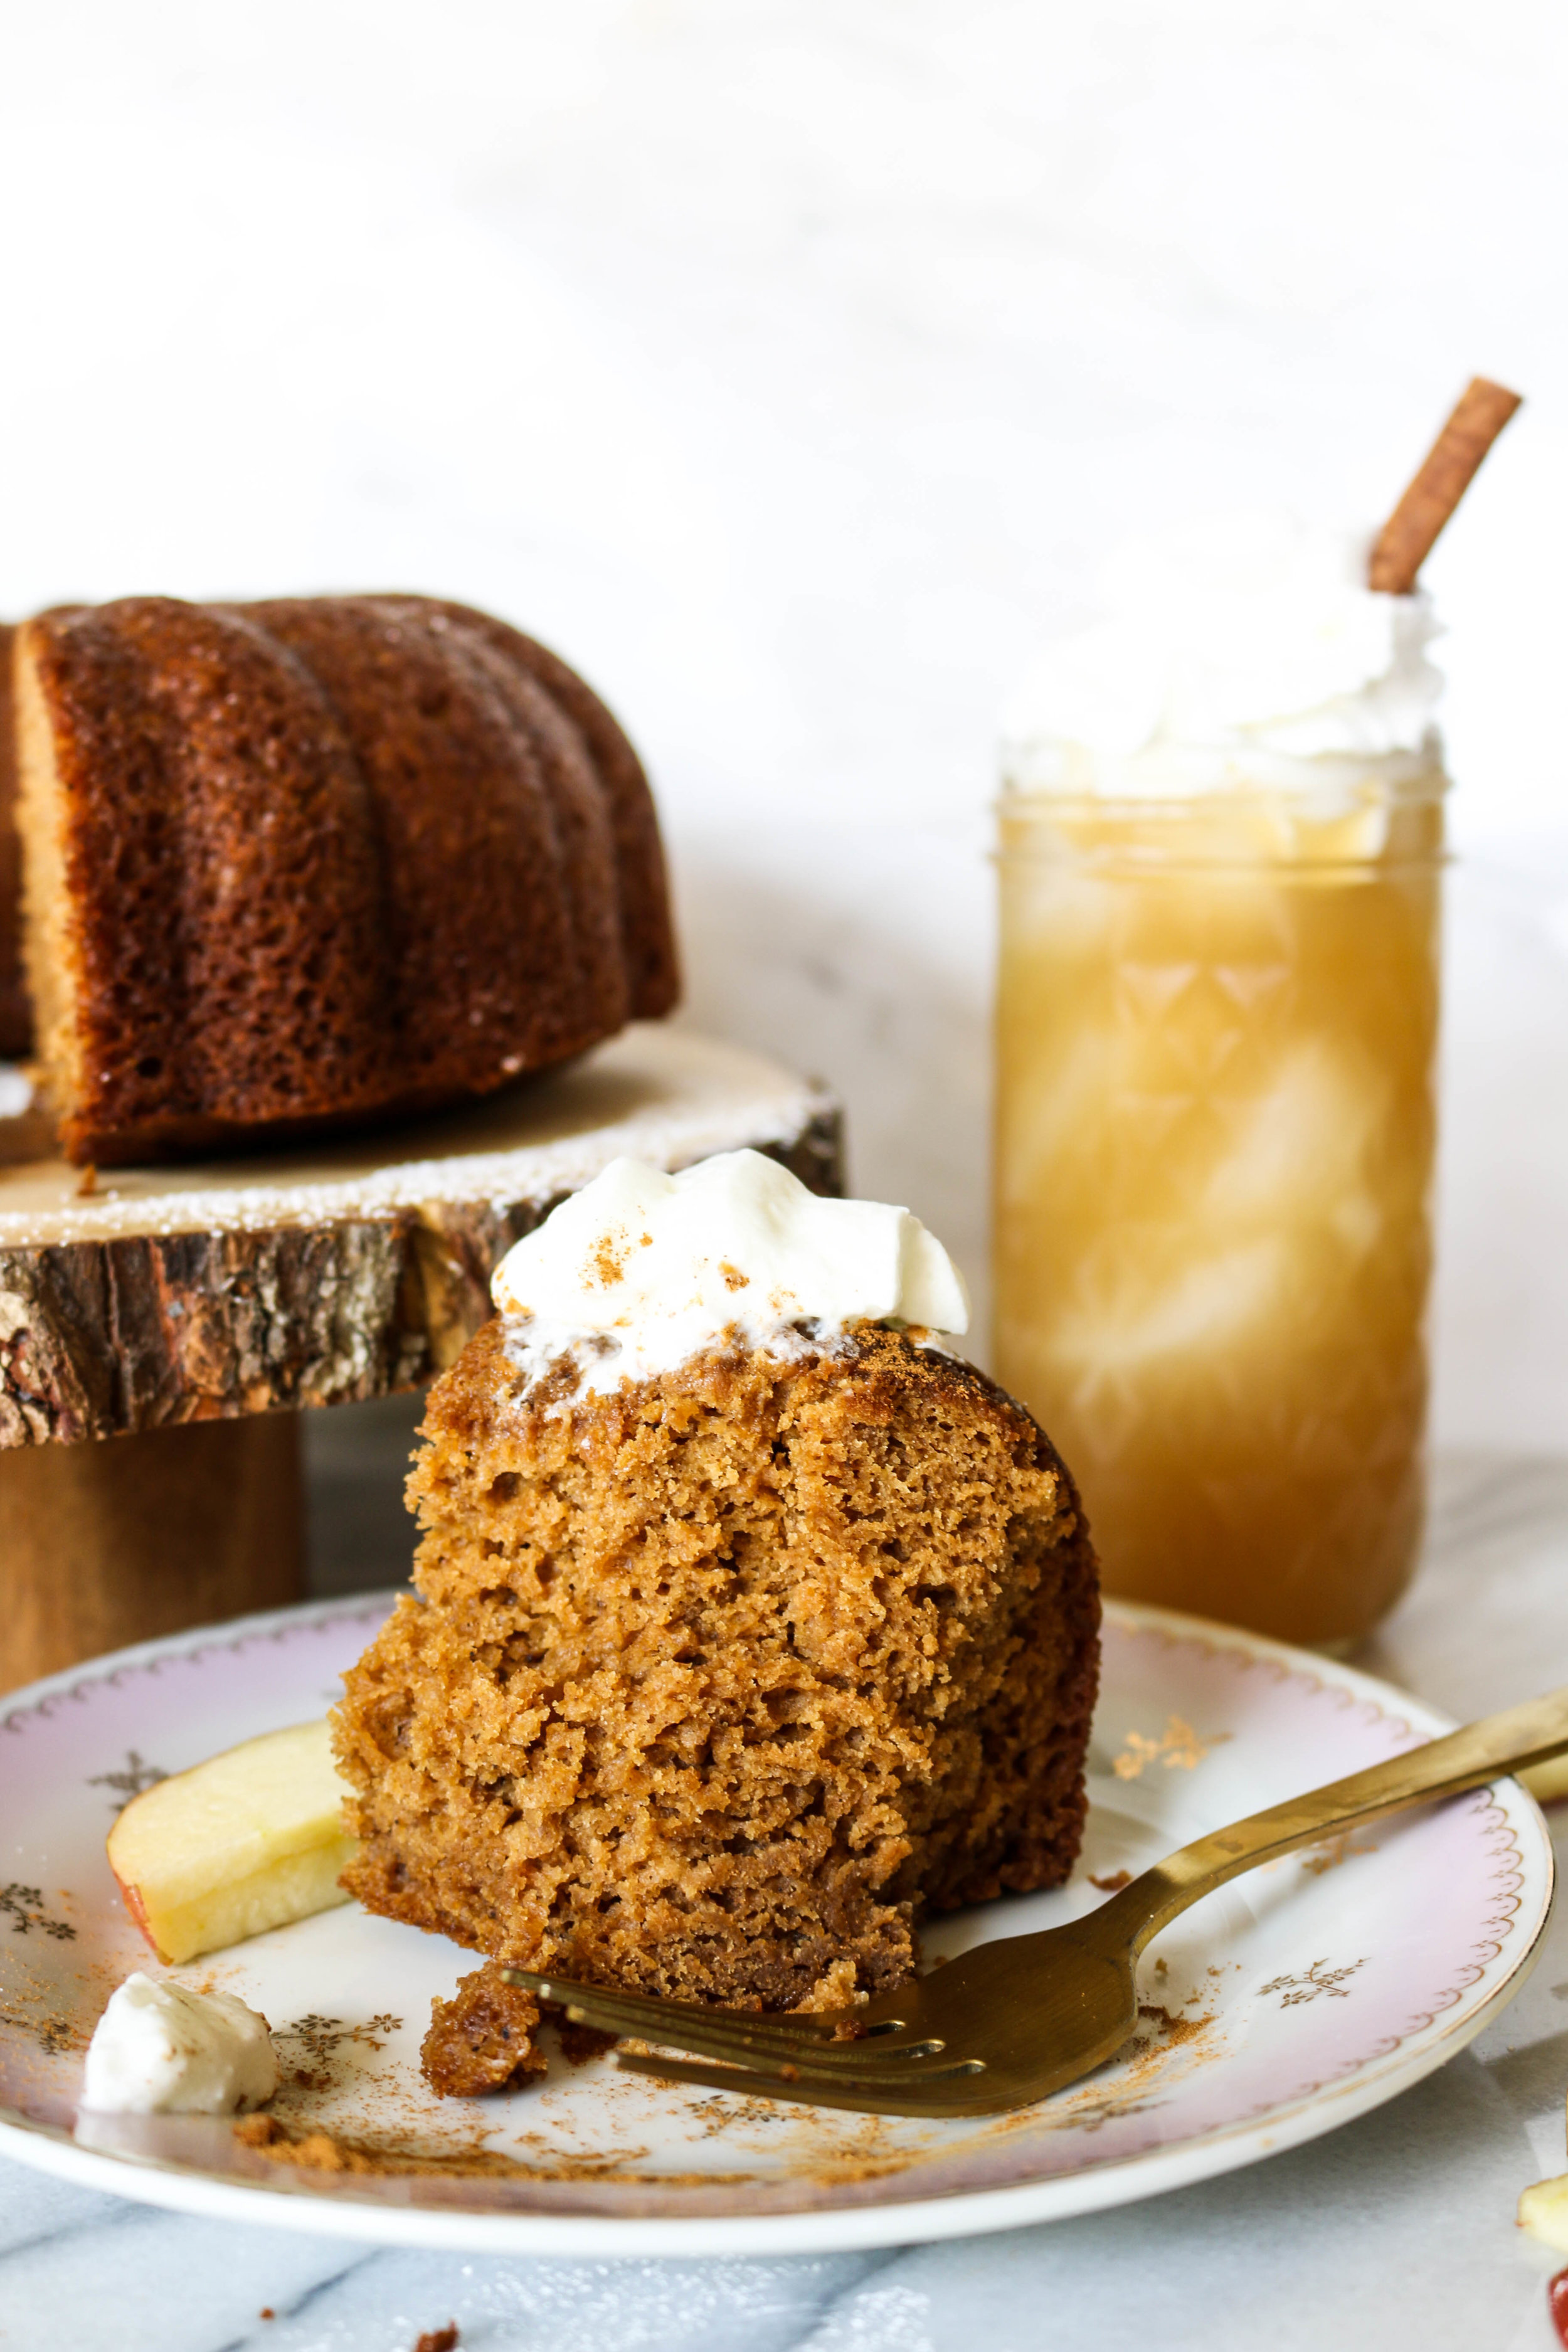
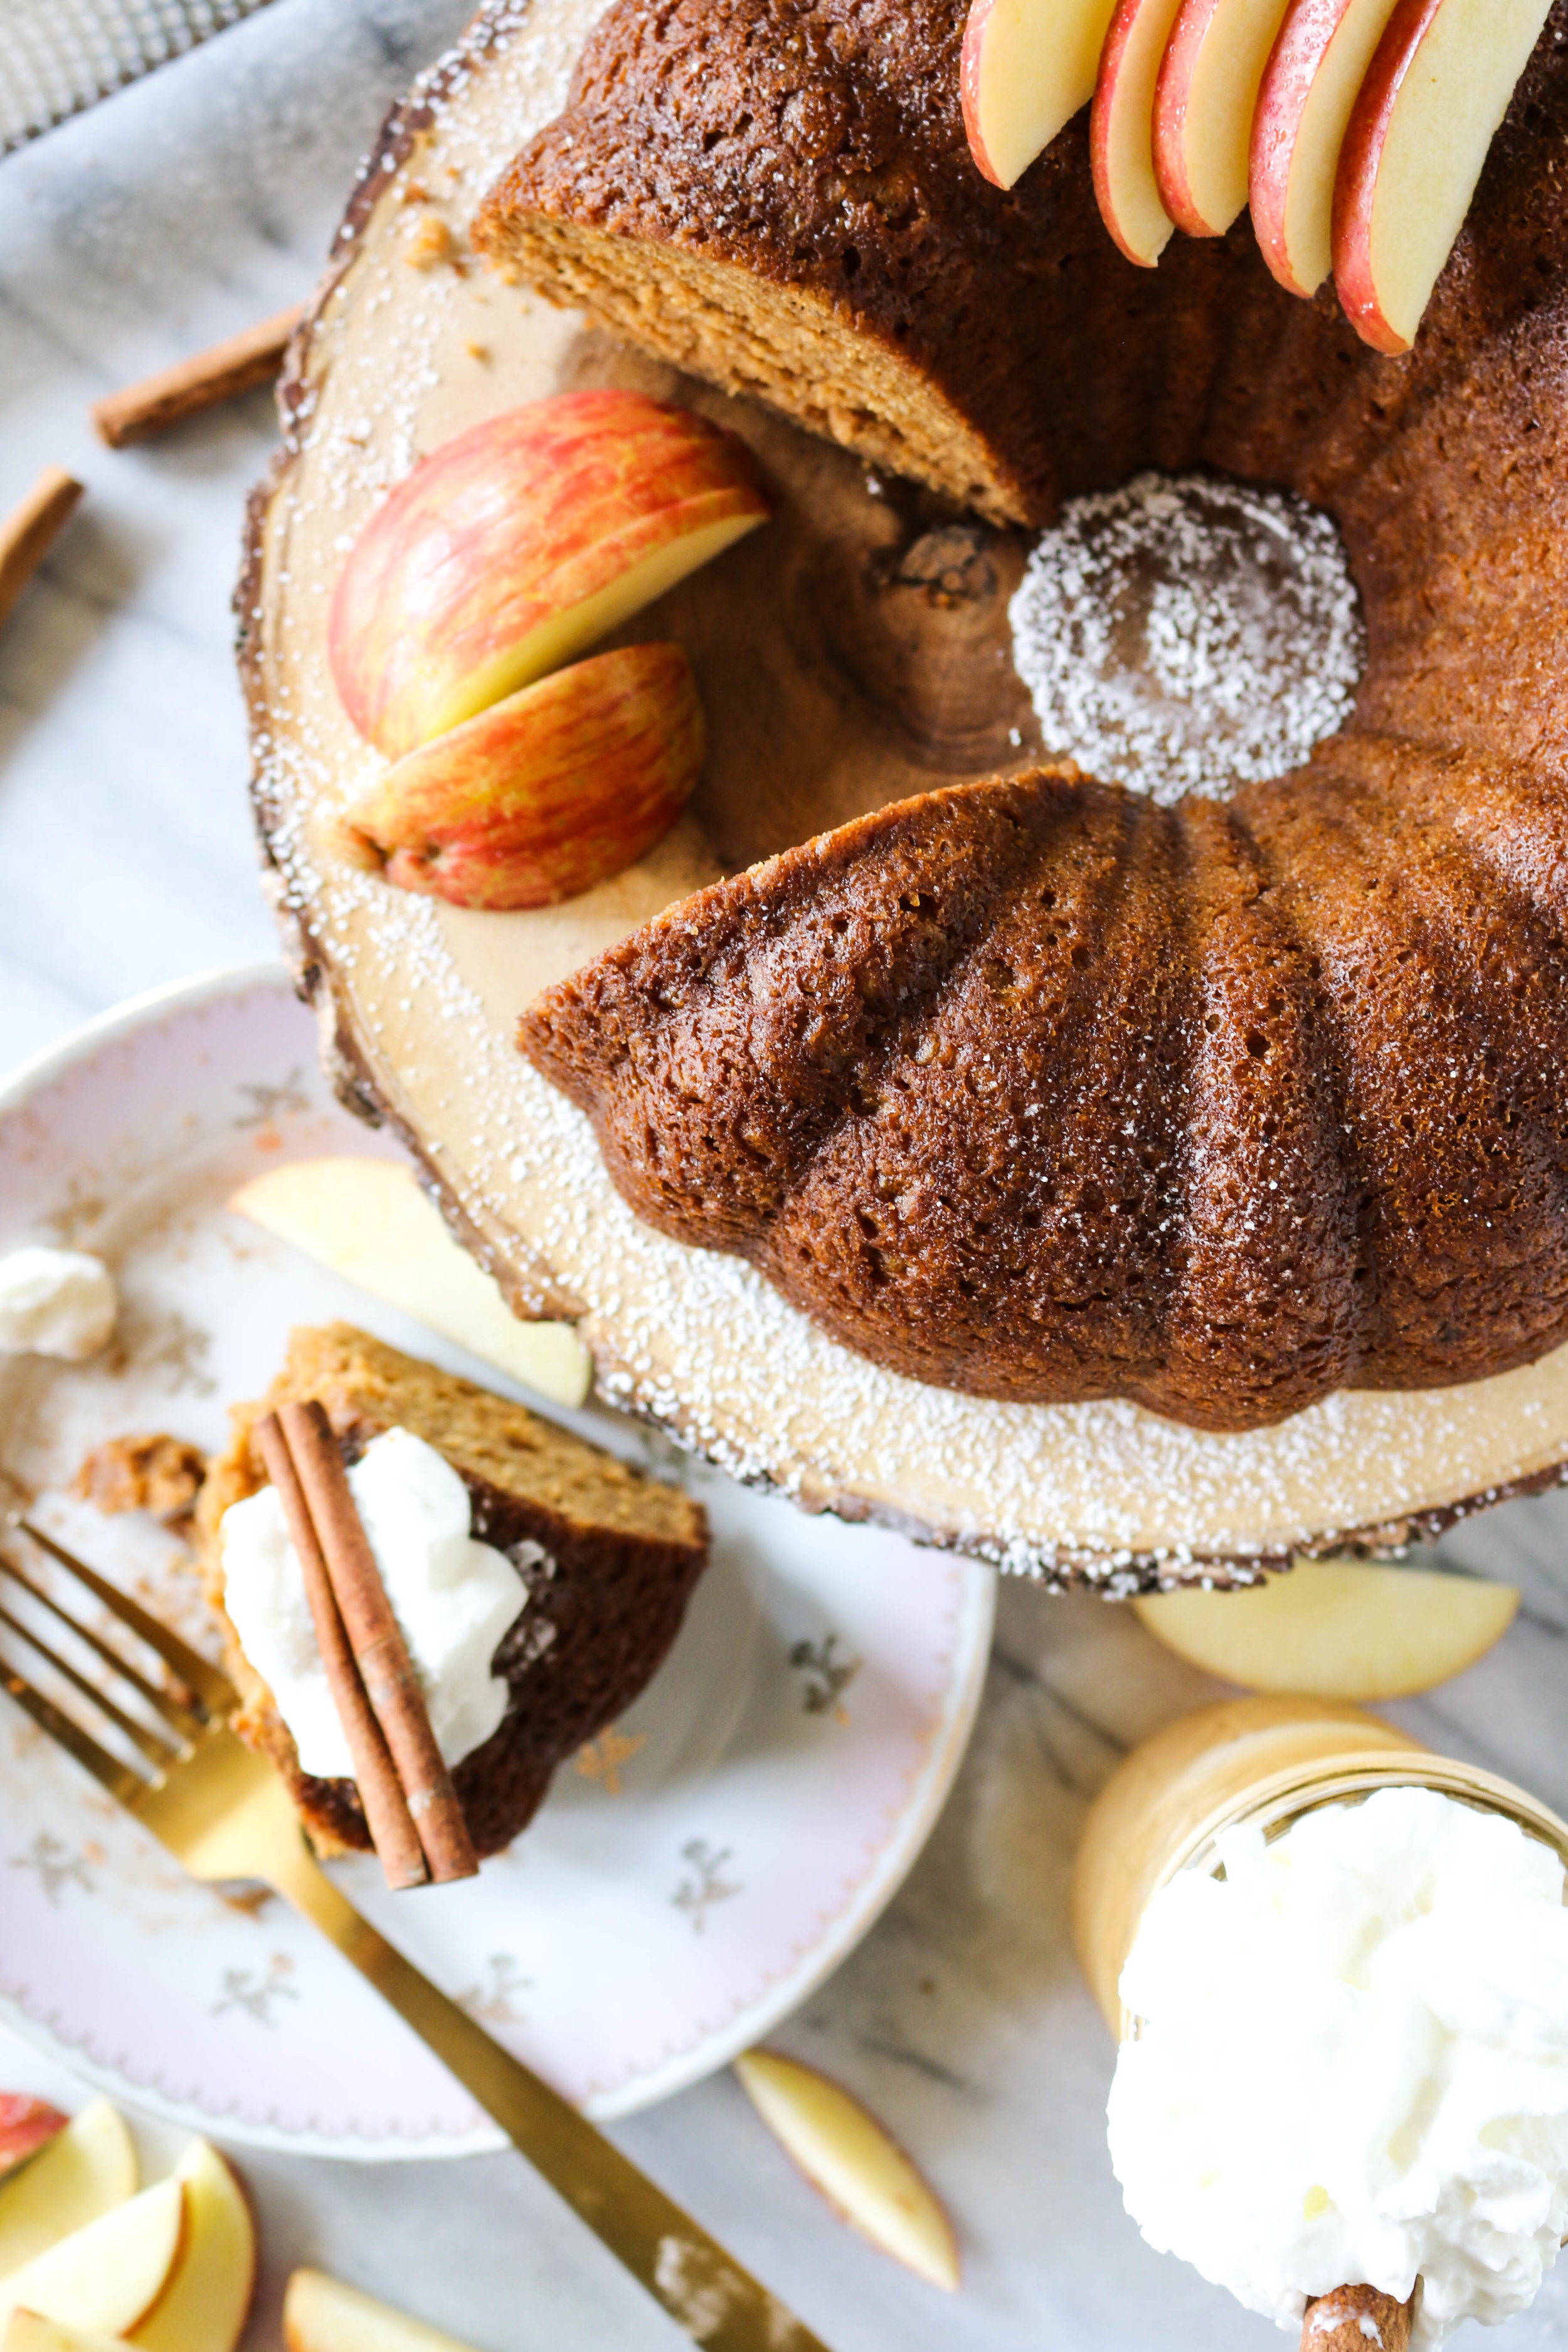
Which brings me to this delicious cake! The flavors are SO on point with this cake! It’s moist, has all the right fall spices, and in my opinion would pair perfectly with a nice scoop of vanilla ice cream! Or plain with breakfast…Or on the go in your car driving your kids to school…Or late at night when you can’t stop crying while watching ‘This Is Us’…

As you can see, there are so many options.

IMG_7204.jpg

Spiced Apple Cider Bundt Cake

Ingredients:

2 1/2 white flour, or spelt for a healthier version

1 1/2 tsp. baking soda

1/4 tsp. baking powder

1 tsp. salt

1 1/2 tsp. cinnamon

1 tsp. ground cloves

1 tsp. ground allspice

1/4 tsp. ground ginger

1/4 tsp. ground nutmeg

3/4 cups white sugar

3/4 cups brown sugar

1/2 cup canola oil or vegetable oil

1 1/2 cups apple cider, cooked down to 1/2 cup cider. (See notes below for directions)

1 1/2 cups unsweetened applesauce

2 eggs

1 TB. vanilla extract

Directions:

  1. Preheat the oven to 325 degrees.

  2. Add apple cider to a small saucepan. Turn the heat on medium low and continue to cook the apple cider until it has cooked down to 1/2 cup. Continue to whisk while it cooks so it doesn’t burn. In a separate medium bowl, whisk together the flour, baking soda, baking powder, and spices. Set aside.

  3. In another bowl add the cider, applesauce, oil, eggs, sugar, and vanilla. Whisk together.

  4. Combine the wet and dry ingredients and whisk until smooth. Do not over mix.

  5. Spray a bundt pan generously with cooking spray. Pour the batter into the bundt pan.

  6. Bake for 30-50 minutes, depending on your oven and altitude.

  7. Let cool before removing from pan. Dust with powdered sugar/serve with a scoop of vanilla ice cream. Serve and enjoy!


IMG_2272.jpg

I love the versatility of this recipe because it can be made into a BUNDT cake, a LAYER cake, or a SHEET cake! I made the layer cake version for you today, but feel free to make it into a sheet cake for easier baking. Layer cakes, especially decorating them, can be quite tricky! The only thing you will do differently for a sheet cake is bake in jelly roll pan, and once cool frost with the delicious spiced cream cheese frosting!

(For the layer cake/sheet cake)

  1. Use the same recipe as above. Preheat your oven to 350 degrees.

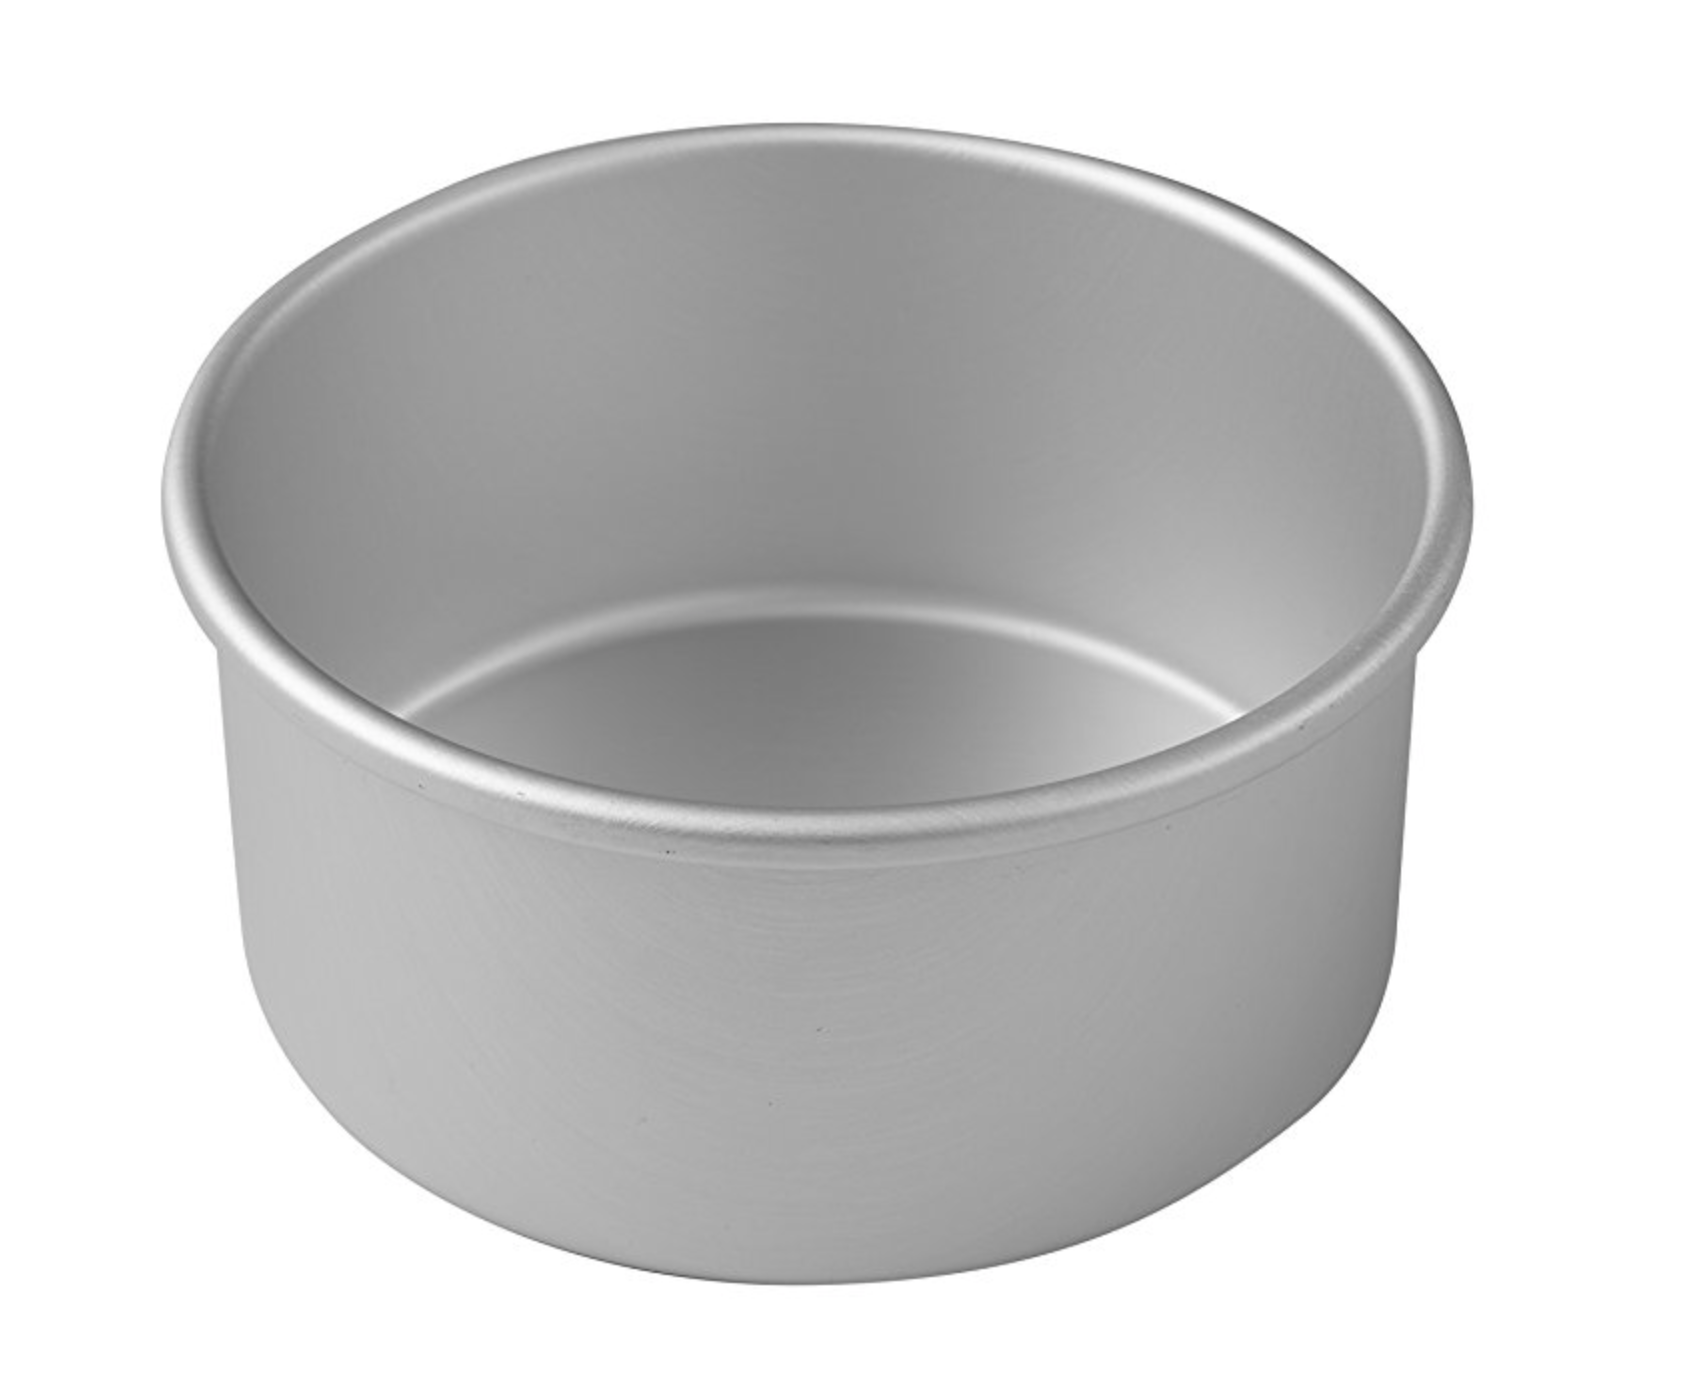
  2. If making into a layer cake, spray and grease three 6 inch cake pans, and place a circle cut out of parchment on the bottom so it doesn’t stick. Divide batter evenly amoung the three pans. Bake for 25-30 minutes, or until done in the center. Once cooled, wrap cakes up nicely and freeze before frosting. Frozen/cold cakes frost much easier than warm/room temp cakes do.

  3. For a sheet cake, spray and grease a jelly roll pan. Pour batter into pan and bake for 20-25 minutes, or until cake has cooked all the way through. Allow to cool before frosting.


Ingredients:

2 sticks salted butter, room temperature

8 ox brick cream cheese, softened to room temperature

2 lb bag powdered sugar

1 1/2 TB. vanilla extract

1 tsp. cinnamon

1 tsp. allspice

1/4-1/2 cup heavy whipping cream

Directions:

  1. Add your butter and cream cheese to a stand mixer. Mix on medium speed until light and fluffy. Add in the rest of your ingredients and start with 1/4 cup of heavy whipping cream. Beat on medium until the frosting comes together. If it is too thick, drizzle in a little bit more heavy cream. Beat until light and fluffly, but never on high speed. You dont want TOO much air bubbles in the frosting, so take it slow as you are mixing and bringing your frosting together. Feel free at this point to add in your food coloring of choice.

  2. Frost your cakes however you desire, whether it be a layer cake or a sheet cake! Flowers on top of the cake shown above are fake and from my local craft store.

These links are from Amazon and include Affiliate Links. I receive a small portion when you buy from my site. Thank you so much for supporting The Diva Dish!

The Best Chicken Salad Sandwich

My kids spill their drinks everyday.

Every. Single. Day.

IMG_6330.jpg

On a day when it's almost bed time and the spill hasn't happened, I literally visualize the calm before the storm. A few weeks ago we went out to eat with the kids and ordered a large lemonade.

First mistake.

 Somehow the restaurant messed up and they brought us three. THREE large lemonades on a table with three kids.

Second mistake.

We let the kids all have sips.

Third Mistake.

Then...Each cup of lemonade was knocked at some point during the dinner and proceeded to spill  all over the floor, table, their clothes, my purse, my pride...

After the first spill we removed the remaining two lemonades to the other side of the table. My husband got up to go to the bathroom and some how his butt knocked the other cup off the table. The third happened when we were getting out of the booth and my 3 year old grabbed the large cup when I wasn't looking and dropped it everywhere.

You guys!! Who gave us children?!  

In my defense, I helped the waiters clean up each mess as I jokingly said we shouldn't be allowed outside and each time not one of them laughed...BECAUSE WHY WOULD THEY?

IMG_0789.jpg

What does this have to do with chicken salad sandwiches you might ask?

Nothing.

It's just an easy dinner for a tired mom who is holding a mop and regretting throwing away the sippy cups.

I love chicken salad sandwiches for dinner because it comes together SO easy and I don’t have to turn on my oven. It’s versatile and you could add what ever you have on hand, but the touch of fresh herbs and lemon juice take this meal over the top! Trust me, everyone will ask you for the recipe! I cannot take full credit for this recipe, because the amazing blog How To Feed a Loon came up with the original recipe. I adapted it a little to what I had on hand.

The Best Chicken Salad Sandwich

Ingredients:

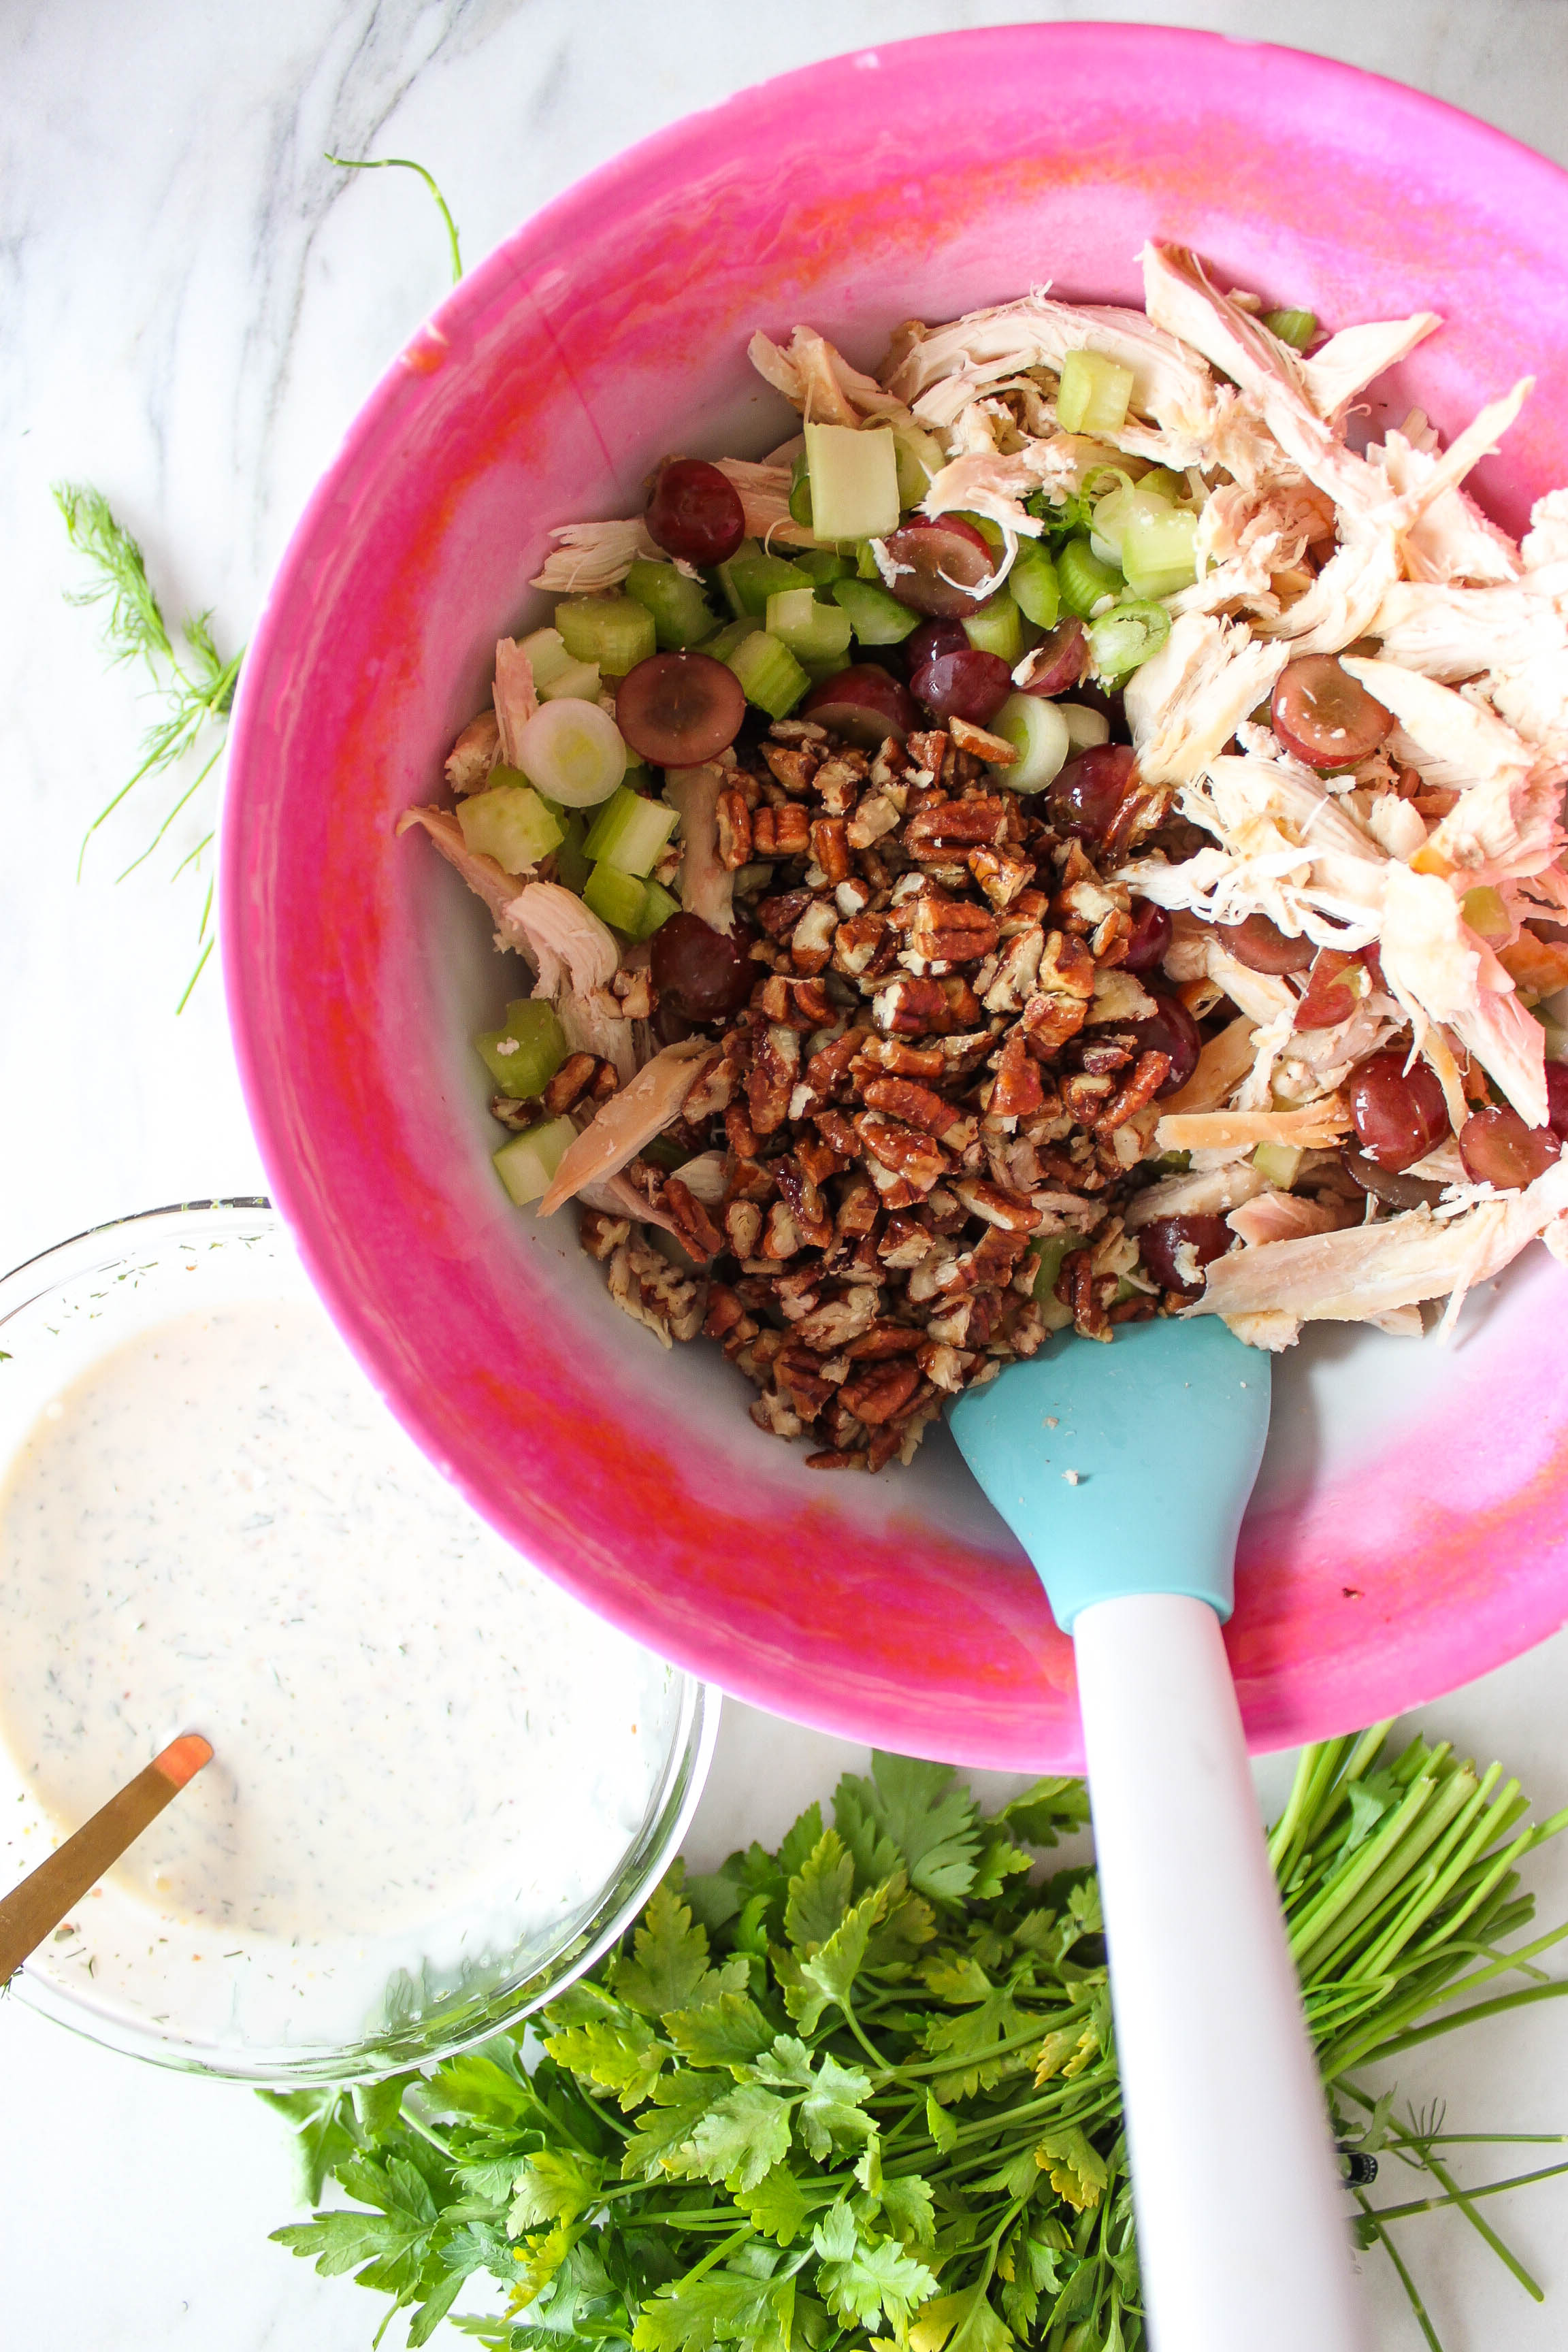
1 rotisserie chicken, shredded

1 cup purple grapes halved

3 small or 2 large celery stalks chopped

3 scallions sliced

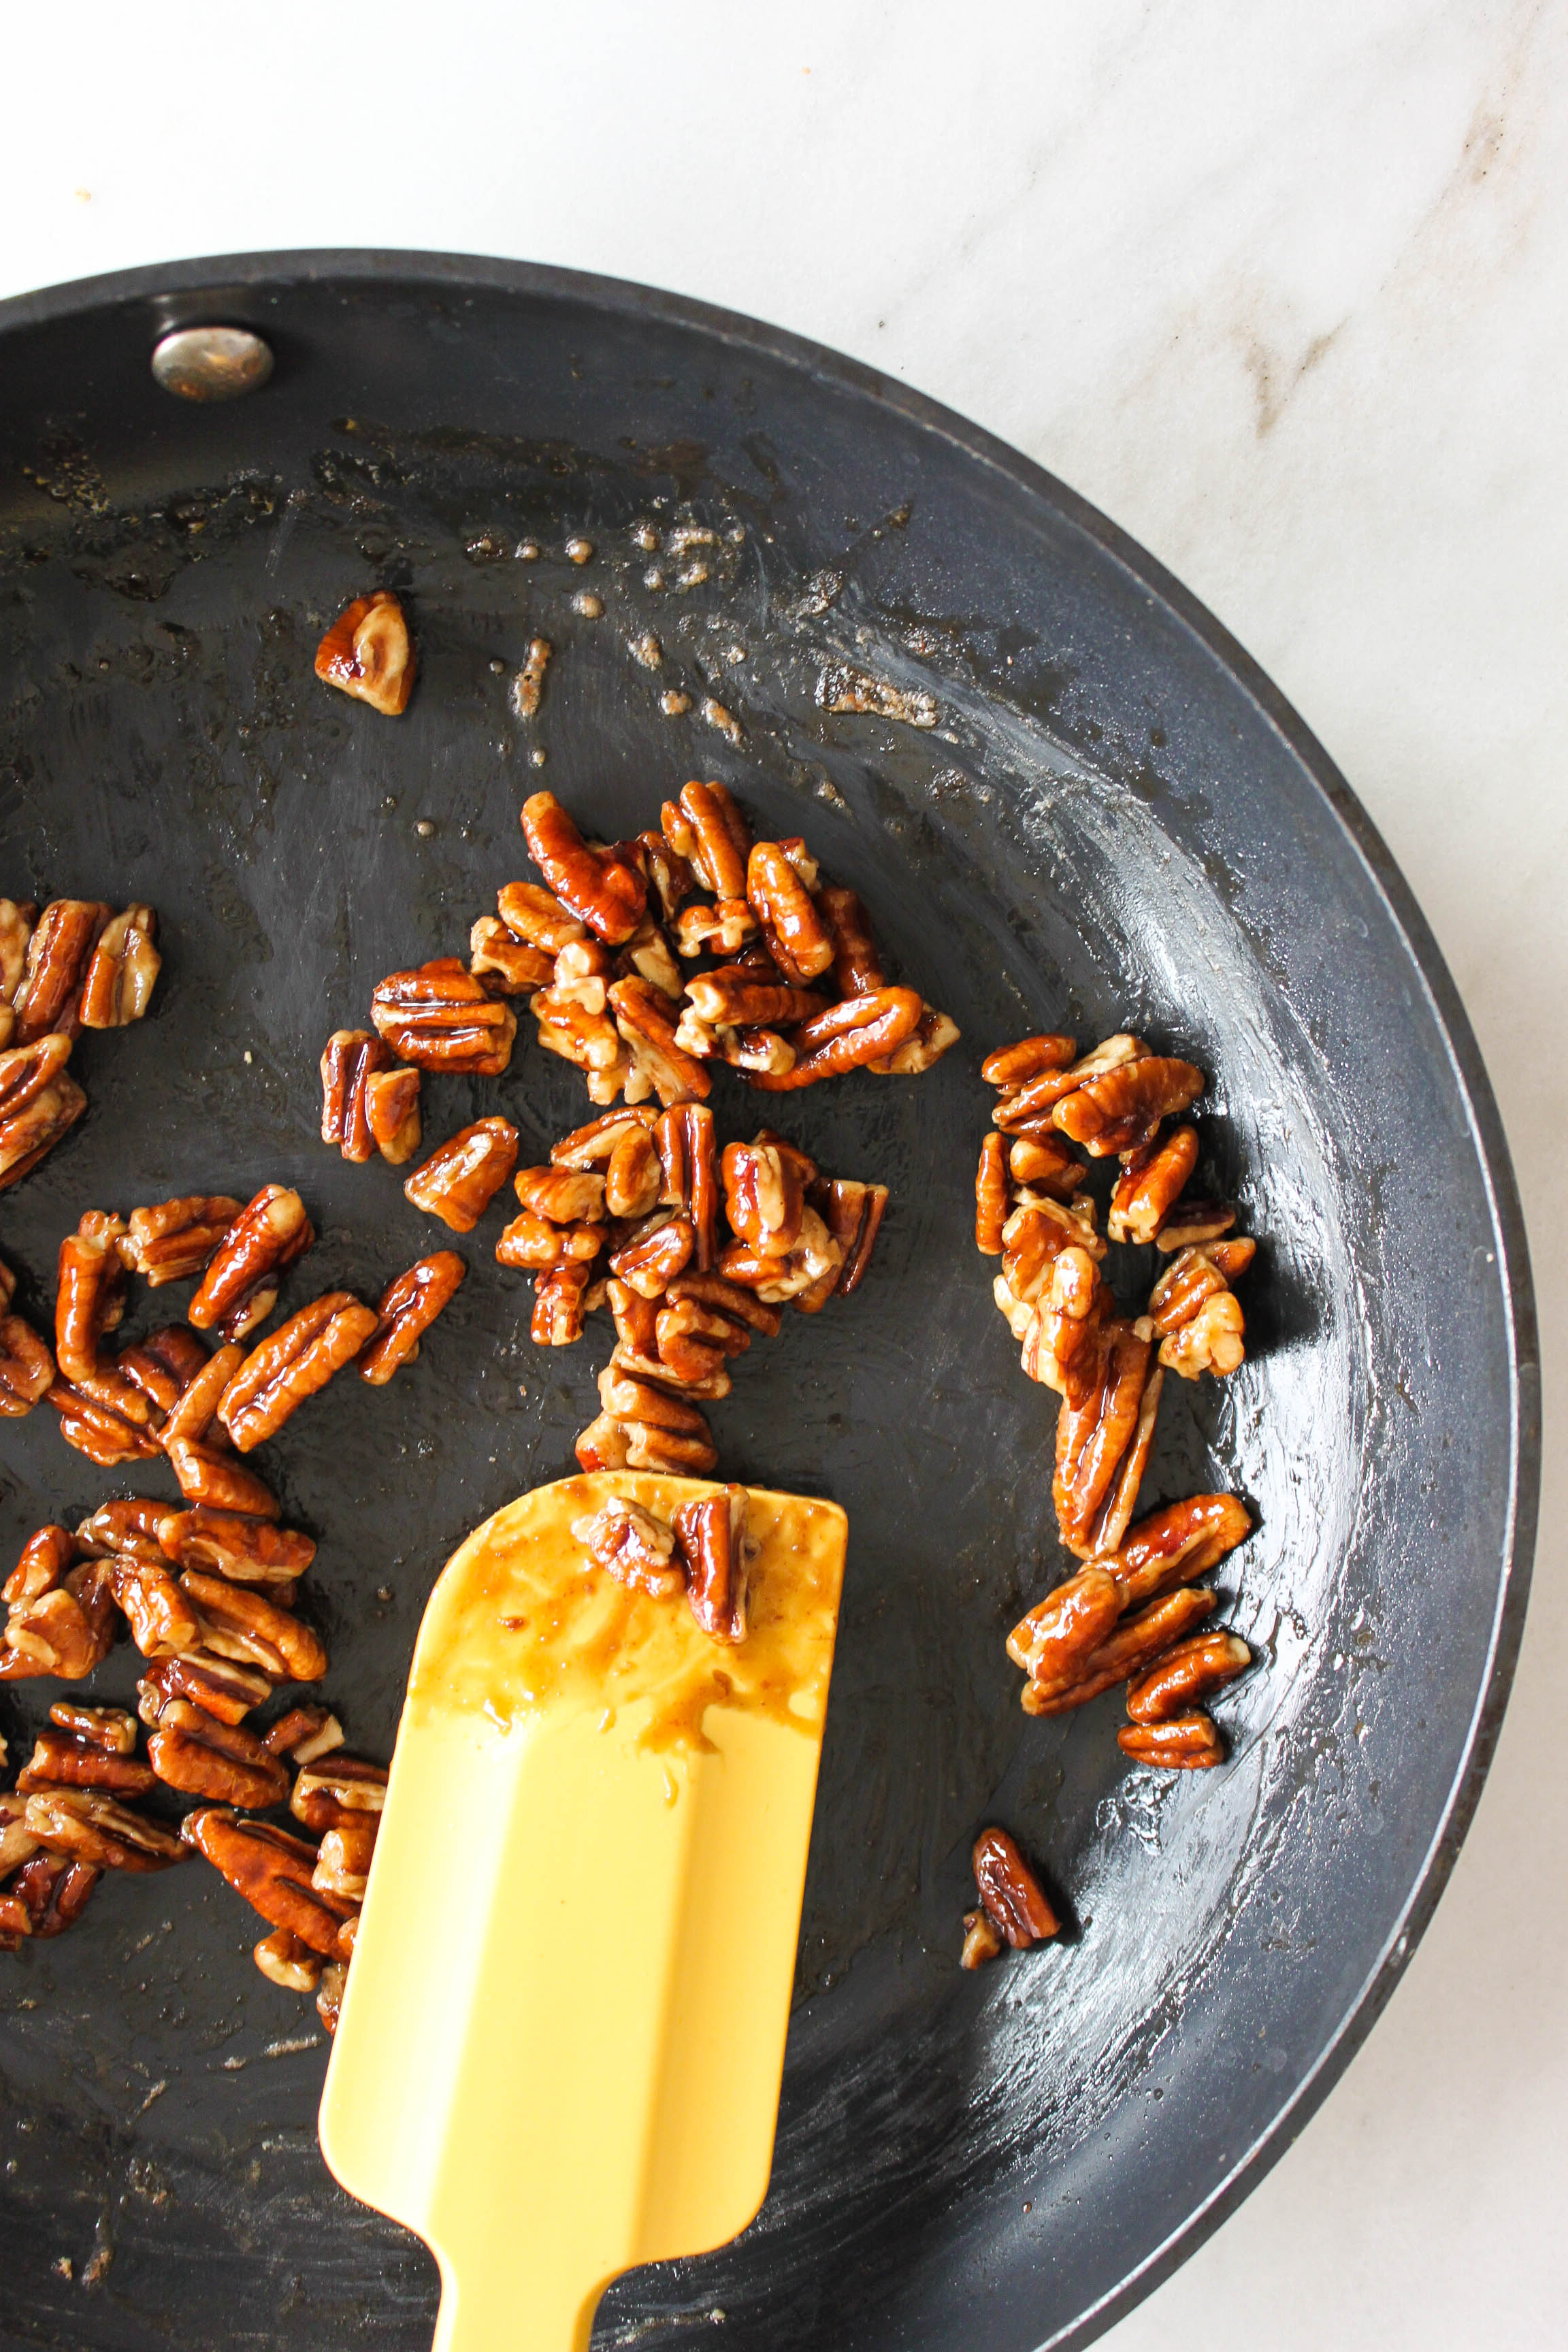
1 cup  candied pecans

1 cup mayo or plain greek yogurt, or half yogurt/half mayo for a lighter version 

1 1/2 TB. ground mustard

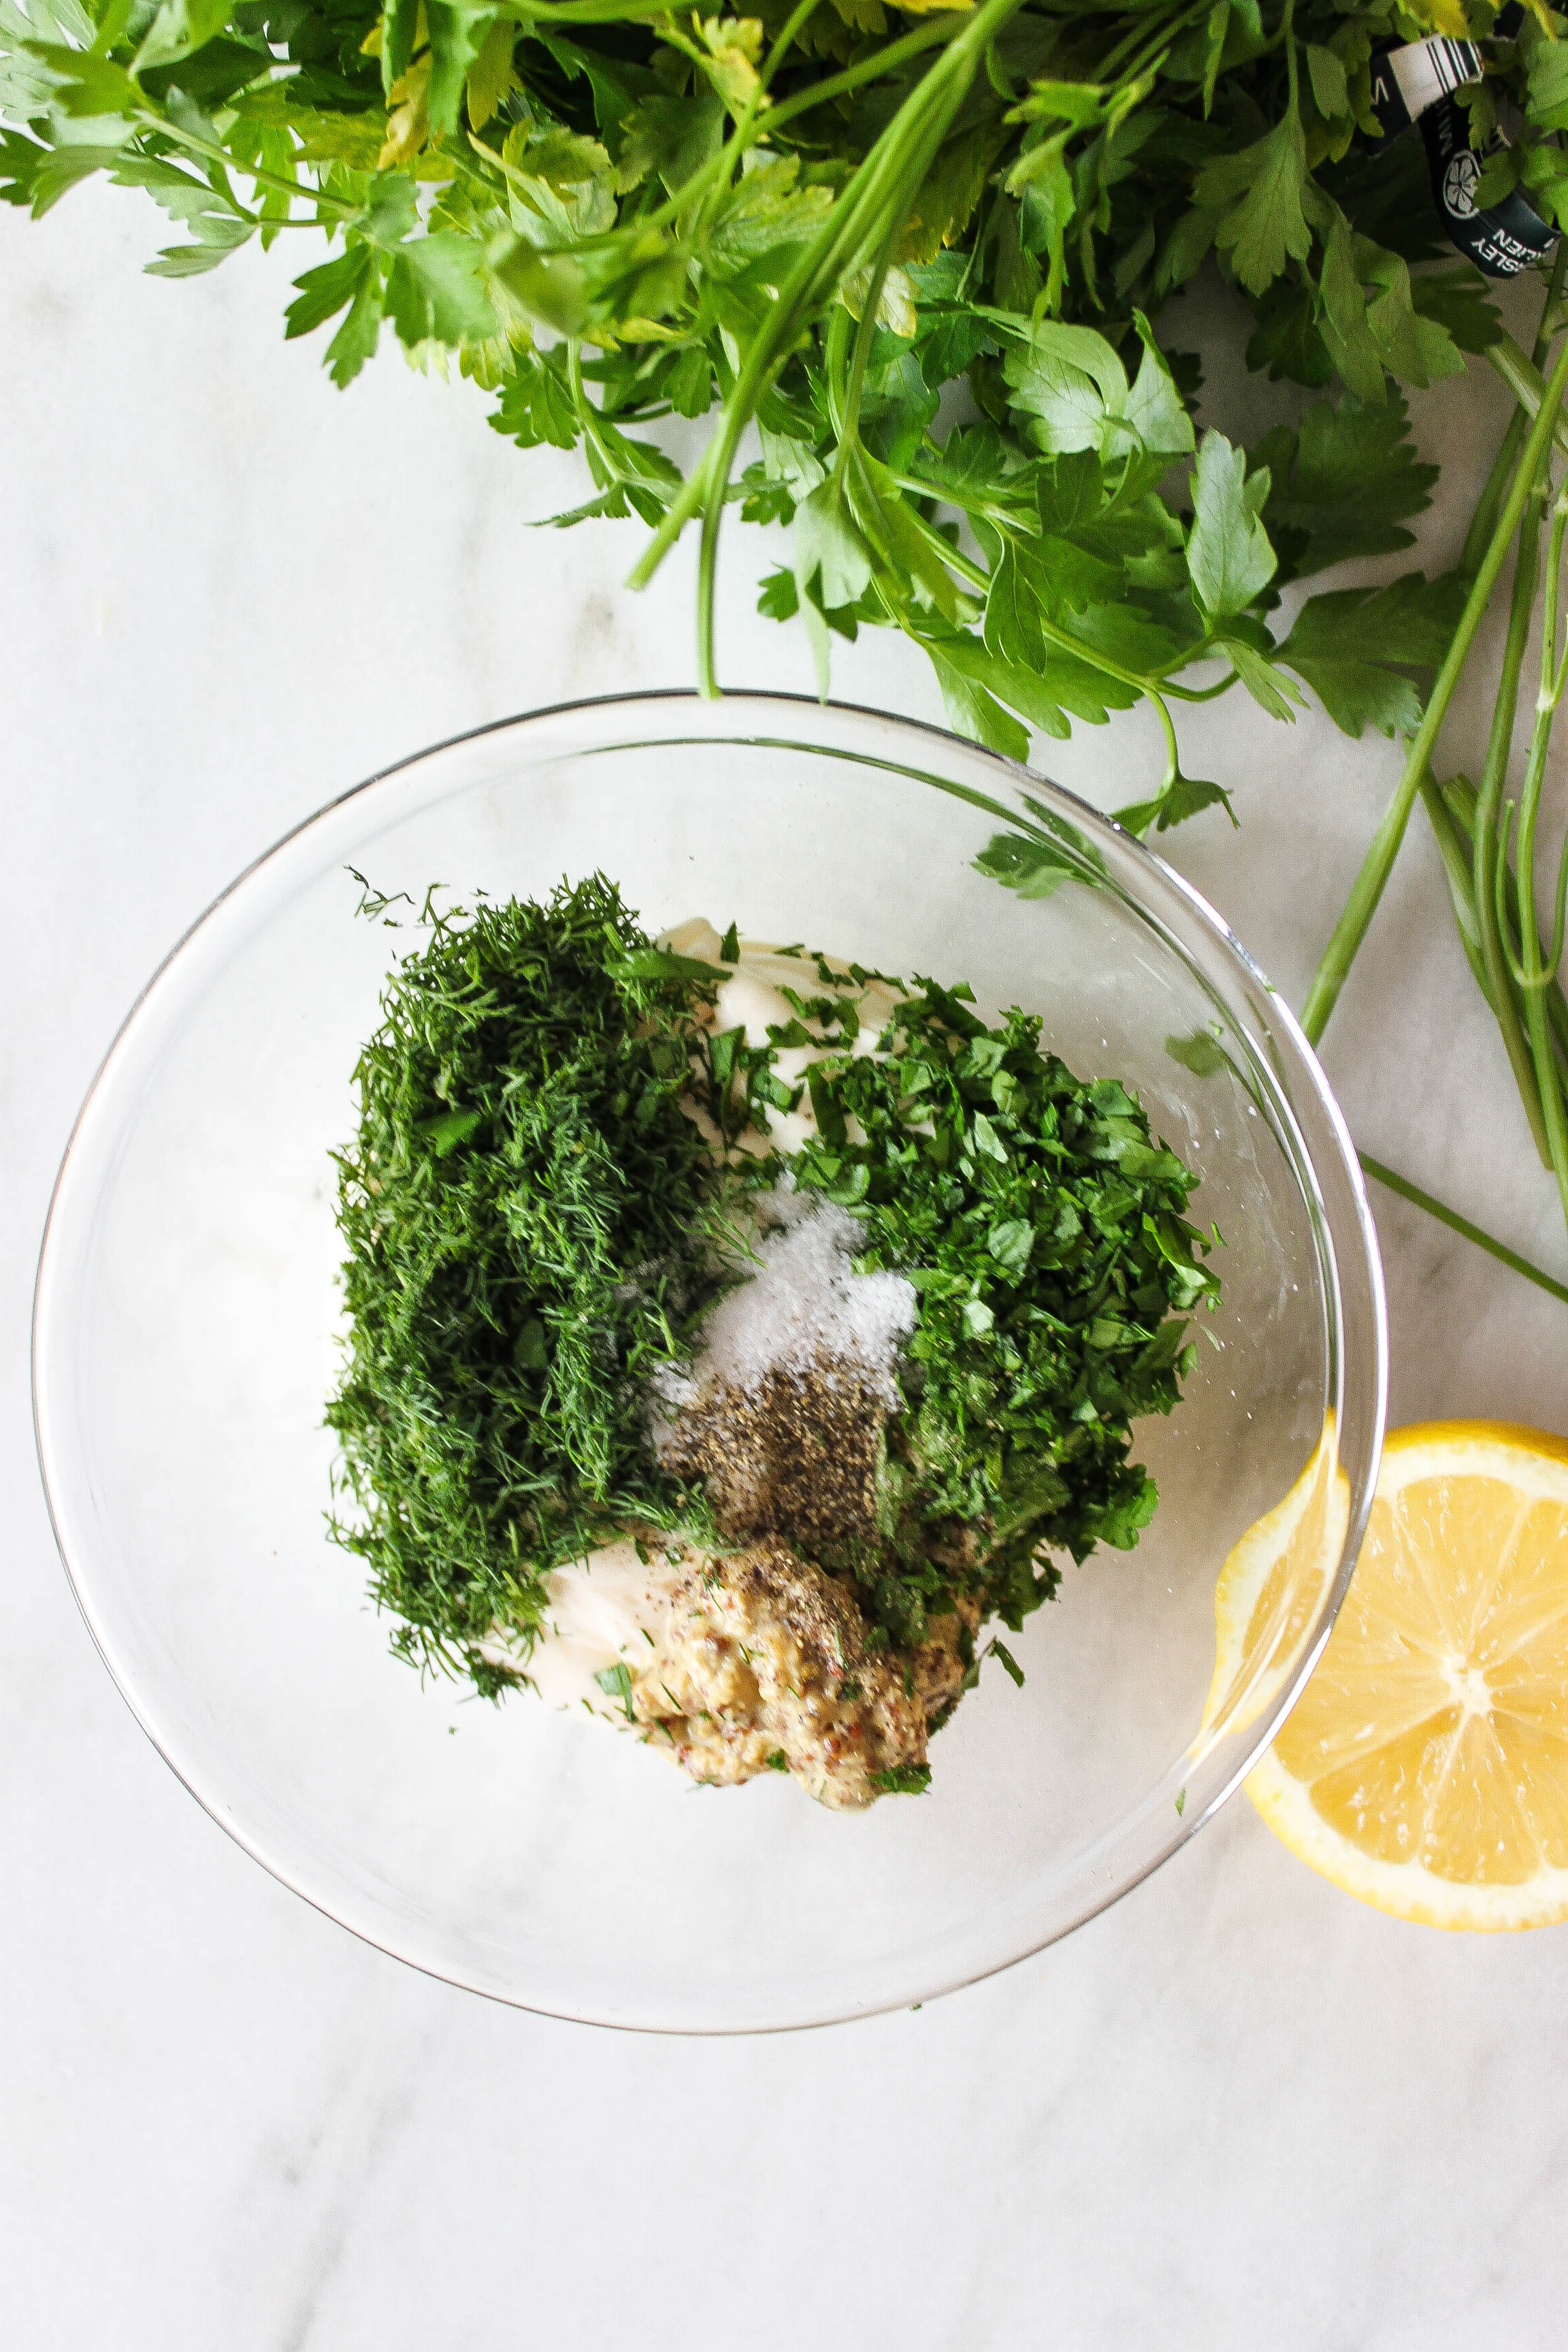
2 TB. finely chopped dill

1 TB. finely chopped Italian parsley 

Juice of 1 juicy lemon

1/2-3/4 tsp. salt

lots of fresh ground pepper ;)

Directions:

1. In a large bowl toss together the chicken, grapes, celery, scallions, and pecans together.

2. In a separate bowl, whisk together the mayo or yogurt. Add chopped herbs, lemon juice, salt, and pepper. 

3. Pour dressing over salad and mix to combine. 

4. Let set in the fridge for at least an hour if able. 

5. Serve and enjoy!

Original Recipe From How To Feed A Loon

IMG_6328.jpg