Diva Adventures: True Food Kitchen

I always love reading about healthy places others go to eat, especially since restaurants like these are hard to come by!

So I knew this week when I was visiting my family in California, I had to share with everyone a natural foods restaurant we ate at! Just in case you are ever in the neighborhood... :)

True Food Cafe, where do I begin! My mom and dad ate here a few months ago and right away my mom told me she wanted to take me there! It's located in the heart of Orange County at Fashion Island Mall, if you've ever been there it's well...it's a little heaven on earth!

The restaurant's atmosphere was fantastic and so fun and inviting. Everything was so bright, fresh, and natural!

One of my things when judging on whether a restaurant is good or bad is how full it is during 'meal times', and trust me...There were a lot of people waiting to get in!

The first thing we did when we sat down was look at their Natural Refreshments they had to offer, and this is where the excitement really started to kick in! I LOVE restaurants that offer fresh juices and drinks, but as many of you know this isn't something you find often..If ever!

Our drinks were:

Hangover Rx: Coconut Water, Pineapple & Fresh Squeezed Orange Juice (Pictured Left)

Ruby Moon: Ruby Grapefruit, Yuzu, Agave, & Soda (Pictured Right)

Kale Aid: Kale, Apple, Cucumber, Celery, Lemon, & Ginger

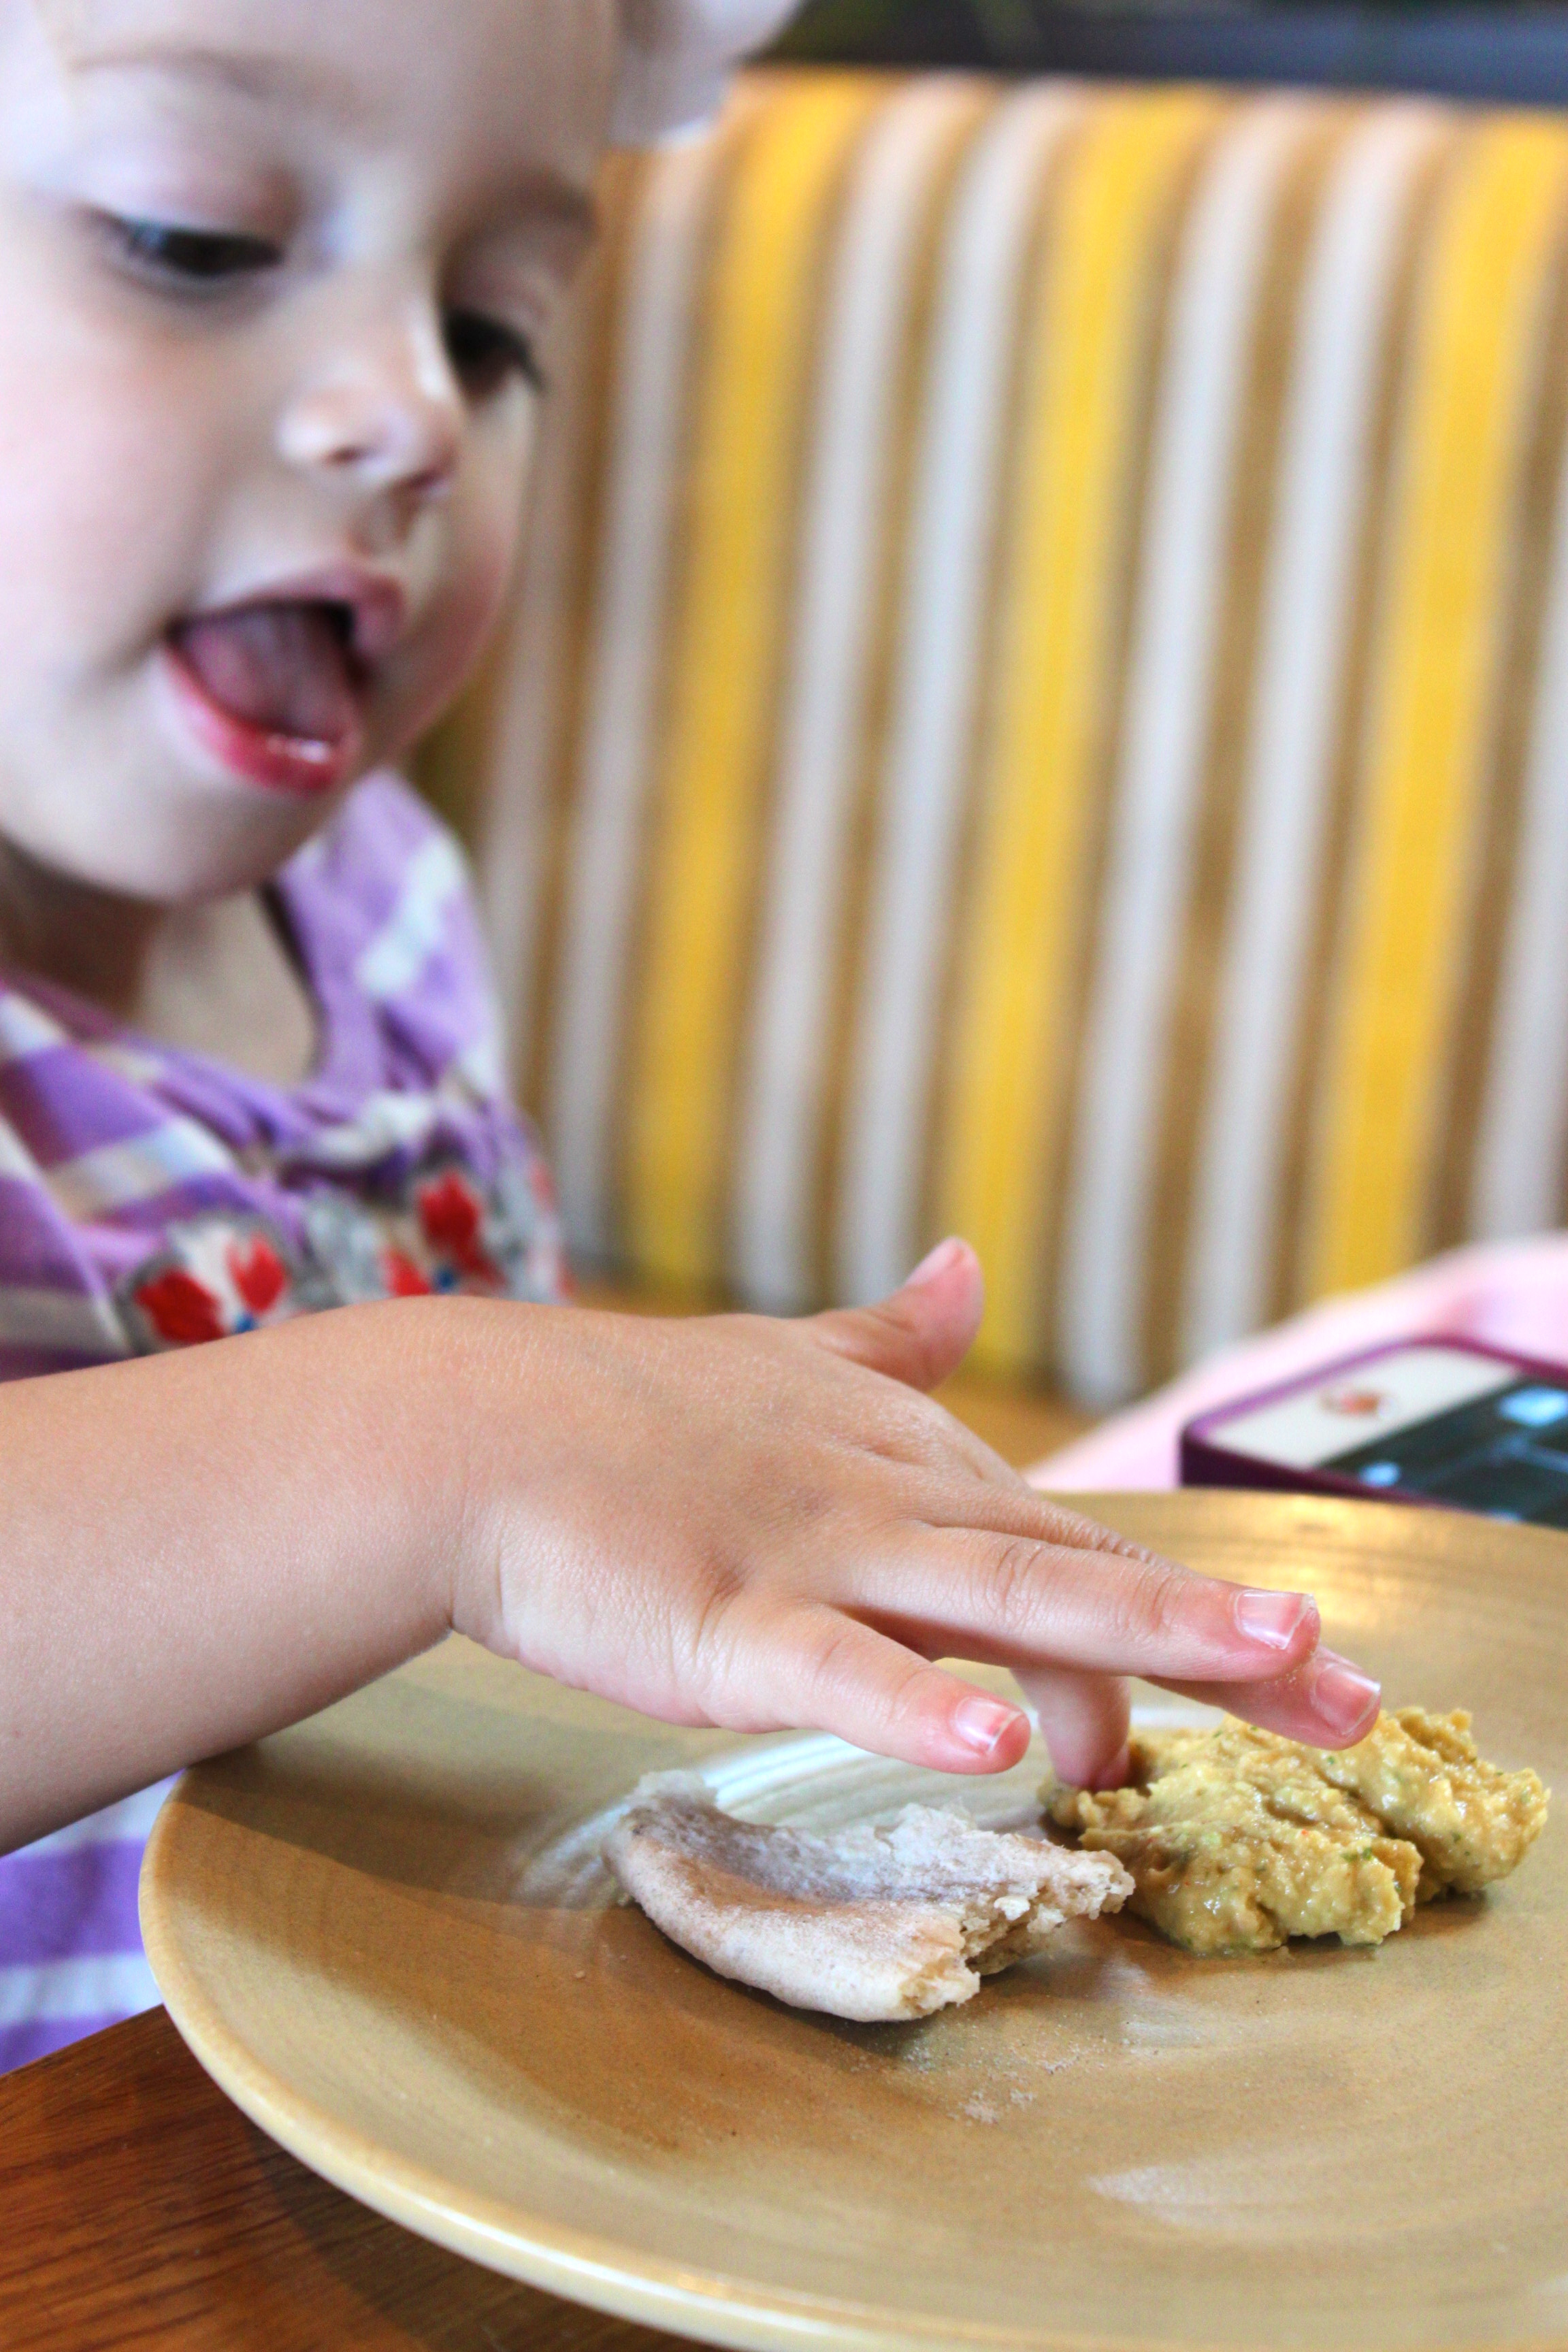
Usually for Boo I always order water, but I really really wanted to try their Honey Lemonade :)! Unfortunately the little gal was being quite possessive over it, so I had to sneak little drinks here and there when she wasn't looking!
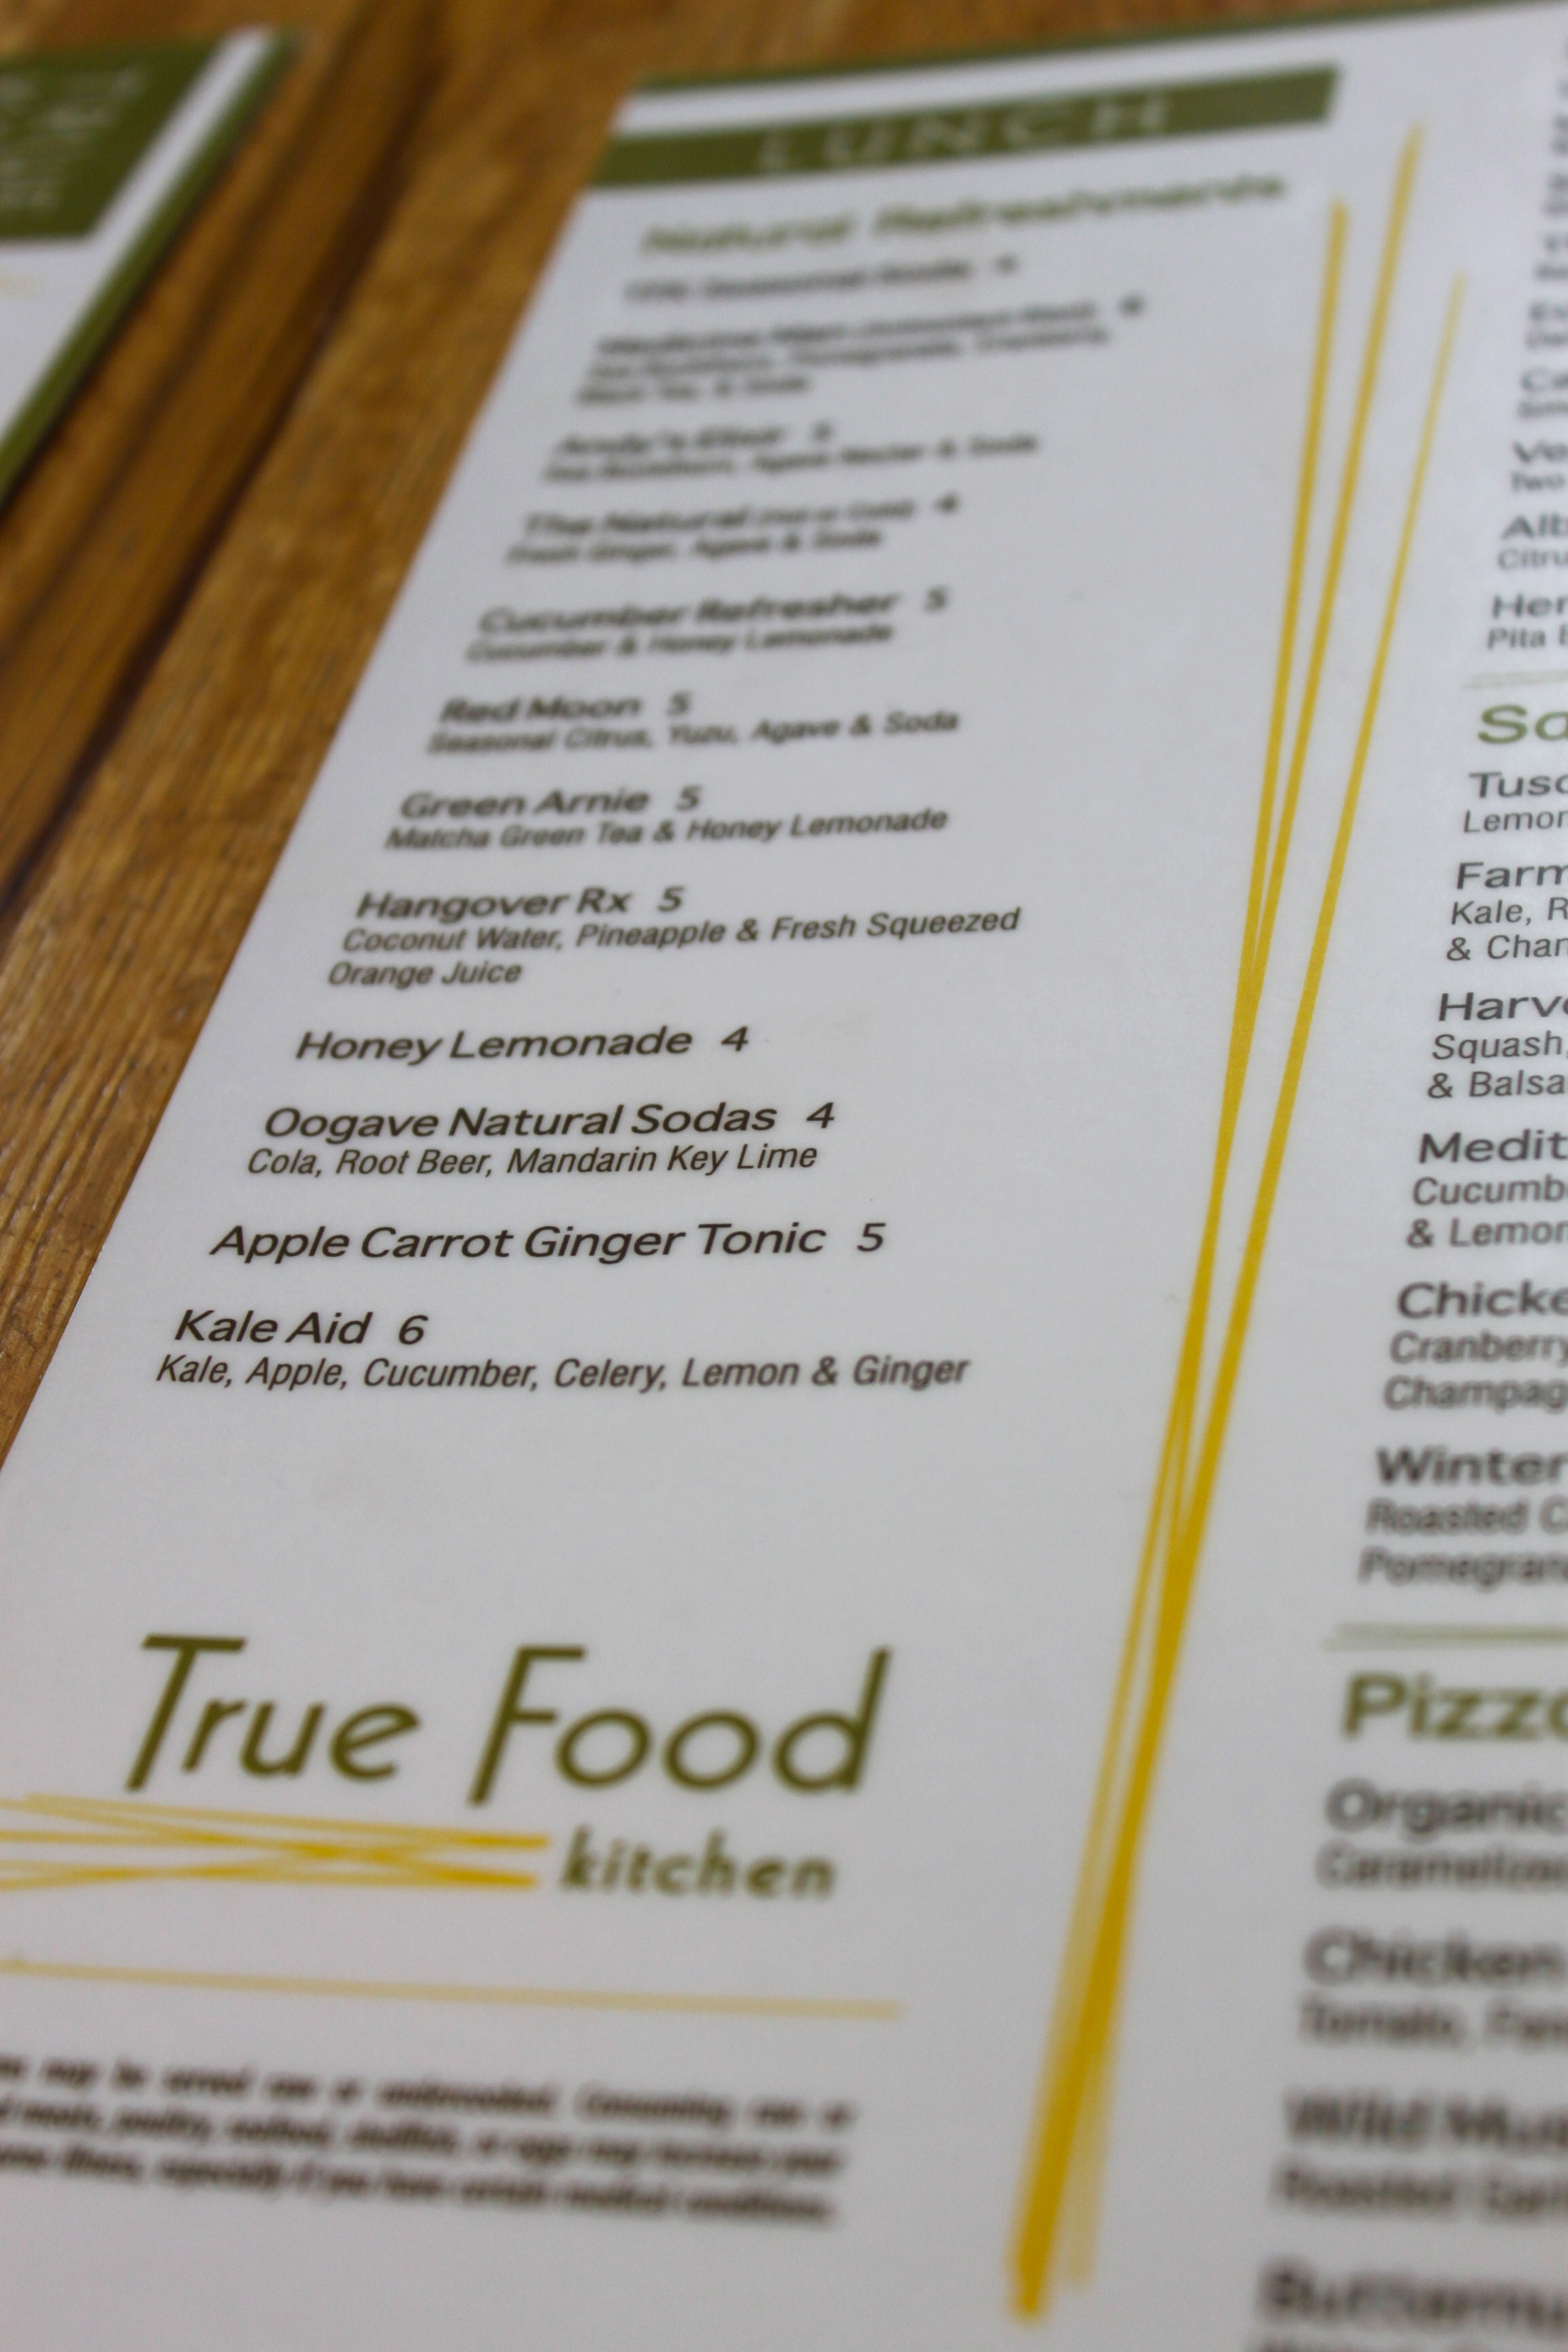
The menu was beyond...how do I put this...beautiful! :) Everything was full of nutrients, veggies, handmade, fresh, and totally Diva-Approved! I have to add that my husband would totally try most items on the menu, which is saying a lot. They had a selection of meaty sandwiches, pizzas and burgers, which any husband would love!
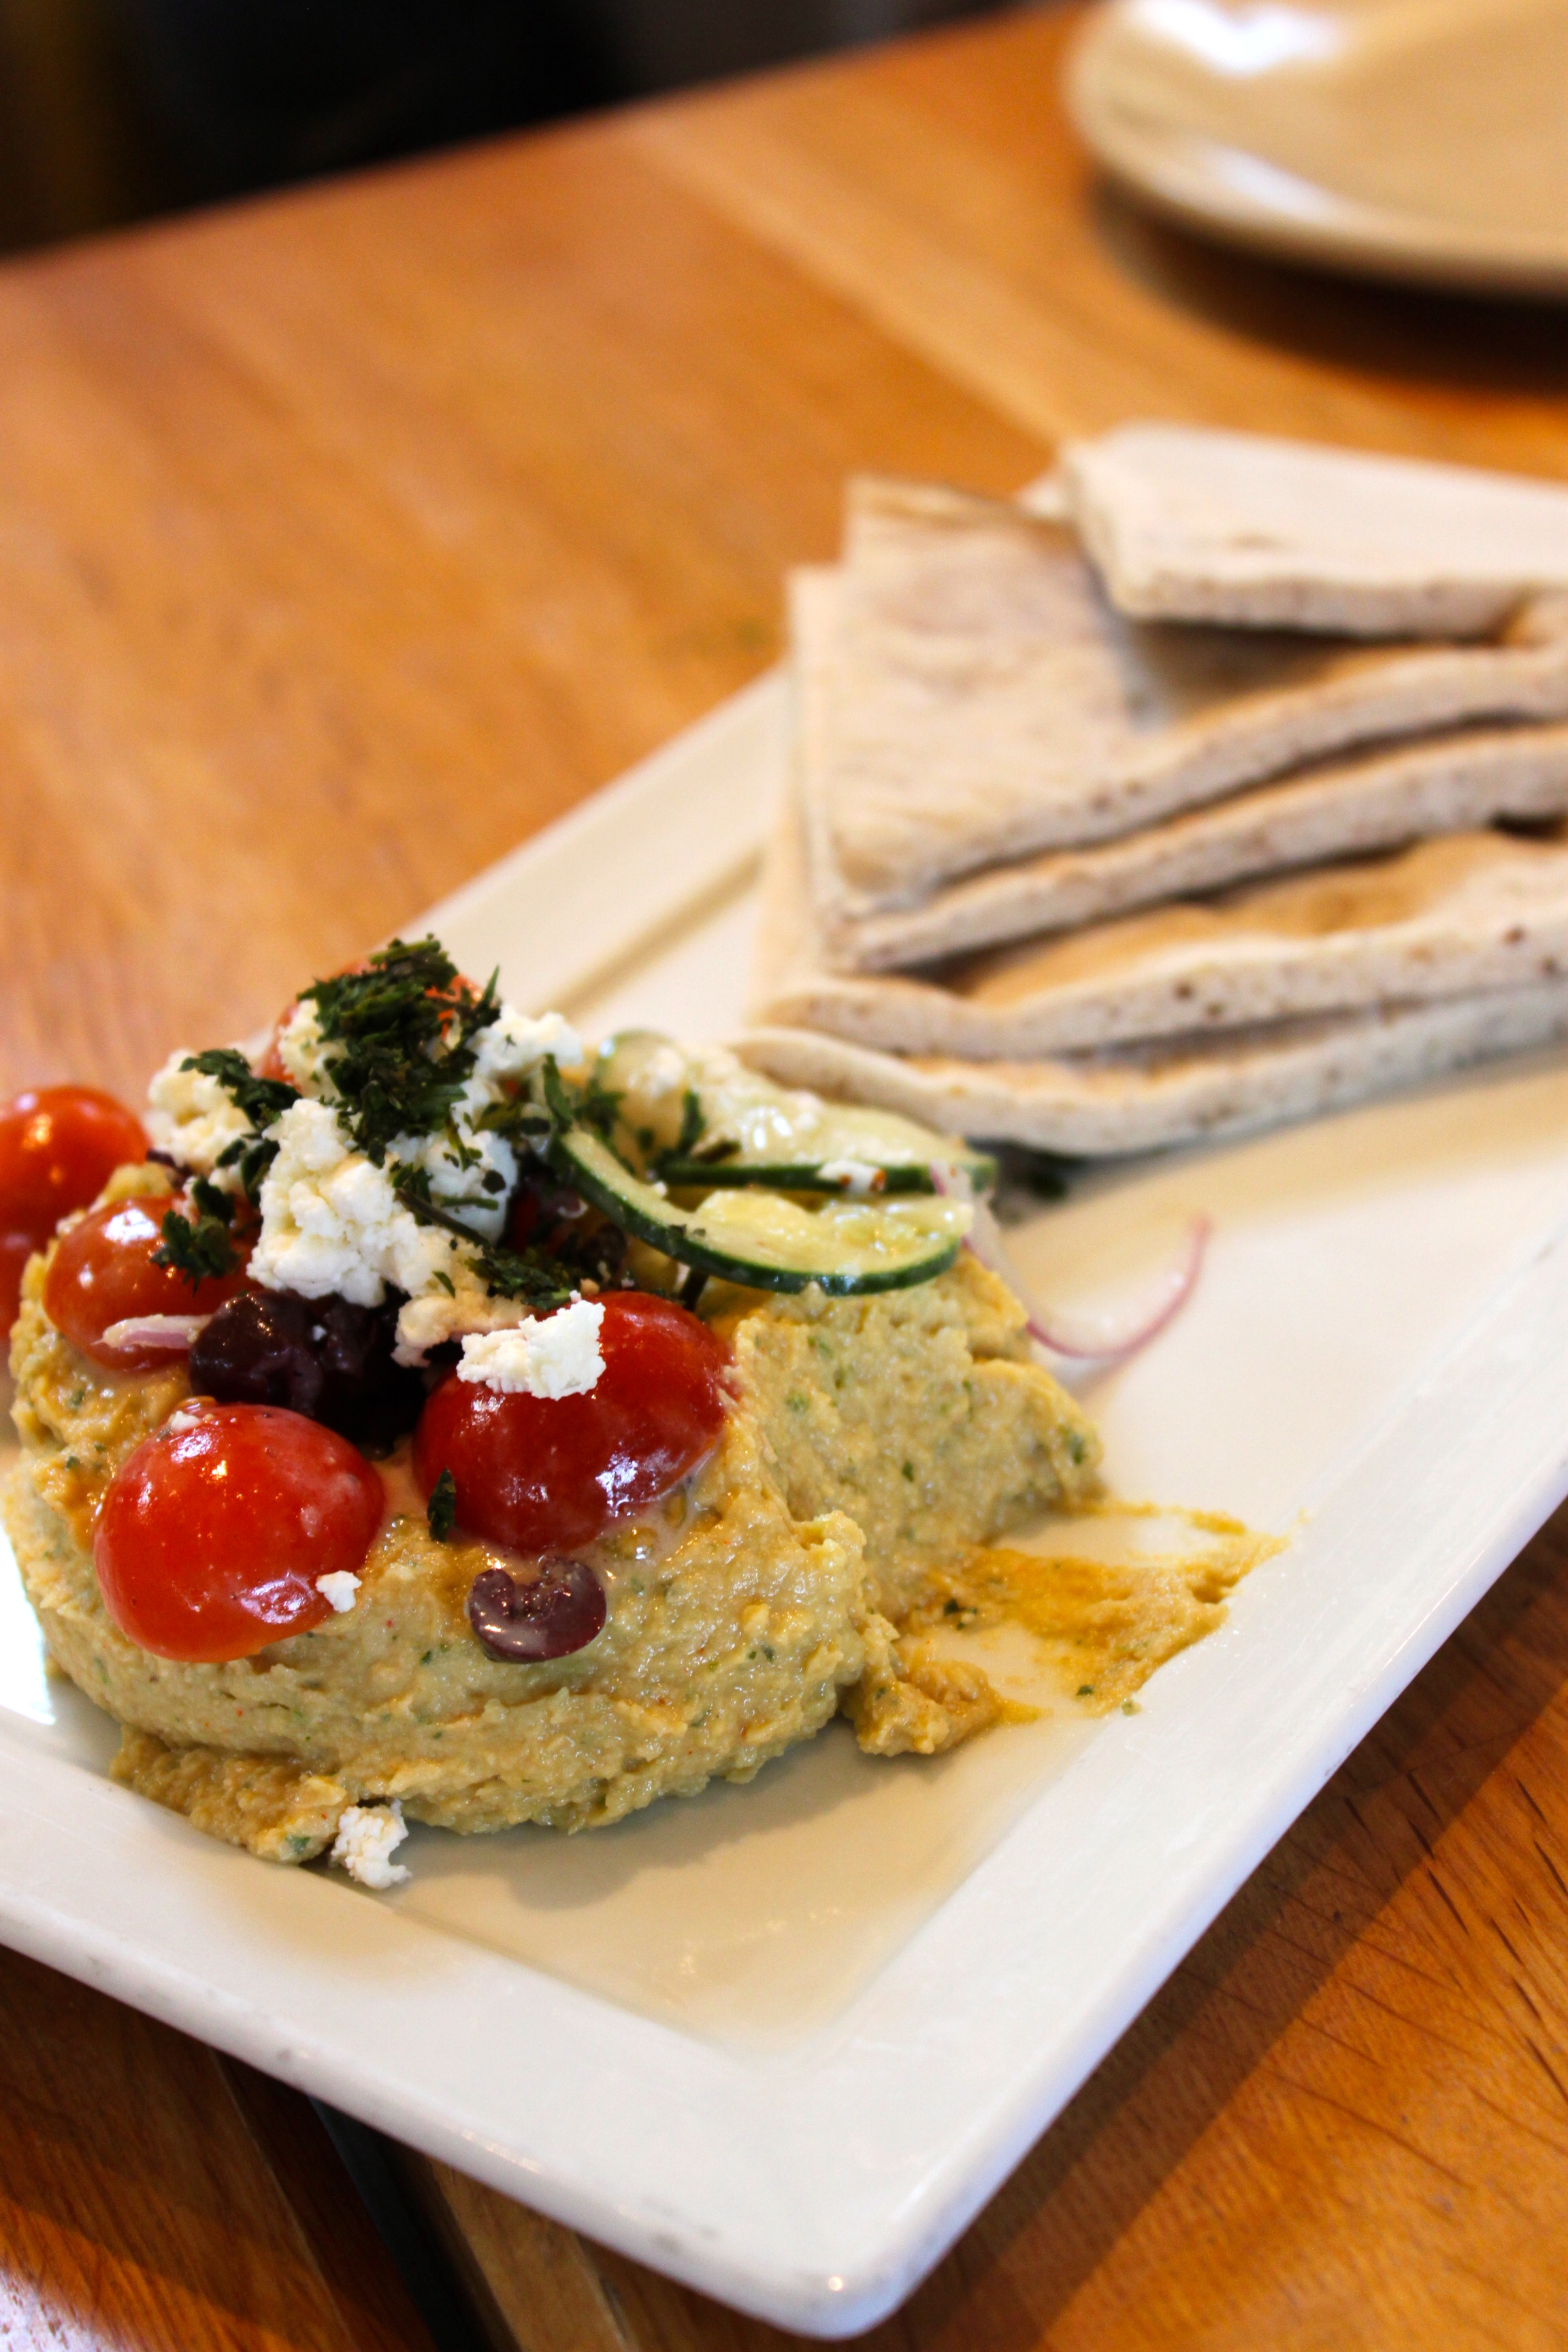
Our second order was the appetizer, and shocker...we chose the hummus :)! It was one of the BEST hummus plates I've ever had, and that says a lot coming from a hummus whore like myself. It was topped with a greek salad of olives, feta cheese, cucumber, and seasonings. If you want the recipe, check out the Cookbook, which features tons of other recipes from the restaurant!

For the main coarse, I wanted to try everything on the menu. (At this point having a table with 20 friends would have been ideal, that way I could try everyones food!) My mom and I both ordered salads, but now I wish I would have ordered something different so I could have tried it!
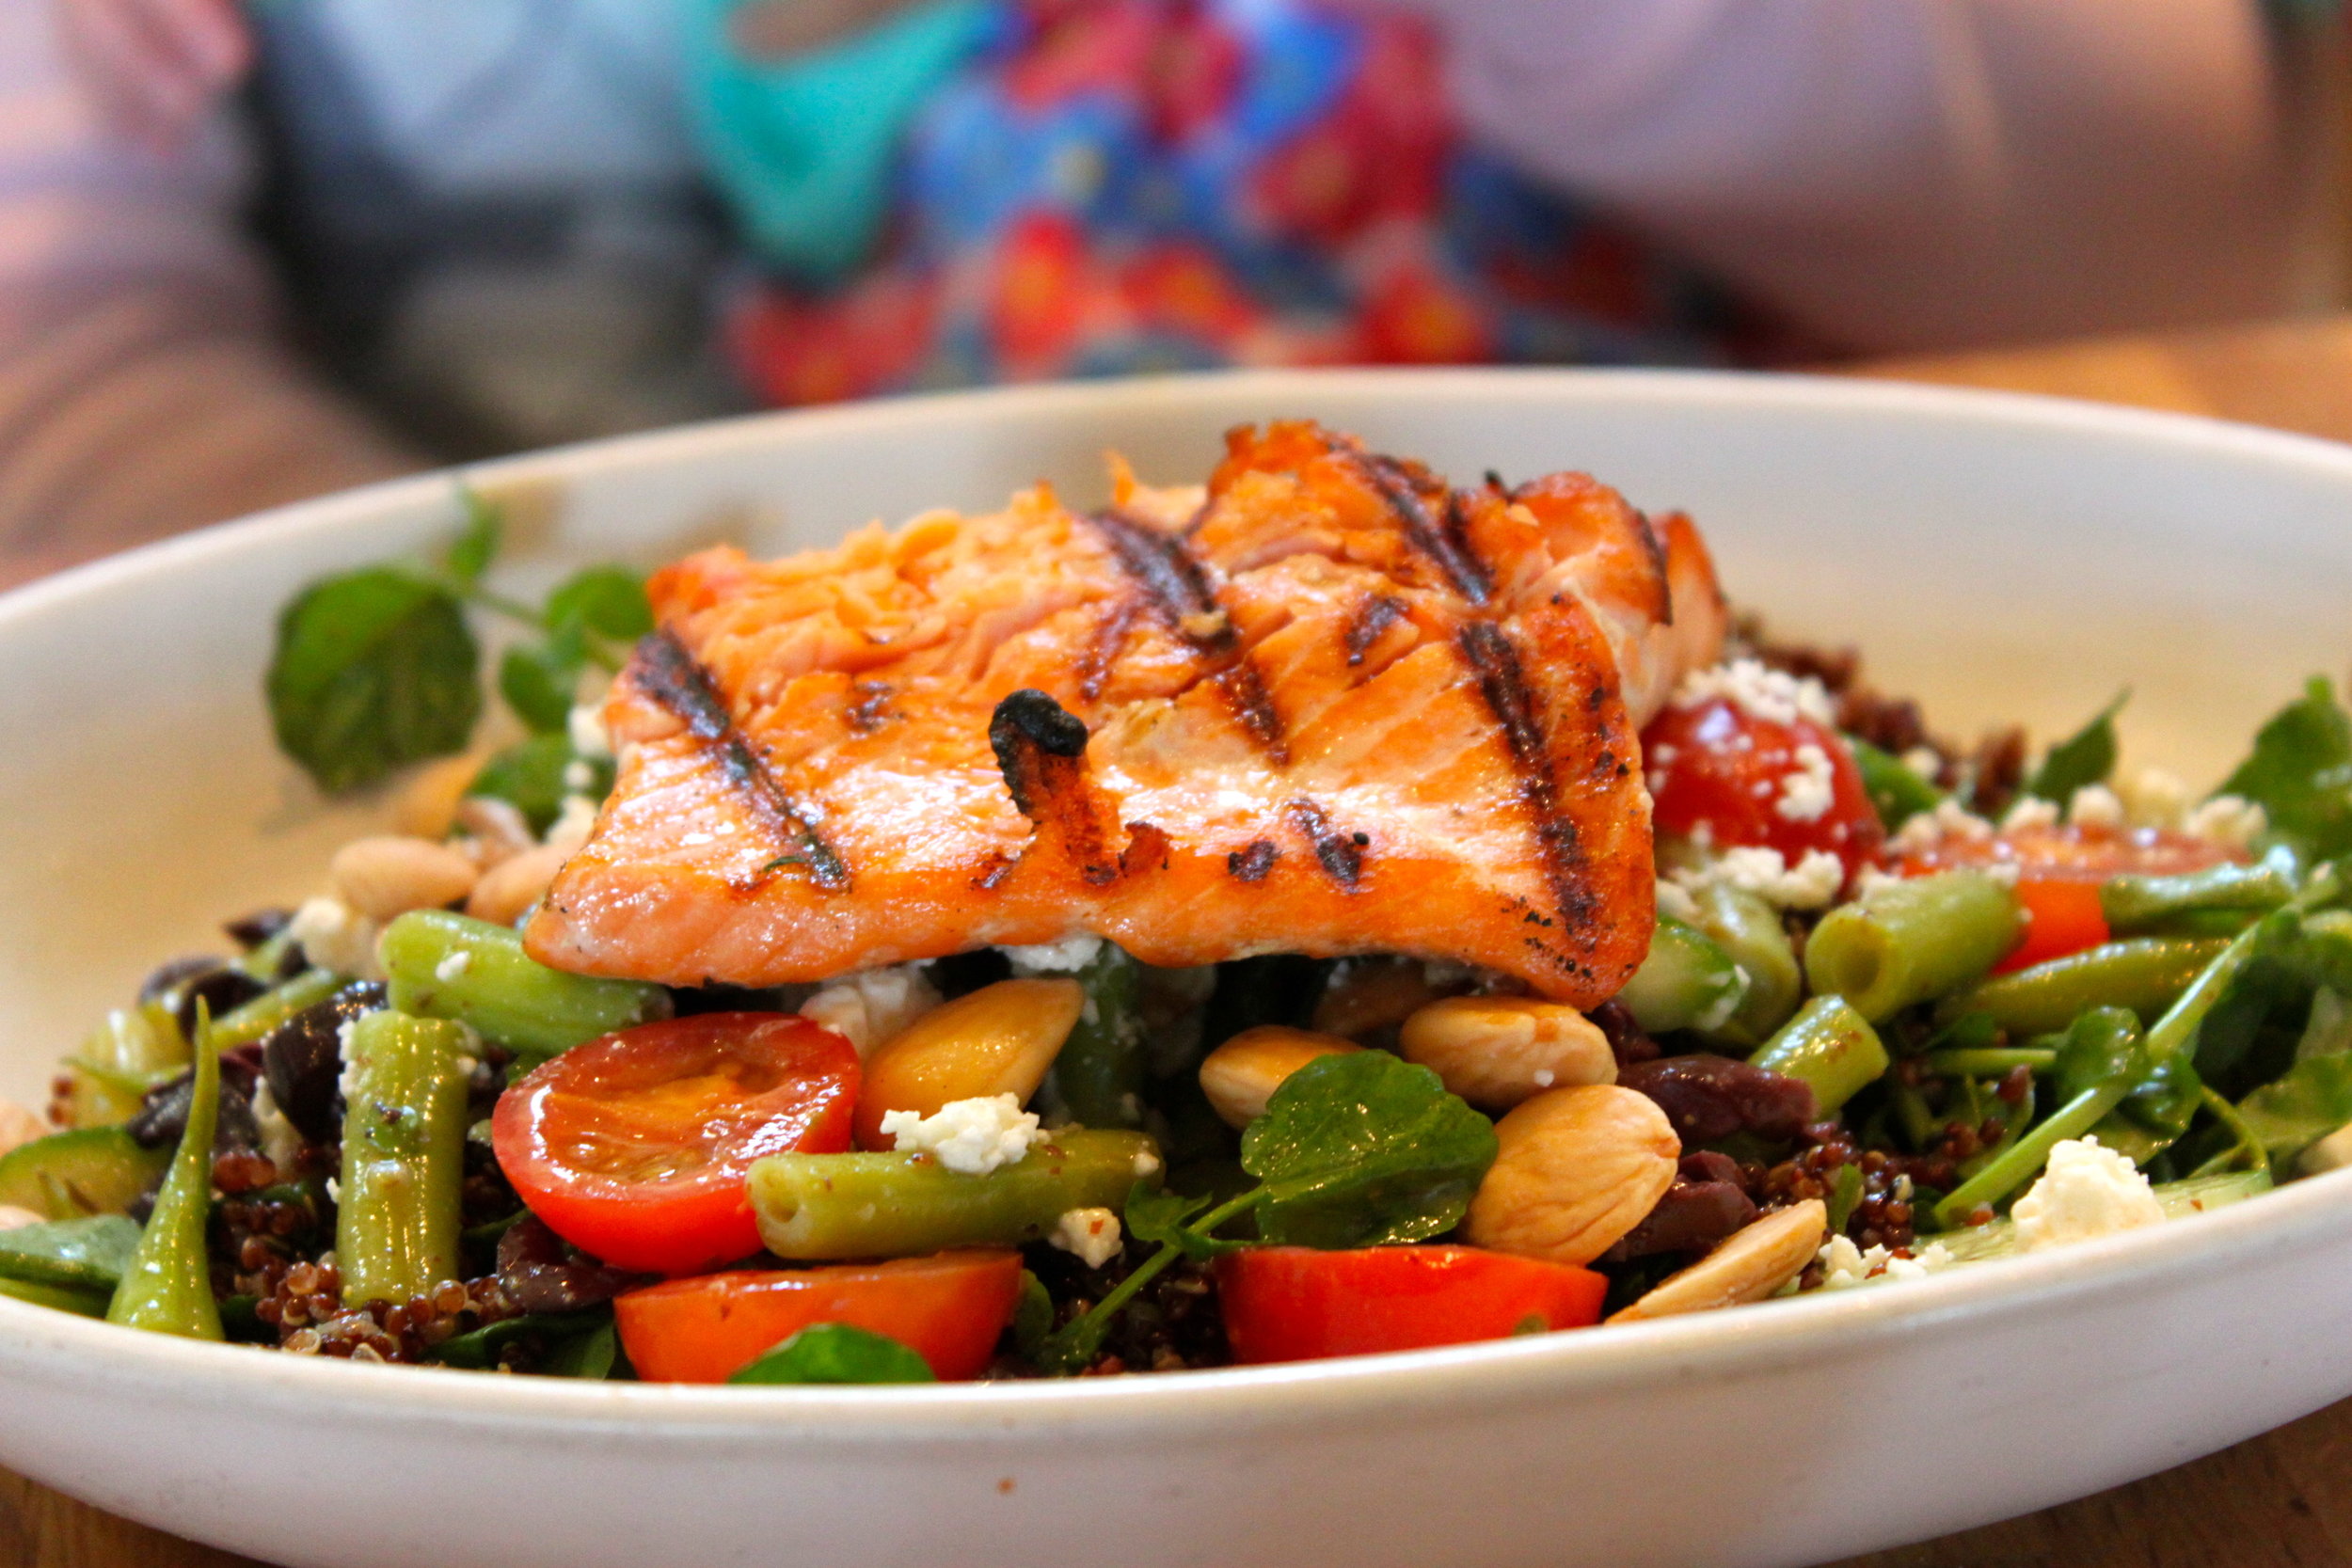
Mediterranean Chopped: Cucumber, Olive, Cherry Tomato, Quinoa, Feta, Marcona Almond & Lemon Oregano Vinaigrette (Topped with Salmon)

I have to take a second to talk about the Kids menu...

Hands down, one of my favorite parts of this meal! It was SO relieving to read a kids menu that didn't include Kraft Macaroni and Cheese, or frozen chicken nuggets! Every item on the menu was fresh, kid friendly, and something that I would be extremely happy to feed my child!
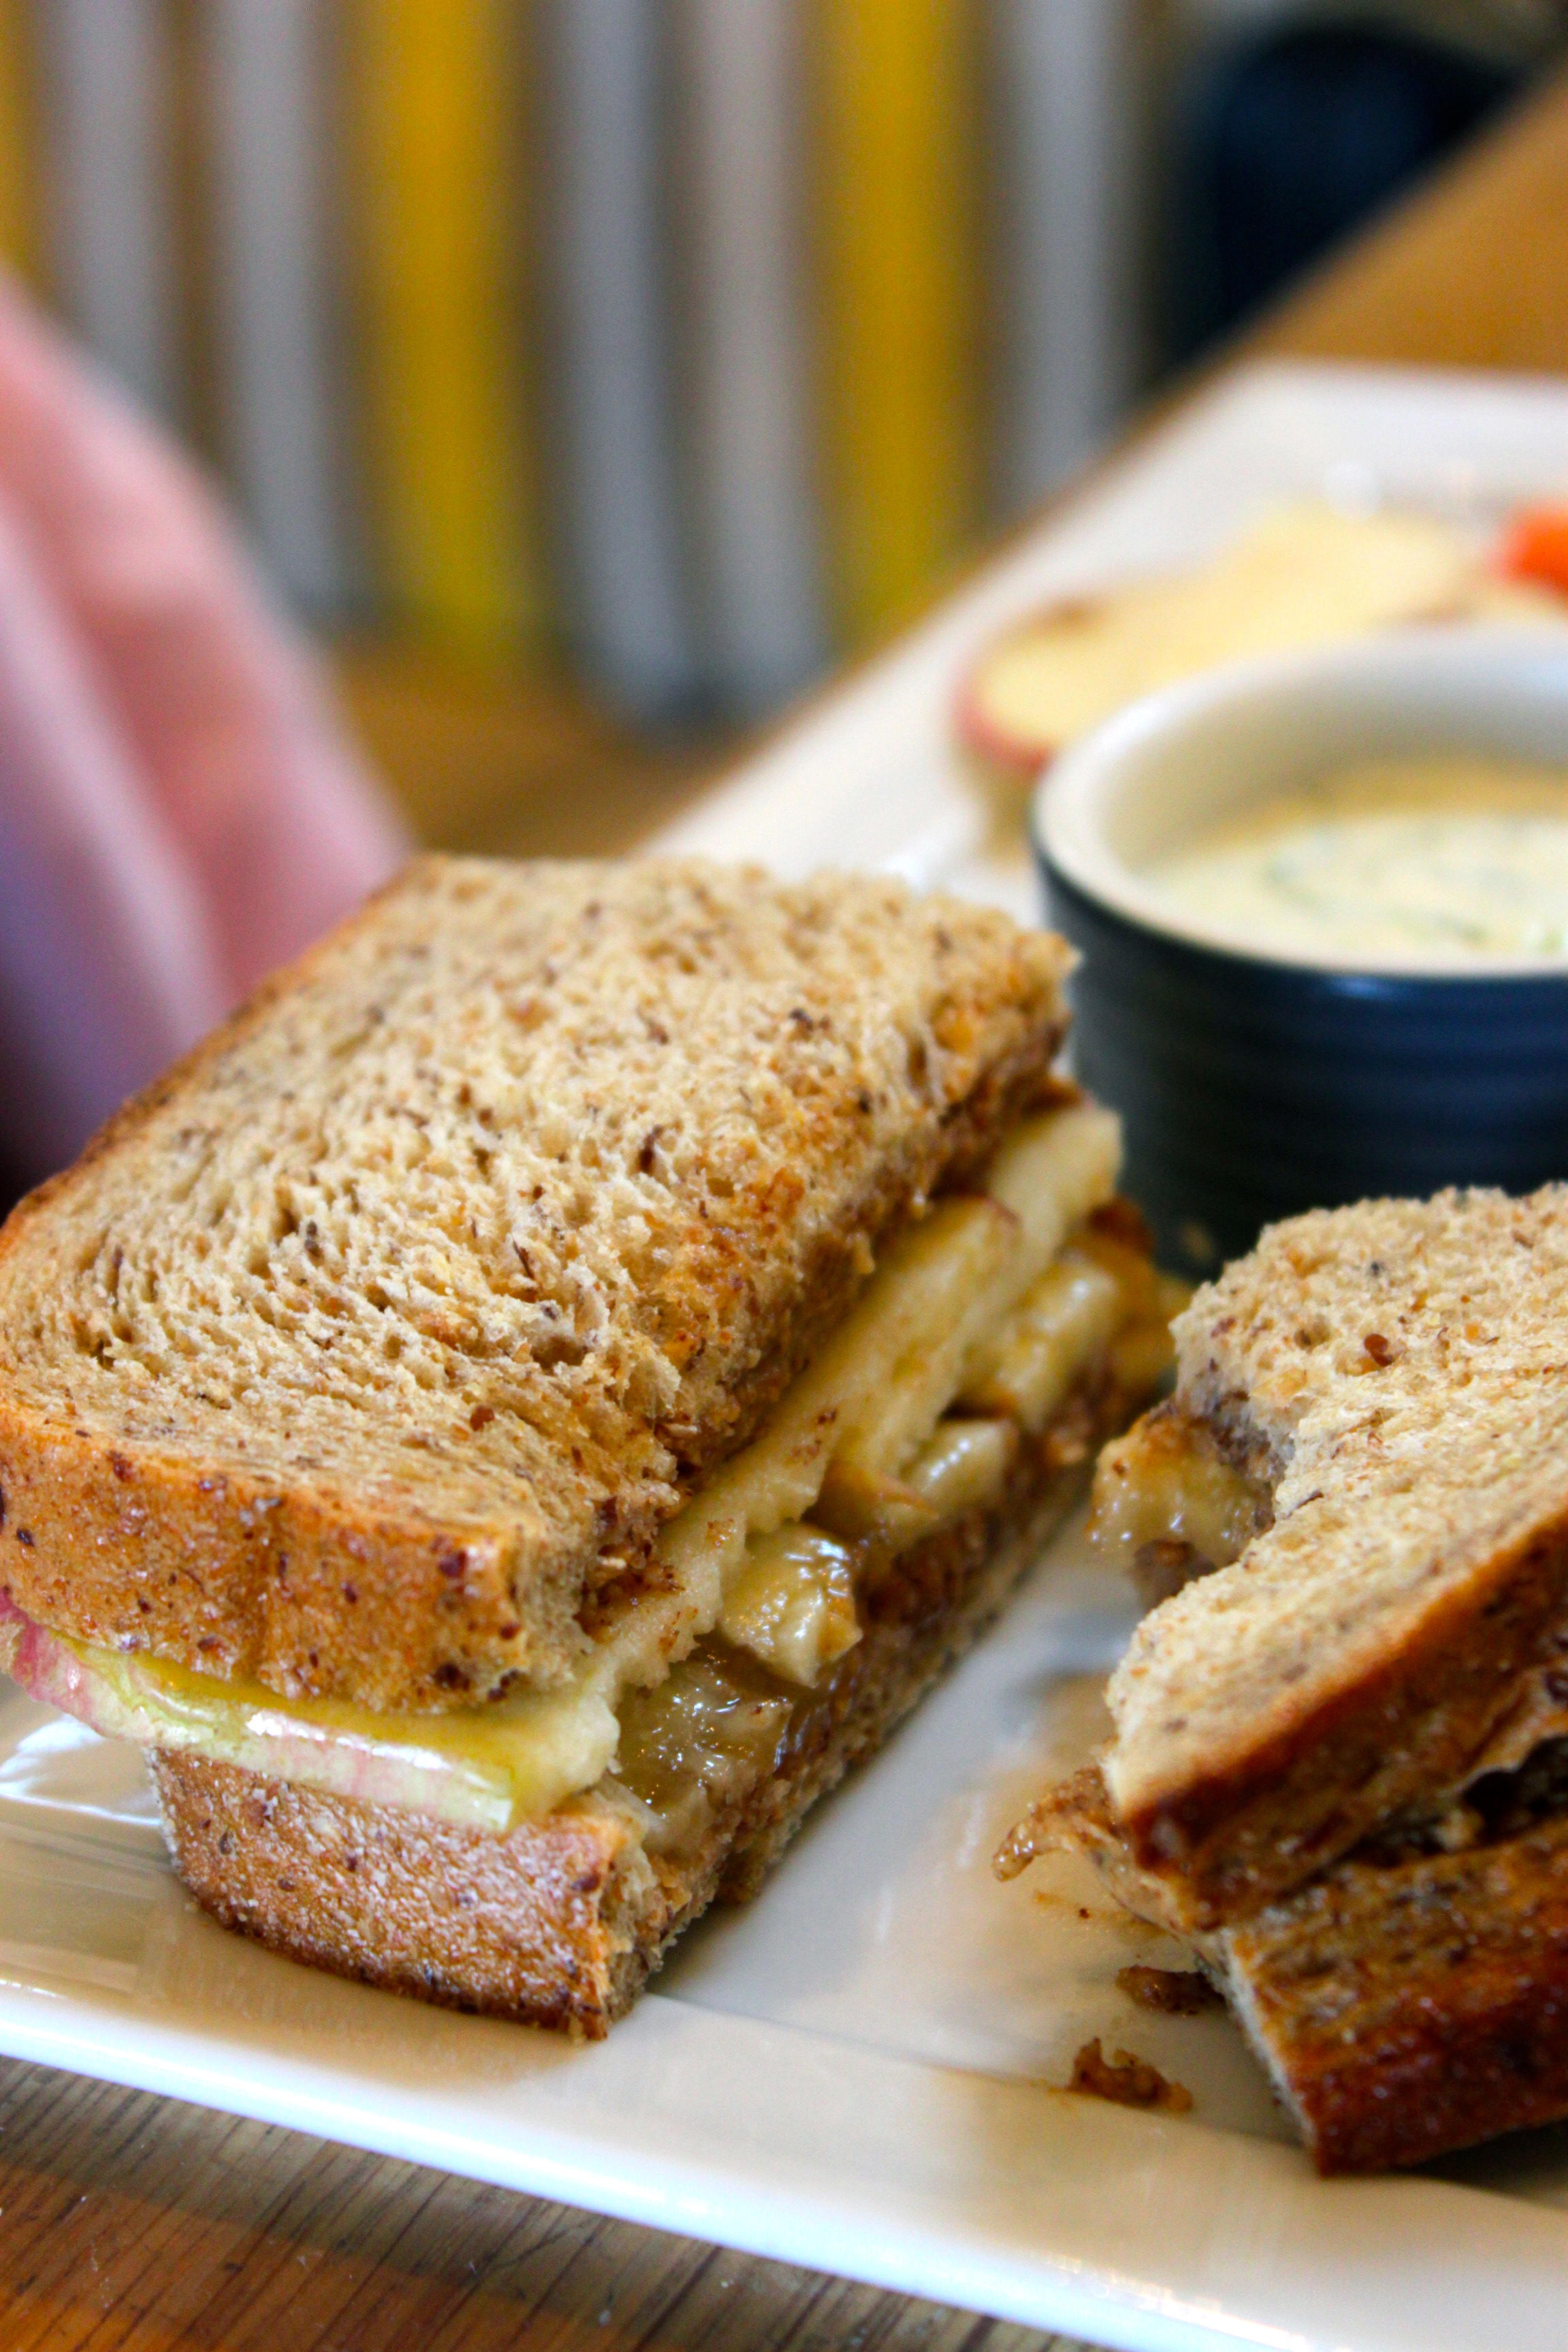
Almond Butter, Apple & Banana Sandwich with Grain Nut Bread and Carrot Sticks (Wish the BEST homemade Dill Ranch!) (Pictured Left)

Spaghetti Squash Casserole: Fresh Mozzarella, Organic Tomato & Zucchini (Pictured Right) My sister in law ordered this and it was one of my favorite dishes! It was so comforting and full of veggies,which is a plus!

Harvest Chopped Salad: Squash, Apple, Pomegranate, Walnuts, Goat Cheese & Balsamic Vinaigrette (Topped with Chicken)

So would I ever go to True Food Kitchen again if I had the chance?

That's like asking if I would like a piece of chocolate cake...Yes!Yes!Yes!

And it's right next to a large selection of shopping, which well, makes it the perfect stop for anybody! :)



Baby Food 101 Part 2: Where to begin and pureeing in bulk

Click Here to read Part 1 _____________________________

It's that time again...

IMG_4704
IMG_4704

Only this time instead of preparing a meal for one baby, I've added a toddler into the mix...oye.

Before I had kids, I figured I would be that good little wife that made everything homemade and make everyone happy. After Boo was born I realized it was harder to home-make everything, and my goals before hand were definitely harder to reach. Then came Sweet Pea and if I've even been able sit down and eat that day I consider myself accomplished and amazing...

IMG_4790
IMG_4790

I'm going to throw this out there and say the thought of making homemade baby food sounds daunting, too much work, and even to some ridiculous. I agree that I've thought the same at one point, and if you told me in high school that in the future I would be writing a blog post all about homemade baby food I'd throw my half eaten chili dog at you and laugh in your face.

Today I'm going to share with you how I've made it work for me and my family, and the important and helpful things along with making your own baby food! I wrote a few posts about homemade Baby Food when Boo was a baby (sad...she's no longer one...), so if you want check it out you can HERE!

Screen shot 2013-03-05 at 10.33.14 PM
Everything you need to know about Homemade Baby Food! From The Diva Dish

Decide what and how much baby food you want to make-

Do you want to do a bunch at once or a little at a time?

Screen shot 2013-03-05 at 10.40.19 PM

This was the method I chose because I'm a"let's get it over with so I don't have to think about this for a while" kind of person. :)

The idea here is to purchase a larger quantity of each food item that you want to puree, set aside a few hours at home, cook, puree, and have baby food ready for 1-2 months.

Screen shot 2013-03-05 at 10.43.33 PM

With this method, the idea is to take it slow so you don't overwhelm yourself. It also works great if you are a working mother, or don't have time to set aside 2 or so hours to puree a bunch of food.

Each week, along with your normal grocery lists, buy 2-3 items in a larger quantity (like 3-4 large sweet potatoes.) During dinner, nap, cleaning the house time, etc., cook that food item, puree it, and store it. You can do one every other day, or twice a week, etc. This will allow your baby food stock to fill up slowly and at your pace!

Screen shot 2013-03-05 at 10.51.30 PM
6831513677_c8e0ee8ff3_z
5727_10151743144082067_245904164_n

(Pic on Left: Boo @6 months, Pic of Right: Sweet Pea @ 6 months)

Before going crazy and buying out the produce section, make sure certain foods sit well with your little one. When you are first starting out feeding your baby, you have to introduce foods slowly to make sure there are no allergies, sensitivities, or reactions to certain food types. I would hate it if you pureed tons of sweet potatoes and your baby can't eat them!

With this, I always buy canned organic baby food! It's the most wholesome and pure, to me.

Screen shot 2013-03-05 at 11.06.06 PM

Make a list, check it twice, and set aside the time/s that you need to puree the food. I usually do my grocery shopping on Monday, and then that Tuesday I set aside time to puree the food. If I did it all at once on Monday, well..I would have gone cray cray. (crazy...)

Make sure you have the appropriate cooking and storage items! For this you will need:

IMG_4760
IMG_4760

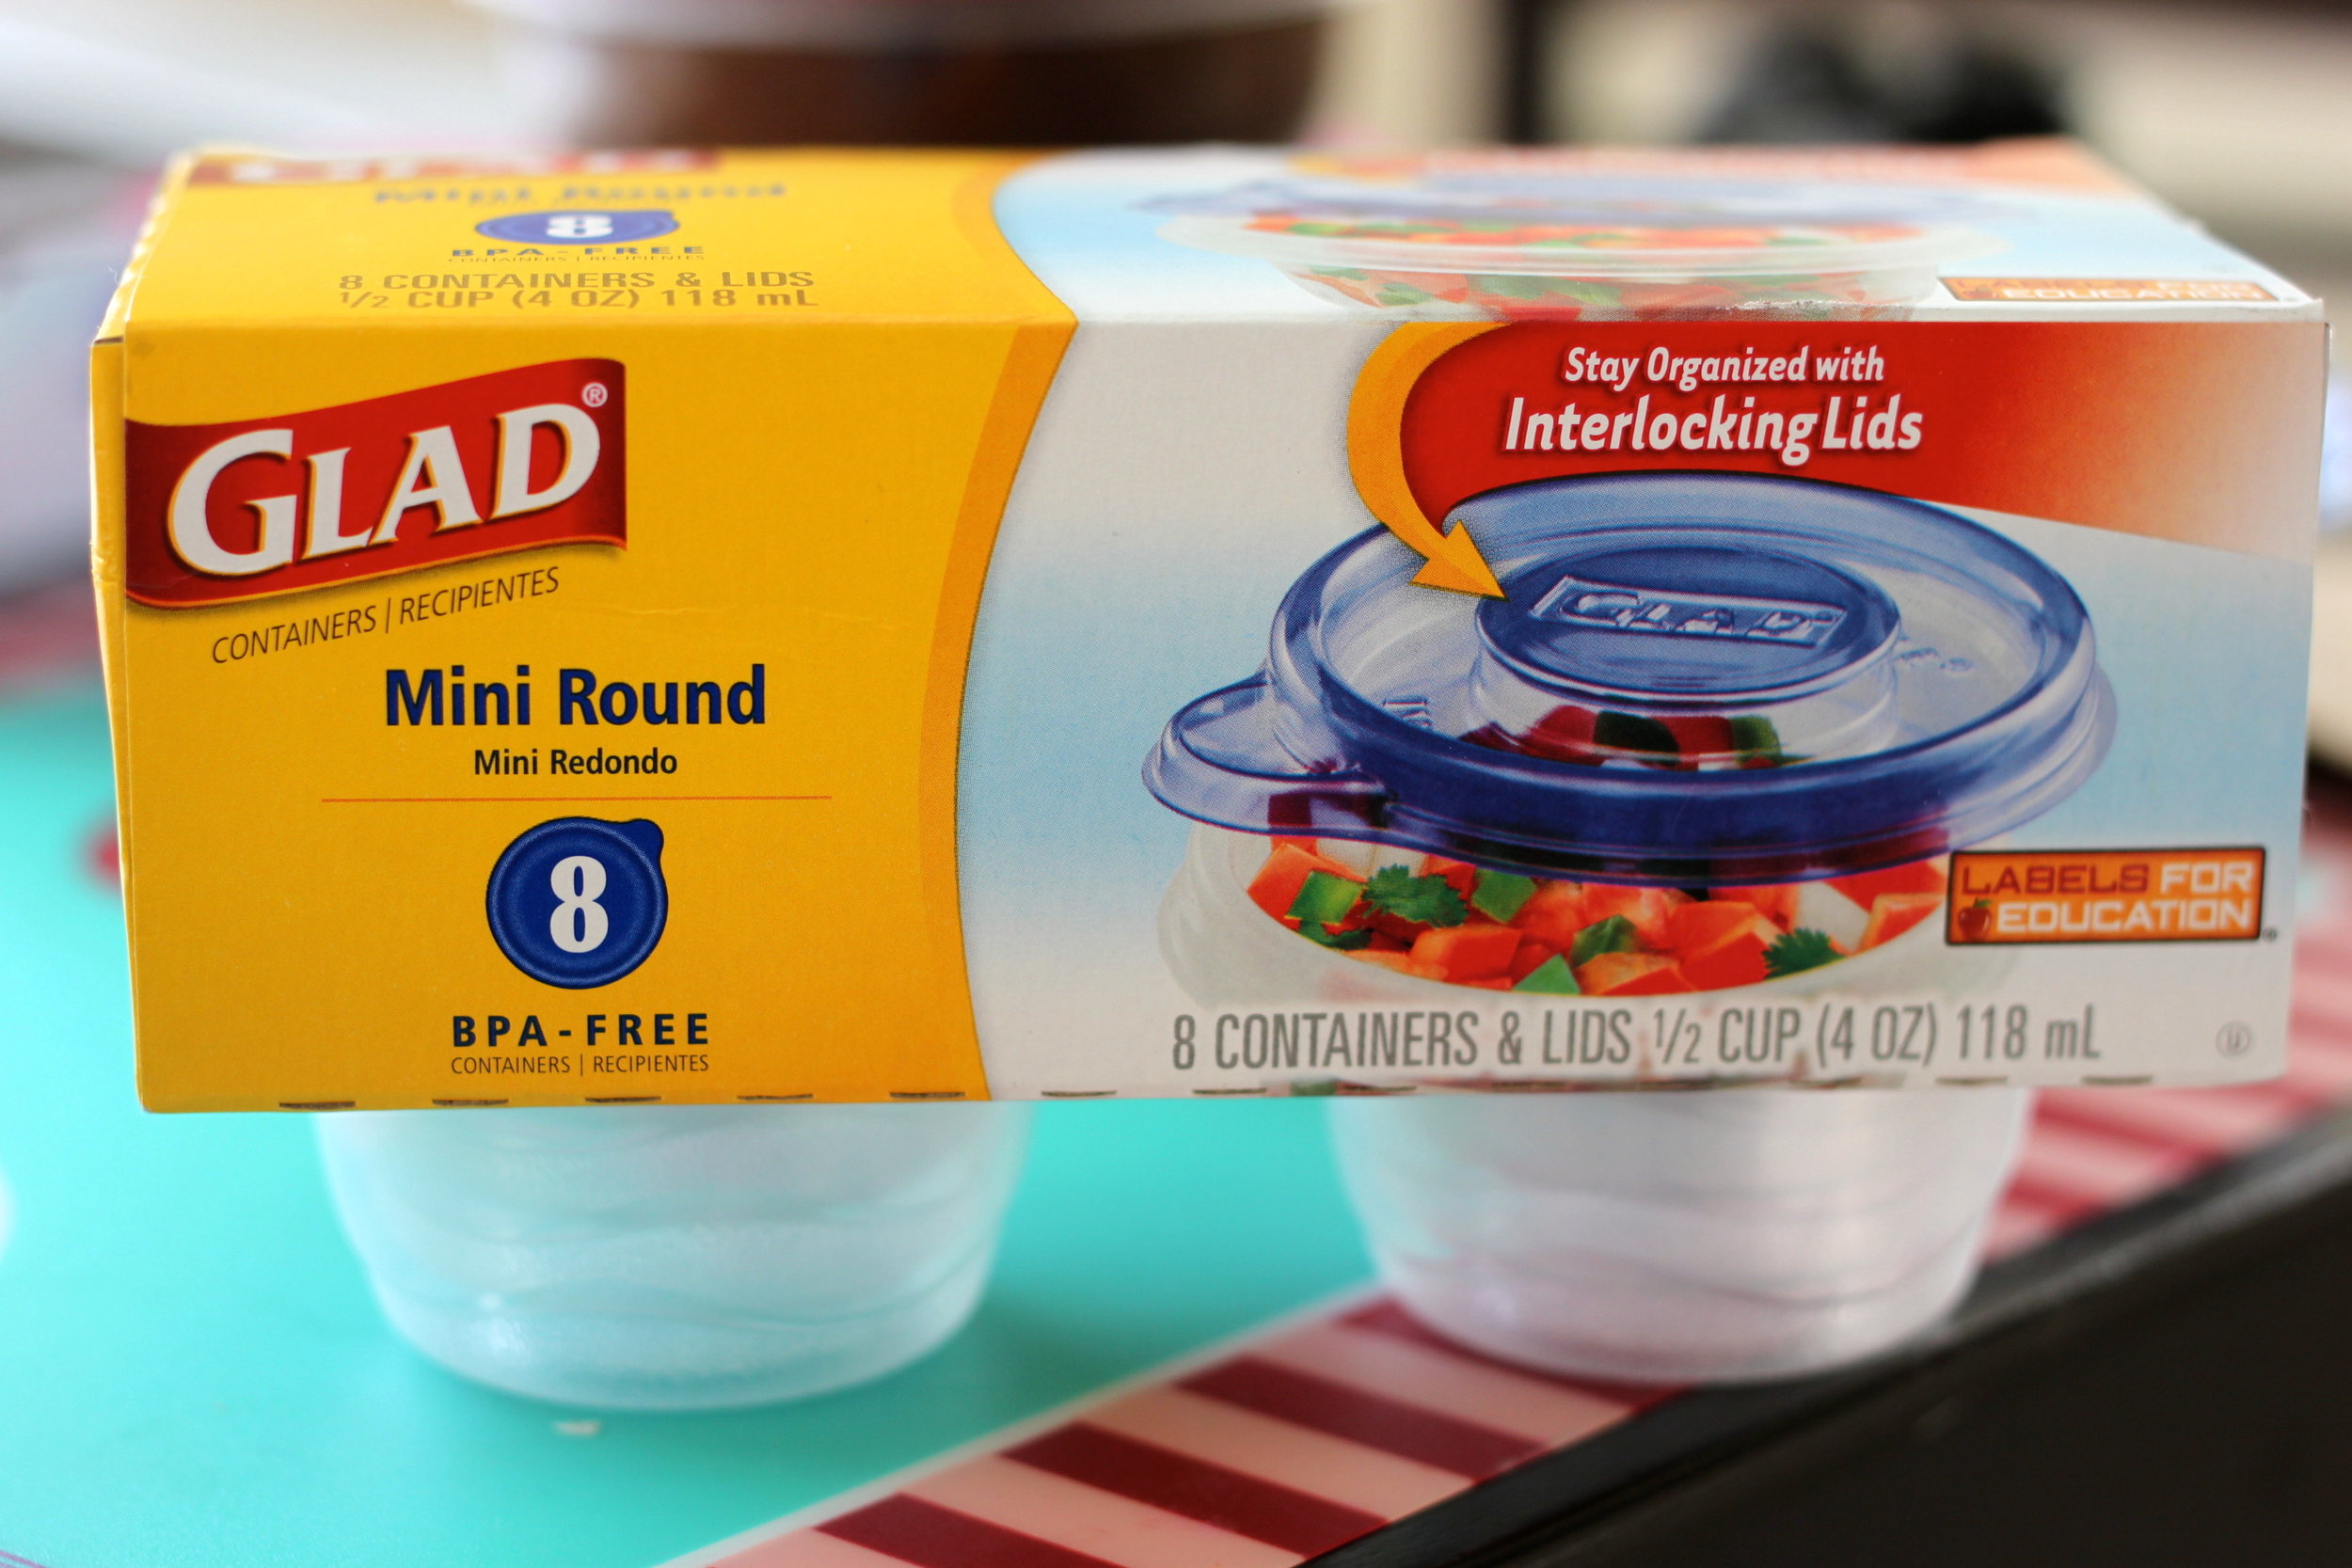
-Small storage containers with air tight lids (I used the ones above, they were the cheapest I could find @ 3 dollars for 8 containers!)

-a good blender, food processor, or a Magic/Baby Bullet

-Pot with a steamer on top

-labeling stickers

Screen shot 2013-03-05 at 11.09.08 PM
IMG_4728
IMG_4728

On the day of the food prep, wash and dry all your veggies/fruits. If you are doing it all at once, here is where the prep and planning will be important. If you are baking an item, put that in the oven first so it can cook while you are steaming and pureeing the other items.

Here is how it laid out for me:

As I steamed one item, I prepped the others (such as cutting, peeling, dicing, etc.) Then when one item was done steaming I would dump them in my food processor, turn it on and let it puree. While it was pureeing I would throw the next batch of veggies or whatever into the steamer to be steamed. While it was cooking I would finish pureeing, package it, and label it and set it aside and let it cool, with the lid off.

If you aren't doing items that involve cooking, like fruit purees, just do them one after another.

Some items may require soaking such as prunes, raisins, dates, or dried beans. Soak everything the night before, or maybe just need a few hours to soak. Remember that in your planning. If the beans need cooking, start their cooking process at the beginning of your plan.

Screen shot 2013-03-06 at 8.33.08 AM

Here are the items that I pureed for my little one. It's not everything that I would like to have on hand,  andI know that one day I might try apple sauce and maybe next week I'll make some bean purees!

IMG_4674
IMG_4674
Screen shot 2013-03-06 at 8.36.30 AM

Ingredients:

Dried, pitted, prunes-Make sure there are no other ingredients or additives, and if it's in your budget go organic

water

Directions:

1. add prunes to a large bowl and fill with water until all the prunes are covered. Soak for at least a couple hours or if you want overnight. Once done, dump the water out and add prunes to processor and blend until creamy and no chunks appear.

2. Place in individual air tight containers and store in the freezer. When needed thaw in the fridge the night before.

IMG_4739
IMG_4739
Screen shot 2013-03-06 at 8.49.52 AM

I did a post already on how to puree butternut squash HERE! :)

IMG_1876-682x1024
IMG_1876-682x1024
Screen shot 2013-03-06 at 8.42.31 AM
IMG_4682
IMG_4682

Ingredients:

Carrots

Directions:

1. Wash, Peel, and cut carrots and add to a steam basket. Steam until tender.

2. Once done, blend until creamy, and if needed at a little water.

IMG_4757
IMG_4757
Screen shot 2013-03-06 at 8.45.48 AM
IMG_4697
IMG_4697

Ingredients:

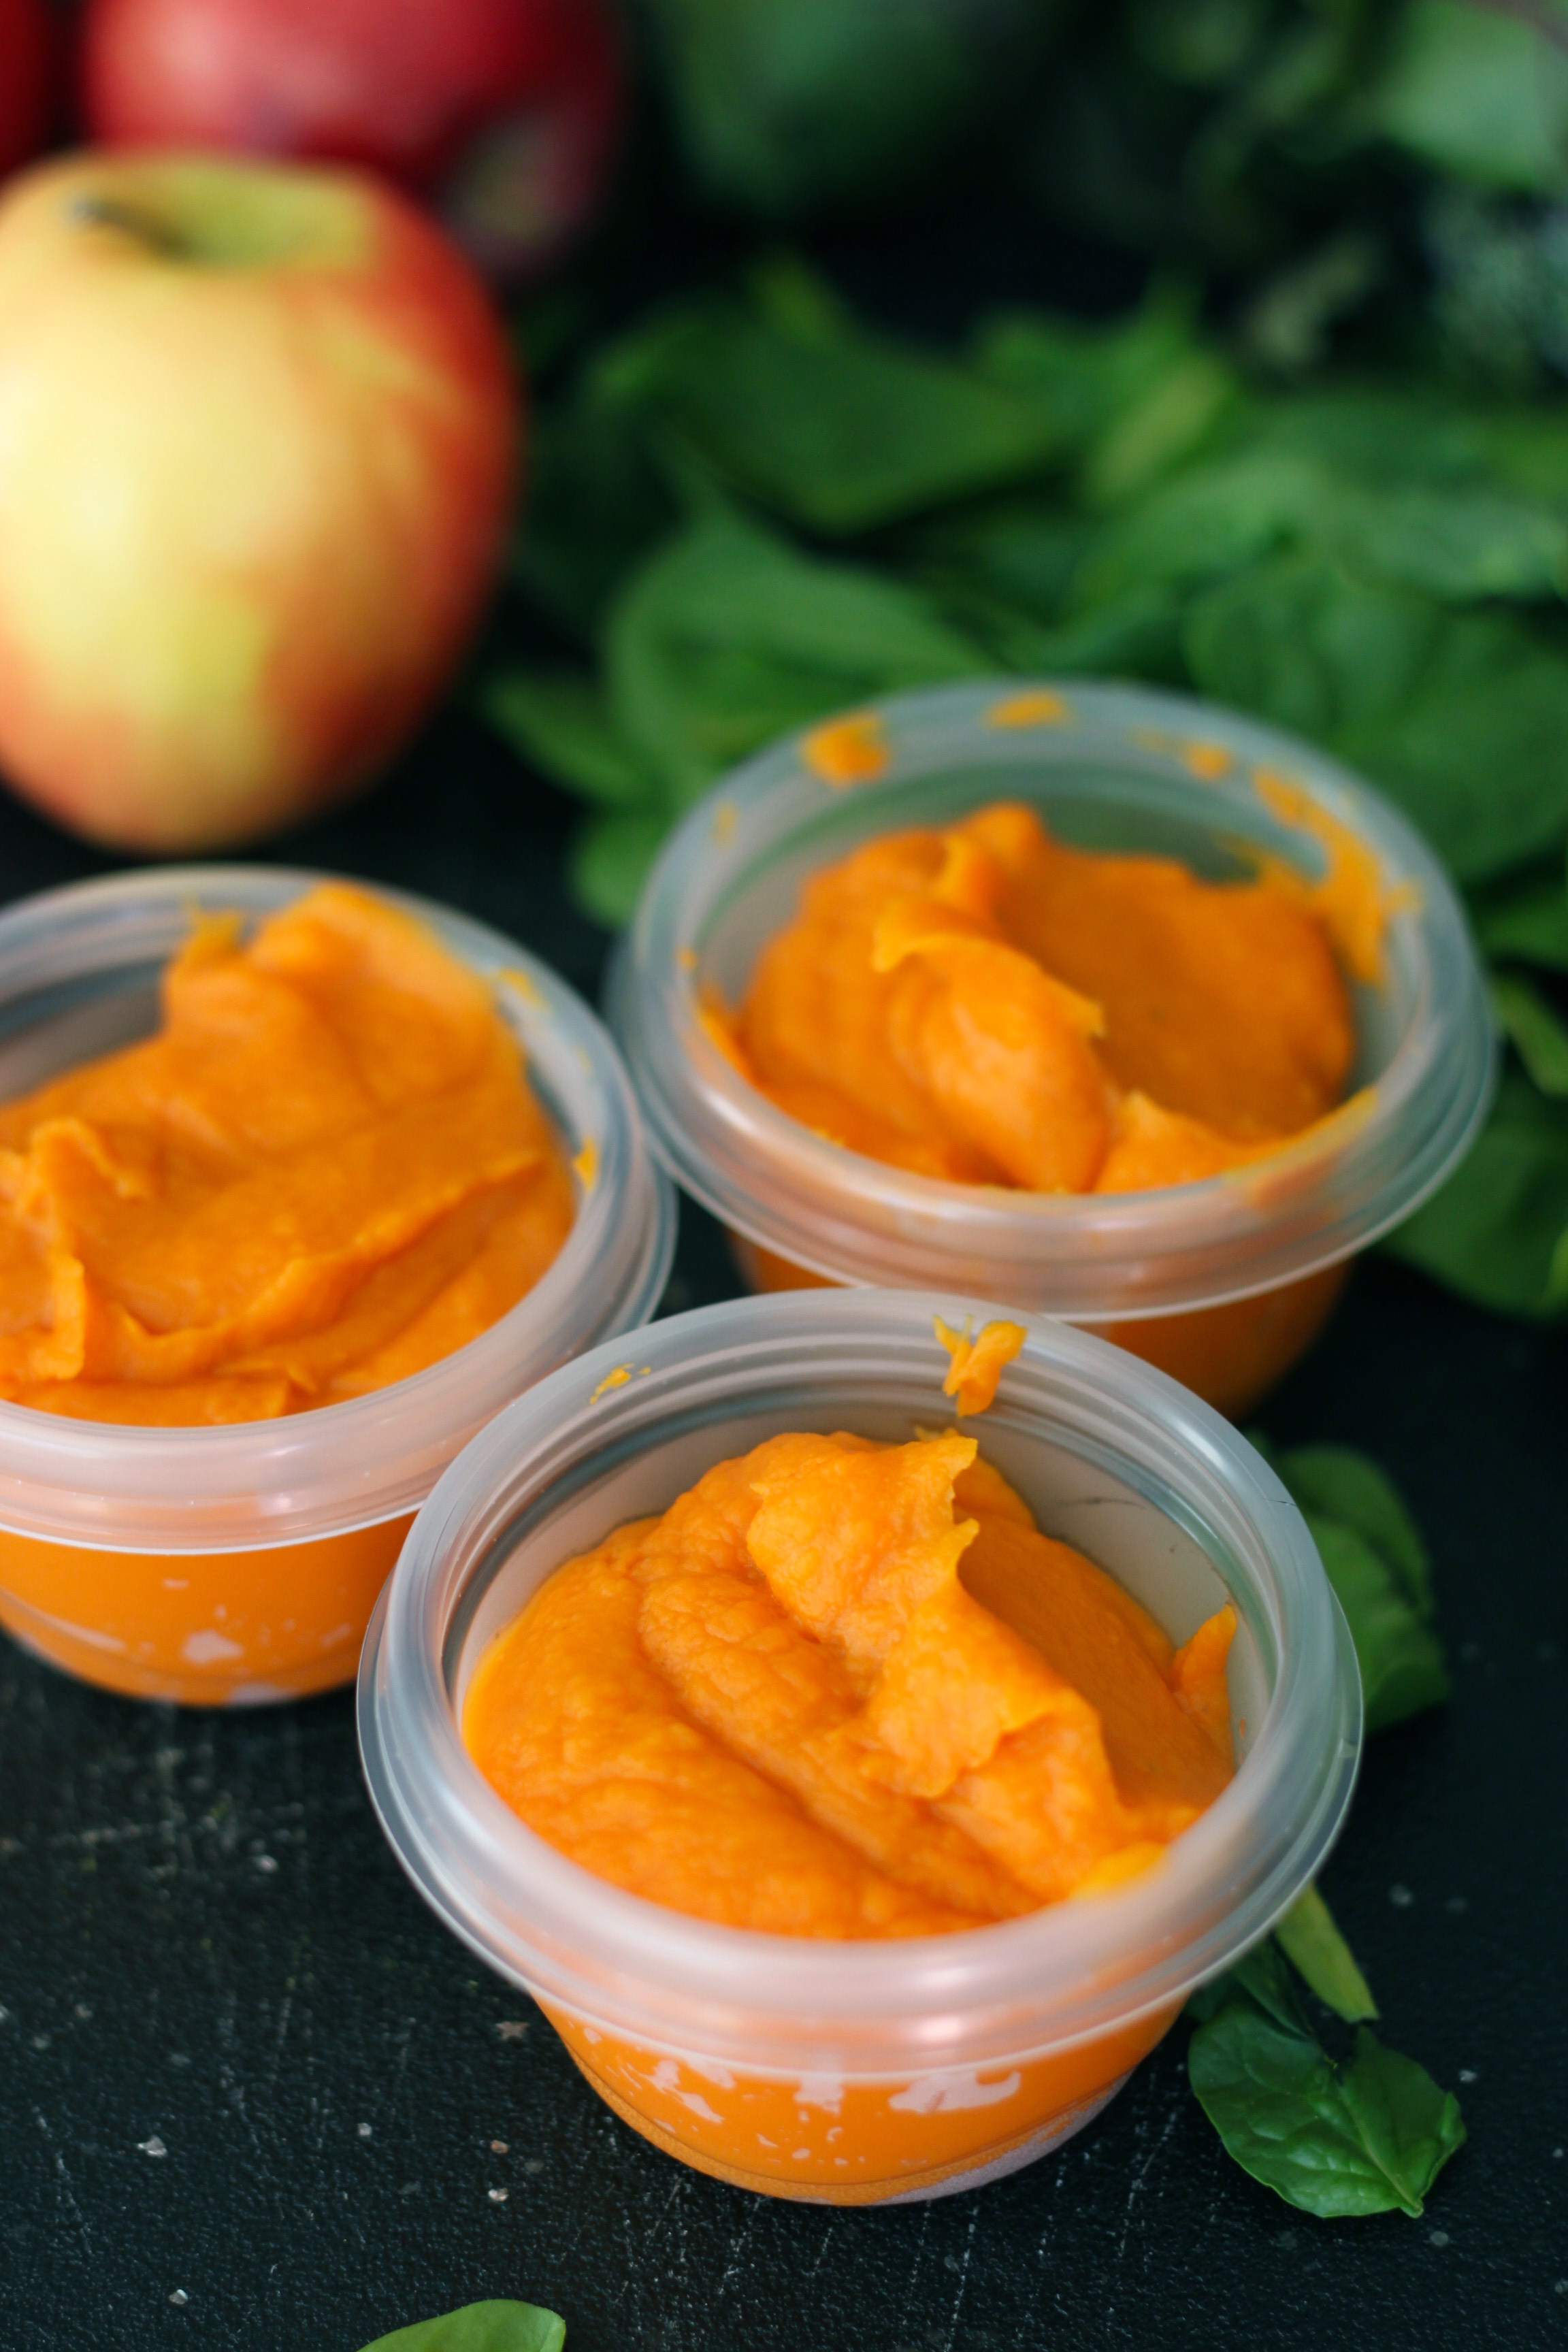
Sweet Potatoes

Directions:

1. Wash, peel, cut sweet potatoes. Place in steam basket and steam until tender.

2. Once done puree until creamy, add water if needed.

IMG_4762
IMG_4762
Screen shot 2013-03-06 at 8.55.03 AM
IMG_4690
IMG_4690

Ingredients:

Squash

Directions:

1. Wash, peel, cut squash and place in steam basket. Steam until tender, then puree until smooth. It will be a little watery.

IMG_4772
IMG_4772
Screen shot 2013-03-06 at 8.56.58 AM

Ingredients:

Fresh or frozen peas

Directions:

1. If using fresh peas, scrape out the peas from their pods and place in a steamer basket. Cook until tender.

2. If using frozen peas, boil until peas are tender. Then puree until creamy.

IMG_4828
IMG_4828
Screen shot 2013-03-06 at 8.59.37 AM
IMG_4703
IMG_4703

Ingredients:

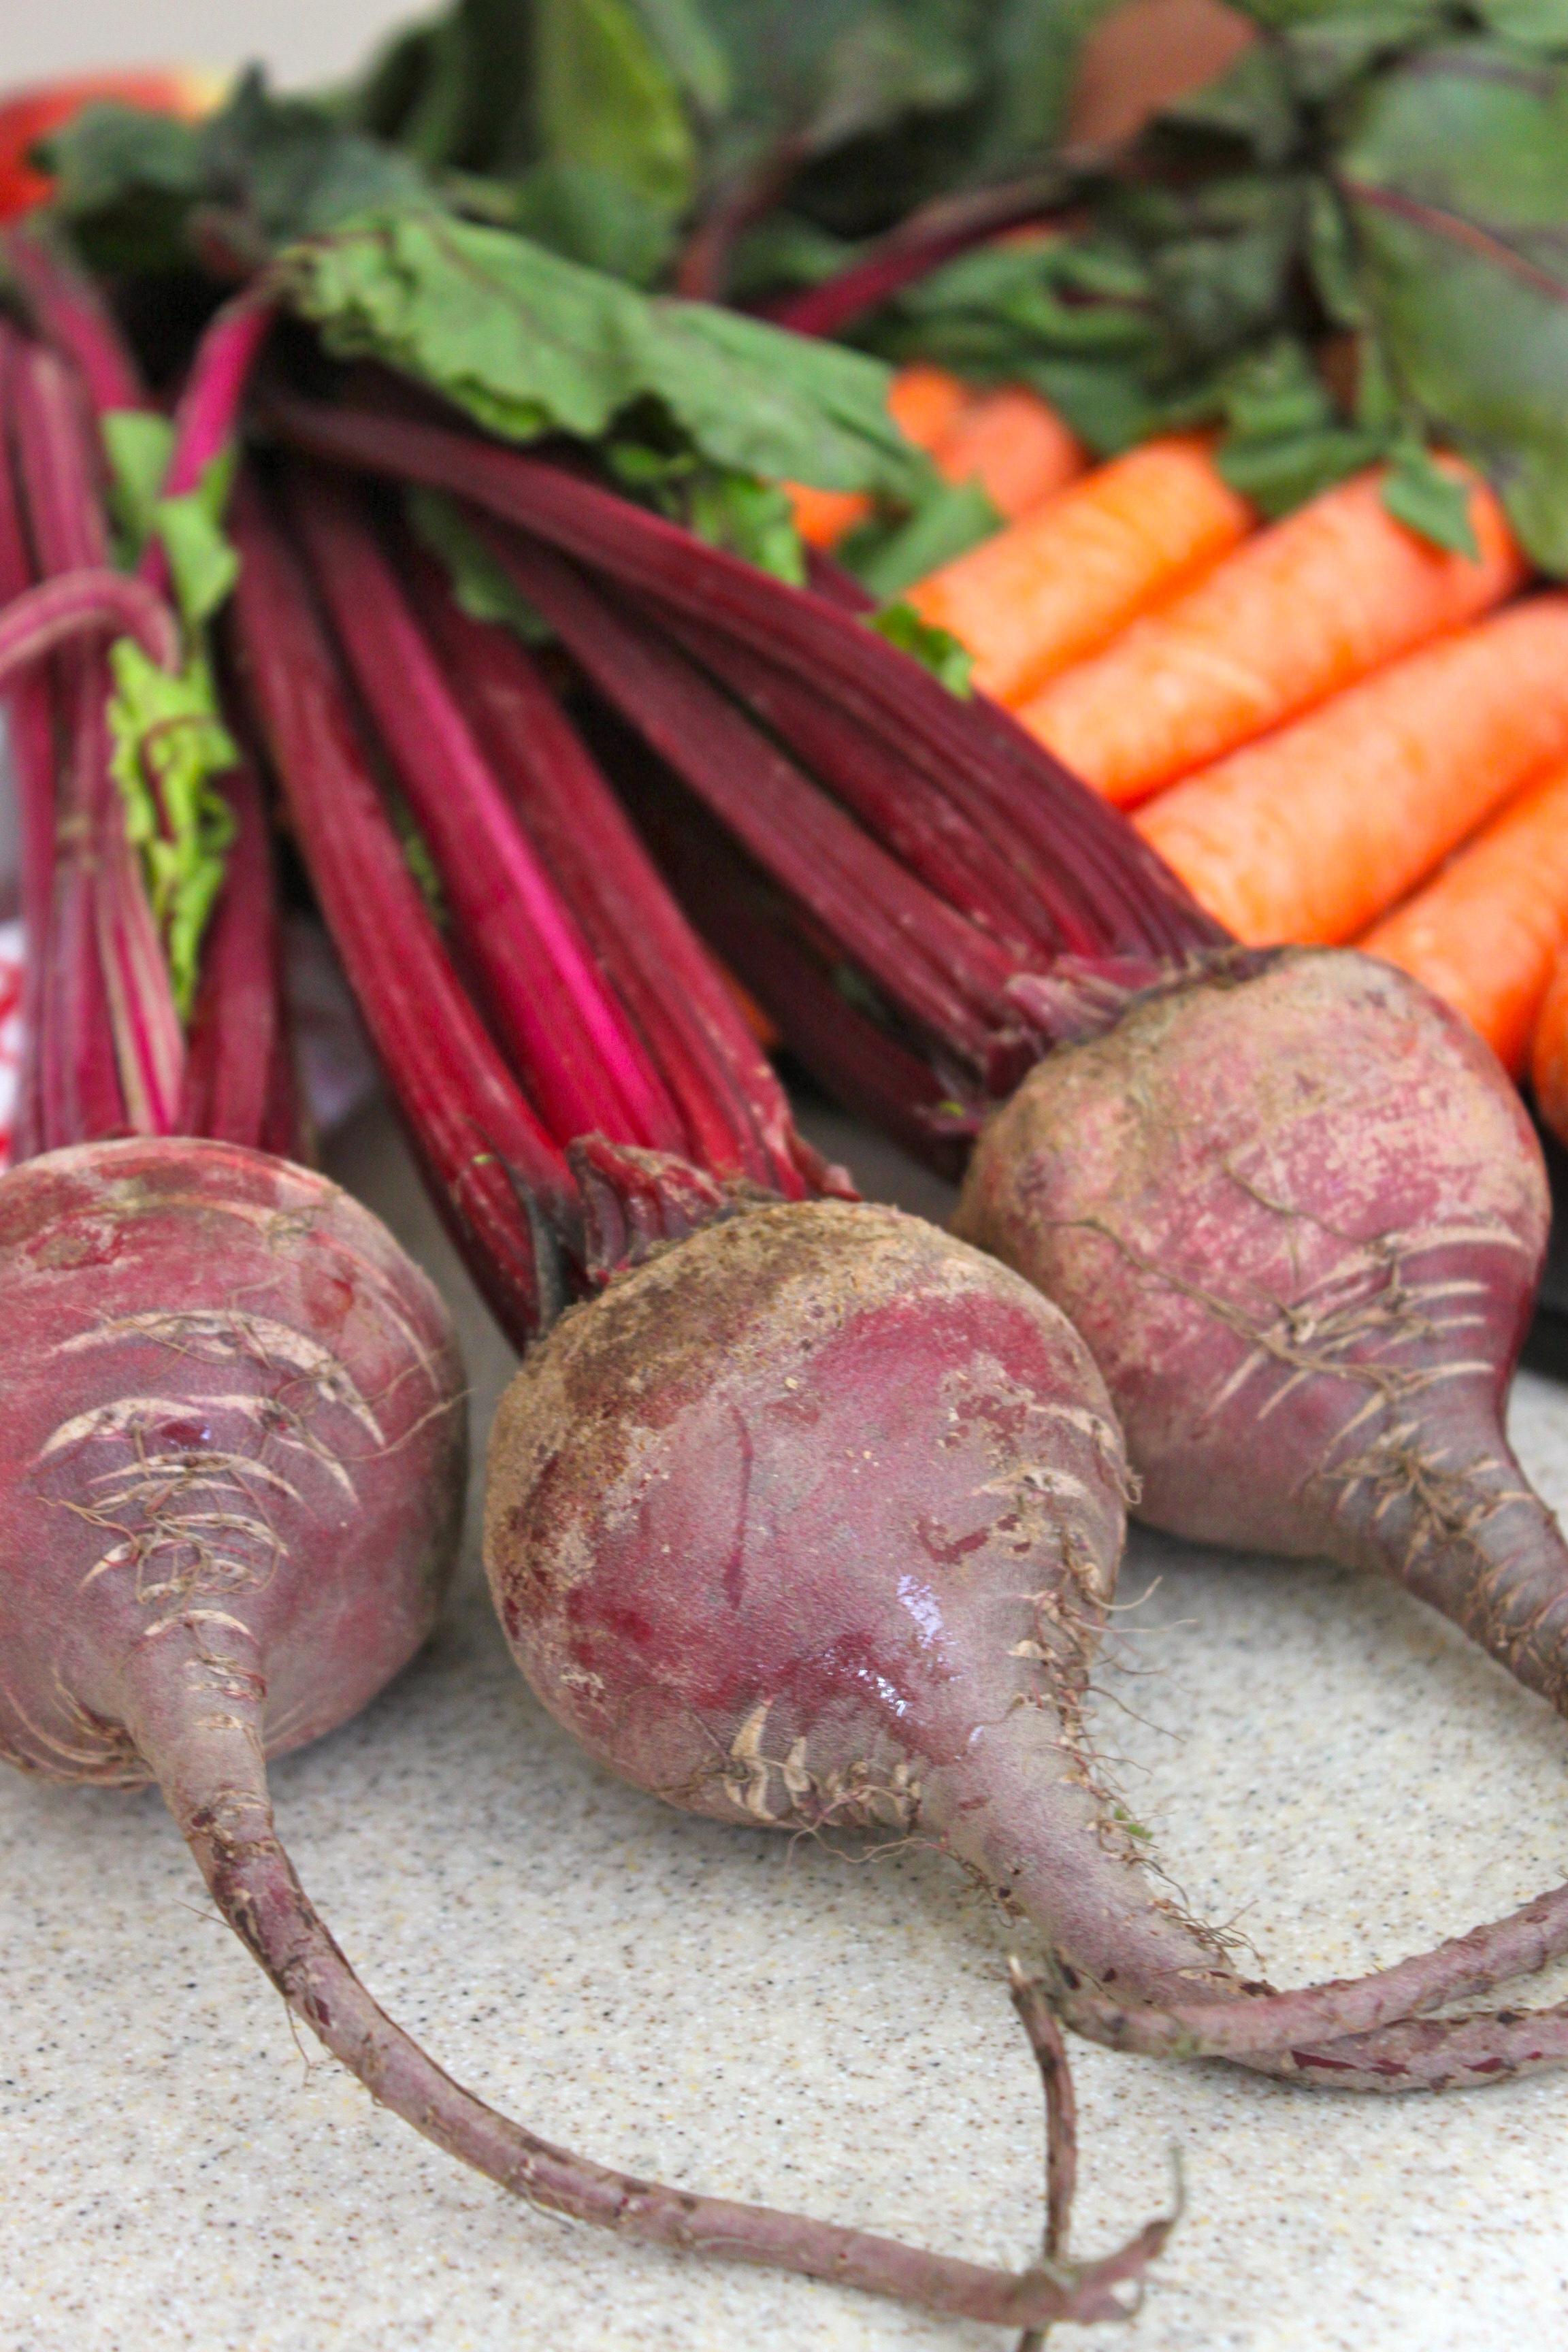
Beets

Directions:

1. Wash, peel, and cut beets. (Make sure to remove stems and leaves.) Place in steamer basket and steam until tender.

2. Puree until smooth, this may take a few times to get it the right consistency.

IMG_4822
IMG_4822
Screen shot 2013-03-06 at 9.00.49 AM
IMG_4699
IMG_4699

Ingredients:

Fresh spinach

Directions:

1. If spinach needs to be washed then do so. Place spinach in a pot or stovetop pan over medium heat with a tiny bit of water. Toss spinach until it becomes wilted, this will only take  a few minutes.

IMG_4780
IMG_4780
IMG_4781
IMG_4781

2. Place in blender and puree.

IMG_4799
IMG_4799
Screen shot 2013-03-06 at 9.36.07 AM
IMG_4832
IMG_4832

Whether you decide to use individual containers, I always set aside some of my purees in ice cube trays for a fast pop out and go option. With ice cube purees, you can throw them into warm soups, grains, smoothies, etc. Something fast and easy.

As for the individual containers, freeze what you aren't using and place the ones you are using in the fridge. When you are running low, take some containers from the freezer and plop them in the fridge and let them thaw.

IMG_4841
IMG_4841
Screen shot 2013-03-06 at 9.41.32 AM
IMG_4840
IMG_4840

I brought home the following items:

2 large sweet potatoes

2 large packages prunes

1 large bag peas

1 large box spinach

1 large bag carrots

1 large butternut squash

2 large squash

3 large beets

TOTAL COST: under $20.00

20 dollars would buy about 20-25 cans worth of baby food.

If you child eats 1-2 cans a day then you could end up spending $20-$50 on canned baby food per month. (Sweet Pea tends to be a little piggy and has eaten 4 can's a day. So for us, it sometimes is more!)

I made about 2 months of baby food for $20.

SO..I saved money! (Trust me friends this doesn't happen often...)

I cut my cost in half...at least!

IMG_4620
IMG_4620

I'm telling you friends...Initially making the food is a lot of work and takes time. Oh...and your house will be a complete mess.

But after it's done, the worry is over and you saved some money! And when the food runs out, your baby won't be eating strictly pureed foods so you won't have to do it ALL over again. :)

Hope this was helpful, and if you have any questions, please let me know!! :)

Happy pureeing!

Boo's Kitchen Makeover

It's been a battle of the computer this past week, I'm so sorry friends... When you've got a husband who is constantly studying, taking tests, and doing research it's a fight for who gets the computer. You would think I would do something valuable with my time like watch Bachelor...

But instead of planting myself down on my back side to watch Sean take off his shirt 457 times and make out with 3 woman who are madly in love and having the best time ever of their entire life...I painted Boo's kitchen.

(Note: This is a before of the kitchen to the left in this picture . It's not a before picture of the half naked toddler who oddly resembles Jeff Daniels from Dumb n Dumber.)

Since living in a rental and not being able to basically decorate my house the way I would love to, I've taken it upon myself to enhance the things around me. Like Boo's kitchen. I knew I always wanted to paint it, and figured it would most likely be pink! So this week we went after it.

I'm far far away from being a creative person and I most definitely can't paint in the lines (so I've learned), but this project was pretty easy.

I painted over the whole thing with craft paint, but spray painting definitely would have been easy too. I didn't want to spend any money on this project so I used what I had at home which was craft paint!

For the doors, I replaced them and made a curtain using old fabric I had and a tension rod from Walmart that costs me 2 bucks!

But it wasn't just me who took part in the refurbishing of the kitch, Boo had a huge part as well!

I'm back to normal posting this week friends, the hubs and I made a deal. Computer time for me...and he doesn't have to watch Bachelor.